instrument panel Oldsmobile Aurora 1997 s User Guide
[x] Cancel search | Manufacturer: OLDSMOBILE, Model Year: 1997, Model line: Aurora, Model: Oldsmobile Aurora 1997Pages: 404, PDF Size: 20.75 MB
Page 94 of 404
Headlamp High/Low Beam
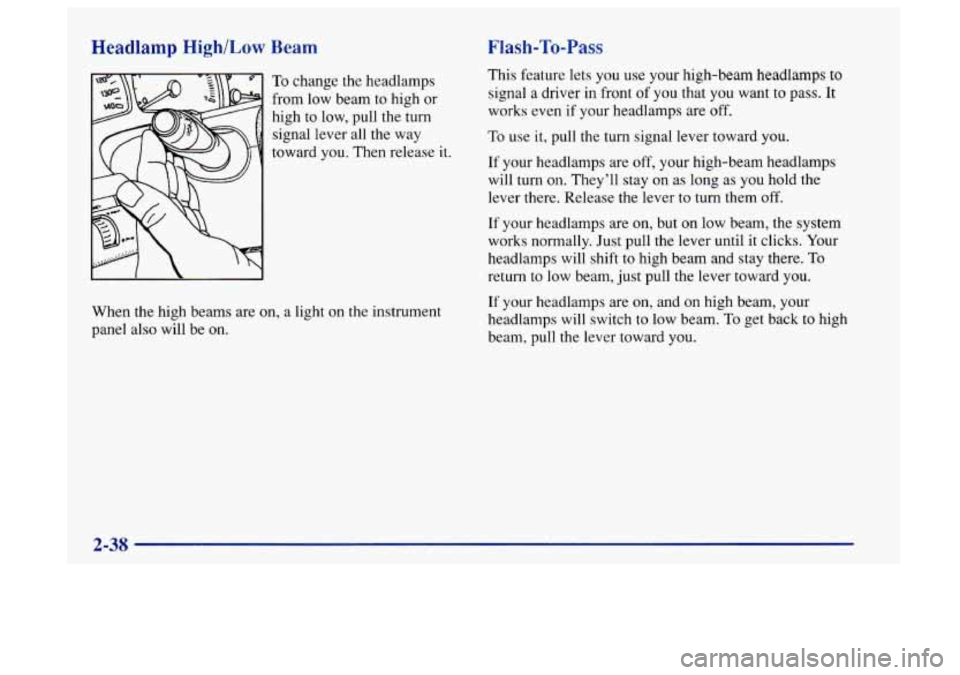
To change the headlamps
from low beam to high or
high to low, pull the turn
signal lever all the way
toward you. Then release
it.
When the high beams are on, a light on the instrument
panel also will be on.
Flash-To-Pass
This feature lets you use your high-beam headlamps to
signal a driver in front of you that you want to pass. It
works even if your headlamps are off.
To use it, pull the turn signal lever toward you.
If your headlamps are
off, your high-beam headlamps
will turn
on. They’ll stay on as long as you hold the
lever there. Release the lever to turn them
off.
If your headlamps are on, but on low beam, the system
works normally.
Just pull the lever until it clicks. Your
headlamps will shift to high beam and stay there. To
return to low beam, just pull the lever toward you.
If your headlamps are on, and on high beam, your
headlamps will switch to low beam.
To get back to high
beam,
pull the lever toward you.
2-38
Page 98 of 404
.. I
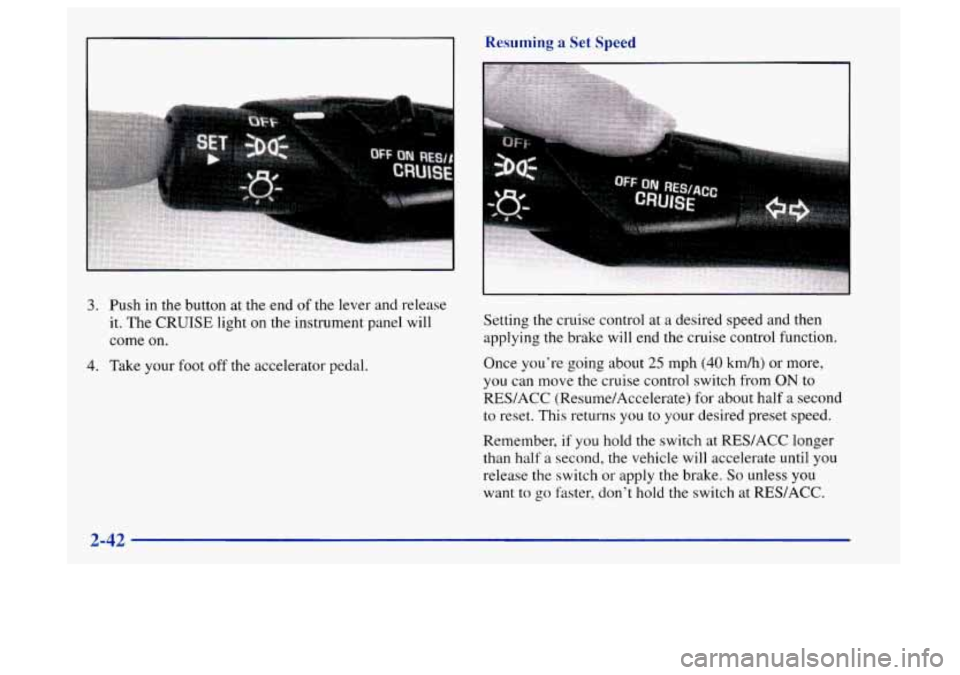
3. Push in the button at the end of the lever and release
it. The CRUISE light on the instrument panel will
come
on.
4. Take your foot off the accelerator pedal.
Resuming a Set Speed
Setting the cruise control at a desired speed and then
applying the brake will end the cruise control function.
Once you’re going about
25 mph (40 km/h) or more,
you can move the cruise control switch from ON to
REWACC (Resume/Accelerate) for about half
a second
to reset. This returns
you to your desired preset speed.
Remember, if
you hold the switch at RES/ACC longer
than half a second, the vehicle will accelerate until you
release the switch
or apply the brake. So unless you
want to
go faster, don’t hold the switch at REWACC.
2-42
Page 100 of 404
Lamps
Headlamps
See “Turn Signal/Multifunction Lever” in the Index.
Daytime Running Lamps
Daytime Running Lamps (DRL) can make it easier for
others to see the front
of your vehicle during the day.
DRL can be helpful in many different driving
conditions, but they can be especially helpful in the
short periods after dawn and before sunset.
A light sensor on top of the instrument panel makes the
DRL work,
so be sure it isn’t covered.
The DRL system will make your low-beam headlamps
come on at reduced brightness in daylight when:
0 The ignition is on,
0 The headlamp switch is off and
0 The transaxle is not in PARK (P).
When DRL are
on, only your low-beam headlamps will
be on. The parking lamps, taillamps, sidemarker and
other lamps won’t be
on. Your instrument panel won’t
be lit up either. When it’s
dark enough outside, your low-beam
headlamps will change to full brightness. The other
lamps that come on with your headlamps will also come
on. When it’s bright enough outside, the regular lamps
will
go off, and your low-beam headlamps change to the
reduced brightness of DRL.
To idle your vehicle with the DRL off, shift the
transaxle into PARK
(P). The DRL will stay off until
you shift out of PARK
(P).
To turn off all exterior lighting at night when you are in
PARK (P), turn off the headlamps and move the twilight
sentinel control, located to the left
of the steering
column, all
the way toward MIN. See “Twilight
Sentinel” in
the Index.
As with any vehicle, you should turn on the regular
headlamp system when you need
it.
2-44
Page 101 of 404
Fog Lamps
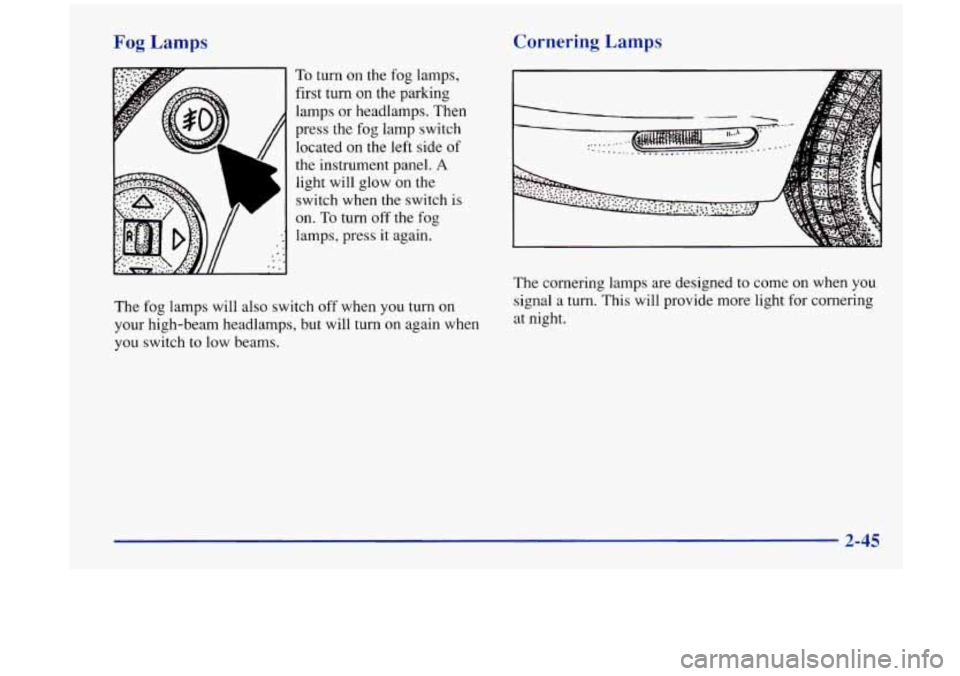
To turn on the fog lamps,
first turn on the parking
lamps
or headlamps. Then
press the fog lamp switch
located on the left side of
the instrument panel.
A
light will glow on the
switch when the switch
is
on. To turn off the fog
lamps, press it again.
The fog lamps will also switch
off when you turn on
your high-beam headlamps, but will turn on again when
you switch to low beams.
Cornering Lamps
The cornering lamps are designed to come on when you
signal a turn. This will provide more light for cornering
at night.
2-45
Page 102 of 404
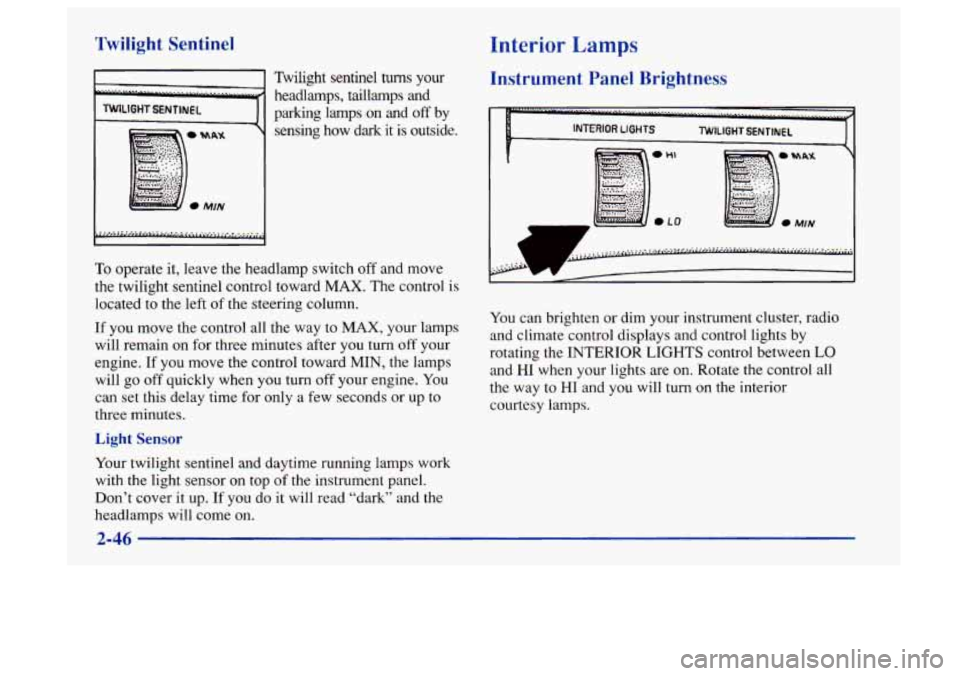
Twilight Sentinel
TWILIGHTSENTINEL I
Twilight sentinel hlms your
headlamps, taillamps and
parking lamps on and
off by
sensing how dark it
is outside.
To operate it, leave the headlamp switch off and move
the twilight sentinel control toward
MAX. The control is
located to the left of the steering column.
If you move the control all the way to MAX, your lamps
will remain on for three minutes after
you turn off your
engine. If
you move the control toward MIN, the lamps
will go off quickly when
you turn off your engine. You
can set this delay time for only a few seconds or up to
three minutes.
Light Sensor
Your twilight sentinel and daytime running lamps work
with the light sensor on top
of the instrument panel.
Don't cover
it up. If you do it will read "dark" and the
headlamps will come on.
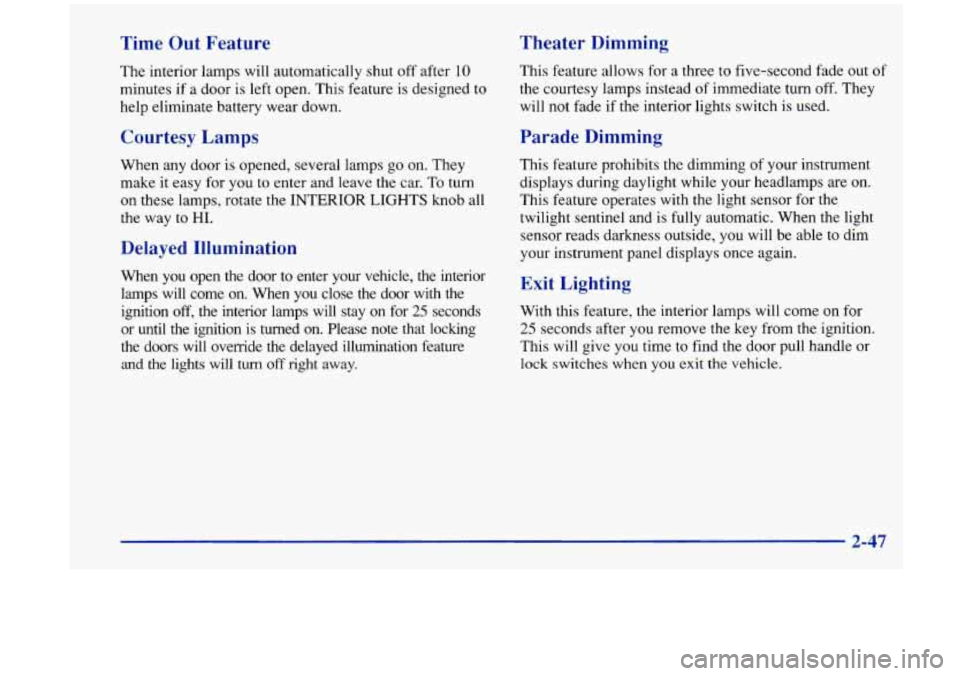
Interior Lamps
Instrument Panel Brightness
INTERIOR LIGHTS TWILIGHT SENTINEL
C A
You can brighten or dim your instrument cluster, radio
and climate control displays and control lights by
rotating the INTERIOR
LIGHTS control between LO
and HI when your lights are on. Rotate the control all
the way to HI and you will turn on the interior
courtesy lamps.
2-46
Page 103 of 404
Time Out Feature Theater Dimming
The interior
lamps will automatically shut off after 10
minutes if a door is left open. This feature is designed to
help eliminate battery wear down.
Courtesy Lamps
When any door is opened, several lamps go on. They
make it easy for you to enter and leave the car. To turn
on these lamps, rotate the
INTERIOR LIGHTS knob all
the way to
HI.
Delayed Illumination
When you open the door to enter your vehicle, the interior
lamps will come on. When you close the door with the
ignition
off, the interior lamps will stay on for 25 seconds
or until the ignition is turned on. Please note that locking
the doors will override the delayed illumination feature
and the lights will turn off right away. This feature allows for
a three to five-second fade out
of
the courtesy lamps instead of immediate turn off. They
will not fade if the interior lights switch
is used.
Parade Dimming
This feature prohibits the dimming of your instrument
displays during daylight while your headlamps are on.
This feature operates with the light sensor for
the
twilight sentinel and is fully automatic. When the light
sensor reads darkness outside, you will be able to dim
your instrument panel displays once again.
Exit Lighting
With this feature, the interior lamps will come on for
25 seconds after you remove the key from the ignition.
This will give you time to find the door pull handle or
lock switches when you exit the vehicle.
2-47
Page 109 of 404

2. Hold in the CAL switch (on the bottom of the mirror
housing) for five seconds until the current zone entry
number appears
on the display. To hold in the CAL
switch, insert a paper clip into the small hole on the
bottom of the mirror housing.
Repeatedly press the
CAL switch until the number
for the new zone entry is displayed.
Once the desired zone number is displayed, stop
pressing the CAL switch and the display will show
compass direction within a few seconds.
Power Remote Control Mirror
The controls on the far left
of the instrument panel
control both outside
rearview mirrors. Move the
center switch
to the left to
select the driver’s side
rearview mirror, or to the
right to select the
passenger’s side rearview mirror. Then
press the arrows to adjust each mirror
so that you
can just see the side of your vehicle when you are sitting
in
a comfortable driving position.
To lock the controls, leave
the selector switch in the
middle position.
When you operate the rear window defogger, a defogger
also warms the driver’s and passenger’s outside
rearview mirrors to help clear them of ice and snow.
Parallel Park Assist Mirror
The passenger’s outside rearview mirror also includes a
tilt-down feature that operates when the shift lever is in
reverse. This feature assists
the driver with improved
rear obstacle detection.
Move the power remote control mirror switch to the
left
(L) or center position to enable this feature. Move
the switch to the right (R) to turn this feature off.
Page 120 of 404

1 Instrument Panel
Page 121 of 404
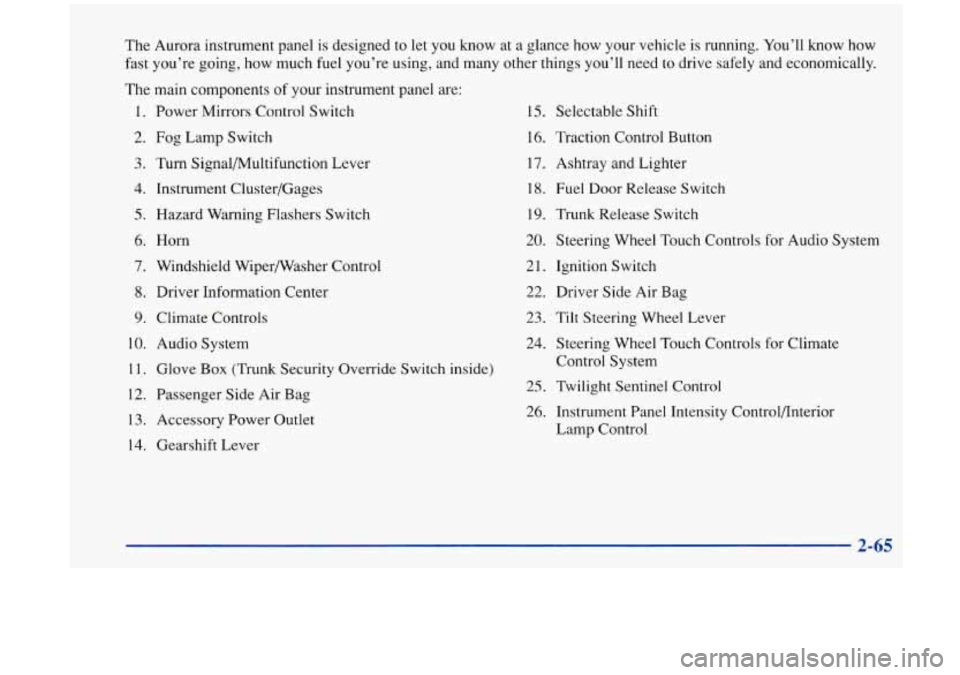
The Aurora instrument panel is designed to let you know at a glance how your vehicle is running. You’ll know how
fast you’re going, how much fuel you’re using, and many other things you’ll need to drive safely and economically.
The main components
of your instrument panel are:
1. Power Mirrors Control Switch
2.
Fog Lamp Switch
3. Turn Signal/Multifunction Lever
4. Instrument Cluster/Gages
5. Hazard Warning Flashers Switch
6.
Horn
7. Windshield Wipermasher Control
8. Driver Information Center
9. Climate Controls
10. Audio System
11. Glove Box (Trunk Security Override Switch inside)
12. Passenger Side Air Bag
13. Accessory Power Outlet
14. Gearshift Lever
15. Selectable Shift
16. Traction Control Button
17. Ashtray and Lighter
18. Fuel Door Release Switch
19. Trunk Release Switch
20. Steering Wheel Touch Controls for Audio System
21. Ignition Switch
22. Driver Side Air Bag
23. Tilt Steering Wheel Lever
24. Steering Wheel Touch Controls for Climate
Control System
25. Twilight Sentinel Control
26. Instrument Panel Intensity Control/Interior
Lamp Control
Page 122 of 404
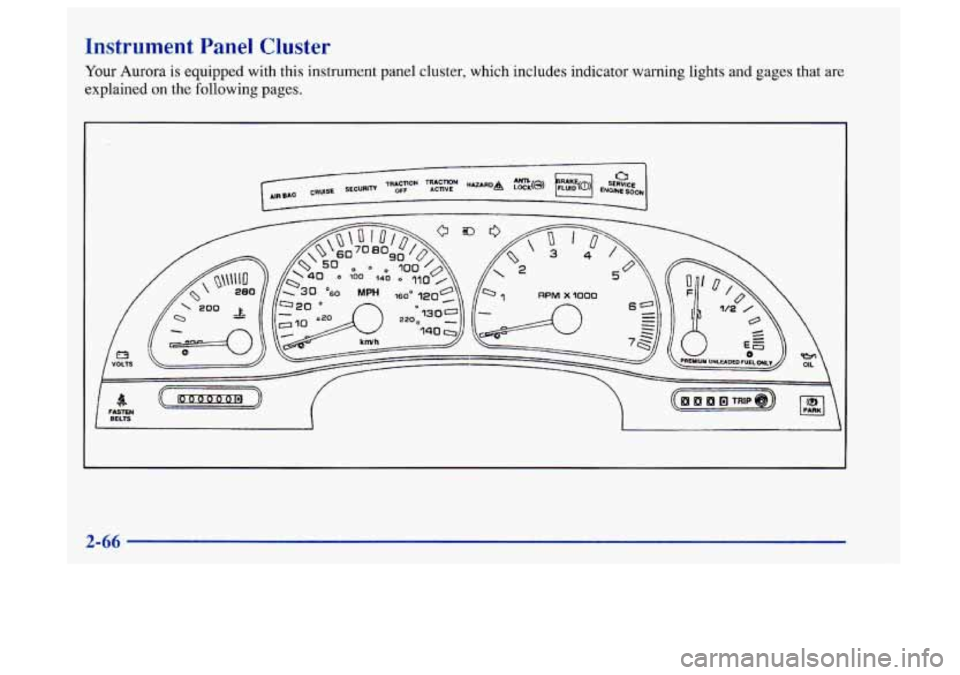
Instrument Panel Cluster
Your Aurora is equipped with this instrument panel cluster, which includes indicator warning lights and gages that are
explained on the following pages.
2-66