reset Oldsmobile Aurora 1997 s User Guide
[x] Cancel search | Manufacturer: OLDSMOBILE, Model Year: 1997, Model line: Aurora, Model: Oldsmobile Aurora 1997Pages: 404, PDF Size: 20.75 MB
Page 140 of 404
Distance to Destination
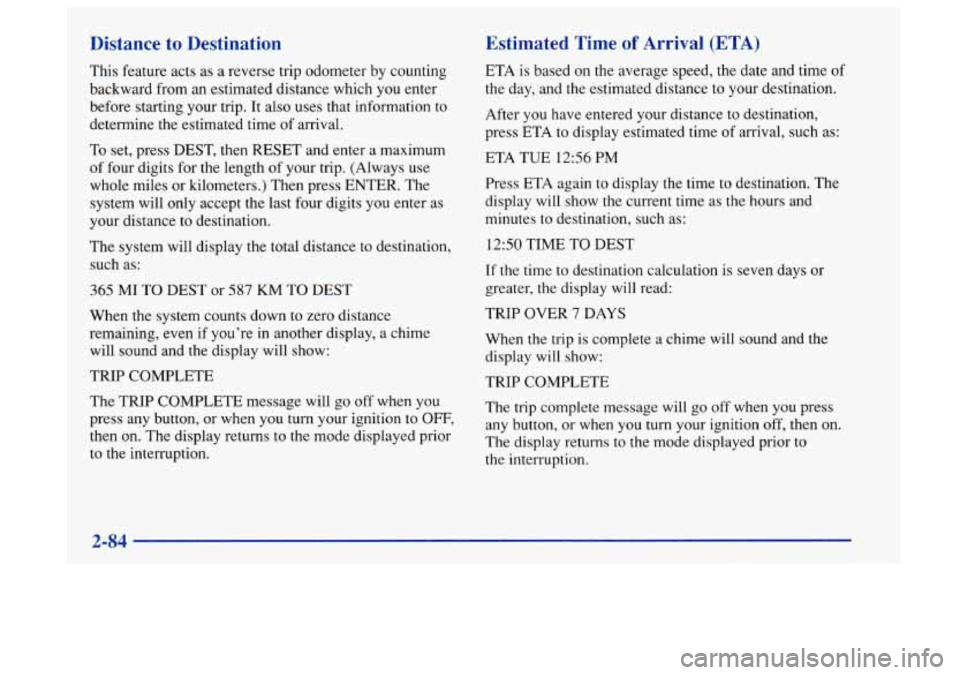
This feature acts as a reverse trip odometer by counting
backward from an estimated distance which you enter
before starting your trip. It also uses that information to
determine the estimated time
of arrival.
To set, press DEST, then RESET and enter a maximum
of four digits for the length of your trip. (Always use
whole miles or kilometers.) Then press ENTER. The
system will only accept the last four digits you enter as
your distance to destination.
The system will display the total distance to destination,
such as:
365 MI TO DEST or 587 KM TO DEST
When the system counts down to zero distance
remaining, even if you’re in another display, a chime
will sound and the display will show:
TRIP COMPLETE
The TRIP COMPLETE message will
go off when you
press any button, or when you turn your ignition to
OFF,
then on. The display returns to the mode displayed prior
to the interruption.
Estimated Time of Arrival (ETA)
ETA is based on the average speed, the date and time of
the day, and the estimated distance to your destination.
After you have entered your distance to destination,
press ETA to display estimated time of arrival, such as:
ETA TUE
1256 PM
Press ETA again
to display the time to destination. The
display will show the current time as the hours and
minutes to destination, such as:
1250 TIME TO DEST
If the time to destination calculation is seven days or
greater, the display will read:
TRIP OVER
7 DAYS
When the trip is complete a chime will sound and the
display will show:
TRIP COMPLETE
The trip complete message will
go off when you press
any button,
or when you turn your ignition off, then on.
The display returns to the mode displayed prior to
the interruption.
2-84
Page 141 of 404
Elapsed Time (ET)
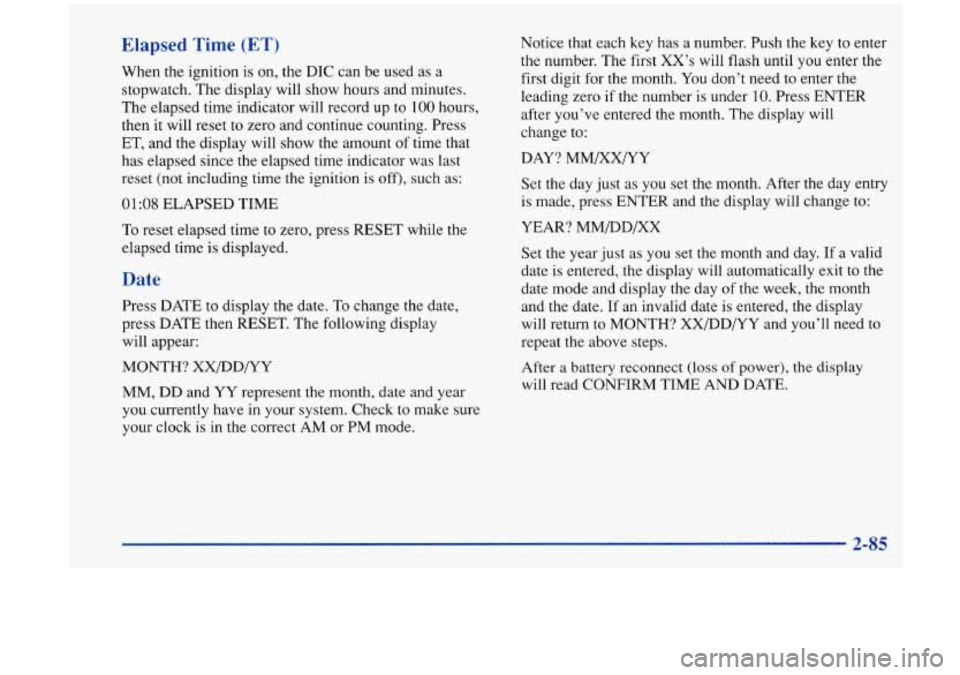
When the ignition is on, the DIC can be used as a
stopwatch. The display will show hours and minutes.
The elapsed time indicator will record up to
100 hours,
then it will reset to zero and continue counting. Press
ET, and the display will show the amount
of time that
has elapsed since the elapsed time indicator was last
reset (not including time
the ignition is off), such as:
01:08 ELAPSED TIME
To reset elapsed time to zero, press RESET while the
elapsed time is displayed.
Date
Press DATE to display the date. To change the date,
press DATE then RESET. The following display
will appear:
MONTH? XX/DD/YY
MM, DD and YY represent
the month, date and year
you currently have in your system. Check to make sure
your clock is in the correct AM or PM mode. Notice that each
key has a number. Push the key to enter
the number. The first XX’s will flash until you enter the
first digit for the month. You don’t need to enter the
leading zero if the number is under
10. Press ENTER
after you’ve entered the month. The display will
change to:
DAY? MM/XX/YY
Set the day just as you set the month. After the day entry
is made, press ENTER and the display will change to:
YEAR? MM/DD/XX
Set the year just as you set the month and day.
If a valid
date is entered, the display will automatically exit to the
date mode and display the day of the week, the month
and the date. If an invalid date is entered, the display
will return to MONTH? XX/DD/YY and you’ll need
to
repeat the above steps.
After
a battery reconnect (loss of power), the display
will read CONFIRM TIME AND DATE.
2-85
Page 156 of 404
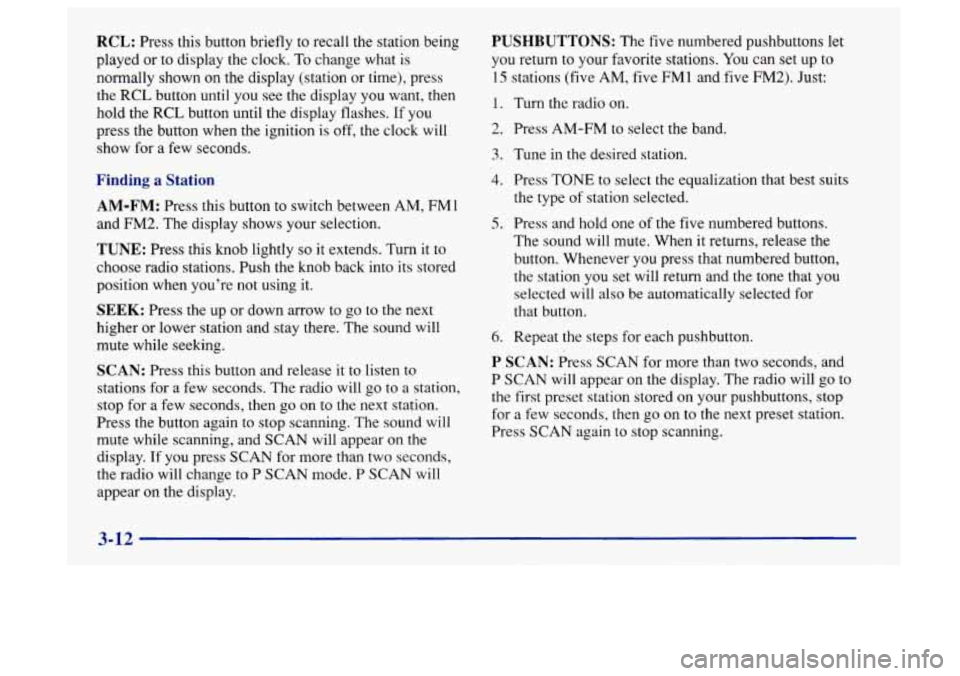
RCL: Press this button briefly to recall the station being
played or to display the clock.
To change what is
normally shown on the display (station or time), press
the
RCL button until you see the display you want, then
hold the RCL button until the display flashes. If you
press the button when the ignition is off,
the clock will
show for a few seconds.
Finding a Station
AM-FM: Press this button to switch between AM, FMl
and FM2. The display shows your selection.
TUNE: Press this knob lightly so it extends. Turn it to
choose radio stations. Push the knob back into its stored
position when you’re not using it.
SEEK: Press the up or down arrow to go to the next
higher or lower station and stay there. The sound will
mute while seeking.
SCAN: Press this button and release it to listen to
stations for a few seconds. The radio will go to a station,
stop for a few seconds, then
go on to the next station.
Press the button again to stop scanning. The sound will
mute while scanning, and SCAN will appear on the
display. If you press SCAN for more than two seconds,
the radio will change to P SCAN mode. P SCAN will
appear on the display.
PUSHBUTTONS: The five numbered pushbuttons let
you return
to your favorite stations. You can set up to
15 stations (five AM, five FM 1 and five FM2). Just:
1.
2.
3.
4.
5.
6.
Turn the radio on.
Press AM-FM to select the band.
Tune in the desired station. Press
TONE to select the equalization that best suits
the type
of station selected.
Press and hold one of the five numbered buttons.
The sound will mute, When
it returns, release the
button. Whenever you press that numbered button,
the station you set will return and the tone that you
selected
will also be automatically selected for
that button.
Repeat the steps for each pushbutton.
P SCAN: Press SCAN for more than two seconds, and
P SCAN will appear on the display. The radio will go to
the first preset station stored on your pushbuttons, stop
for a few seconds, then
go on to the next preset station.
Press SCAN again to stop scanning.
3-12
Page 157 of 404
Setting the Tone
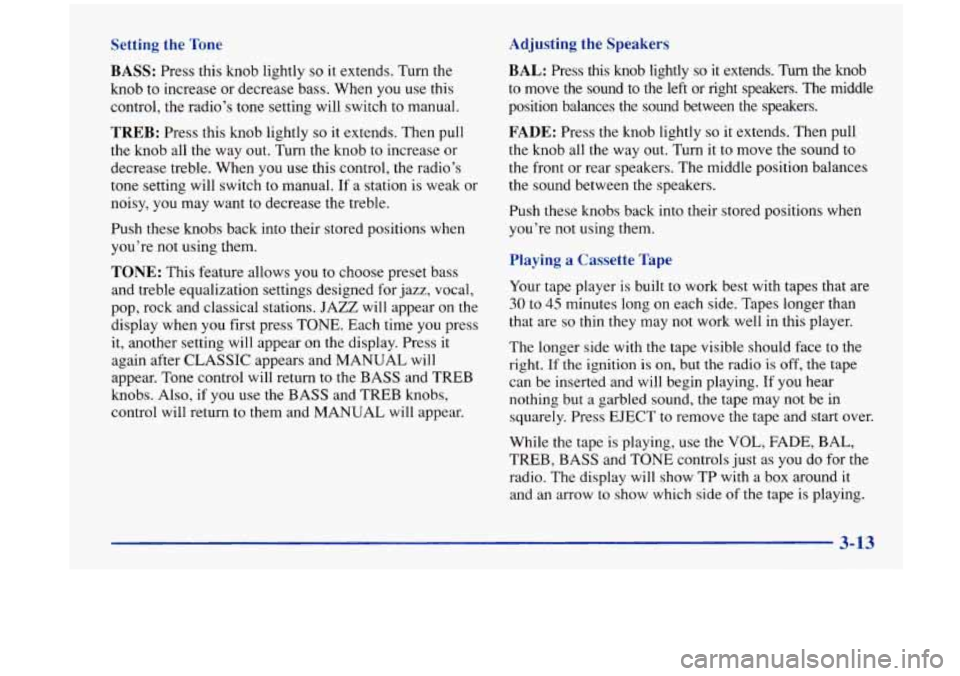
BASS:
Press this knob lightly so it extends. Turn the
knob
to increase or decrease bass. When you use this
control, the radio’s tone setting will switch to manual.
TREB: Press this knob lightly so it extends. Then pull
the knob all the way out. Turn the knob to increase or
decrease treble. When you use this control, the radio’s
tone setting will switch to manual. If a station is weak or
noisy, you may want to decrease the treble.
Push these knobs back into their stored positions when
you’re not using them.
TONE: This feature allows you to choose preset bass
and treble equalization settings designed for jazz, vocal,
pop, rock and classical stations. JAZZ will appear on the
display when you first press TONE. Each time you press
it, another setting will appear on the display. Press it
again after CLASSIC appears and MANUAL will
appear. Tone control will return to the BASS and TREB
knobs. Also, if you use the
BASS and TREB knobs,
control will return to them and MANUAL will appear.
Adjusting the Speakers
BAL:
Press this knob lightly so it extends. Turn the knob
to move
the sound to the left or right speakers. The middle
position balances the sound between the speakers.
FADE: Press the knob lightly so it extends. Then pull
the knob all
the way out. Turn it to move the sound to
the front or rear speakers. The middle position balances
the sound between the speakers.
Push these knobs back into their stored positions when
you’re not using them.
Playing a Cassette Tape
Your tape player is built to work best with tapes that are
30 to 45 minutes long on each side. Tapes longer than
that are
so thin they may not work well in this player.
The longer side with the tape visible should face to the
right.
If the ignition is on, but the radio is off, the tape
can be inserted and will begin playing. If you hear
nothing but a garbled sound, the tape may not be in
squarely. Press EJECT to remove the tape and start over.
While the tape is playing, use the VOL, FADE, BAL,
TREB, BASS and TONE controls just
as you do for the
radio. The display will show TP with a box around it
and an arrow to show which side of the tape
is playing.
3-13
Page 159 of 404
while scanning, SCAN will appear on the display and
the tape direction arrow will blink while scanning.
AM-FM: Press this button to play the radio when a tape
is
in the player. The tape will stop but remain in the player.
TAPE-CD: Press this button if you have a disc loaded
in the CD player and the radio is playing, to play a
compact disc. Press AM-FM to return
to the radio when
a compact disc is playing. Press TAPE-CD
to switch
between the tape and compact disc
if both are loaded.
The inactive tape or CD will remain safely inside the
radio for future listening.
EJECT: Press this button to remove the tape. The radio
will play. EJECT may be activated with either the
ignition or radio off. Cassettes may be loaded with the
radio and ignition off if this button is pressed first. If
you leave a cassette tape in the player while listening to
the radio, it may become warm.
CLN: If this message appears on the display, the
cassette tape player needs to be cleaned. It will still play
tapes, but you should clean
it as soon as possible to
prevent damage to the tapes and player. See “Care of
Your Cassette Tape Player” in the Index. After you clean
the player, press and hold
EJECT for five seconds to
reset the CLN indicator. The radio will display
--- to
show the indicator was reset.
Playing a Compact Disc
The CD player will play either normal-size discs or the
smaller
8 cm discs with an adapter.
With the ignition on, insert a disc partway into the slot,
label side up. The player will pull it in and the disc
should begin playing.
Note that when the disc is inserted, CD will be
displayed. When the disc
is playing, a box will appear
around CD on the display.
If you select a tone setting for
your CD, it will be activated each time you play
a CD.
As each new track starts to play, the track number will
appear in the display.
If E (error) and a number appear on
the radio display
and the disc comes out, it could be that:
The road is too rough. The disc should play when the
road is smoother.
The disc is dirty, scratched, wet or upside down.
The air is very humid. If so, wait about an hour and
try again.
If any error occurs repeatedly or if an error can’t be
corrected, please contact your retailer.
If your radio
displays an error number, write it down and provide
it to
your retailer when reporting the problem.
Page 162 of 404

PUSHBUTTONS: The five numbered pushbuttons let
you return to your favorite stations. You can set up to
15 stations (five AM, five FM1 and five FM2). Just:
1. Turn the radio on.
2. Press AM-FM to select the band.
3. Tune in the desired station.
4. Press and hold one of the five numbered buttons. The
sound will mute, When it returns, release
the button.
Whenever
you press that numbered button, the station
you set will return.
5. Repeat the steps for each pushbutton.
P SCAN: Press SCAN for more than two seconds, and
P SCAN will appear on the display. The radio will go to
the first preset station stored on your pushbuttons, stop
for a few seconds, then
go on to the next preset station.
Press SCAN again to stop scanning.
Setting the Tone
BASS:
Press this knob lightly so it extends. Turn the
knob to increase or decrease bass.
TREB: Press this knob lightly so it extends. Then pull
the knob all the way out. Turn the knob to increase or
decrease treble. If a station is weak or noisy, you may
want to decrease the treble.
Push these knobs back into their stored positions when
you’re not using them.
3-18
Page 164 of 404
FWD (2): Press this button to advance quickly to
another part
of the tape. Press the button again to return
to playing speed. The radio will play the last-selected
station while the tape advances. You may select stations
during
FWD operation by using TUNE.
PROG (3): Press this button to play the other side
of the tape.
00 (4): Press this button to reduce background noise.
Note that the double-D symbol will appear on the display.
Dolby@ Noise Reduction is manufactured under a
license from Dolby Laboratories Licensing Corporation.
Dolby and the double-D symbol are trademarks of
Dolby Laboratories Licensing Corporation.
SEEK: Press the up or down arrow to search for the
next or previous selection on the tape. Your tape must
have at least three seconds of silence between each
selection for
SEEK to work.
SCAN: Press this button to listen to each selection for a
few seconds. The tape will go to the next selection, stop
for a few seconds, then go on to the next selection. Press
this button again to stop scanning. The sound will mute
while scanning, SCAN will appear on the display and
the tape direction arrow will blink while scanning.
AM-FM: Press this button to play the radio when a tape
is in the player. The tape will stop but remain in the player.
TAPE-CD: Press this button if you have a disc loaded
in the changer and the radio is playing, to play a
compact disc. Press
AM-FM to return to the radio when
a compact disc is playing. Press TAPE-CD to switch
between the tape and compact disc if both are loaded.
The inactive tape or CD will remain safely inside the
radio for future listening.
EJECT Press this button to remove the tape. The radio
will play. EJECT may be activated with either the
ignition or radio off. Cassettes may be loaded with the
radio and ignition off
if this button is pressed first. If
you leave a cassette tape in the player while listening to
the radio, it may become warm.
CLN: If this message appears on the display, the
cassette tape player needs
to be cleaned. It will still play
tapes, but you should clean it as soon as possible to
prevent damage to the tapes and player. See “Care of
Your Cassette Tape Player”
in the Index. After you clean
the player, press and hold EJECT for five seconds to
reset the CLN indicator. The radio will display
--- to
show the indicator was
reset.
3-20
Page 172 of 404
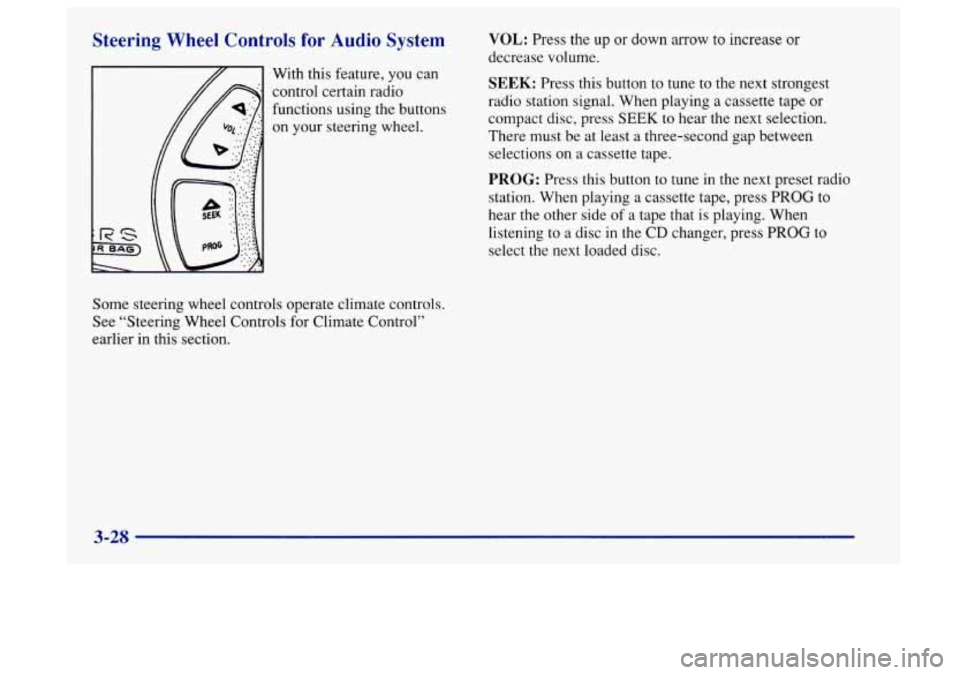
Steering Wheel Controls for Audio System
With this feature, you can
control certain radio
functions using the buttons
on your steering wheel.
VOL: Press the up or down arrow to increase or
decrease volume.
SEEK: Press this button to tune to the next strongest
radio station signal. When playing a cassette tape
or
compact disc, press SEEK to hear the next selection.
There must be at least a three-second gap between
selections on a cassette tape.
PROG: Press this button to tune in the next preset radio
station. When playing a cassette tape, press
PROG to
hear the other side
of a tape that is playing. When
listening to a disc
in the CD changer, press PROG to
select the next loaded disc.
Some steering wheel controls operate climate controls.
See “Steering Wheel Controls for Climate Control”
earlier in this section.
3-28
Page 174 of 404
Care of Your Cassette Tape Player
A tape player that is not cleaned regularly can cause
reduced sound quality, ruined cassettes or a damaged
mechanism. Cassette tapes should be stored in their
cases away from contaminants, direct sunlight and
extreme heat. If they aren’t, they may not operate
properly
or may cause failure of the tape player.
Your tape player should be cleaned regularly after every
50 hours of use. Your radio may display CLN to indicate
that you have used your tape player for
50 hours without
resetting the tape clean timer.
If this message appears on
the display, your cassette tape player needs to be
cleaned.
It will still play tapes, but you should clean it as
soon as possible to prevent damage to your tapes and
player.
If you notice a reduction in sound quality, try a
known good cassette to see if it is the tape or the tape
player at fault. If this other cassette has no improvement
in sound quality, clean the tape player.
Cleaning may be done with a scrubbing action,
non-abrasive cleaning cassette with pads which scrub
the tape head as the hubs of the cleaner cassette
turn.
You may also choose a non-scrubbing action, wet-type
cleaner which uses a cassette with a fabric belt to clean
the tape head. This type of cleaning cassette may not
clean as thoroughly as the scrubbing type cleaner.
After you clean the player, press and hold
EJECT for
five seconds to reset the CLN indicator. The radio will
display
--- to show the indicator was reset.
Cassettes are subject to wear and the sound quality may
degrade over time. Always make sure that the cassette
tape is in good condition before you have your tape
player serviced.
Care of Your Compact Discs
Handle discs carefully. Store them in their original cases
or other protective cases and away from direct sunlight
and dust.
If the surface of a disc is soiled, dampen a
clean, soft cloth
in a mild, neutral detergent solution and
clean it, wiping from the center to the edge.
Be sure never to touch the signal surface when handling
discs. Pick up discs by grasping the outer edges or the
edge
of the hole and the outer edge.
3-30
Page 230 of 404
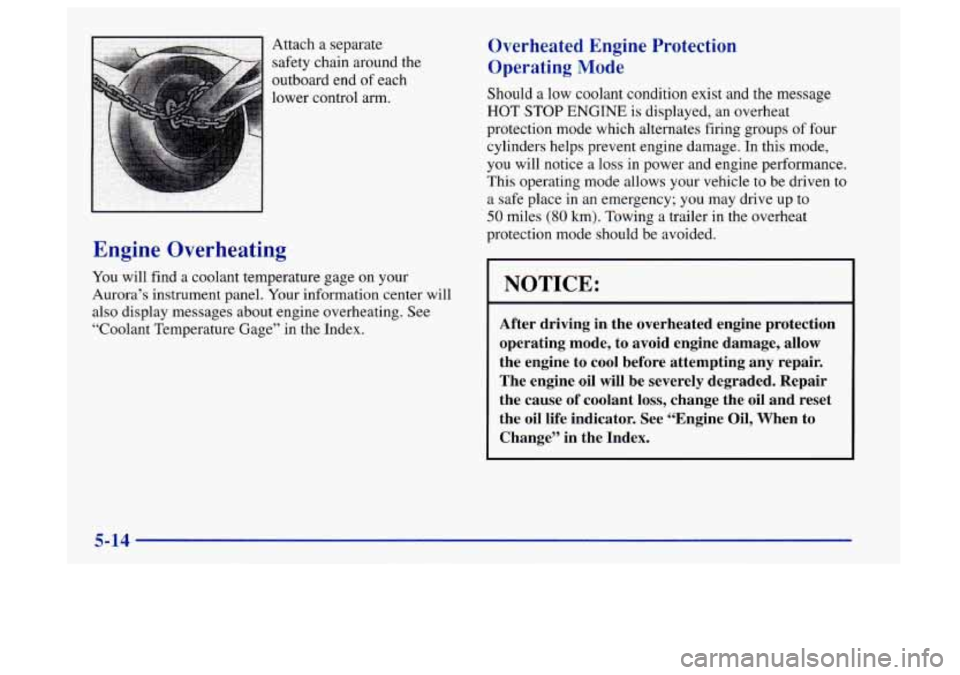
Attach a separate
safety chain around the
outboard end of each
lower control arm.
Engine Overheating
You will find a coolant temperature gage on your
Aurora’s instrument panel. Your information center will
also display messages about engine overheating. See
“Coolant Temperature Gage” in the Index.
Overheated Engine Protection
Operating Mode
Should a low coolant condition exist and the message
HOT STOP ENGINE is displayed, an overheat
protection mode which alternates firing groups of four
cylinders helps prevent engine damage. In this mode,
you will notice a
loss in power and engine performance.
This operating mode allows your vehicle to be driven to
a safe place in an emergency; you may drive up to
50 miles (80 km). Towing a trailer in the overheat
protection mode should be avoided.
I NOTICE:
~ After driving in the overheated engine protection
operating mode, to avoid engine damage, allow
the engine to cool before attempting any repair.
The engine oil will be severely degraded. Repair
the cause of coolant loss, change the oil and reset
the oil life indicator. See “Engine Oil, When to
Change” in the Index.
5-14