steering Oldsmobile Aurora 1998 s User Guide
[x] Cancel search | Manufacturer: OLDSMOBILE, Model Year: 1998, Model line: Aurora, Model: Oldsmobile Aurora 1998Pages: 380, PDF Size: 19.75 MB
Page 104 of 380
Windshield Wipers
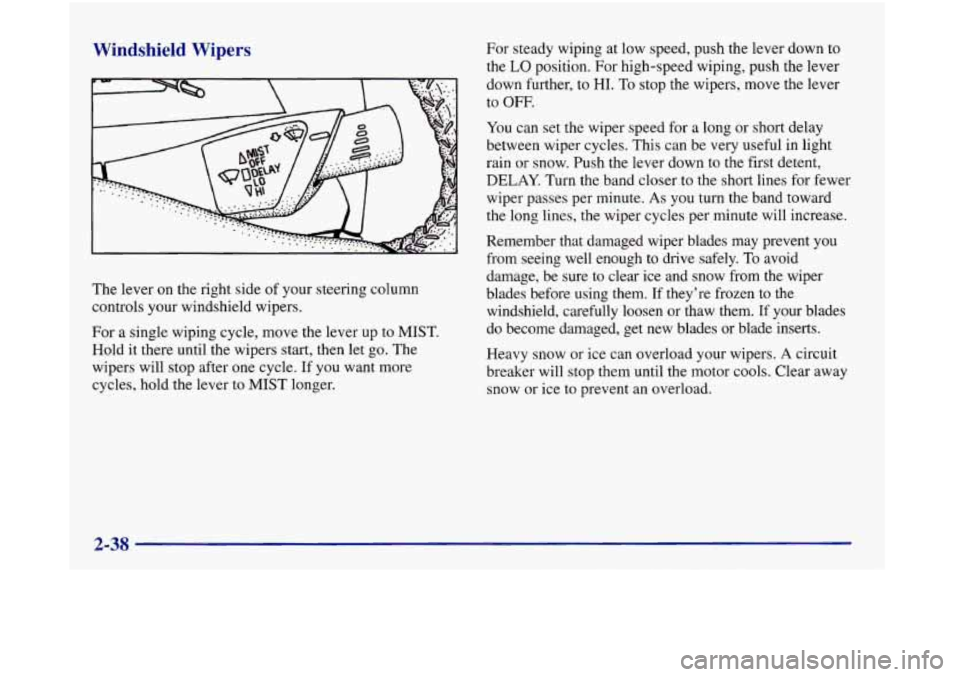
The lever on the right side of your steering column
controls your windshield wipers.
For a single wiping cycle, move the lever up to
MIST.
Hold it there until the wipers start, then let go. The
wipers will stop after one cycle.
If you want more
cycles, hold the lever to
MIST longer. For steady wiping at low speed, push the lever down
to
the
LO position. For high-speed wiping, push the lever
down further, to HI.
To stop the wipers, move the lever
to OFF.
You can set the wiper speed for a long or short delay
between wiper cycles. This can be very useful in light
rain
or snow. Push the lever down to the first detent,
DELAY. Turn the band closer to the short lines for fewer
wiper passes per minute.
As you turn the band toward
the long lines, the wiper cycles per minute will increase.
Remember that damaged wiper blades may prevent you
from seeing well enough to drive safely. To avoid
damage, be sure to clear ice and snow from the wiper
blades before using them.
If they’re frozen to the
windshield, carefully loosen or thaw them. If your blades
do become damaged, get new blades or blade inserts.
Heavy snow or ice can overload your wipers.
A circuit
breaker will stop them until the motor cools. Clear away
snow or ice to prevent an overload.
2-38
Page 105 of 380
Windshield Washer Cruise Control
The
lever on the right side of your steering column also
controls your windshield washer. To spray washer fluid
on the windshield, pull the lever toward
you. The wipers
will clear the window and then either stop or return to
your preset speed. For more washer cycles, pull and
hold the lever.
If the fluid level in the windshield washer bottle is low,
the message LOW WASHER
FLUID will appear in the
Driver Information Center. See “Windshield Washer
Fluid” in the Index.
In freezing weather, don’t use your washer until
the windshield is warmed. Otherwise the washer
fluid can form ice on the windshield, blocking
your vision.
With cruise control, you can maintain a speed of about
25 mph (40 km/h) or more without keeping your foot
on the accelerator. This can really help on long trips.
Cruise control does not work at speeds below about
25 mph (40 ludh).
When you apply your brakes, the cruise control
shuts
off.
Cruise control can be dangerous where you
can’t drive safely at
a steady speed. So,
don’t use your cruise control on winding
roads or in heavy traffic.
slippery roads. On such roads, fast changes
in tire traction can cause needless wheel
spinning, and you could lose control. Don’t
use cruise control on slippery roads.
Cruise control can be dangerous on
Page 109 of 380
A light sensor on top of the instrument panel makes the
DRL work,
so be sure it isn’t covered.
The DRL system will make your low-beam headlamps
come on at reduced brightness in daylight when:
The ignition is on,
0 The headlamp switch is off and
The transaxle is not in PARK (P).
When DRL are on, only your low-beam headlamps will
be on. The parking lamps, taillamps, sidemarker and
other lamps won’t be on. Your instrument panel won’t
be lit up either.
When it’s dark enough outside, your low-beam
headlamps will change to full brightness. The other
lamps that come
on with your headlamps will also come
on. When it’s bright enough outside, the regular lamps
will go off, and your low-beam headlamps change
to
the reduced brightness of DRL.
To idle your vehicle with the DRL off, shift the
transaxle into PARK (P). The DIU will stay off until
you shift out of PARK
(P).
To turn off all exterior lighting at night when you are
in PARK (P), turn off the headlamps and move the
twilight sentinel control, located to the left of the
steering column, all the way toward
MIN. See “Twilight
Sentinel” in the Index.
As with any vehicle, you should turn on the regular
headlamp system when you need it.
Fog Lamps
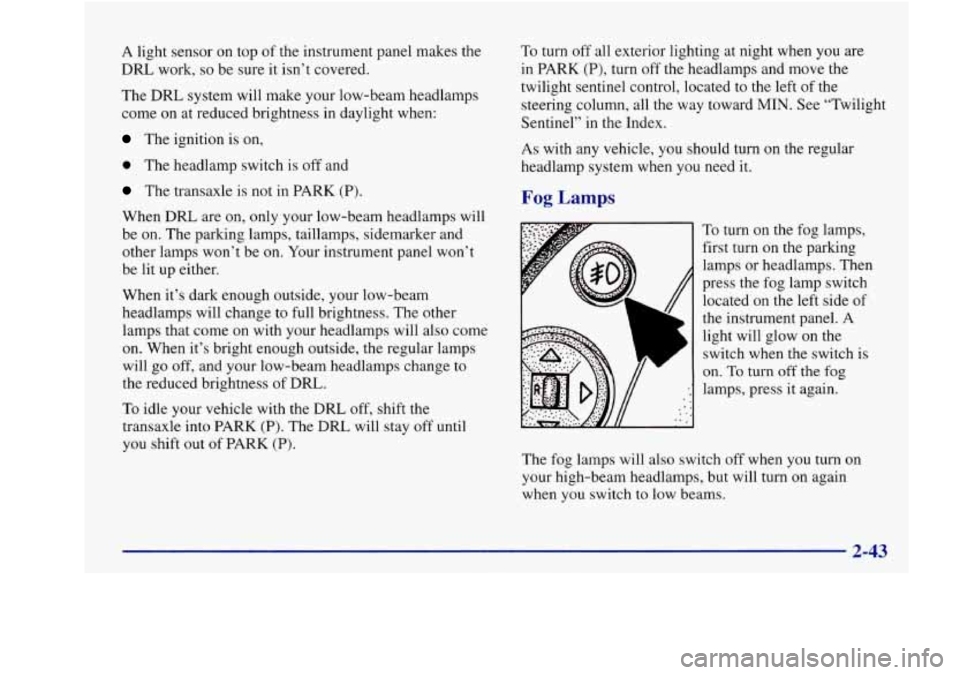
To turn on the fog lamps,
first turn on the parking
lamps or headlamps. Then
press the fog lamp switch
located
on the left side of
the instrument panel. A
light will glow on the
switch when the switch is
on.
To turn off the fog
lamps, press it again.
The fog lamps will
also switch off when you turn on
your high-beam headlamps, but will turn on again
when you switch to low beams.
Page 110 of 380
Cornering Lamps
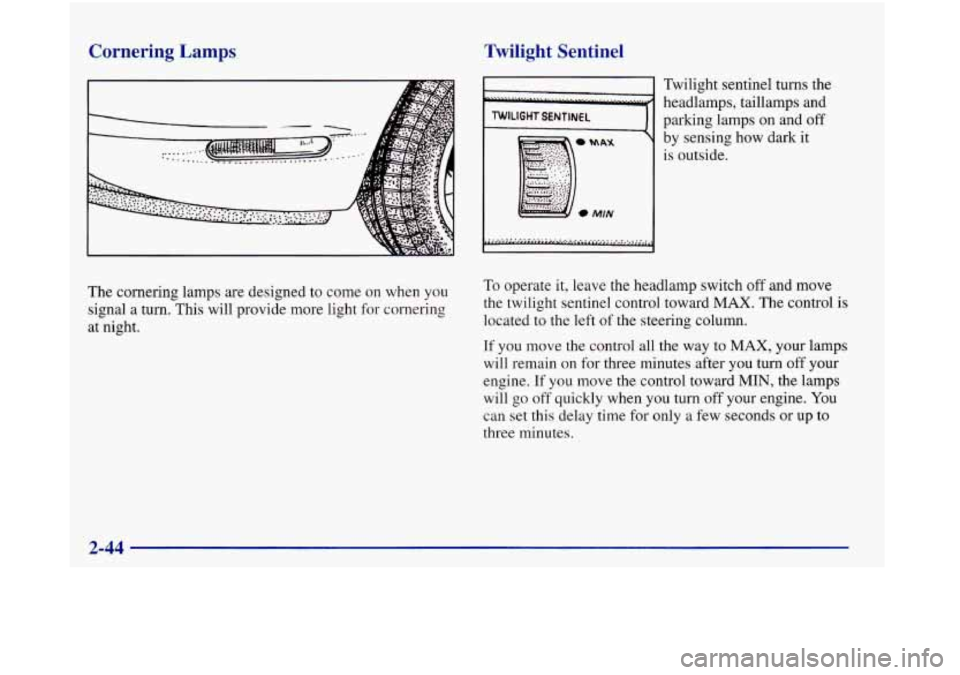
The cornering lamps are designed to come on when you
signal a turn. This will provide more light for cornering
at night.
Twilight Sentinel
Twilight sentinel turns the
headlamps, taillamps and
TWILIGHT SfNTlNEL
II parking famps on and off
by sensing how dark it
is outside.
To operate it, leave the headlamp switch off and move
the twilight sentinel control toward MAX. The control is
located to the left of the steering column.
If you move the control all the way to MAX, your lamps
will remain on for three minutes after you turn
off your
engine. If you move the control toward MIN, the lamps
will go off quickly when you turn off your engine. You
can set this delay time for only a few seconds
or up to
three minutes.
Page 127 of 380
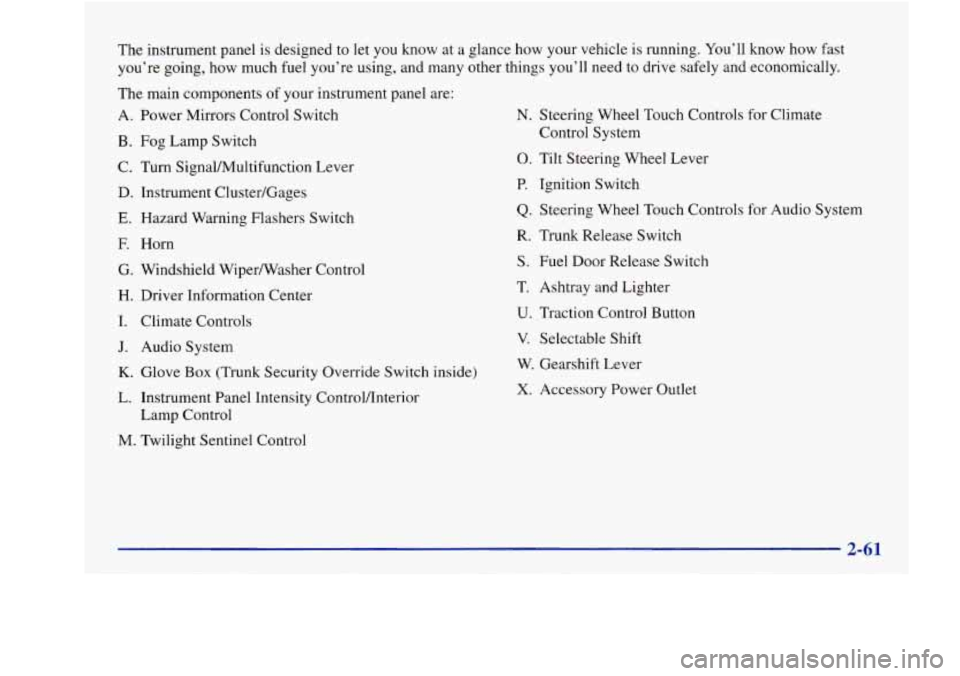
The instrument panel is designed to let you know at a glance how your vehicle is running. You’ll know how fast
you’re going, how much fuel you’re using, and many other things you’ll need to drive safely and economically.
The main components of your instrument panel are:
A. Power Mirrors Control Switch
B. Fog Lamp Switch
C. Turn SignalMultifunction Lever
D. Instrument Cluster/Gages
E. Hazard Warning Flashers Switch
E Horn
G. Windshield WiperNasher Control
H. Driver Information Center
I. Climate Controls
J. Audio System
K. Glove Box (Trunk Security Override Switch inside)
L. Instrument Panel Intensity ControVInterior
Lamp Control
M. Twilight Sentinel Control
N. Steering Wheel Touch Controls for Climate
Control System
0. Tilt Steering Wheel Lever
P. Ignition Switch
Q. Steering Wheel Touch Controls for Audio System
R. Trunk Release Switch
S. Fuel Door Release Switch
T. Ashtray and Lighter
U. Traction Control Button
V. Selectable Shift
W. Gearshift Lever
X. Accessory Power Outlet
Page 151 of 380
@ Section 3 Comfort Controls and Audio Systems
In this section, you’ll find out how to operate the comfort control and audio systems offered with your vehicle. Be
sure to read about the particular systems supplied with your vehicle.
3-2 3-2
3-6
3-7 3-7
3-9
3-9
3- 10
3-10
3-11
3-11
Comfort Controls
Automatic Electronic Climate Control
Air Conditioning
Heating Ventilation System
Defogging and Defrosting
Rear Window Defogger
Passenger Temperature Control Steering
Wheel Controls for Climate Control
Audio Systems Setting
the Clock 3-11
3-18
3-21
3-23 3 -24
3 -24
3-25
3-26
3-26
3-27 AM-FM
Stereo with Cassette Tape and
Compact Disc Player with Automatic
Tone Control
Trunk Mounted CD Changer (Option)
Theft-Deterrent Feature
Audio Steering Wheel Controls
Understanding Radio Reception
Tips About Your Audio System
Care of Your Cassette Tape Player
Care of Your Compact Discs
Care of Your Compact Disc Player
Power Antenna Mast Care
Page 160 of 380
L
NOTICE:
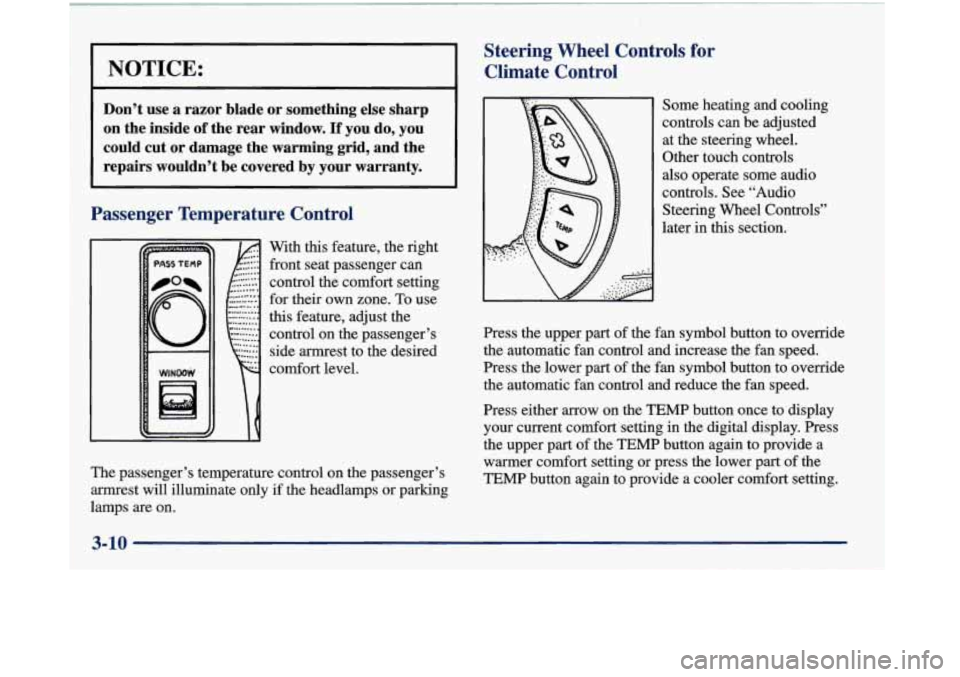
Steering Wheel Controls for Climate Control
Don’t use a razor blade or something else sharp
on the inside
of the rear window. If you do, you
could cut or damage the warming grid, and the repairs wouldn’t be covered by your warranty.
Passenger Temperature Control
With this feature, the right
front seat passenger can
control the comfort setting
for their own zone. To use
this feature, adjust the
control on the passenger’s
side armrest to the desired
comfort level.
The passenger’s temperature control on the passenger’s
armrest will illuminate only
if the headlamps or parking
lamps are on.
~ Some heating and cooling
controls can be adjusted
at the steering wheel.
Other touch controls
also operate some audio
controls. See “Audio
Steering Wheel Controls”
later in
this section.
Press the upper part of the fan symbol button to override
the automatic fan control and increase the fan speed.
Press the lower part of the fan symbol button to override
the automatic fan control and reduce the fan speed.
Press either arrow on the TEMP button once to display
your current comfort setting in the digital display. Press
the upper part of the
TEMP button again to provide a
warmer comfort setting or press the lower part
of the
TEMP button again to provide a cooler comfort setting.
3-10
Page 173 of 380
If you enter the wrong code eight times, INOP will
appear on the display. You will have to wait an hour
with the ignition on before
you can try again. When you
try again, you will only have three chances to enter the
correct code before INOP appears.
If you lose or forget your code, contact your retailer.
Disabling the Theft-Deterrent Feature
Enter your secret code as follows; pause no more than
15 seconds between steps:
I. Turn the ignition to ACCESSORY or RUN.
2. Turn the radio off.
3. Press the 1 and 4 buttons together. Hold them down
until SEC shows on the display.
4. Press MN and 000 will appear on the display.
5. Press MN again to make the last two digits agree
with your code.
6. Press HR to make the first one or two digits agree
with your code.
7. Press AM-FM after you have confirmed that the
code matches the secret code you have written down.
The display will show
---, indicating that the radio is
no longer secured. If
the code entered is incorrect,
SEC will appear on the
display. The radio will remain secured until the correct
code is entered.
When battery power is removed and later applied to
a
secured radio, the radio won’t turn on and LOC will
appear on the display.
To unlock a secured radio, see “Unlocking the
Theft-Deterrent Feature After a Power
Loss” earlier in
this section.
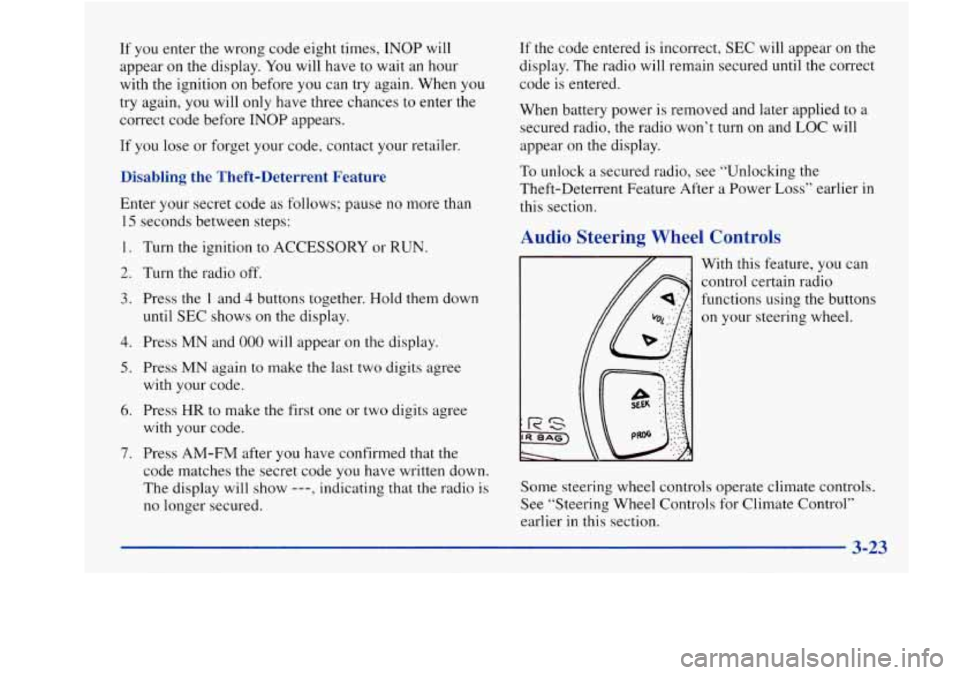
Audio Steering Wheel Controls
With this feature, you can
control certain radio
functions using the buttons
on your steering wheel.
Some steering wheel controls operate climate controls.
See “Steering-Wheel Controls for Climate Control”
earlier in
this section.
s 3-23
Page 179 of 380
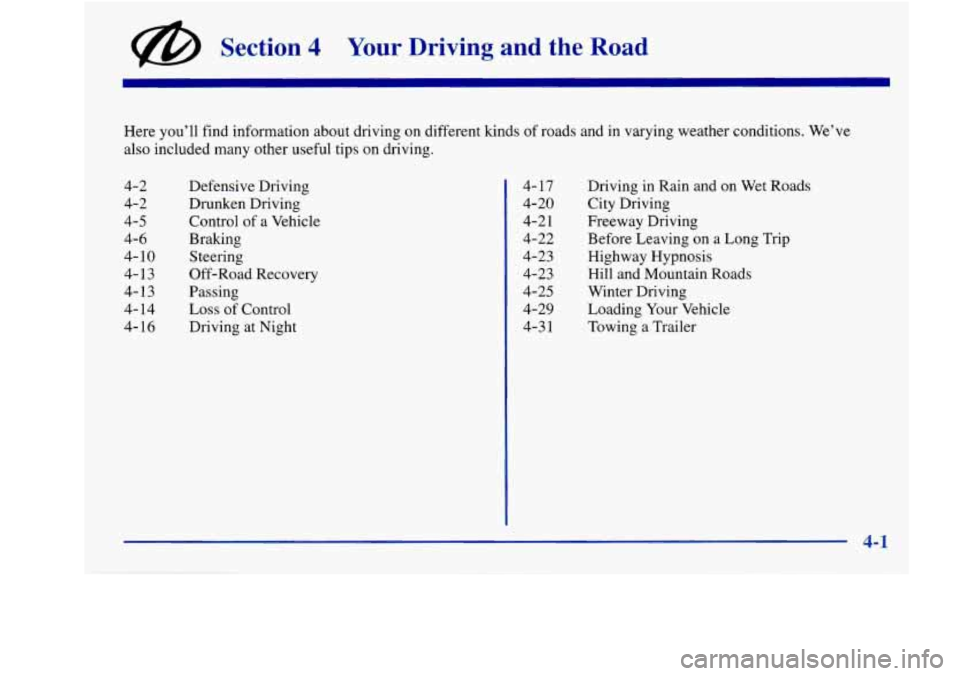
@ Section 4 Your Driving and the Road
Here you’ll find information about driving on different kinds of roads and in varying weather conditions. We’ve
also included many other useful tips on driving.
Driving in Rain and on Wet Roads
City Driving
Freeway Driving
Before Leaving on a Long Trip
Highway Hypnosis Hill and Mountain Roads
Winter Driving
Loading Your Vehicle
Towing a Trailer
4-2
4-2
4-5
4-6
4-
10
4-13
4-13
4- 14
4- 16 Defensive Driving
Drunken Driving
Control
of a Vehicle
Braking Steering
Off-Road Recovery
Passing
Loss of Control
Driving at Night 4-
17
4- 20
4-2 1
4-22
4-23
4-23
4-25
4-29 4-3 1
4-1
Page 183 of 380
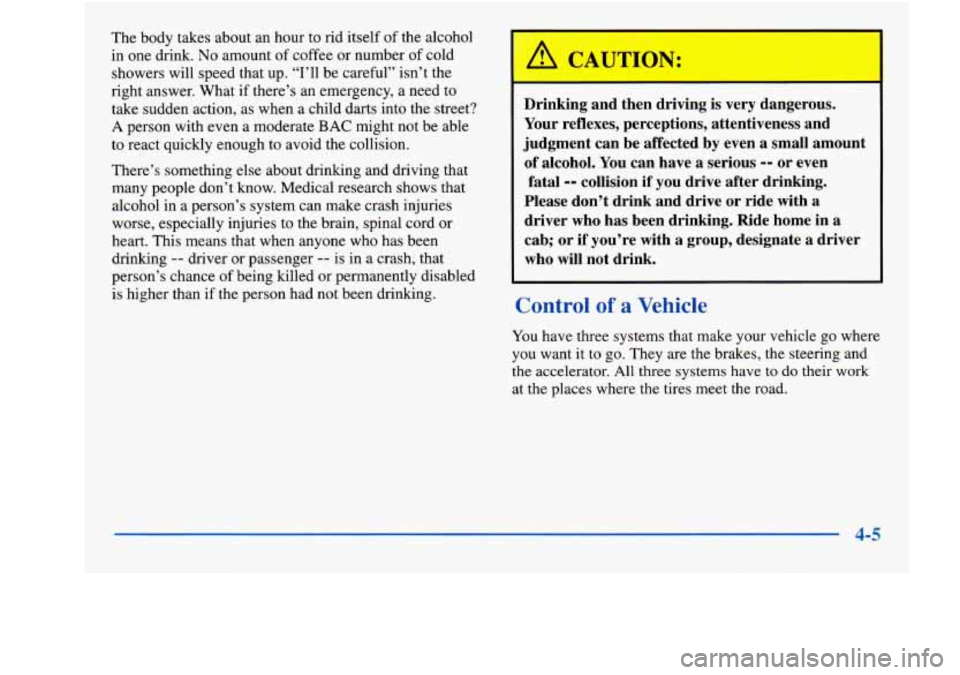
The body takes about an hour to rid itself of the alcohol
in one drink.
No amount of coffee or number of cold
showers will speed that up. “I’ll be careful” isn’t the
right answer. What if there’s an emergency, a need to
take sudden action, as when a child darts into the street?
A person with even a moderate BAC might not be able
to react quickly enough to avoid the collision.
There’s something else about drinking and driving that
many people don’t know. Medical research shows that
alcohol in a person’s system can make crash injuries
worse, especially injuries to the brain, spinal cord or
heart. This means that when anyone who has been
drinking
-- driver or passenger -- is in a crash, that
person’s chance of being killed or permanently disabled
is higher than if the person had not been drinking.
Drinking and then driving is very dangerous.
Your reflexes, perceptions, attentiveness and
judgment can be affected by even
a small amount
of alcohol. You can have
a serious -- or even
fatal
-- collision if you drive after drinking.
Please don’t drink and drive or ride with
a
driver who has been drinking. Ride home in a
cab; or
if you’re with a group, designate a driver
who will not drink.
~
Control of a Vehicle
You have three systems that make your vehicle go wher
you want it to go. They are the brakes, the steering and
the accelerator.
All three systems have to do their work
at the places where the tires meet the road.