steering wheel Oldsmobile Aurora 1998 s User Guide
[x] Cancel search | Manufacturer: OLDSMOBILE, Model Year: 1998, Model line: Aurora, Model: Oldsmobile Aurora 1998Pages: 380, PDF Size: 19.75 MB
Page 127 of 380
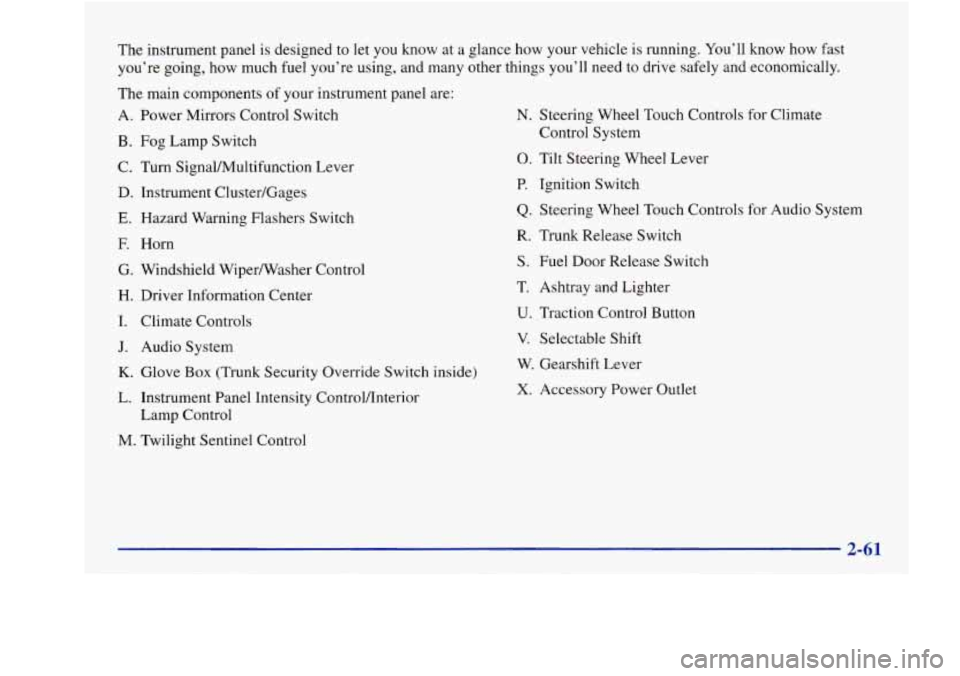
The instrument panel is designed to let you know at a glance how your vehicle is running. You’ll know how fast
you’re going, how much fuel you’re using, and many other things you’ll need to drive safely and economically.
The main components of your instrument panel are:
A. Power Mirrors Control Switch
B. Fog Lamp Switch
C. Turn SignalMultifunction Lever
D. Instrument Cluster/Gages
E. Hazard Warning Flashers Switch
E Horn
G. Windshield WiperNasher Control
H. Driver Information Center
I. Climate Controls
J. Audio System
K. Glove Box (Trunk Security Override Switch inside)
L. Instrument Panel Intensity ControVInterior
Lamp Control
M. Twilight Sentinel Control
N. Steering Wheel Touch Controls for Climate
Control System
0. Tilt Steering Wheel Lever
P. Ignition Switch
Q. Steering Wheel Touch Controls for Audio System
R. Trunk Release Switch
S. Fuel Door Release Switch
T. Ashtray and Lighter
U. Traction Control Button
V. Selectable Shift
W. Gearshift Lever
X. Accessory Power Outlet
Page 151 of 380
@ Section 3 Comfort Controls and Audio Systems
In this section, you’ll find out how to operate the comfort control and audio systems offered with your vehicle. Be
sure to read about the particular systems supplied with your vehicle.
3-2 3-2
3-6
3-7 3-7
3-9
3-9
3- 10
3-10
3-11
3-11
Comfort Controls
Automatic Electronic Climate Control
Air Conditioning
Heating Ventilation System
Defogging and Defrosting
Rear Window Defogger
Passenger Temperature Control Steering
Wheel Controls for Climate Control
Audio Systems Setting
the Clock 3-11
3-18
3-21
3-23 3 -24
3 -24
3-25
3-26
3-26
3-27 AM-FM
Stereo with Cassette Tape and
Compact Disc Player with Automatic
Tone Control
Trunk Mounted CD Changer (Option)
Theft-Deterrent Feature
Audio Steering Wheel Controls
Understanding Radio Reception
Tips About Your Audio System
Care of Your Cassette Tape Player
Care of Your Compact Discs
Care of Your Compact Disc Player
Power Antenna Mast Care
Page 160 of 380
L
NOTICE:
Steering Wheel Controls for Climate Control
Don’t use a razor blade or something else sharp
on the inside
of the rear window. If you do, you
could cut or damage the warming grid, and the repairs wouldn’t be covered by your warranty.
Passenger Temperature Control
With this feature, the right
front seat passenger can
control the comfort setting
for their own zone. To use
this feature, adjust the
control on the passenger’s
side armrest to the desired
comfort level.
The passenger’s temperature control on the passenger’s
armrest will illuminate only
if the headlamps or parking
lamps are on.
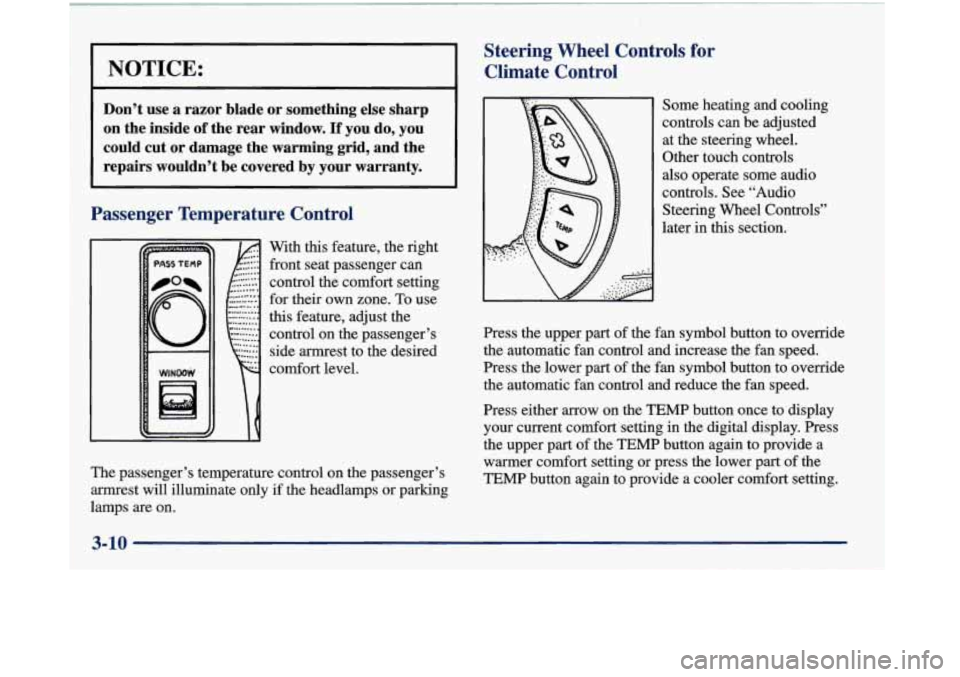
~ Some heating and cooling
controls can be adjusted
at the steering wheel.
Other touch controls
also operate some audio
controls. See “Audio
Steering Wheel Controls”
later in
this section.
Press the upper part of the fan symbol button to override
the automatic fan control and increase the fan speed.
Press the lower part of the fan symbol button to override
the automatic fan control and reduce the fan speed.
Press either arrow on the TEMP button once to display
your current comfort setting in the digital display. Press
the upper part of the
TEMP button again to provide a
warmer comfort setting or press the lower part
of the
TEMP button again to provide a cooler comfort setting.
3-10
Page 173 of 380
If you enter the wrong code eight times, INOP will
appear on the display. You will have to wait an hour
with the ignition on before
you can try again. When you
try again, you will only have three chances to enter the
correct code before INOP appears.
If you lose or forget your code, contact your retailer.
Disabling the Theft-Deterrent Feature
Enter your secret code as follows; pause no more than
15 seconds between steps:
I. Turn the ignition to ACCESSORY or RUN.
2. Turn the radio off.
3. Press the 1 and 4 buttons together. Hold them down
until SEC shows on the display.
4. Press MN and 000 will appear on the display.
5. Press MN again to make the last two digits agree
with your code.
6. Press HR to make the first one or two digits agree
with your code.
7. Press AM-FM after you have confirmed that the
code matches the secret code you have written down.
The display will show
---, indicating that the radio is
no longer secured. If
the code entered is incorrect,
SEC will appear on the
display. The radio will remain secured until the correct
code is entered.
When battery power is removed and later applied to
a
secured radio, the radio won’t turn on and LOC will
appear on the display.
To unlock a secured radio, see “Unlocking the
Theft-Deterrent Feature After a Power
Loss” earlier in
this section.
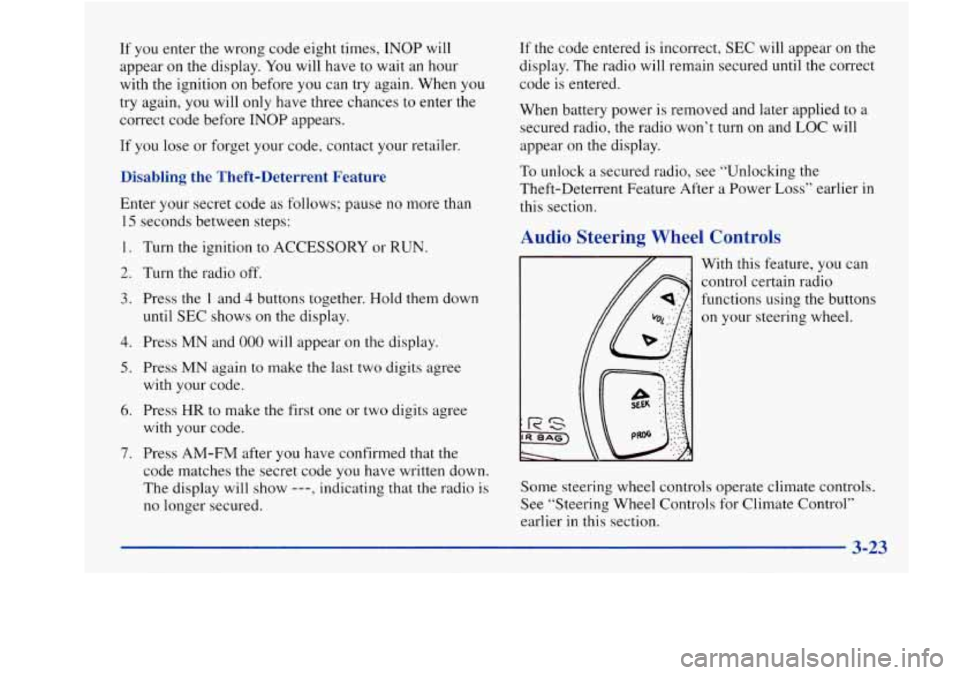
Audio Steering Wheel Controls
With this feature, you can
control certain radio
functions using the buttons
on your steering wheel.
Some steering wheel controls operate climate controls.
See “Steering-Wheel Controls for Climate Control”
earlier in
this section.
s 3-23
Page 188 of 380
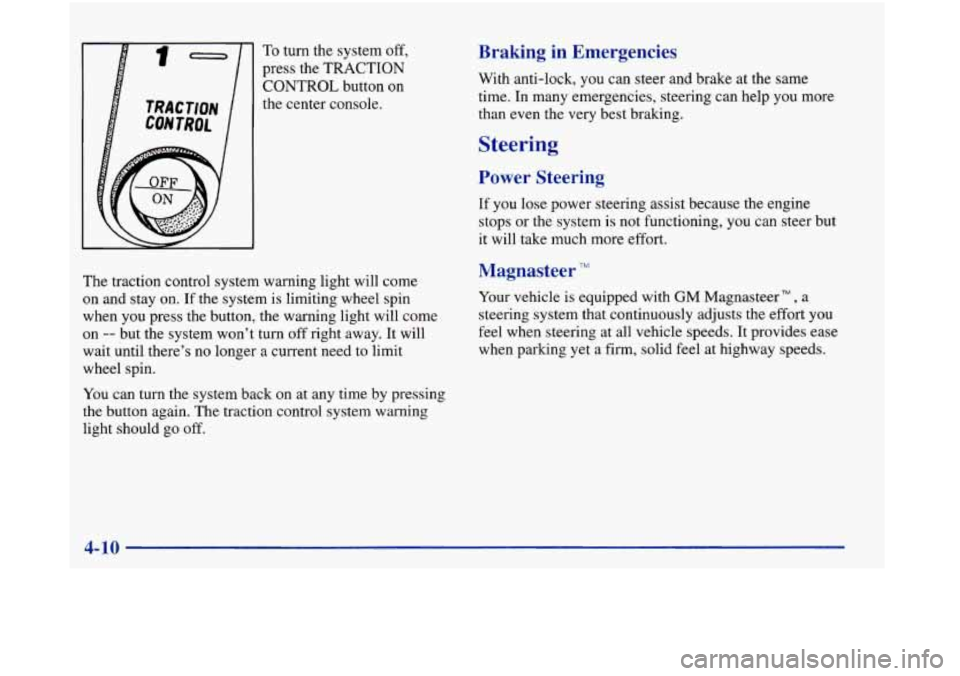
To turn the system off,
press the TRACTION
CONTROL button on
the center console.
Braking in Emergencies
With anti-lock, you can steer and brake at the same
time. In many emergencies, steering can help you more
than even the very best braking.
Steering
Power Steering
If you lose power steering assist because the engine
stops or the system is not functioning, you can steer but
it will take much more effort.
The traction control system warning light will come
on and stay on.
If the system is limiting wheel spin
when you press the button, the warning light will come
on
-- but the system won't turn off right away. It will
wait until there's no longer a current need to limit
wheel spin.
You can turn the system back on at any time by pressing
the button again. The traction control system warning
light should go off.
Magnasteer TM
Your vehicle is equipped with GM Magnasteer" , a
steering system that continuously adjusts the effort you
feel when steering at all vehicle speeds. It provides ease
when parking yet a firm, solid feel at highway speeds.
Page 189 of 380
Steering Tips
Driving on Curves
It’s important to take curves at a reasonable speed.
A lot of the “driver lost control” accidents mentioned on
the news happen on curves. Here’s why:
Experienced driver or beginner, each of us is subject to
the same laws of physics when driving on curves. The
traction of the tires against the road surface makes it
possible for the vehicle to change its path when you turn
the front wheels. If there’s no traction, inertia will keep
the vehicle going in the same direction. If you’ve ever
tried to steer
a vehicle on wet ice, you’ll understand this.
The traction you can get in a curve depends
on the
condition of your tires and the road surface, the angle at
which the curve is banked, and your speed. While you’re
in a curve, speed
is the one factor you can control. Suppose you’re steering through a sharp curve. Then
you
suddenly accelerate.
Both control systems -- steering and
acceleration -- have to do their work where the tires meet
the road. Adding the sudden acceleration can demand to!,
much of those places. You can lose control. Refer to
“Traction Control System” in the Index,
What should you
do if this ever happens? Ease up on
the accelerator pedal, steer the vehicle the way you
want it to go, and slow down.
Speed limit signs near curves warn that you shou1.d
adjust your speed. Of course, the posted speeds are
based on good weather and road conditions. Under
less favorable conditions you’ll want to
go slower.
If you need to reduce your speed as you approxh a
curve, do it before you enter the curve, while your
front wheels are straight ahead.
Try to adjust your speed
so you can “drive” through
the curve. Maintain a reasonable, steady speed.
Wait
to accelerate until you are out of the curve, and then
accelerate gently into the straightaway.
Page 190 of 380
Steering in Emergencies
There are times when steering can be more effective
than braking. For example, you come over a hill and
find a truck stopped in your lane, or a car suddenly
pulls out from nowhere, or a child darts out from
between parked cars and stops right in front of you.
You can avoid these problems by braking -- if you
can stop in time. But sometimes you can’t; there isn’t
room. That’s the time for evasive
action.-- steering
around the problem.
lour vehicle can perforhl v2vL%ell in emergencies like
these. First apply your brakes. (See “Braking in
Emergencies” earlier in this section.) It is better to
remove as much speed as you can from a possible
collision. Then steer around the problem, to the left or
right depending on the space available. An
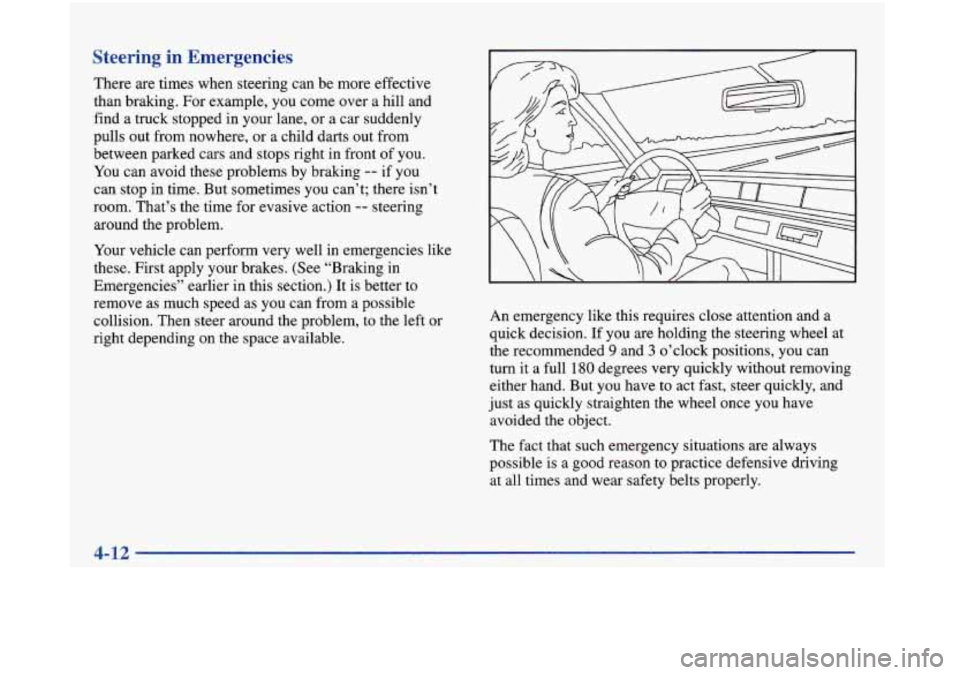
emergency like this requires close attention and a
quick decision.
If you are holding the steering wheel at
the recommended
9 and 3 o’clock positions, you can
turn it a full
180 degrees very quickly without removing
either hand. But you have to act fast, steer quickly, and
just as quickly straighten the wheel once you have
avoided the object.
The fact that such emergency situations are always
possible is a good reason to practice defensive driving
at all times and wear safety belts properly.
I
4-12
Page 191 of 380

Off-Road Recovery
You may find that your right wheels have dropped off the
edge
of a road onto the shoulder while you’re driving.
QUARTER TURN LEFT APPROX.
Passing
The driver of a vehicle about to pass another on a
two-lane highway waits for just the right moment,
accelerates, moves around the vehicle ahead, then goes
back into the right lane again.
A simple maneuver?
Not necessarily! Passing another vehicle on a two-lane
highway is a potentially dangerous move, since the
passing vehicle occupies the same lane
as oncoming
traffic for several seconds.
A miscalculation, an error in
judgment, or a brief surrender to frustration or anger
can suddenly put the passing driver face to face with the
worst of all traffic accidents
-- the head-on collision.
So here are some tips for passing:
0
If the level of the shoulder is only slightly below the
pavement, recovery should be fairly easy. Ease
off the
accelerator and then, if there is nothing in the way,
steer
so that your vehicle straddles the edge of the
pavement.
You can turn the steering wheel up to
one-quarter turn until the right front tire contacts the
pavement edge. Then turn your steering wheel to go
straight down the roadway.
0
“Drive ahead.” Look down the road, to the sides
and to crossroads for situations that might affect
your passing patterns. If you have any doubt
whatsoever about making a successful pass, wait
for a better time.
Watch for traffic signs, pavement markings and lines. If you can see a sign up ahead that might indicate a
turn or an intersection, delay your pass. A broken
center line usually indicates it’s all right to pass
(providing the road ahead is clear). Never cross a solid
line on your side of the lane or a double solid line,
even if the road seems empty
of approaching traffic.
4-13
-~
Page 193 of 380
Skidding
In a skid, a driver can lose control of the vel-ucle.
Defensive drivers avoid most skids by taking reasonable
care suited to existing conditions, and by not “overdriving”
those conditions. But skids
are always possible.
The three types of skids correspond to your vehicle’s
three control systems. In the braking skid, your wheels
aren’t rolling. In the steering or cornering skid, too
much speed or steering in a curve causes tires to slip
and lose cornering force. And in the acceleration skid,
too much throttle causes the driving wheels to spin.
A cornering skid is best handled by easing your foot off
the accelerator pedal.
Remember: Any traction control system helps avoid
only the acceleration skid.
If your traction control system is off, then an
acceleration skid is also best handled by easing your
foot off the accelerator pedal.
If your vehicle starts
to slide, ease your foot off the
accelerator pedal and quickly steer the way you want the vehicle to go.
If
you start steering quickly enough, your
vehicle may straighten out. Always be ready for a
second skid if it occurs.
Of course, traction is reduced when water, snow, ice,
gravel or other material
is on the road. For safety, you’ll
want to slow down and adjust your driving
to these
conditions. It is important to slow down on slippery
surfaces because stopping distance will be longer and
vehicle control more limited.
While driving on a surface with reduced traction, try
your best to avoid sudden steering, acceleration
or
braking (including engine braking by shifting to a
lower gear). Any sudden changes could cause the tires
to slide. You may not realize the surface is slippery until
your vehicle is skidding. Learn to recognize warning
clues
-- such as enough water, ice or packed snow on
the road to make a “mirrored surface”
-- and slow down
when you have any doubt.
Remember: Any anti-lock brake system (ABS) helps
avoid only the braking skid.
Page 213 of 380

Driving with a Trailer
Towing a trailer requires a certain amount of experience.
Before setting out for the open road, you’ll want to get
to know your rig. Acquaint yourself with the feel of
handling and braking with the added weight of the
trailer. And always keep in mind that the vehicle you are
driving is now a good deal longer and not nearly as
responsive
as your vehicle is by itself.
Before you start, check the trailer hitch and platform
(and attachments), safety chains, electrical connector,
lamps, tires and mirror adjustment. If the trailer has
electric brakes, start your vehicle and trailer moving and
then apply the trailer brake controller by hand to be sure
the brakes are working. This lets you check your
electrical connection at the same time.
During your trip, check occasionally to be sure that the
load is secure, and that the lamps and any trailer brakes
are still working.
Following Distance
Stay at least twice as far behind the vehicle ahead as you
would when driving your vehicle without a trailer. This
can help you avoid situations that require heavy braking
and sudden turns.
Passing
You’ll need more passing distance up ahead when
you’re towing a trailer. And, because you’re a good
deal longer, you’ll need to go much farther beyond the
passed vehicle before you can return
to your lane.
Backing Up
Hold the bottom of the steering wheel with one hand.
Then, to move the trailer to the left, just move that hand
to the left.
To move the trailer to the right, move your
hand to the right. Always back up slowly and, if
possible, have someone guide
you.
4-35