display OLDSMOBILE AURORA 2003 User Guide
[x] Cancel search | Manufacturer: OLDSMOBILE, Model Year: 2003, Model line: AURORA, Model: OLDSMOBILE AURORA 2003Pages: 387, PDF Size: 18.05 MB
Page 132 of 387
Theater Dimming Parade Dimming
This feature allows for a three to five-second fade out of
the overhead courtesy lamps instead of immediate
turn
off after you remove the key from the ignition. They
will not fade
if the interior lamps are manually turned
on. The lower instrument panel courtesy lamps will not
fade out.
Delayed Exit Lighting
This feature will turn on the interior lamps for 25 seconds
after you remove the key from the ignition while the
doors are closed and it is night. This will give you time
to find the door handle or lock switches as you exit
the vehicle. When the
25 seconds are up, or if the key
is reinserted into the ignition, the lights will be turned
off by the theater dimming system. The lamps will turn
off immediately by pressing the lock symbol on the
remote keyless entry transmitter, by turning the ignition
key to ON or by activating the power door locks. To activate the instrument panel backlighting during the
day,
turn the exterior lamps control to the parking
lamp position. Dimming
of the instrument panel display
is not possible during daylight hours. The instrument
panel display can only be adjusted when the parking
lamps are on and it is dark outside.
Perimeter Lighting
When the unlock symbol on the remote keyless entry
transmitter is pressed, the DRL headlamps, parking
lamps and back-up lamps will turn on for approximately
25 seconds if it is dark enough outside.
This feature can be programmed to be on or
off for
each transmitter. You can also program how long the
exterior lamps will stay on after unlocking the vehicle.
You must program this feature through the
DIC. See DIC
Vehicle Personalization on page 3-52.
3-1 9
ProCarManuals.com
Page 134 of 387
Battery Load Management
The battery load management feature is designed to
monitor the vehicle’s electrical load and determine when
the battery is in a heavy discharge condition. During
times of high electrical loading, the engine may idle at a
higher rpm setting than normal to make sure the
battery charges. High electrical loads may occur when
several of the following are on: headlamps, high beams,
fog lamps, rear window defogger, blower fan, heated
seats and engine cooling fans.
If your vehicle’s battery remains in a heavy discharge
condition for a long period of time, the fan, rear
defogger, heated seats and heated mirrors will be
disabled and the DIC will display BATTERY SAVER
ACTIVE. This can happen either under long periods of
idling or low speed driving with high electrical loading,
or in the event of a charging system fault.
Accessory Power Outlets
With accessory power outlets you can plug in auxiliary
electrical equipment such as a cellular telephone or
CB radio.
The accessory power outlet
(1 2-volt) is located on the
front passenger’s side of the vehicle, near the floor
on the console.
Your vehicle may have a small cap that must be pulled
down to access the accessory power outlet.
If it
does, when not using the outlet be sure to cover it with
the protective cap.
The accessory power outlet will only operate when the
ignition is in
ON and for 10 minutes after turning the
ignition
off. If you would like the accessory power outlet
to operate regardless of ignition position, and for
extended periods of time, see “Engine Compartment
Fuse Block under
Fuses and Circuit Breakers on
page 5-92 or contact your dealer.
Noficer When using an accessory power outlet,
maximum eieciricai ioaa rnusi noi exceeci i5 amps.
Always turn off any electrical equipment when
not in use. Leaving electrical equipment on for
extended periods will drain your battery.
3-2 1
ProCarManuals.com
Page 136 of 387

Climate Controls
Automatic Climate Control System
With this system you can control the heating, cooling
and ventilation for your vehicle.
Automatic Operation
AUTO (Automatic): When both the mode knob and the
fan knob are in the AUTO mode and the temperature
is set, the system will automatically control the
inside temperature, the air delivery mode and the fan
speed.
1. Press both the mode and the fan knobs to place
2. Adjust the temperature to
75" F (24" C) on the
the
system
in AUTO.
display. Choosing the coldest or warmest temperature
setting will not cause the system to heat or
cool any
faster.
If you set the system at the warmest
temperature setting, the system will remain in
manual mode at that temperature and it will not go
into automatic mode.
In cold weather, the system will start at reduced fan
speeds to avoid blowing cold air into your vehicle
until warmer air is available. The system will
start out blowing air at the floor but may change
modes automatically as the vehicle warms up
to maintain the chosen temperature setting. The length
of time needed for warm up will depend on
the outside temperature and the length of time
that has elapsed since your vehicle was last driven.
3. Wait for the system to regulate. This may take from
10 to 30 minutes. Then adjust the temperature. if
necessary.
3-23
ProCarManuals.com
Page 137 of 387

Do not cover the solar sensor located in the center of
the instrument panel, near the windshield. For more
information on the solar sensor, see “Sensors” later
in
this section.
To change the automatic climate control display from an
English display to a metric display, push the
OFF
button located in the Driver Information Center (DIC) for
several seconds. The display in the
DIC will also
change from an English to a metric display.
To return to
an English display, repeat the procedure.
Manual Operation
FAN: Turn the right knob clockwise or counterclockwise
to increase or decrease the fan speed. Turning this
knob cancels automatic operation and places the system
in manual mode. Press the knob to return to automatic
operation.
Temperature Control: Maintain the temperature inside
the vehicle using the red and blue arrows located
below the digital display. Push the red arrow for a
warmer temperature level and the blue arrow for
a cooler temperature level. Your selected temperature
setting will be shown on the digital display for five
seconds, and then the outside temperature will be
displayed. To change
the current mode, use the left knob
to select
one of the following:
OFF: Turning the left knob to OFF will cause the fan to
turn
off and the airflow to be directed through the
floor outlets. The display will show the outside
temperature when the system is set to OFF.
/I‘ (Vent): This mode directs air to the instrument
panel outlets. #
(Bi-Level): This mode directs approximately half of
the air to the instrument panel outlets, and then
directs most of the remaining air to the floor outlets.
Some air may be directed toward the windshield.
In automatic operation, cooler air is directed to the upper
outlets and warmer air to the floor outlets.
I# (Floor): This mode directs most of the air to the
floor outlets with some air directed to the outboard
outlets (for the side windows) and some air directed to
the windshield.
The left knob can also be used to select the defog or
defrost mode. Information on defogging and defrosting
can be found later in this section.
3-24
ProCarManuals.com
Page 142 of 387
A $&‘ v (Fan): Press the up or down arrow on the
fan button to override the automatic fan control and
increase or decrease the fan speed.
A TEMP v (Temperature): Press either arrow on
the TEMP button once to display your current
temperature setting in the digital display. Press the up
or down arrow again to provide
a warmer or cooler
temperature setting.
Climate Controls Personalization
If your vehicle is equipped with this feature, up to two
drivers are able to store and recall climate control
settings for the temperature, the fan speed and the
direction of the airflow.
Memory buttons
1 and 2 are located on the driver’s
door panel and correspond to the numbers
1 or 2 found
on the back of each remote keyless entry transmitter.
To store settings, do the following:
1. Select the desired temperature, fan speed and
airflow mode. If desired, a separate temperature
setting may also be selected for the front seat
passenger. For information on how to do this, see
Automatic Climate Control System on page 3-23.
2. Locate memory buttons 1 and 2 on the driver’s door
panel.
3. Press the memory button on the door panel that
corresponds to the number on the back
of the
transmitter you are programming, until you hear two
beeps. The beeps confirm that your selection has
been saved and can now be recalled. For more
information
on the memory feature, see Memory
Seat
and Mkrors on page 2-48.
Follow these steps each time you want to change the
stored settings.
To recall the climate control settings last stored on your
transmitter, press the unlock button on your remote
keyless entry transmitter and put the ignition in
ACC (Accessory) or
ON. The settings will be recalled.
3-29
ProCarManuals.com
Page 145 of 387
Speedometer and Odometer
Your speedometer lets you see your speed in both
miles per hour (mph) and kilometers per hour (km/h).
Your odometer shows how far your vehicle has
been driven, in either miles (used in the United States)
, or kilometers (used in Canada).
The speedometer shows a top speed of
140 mph
(220 km/h). This is not intended to be the vehicle’s top
speed.
You may wonder what happens
if your vehicle needs a
new odometer installed. If the new one can be set to
the mileage total of the old odometer, then it must
be. But
if it can’t, then it’s set at zero and a label must
be put on the driver’s door to show the old mileage
reading when the new odometer was installed.
Trip Odometers
Your trip odometer tells you how far you have driven
since you last reset it. Your vehicle is equipped with two
trip odometers,
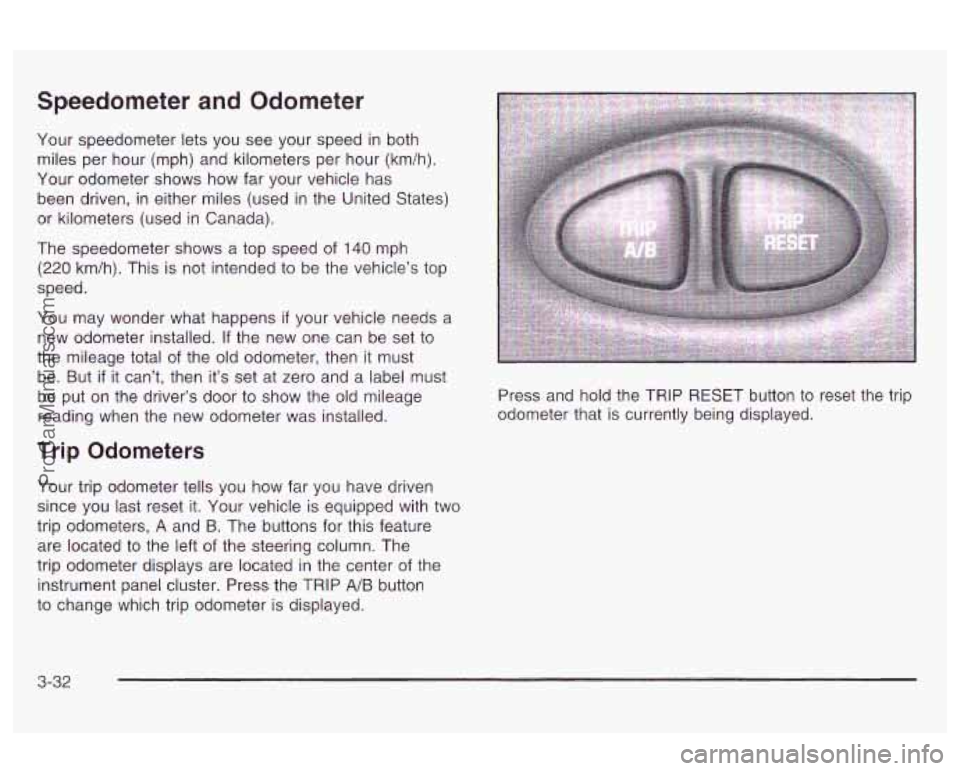
A and B. The buttons for this feature
are located to the left
of the steering column. The
trip odometer displays are located in the center of the
instrument panel cluster. Press the TRIP
A/B button
to change which trip odometer is displayed. Press and
hold the TRIP RESET button to reset the trip
odometer that is currently being displayed.
3-32
ProCarManuals.com
Page 146 of 387

Tachometer
The tachometer displays the engine speed in revolutions
per minute (rpm).
If your engine speed equals or exceeds the safe limit for
displayed on the
DIC.
-----L;-- LL, _----I- I IAT nrn~ IP~ rh10 nnnn :- upcIaLIuI~, LIIC 111caaayc I IW I ... I ILWUUL ~~vu I 11 IVI ID
Notice: Do not operate the engine with the
tachometer in the shaded area, or when the
message
HOT ... REDUCE ENG RPM is displayed.
Engine damage may
occur.
Safety Belt Reminder Light
When the key is turned to ON or START, a chime will
come on for several seconds to remind people to fasten
their safety belts.
The safety belt light will
also come on and stay on
for several seconds,
then flash for several more.
If the driver’s belt
is already buckled, the light will come
on briefly, but the chime will not sound.
3-33
ProCarManuals.com
Page 147 of 387
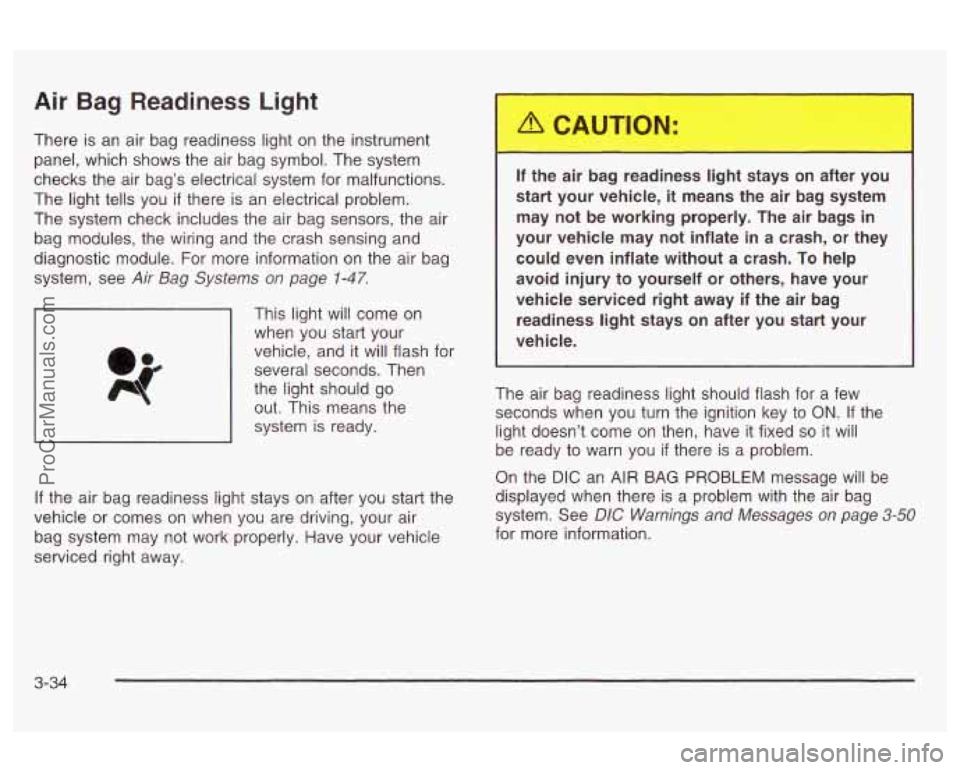
Air Bag Readiness Light
There is an air bag readiness light on the instrument
panel, which shows the air bag symbol. The system
checks the air bag’s electrical system for malfunctions.
The light tells you
if there is an electrical problem.
The system check includes the air bag sensors, the air
bag modules, the wiring and the crash sensing and
diagnostic module. For more information on the air bag
system, see
Air Bag Systems on page 1-47.
This light will come on
when you start your
vehicle, and it will flash for
several seconds. Then
the light should go out. This means the
system is ready.
If the air bag readiness light stays on after you start the
vehicle or comes on when you are driving, your air
bag system may not work properly. Have your vehicle
serviced right away.
If the air bag readiness light stays on after you
start your vehicle,
it means the air bag system
may not be working properly. The air bags in
your vehicle may not inflate in a crash,
or they
could even inflate without a crash.
To help
avoid injury to yourself or others, have your
vehicle serviced right away if the air bag
readiness light stays on after you start your
vehicle.
The air bag readiness light should flash for a few
seconds when you turn the ignition key to
ON. If the
light doesn’t come on then, have it fixed
so it will
be ready to warn you
if there is a problem.
On the
DIC an AIR BAG PROBLEM message will be
displayed when there is a problem with the air bag
system. See
DIC Warnings and Messages on page 3-50
for more information.
3-34
ProCarManuals.com
Page 148 of 387
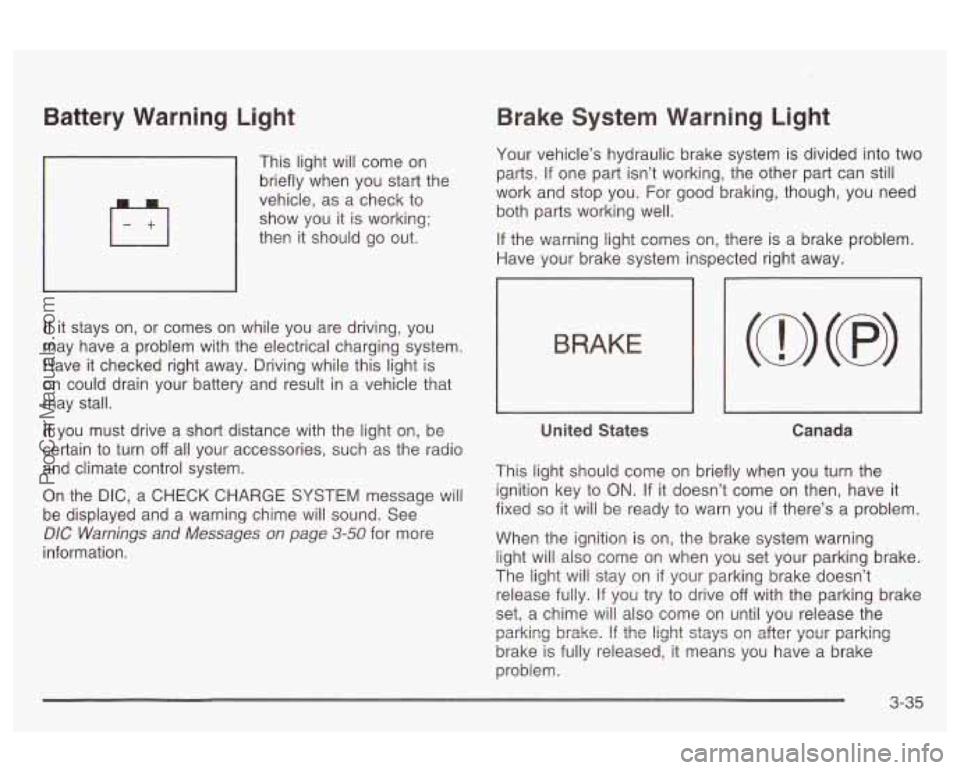
Battery Warning Light
’ This light will come on
briefly when you start the
vehicle, as a check to
show you it
is working;
then it should go out.
If it stays on, or comes on while you are driving, you
may have a problem with the electrical charging system.
Have it checked right away. Driving while this light is
on could drain your battery and result in a vehicle that
may stall.
If you must drive a short distance with the light on, be
certain
to turn off all your accessories, such as the radio
and climate control system.
On the DIC, a CHECK CHARGE SYSTEM message will
be displayed and a warning chime will sound. See
DIC Warnings and Messages on page 3-50 for more
information.
Brake System Warning Light
Your vehicle’s hydraulic brake system is divided into two
parts. If one part isn’t working, the other part can
still
work and stop you. For good braking, though, you need
both parts working well.
If the warning light comes on, there is a brake problem.
Have your brake system inspected right away.
1
BRAKE
United States Canada
This light should come on briefly when you turn the
ignition key to
ON. If it doesn’t come on then, have it
fixed
so it will be ready to warn you if there’s a problem.
When the ignition is on, the brake system warning
light will also come on when you set your parking brake.
The light will stay on
if your parking brake doesn’t
release fully. If you try to drive
off with the parking brake
set, a chime will also come on until you release the
brake is fully released, it means you have a brake
problem. parking
brake. If the light stays Gn after yGu: parking
3-35
ProCarManuals.com
Page 149 of 387
A PARK BRAKE SET message will be displayed on the
Driver Information Center (DIC) while the parking
brake is set and the vehicle is moving. The message
will not come on
if the transaxle is in PARK (P).
If the light comes on while you are driving, pull
off the
road and stop carefully. You may notice that the pedal is
harder
to push. Or, the pedal may go closer to the
floor. It may take longer
to stop. If the light is still on,
have the vehicle towed for service. See
Towing
Your Vehicle
on page 4-33.
Your brake system may not be working
properly
if the brake system warning light is
on. Driving with the brake system warning light
on can lead to an accident.
If the light is still
on after you’ve pulled
off the road and stopped
carefully, have the vehicle towed for service.
Anti-Lock Brake System Warning
Light
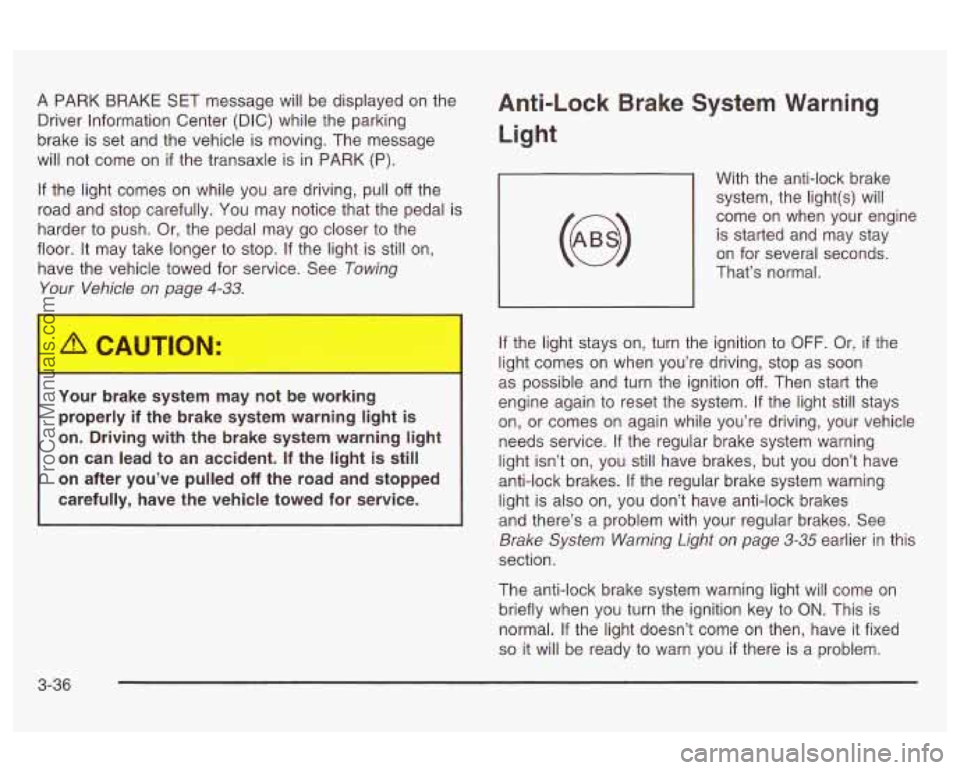
With the anti-lock brake
system, the light(s) will
come on when your engine is started and may stay
on for several seconds.
That’s normal.
If the light stays on, turn the ignition to
OFF. Or, if the
light comes on when you’re driving, stop as soon
as possible and turn the ignition
off. Then start the
engine again to reset the system.
If the light still stays
on, or comes on again while you’re driving, your vehicle
needs service.
If the regular brake system warning
light isn’t on, you still have brakes, but you don’t have
anti-lock brakes.
If the regular brake system warning
light is also on, you don’t have anti-lock brakes
and there’s a problem with your regular brakes. See
Brake System Warning Light on page 3-35 earlier in this
section.
The anti-lock brake system warning light will come on
briefly when you turn the ignition key to
ON. This is
normal.
If the light doesn’t come on then, have it fixed
so it will be ready to warn you if there is a problem.
3-36
ProCarManuals.com