ECU OLDSMOBILE AURORA 2003 Owner's Manual
[x] Cancel search | Manufacturer: OLDSMOBILE, Model Year: 2003, Model line: AURORA, Model: OLDSMOBILE AURORA 2003Pages: 387, PDF Size: 18.05 MB
Page 79 of 387

Emergency Trunk Release Handle Notice: The emergency trunk release handle is not
designed to be used to tie
down the trunk lid or
as an anchor point when securing items in the trunk.
Improper use
of the emergency trunk release
handle could damage
it.
There is a glow-in-the-dark emergency trunk release
handle located near the trunk latch. This handle will
glow
following exposure to light. Pull the release handle up
to open the trunk from the inside.
2-1 6
ProCarManuals.com
Page 82 of 387

Theft-Deterrent Systems
Vehicle theft is big business, especially in some cities.
Although your vehicle has a number of theft-deterrent
features, we know that nothing we put on it can make it
impossible
to steal.
Universal Theft-Deterrent
Your vehicle has a theft-deterrent alarm system. With
this system,
if your ignition is off, the SECURITY
light
will flash as you open the door.
I
I I
United States
I I
Canada This light reminds
you to activate the theft-deterrent
system. To activate it do the following:
1.
2.
3.
Open the door.
Lock the door with the power door lock switch or
remote keyless entry system. The SECURITY light
should come on and stay on.
Close all doors. The SECURITY light should go
off
after about 30 seconds. The security system is not
armed until the SECURITY light is
off. If the
SECURITY light stays on or flashes when the
ignition is turned on, there is a problem with the
system and the vehicle should be serviced.
If the SECURITY light comes on for one minute and
then shuts
off while the ignition is on, the security
system has detected a problem. See your dealer for
service.
If a door or the trunk is opened without the key or
remote keyless entry transmitter, the alarm will go
off.
Your vehicle’s lamps will flash and the horn will
sound for
30 seconds. then will go off to save battew
power.
2-1 9
ProCarManuals.com
Page 83 of 387

Remember, the theft-deterrent system won’t activate if
you lock the doors with a key or manual door lock.
It only activates
if you use the power door lock switch or
remote keyless entry transmitter. You should also
remember that you can start your vehicle with the
correct ignition key
if the alarm has been set off. This
also shuts
off the alarm.
Here’s how to avoid setting
off the alarm by accident:
If you don’t want to activate the theft-deterrent
system, lock the door either using a key or the
manual door lock switch.
Always unlock a door with a key, or use the remote
keyless entry system. Unlocking a door any other
way will set
off the alarm.
if you set off the alarm by accident, unlock the driver’s
door with your key.
You can also turn
off the alarm by pressing the unlock
symbol on the remote keyless entry transmitter. The
alarm won’t stop
if you try to unlock a door any
other way.
Testing the Alarm
The alarm can be tested by following these steps:
1. From inside the vehicle, roll down the driver’s
window and open the driver’s door.
2. Activate the system by locking the doors with the
power door lock switch while the door is open, or
with the remote keyless entry transmitter.
3. Get out of the car, close the door and wait for the
SECURITY light to go out.
4. Then reach in through the window, unlock the door
with the manual door lock and open the door. This
should set
off the alarm.
If the alarm does not sound when it should, but the
vehicle’s lamps flash, check to see
if the horn works.
The horn fuse may be blown. See
Fuses and Circuit
Breakers
on page 5-92.
If the alarm does not sound, or the vehicle’s lamps do
not flash, the vehicle should be serviced by an
authorized service center.
2-20
ProCarManuals.com
Page 84 of 387

PASS-Key@ 111
Your PASS-Key@ Ill system operates on a radio
frequency subject to Federal Communications
Commission (FCC) Rules and with Industry Canada.
This device complies with
Part 15 of the FCC Rules.
Operation
is subject to the following two conditions: (1)
this device may not cause harmful interference, and
(2) this device must accept any interference received,
including interference that may cause undesired
operation.
This device complies with
RSS-210 of Industry Canada.
Operation is subject to the following two conditions:
(1) this device may not cause interference, and (2) this
device must accept any interference received,
including interference that may cause undesired
operation of the device.
Changes or modifications to this system by other than
an authorized service facility could void authorization to
I I^^ uac LI 113 cyutpl I IGI 11.
PASS-Key@ Ill uses a radio frequency transponder in
the key that matches a decoder in your vehicle.
PASS-Key@ 111 Operation
Your vehicle is equipped
with the PASS-Key@
Ill
(Personalized Automotive
Security System)
theft-deterrent system. PASS-Key@
Ill is a passive
theft-deterrent system.
This means you don’t have
to do anything different to
arm or disarm the system. It works when you insert
or remove the key from the ignition.
When the PASS-Key@
Ill system senses that someone
is Ilsin9 the wronrJ key, it shuts down the vehicle’s
starter and fuel systems. The starter will not work and
fuel will stop being delivered to the engine. Anyone
using a trial-and-error method to start the vehicle will be
discouraged because of the high number of electrical
key codes.
2-21
ProCarManuals.com
Page 85 of 387

When trying to start the vehicle, if the engine does not
start and the SECURITY light comes on, the key
may have a damaged transponder. Turn the ignition
off
and try again.
If the engine still does not start, and the key appears to
be undamaged, try another ignition key. At this time,
you may also want to check the fuse. See
Fuses
and Circuit Breakers on page 5-92. If the engine still
does not start with the other key, your vehicle needs
service. If your vehicle does start, the first key may be
faulty. See your dealer who can service the
PASS-Key@
Ill to have a new key made.
It is possible for the PASS-Key@ Ill decoder to learn the
transponder value of a new or replacement key. Up
to
10 keys may be programmed for the vehicle.
This procedure is for learning additional keys only.
Canadian Owners:
If you lose or damage your keys,
only a
GM dealer can service PASS-Key@ Ill to
have new keys made. To program additional keys you
will require two current driver’s keys. You must add
a step to the following procedure. After Step
2 repeat
Steps
1 and 2 with the second current driver’s key. Then
continue with Step
3.
To program the new key, do the following:
1. Verify that the new key has PK3@ stamped on it.
2. Insert the current driver’s key in the ignition
and start the engine.
If the engine will not start, see
your dealer for service.
3. After the engine has started, turn the key to OFF,
and remove the key.
4. Insert the key to be programmed and turn it to ON
within 10 seconds of removing the previous key.
5. The SECURITY telltale light will turn off once the
key has been programmed. It may not be apparent
that the SECURITY light went on due to how
quickly the key is programmed.
6. Repeat Steps 1 through 4 if additional keys are to
be programmed.
If you are ever driving and the SECURITY light comes
on and stays on, you will be able to restart your
engine
if you turn it off. Your PASS-Key@ Ill system,
however, is not working properly and must be serviced
by your dealer. Your vehicle is not protected by the
PASS-Key@
Ill system at this time.
If you lose or damage a PASS-Key@ Ill key, see your
dealer to have a new key made.
2-22
ProCarManuals.com
Page 102 of 387

Onstar@’ System
Onstar@ uses global positioning system (GPS) satellite
technology, wireless communications, and state of
the art call centers to provide you with a wide range
of
safety, security, information and convenience services.
An Onstar@ subscription plan is included in the price
of your vehicle.
You can easily upgrade or extend your
Onstar@ services to meet your personal needs.
A complete Onstar@ user’s guide and the terms and
conditions of the Onstar@ Subscription Service
Ayreerrlerli are ir1C;iudeLi ill yuur UII~L~ -eyu~ppeu
vehicle’s glove box literature. For more information, visit
www.onstar.com, contact Onstar@ at
1 -888-4-ONSTAR
(I-888-466-7827), or press the blue Onstar@ button
to speak to an Onstar@ advisor 24 hours a day, 7 days
a week.
n ~ C\L_ ..R .! - _I
Onstar@ Services
OnStap provides a number of service plans to closely
meet your needs. Some
of the services currently
provided by Onstar@ are:
e Automatic Notification of Air Bag Deployment
Emergency Services
Roadside Assistance Stolen Vehicle Tracking
AccidentAssist Remote Door Unlock
Remote Diagnostics
Onstar@ MED-NET (Requires separate activation
and annual fee on some plans)
Online and Personal Concierge Services
Route Support
RideAssist
Information and Convenience Services
2-39
ProCarManuals.com
Page 104 of 387

HomeLink@ Transmitter
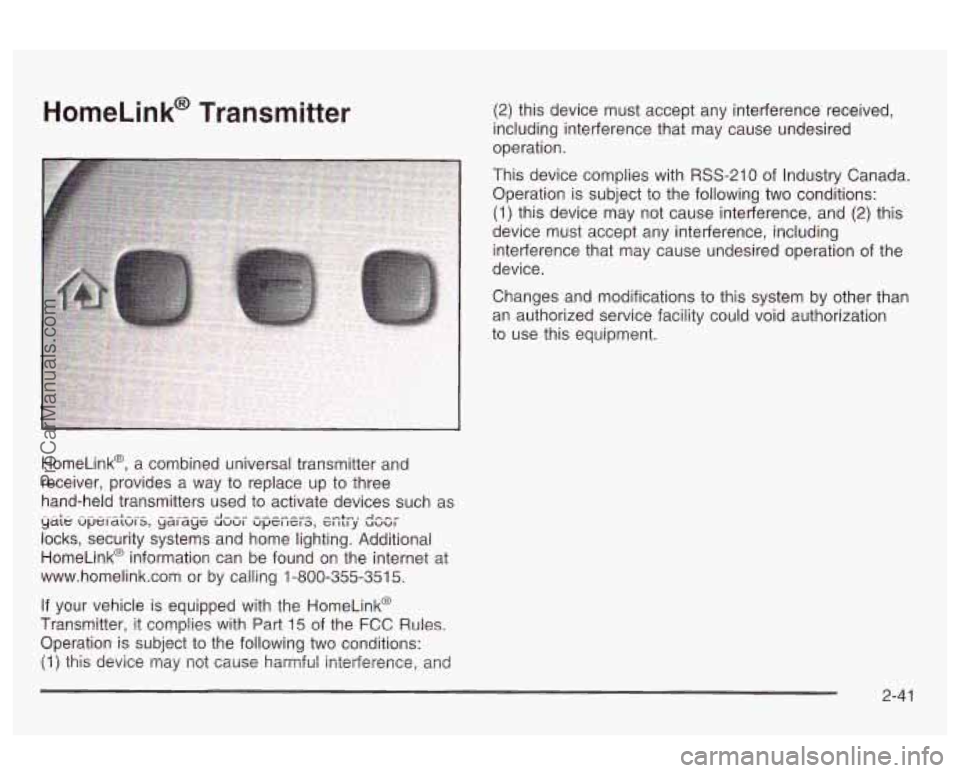
HomeLink@, a combined universal transmitter and
receiver, provides a way to replace up to three
hand-held transmitters used to activate devices such as
locks, security systems and home lighting. Additional
HomeLink@ information can be found on the internet at
www.homelink.com or by calling 1-800-355-351
5.
yaie upei-L -.-..--.- J-,, ----I”^ --+.-., A,,, dlUl5, ydl dye: UUUl UpCl IC1 3, GI 111 y UUUl
If your vehicle is equipped with the HomeLink@
Transmitter, It comp!ies with Part 15 of the FCC Rules.
Operation is subject to the following two conditions:
(1) this device may not cause harmful interference, and
(2) this device must accept any interference received,
including interference that may cause undesired
operation.
This device complies with RSS-210
of Industry Canada.
Operation is subject to the following two conditions:
(1) this device may not cause interference, and (2) this
device must accept any interference, including
interference that may cause undesired operation
of the
device.
Changes and modifications to this system by other than
an authorized service facility could void authorization
to use this equipment.
2-41
ProCarManuals.com
Page 105 of 387

Programming the HomeLink@
Transmitter
Do not use the HomeLink@ Transmitter with any garage
door opener that does not have the “stop and reverse’’
feature. This includes any garage door opener model
manufactured before April
1, 1982.
Keep the original transmitter for use in other vehicles as
well as for future HomeLink@ programming. It is also
recommended that upon the sale
of the vehicle,
the programmed HomeLink@ buttons should be erased
for security purposes. Refer to “Erasing HomeLink@
Buttons” or, for assistance, contact HomeLink@ on the
internet at: www.homelink.com or by calling
1 -800-355-35 1 5.
Be sure that people and objects are clear of the garage
door or gate operator you are programming. When
programming a garage door, it is advised to park outside
of the garage.
It is recommended that a new battery be installed in
your hand-held transmitter for quicker and more
accurate transmission of the radio frequency.
Your vehicle’s engine should be turned
off while
programming the transmitter. Follow these steps to
program up to three channels:
1. Press and hold down the two outside buttons,
releasing only when the indicator light begins to
flash, after 20 seconds.
Do not hold down the buttons
for longer than
30 seconds and do not
repeat this step to program a second and/or third
transmitter to the remaining two HomeLink@ buttons.
2. Position the end
of your hand-held transmitter about
1 to 3 inches (3 to 8 cm) away from the HomeLink@
buttons while keeping the indicator light in view.
3. Simultaneously press and hold both the desired
button on HomeLink@ and the hand-held transmitter
button.
Do not release the buttons until Step 4
has been completed.
Some entry gates and garage door openers may
require you to substitute Step
3 with the procedure
noted in “Gate Operator and Canadian
Programming” later in this section.
4. The indicator light will flash slowly at first and then
rapidly after HomeLink@ successfully receives the
frequency signal from the hand-held transmitter.
Release both buttons.
5. Press and hold the newly-trained HomeLink@ button
and observe the indicator light.
If the indicator light stays on constantly,
programming is complete and your device should
activate when the HomeLink@ button is pressed and
released.
To program the remaining two HomeLink@ buttons,
begin with Step 2 under “Programming HomeLink@.”
Do not repeat Step 1 as this will erase all of the
programmed channels.
2-42
ProCarManuals.com
Page 165 of 387

DIC Vehicle Personalization
The DIC can be used to program the following personal
choice features available with your vehicle:
Automatic Door Locks
Window Lock Out Security Feedback
Delayed Locking
Perimeter Lighting
Driver ID
Memory Seats
Outside Curb View Assist Mirror
To access the personalization menu, the vehicle must
be in PARK (P) with the ignition in ON and no warning
messages displayed on the DIC. You must then
press and hold both of the SELECT buttons for three
seconds. This will display the personalization menu.
The DIC display will show the following:
FEATURE PROGRAMMING
PRESS SELECT DOWN TO
SELECT MENU OPTIONS
PRESS SELECT RIGHT TO The next item
to be displayed is DRIVER
1 or
DRIVER
2. To change the driver number, press the
SELECT right arrow. The driver number that you select
should correspond with the number on the back of
your remote keyless entry transmitter. Once the correct
driver number has been selected, press the SELECT
down arrow to enter your choice and move on to
the next selection.
The DIC is used to program the personal choices
of two
drivers. The drivers are recognized as DRIVER
1 and
DRIVER
2. You will let the DIC and the vehicle
know which driver you are by using your remote keyless
entry transmitter or by pressing the appropriate
memory seat button located on the driver’s door or
choosing the driver with the DIC. Each remote keyless
entry transmitter was pre-programmed to belong to
DRIVER
1 or DRIVER 2. The personalization features
may be programmed differently for each driver.
When you press the unlock symbol on the transmitter,
the DIC will automatically change driver numbers
and the vehicle will recall the personal choice settings
that were last made to correspond to your transmitter,
including your radio and comfort control settings.
See
Climate Controls Personalization on page 3-29.
CHANGE SETTINGS
3-52
ProCarManuals.com
Page 169 of 387

Security Feedback
You can program the security feedback feature to
change
to the following modes:
Mode 1: No feedback when locking or unlocking the
vehicle.
Mode 2: Parking lamps and the DRL will flash twice
when unlocking the vehicle and flash once when locking
the vehicle.
Mode 3: Horn chirps when all doors are unlocked
(second unlock button press) and when locking
the vehicle.
Mode 4: Parking lamps and the DRL will flash twice
each time the button with the unlock symbol is pressed;
the horn chirps when all doors are unlocked. Parking
lamps and the exterior lamps flash once and the
horn chirps when locking the vehicle.
You can change these modes by different selections of
the following DIC displays:
KEY FOB LIGHTS FLASH - YES/NO
0 KEY FOB HORN CHIRP - YES/NO
Press the SELECT right arrow button
to toggle between
your choices and change the settings. Press the
SELECT down arrow button to store your changes in
memory and move on to the next selection. If you would
like to program your vehicle to Mode
1, do
the following:
1. Select NO for KEY FOB LIGHTS FLASH.
2. Select NO for KEY FOB HORN CHIRP.
If you would like to program your vehicle to Mode 2, do
the following:
1. Select YES for KEY FOB LIGHTS FLASH.
2. Select NO for KEY FOB HORN CHIRP.
If you would like to program your vehicle to Mode
3, do
the following:
1. Select NO for KEY FOB LIGHTS FLASH.
2. Select YES for KEY FOB HORN CHIRP.
If you would like to program your vehicle to Mode
4, do
the following:
1. Select YES for KEY FOB LIGHTS FLASH.
2. Select YES for KEY FOB HORN CHIRP.
For more information on this feature, see “Security
Feedback under
Remote Keyless Entry System
Operation on page
2-6.
3-56
ProCarManuals.com