turn signal Oldsmobile Bravada 2003 s User Guide
[x] Cancel search | Manufacturer: OLDSMOBILE, Model Year: 2003, Model line: Bravada, Model: Oldsmobile Bravada 2003Pages: 410, PDF Size: 20.1 MB
Page 171 of 410
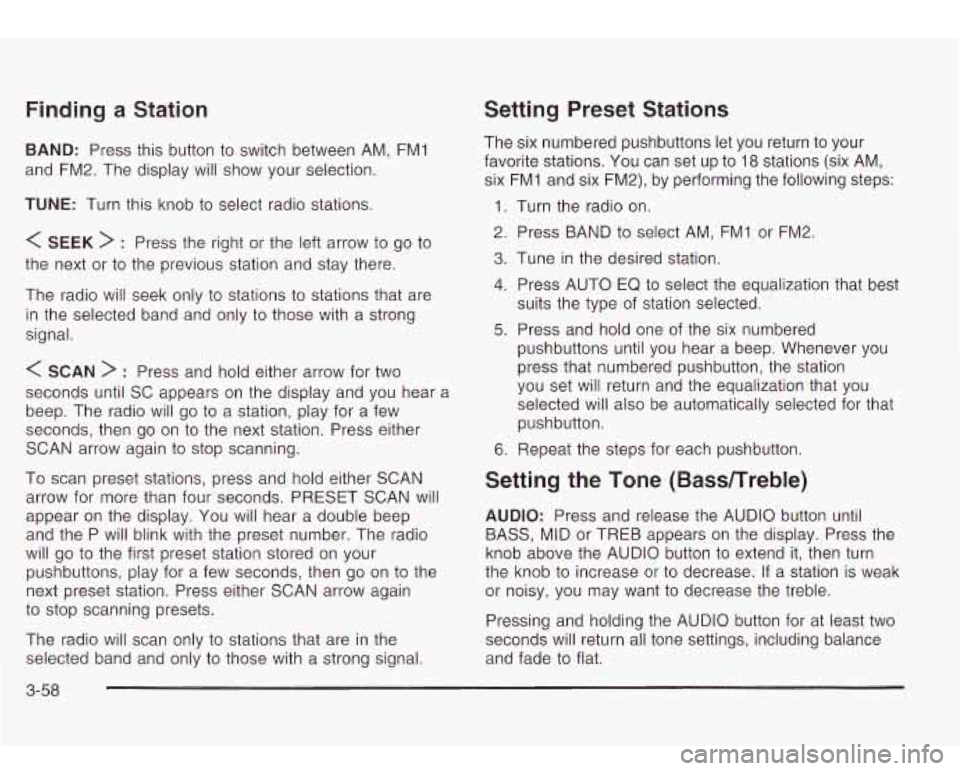
Finding a Station
BAND: Press this button to switch between AM, FMl
and FM2. The display will show your selection.
TUNE: Turn this knob to select radio stations.
< SEEK > : Press the right or the left arrow to go to
the next or to the previous station and stay there.
The radio will seek only
to stations to stations that are
in the selected band and only
to those with a strong
signal.
< SCAN > : Press and hold either arrow for two
seconds until SC appears on the display and you hear
a
beep. The radio will go to a station, play for a few
seconds, then go on
to the next station. Press either
SCAN arrow again
to stop scanning.
To scan preset stations, press and hold either SCAN
arrow for more than four seconds. PRESET SCAN will
appear on the display. You will hear a double beep
and the P will blink with the preset number. The radio
will go
to the first preset station stored on your
pushbuttons, play for a few seconds, then go on
to the
next preset station. Press either SCAN arrow again
to stop scanning presets.
The radio will scan only
to stations that are in the
selected band and only
to those with a strong signal.
Setting Preset Stations
The six numbered pushbuttons let you return to your
favorite stations. You can set up
to 18 stations (six AM,
six FMI and six FM2), by performing the following steps:
1. Turn the radio on.
2. Press BAND
to select AM, FMI or FM2.
3. Tune in the desired station.
4. Press AUTO EQ to select the equalization that best
5. Press and hold one of the six numbered
suits
the type of station selected.
pushbuttons until you hear a beep. Whenever you
press that numbered pushbutton, the station
you set will return and the equalization that you
selected will also be automatically selected for that
pushbutton.
6. Repeat the steps for each pushbutton.
Setting the Tone (BasdTreble)
AUDIO: Press and release the AUDIO button until
BASS, MID or
TREB appears on the display. Press the
knob above the AUDIO button
to extend it, then turn
the knob
to increase or to decrease. If a station is weak
or noisy, you may want
to decrease the treble.
Pressing and holding the AUDIO button for at least two
seconds will return all tone settings, including balance
and fade
to flat.
3-58
Page 179 of 410

Radio with Six-Disc CD Set the volume at the desired level. Press this button to
select MIN, MED or MAX. Each higher setting will
allow for more volume compensation at faster vehicle
speeds. Then, as you drive, automatic volume increases
the volume, as necessary,
to overcome noise at any
speed. The volume level should always sound the same
to you as you drive. If you don’t want to use automatic
volume, select OFF.
RCL (Recall): Push this knob to switch the display
between the time and the radio station frequency. Push
this knob with the ignition
off to display the time.
To change the default on the display, push the knob
until you see the display you want, then hold the knob
for two seconds. The radio will produce one beep
Playing the Radio and selected display will now be the default.
PWR (Power): Push this knob to turn the system on
and
off.
VOL (Volume): Turn the knob to increase or to
decrease volume.
AUTO VOL (Automatic Volume): Your system has a
feature called automatic volume. With
this feature,
your audio system adjusts automatically
to make up for
road and wind noise as you drive.
Finding a Station
AM FM: Press this button to switch between AM, FM1
and
FM2. The display will show your selection.
TUNE: Turn this knob to select radio stations.
k SEEK >i : Press the right or the left arrow to go to
the next or to the previous station and stay there.
The radio will seek only
to stations that are in the
selected band and only
to those with a strong signal.
3-66
Page 180 of 410

k SCAN >I : Press and hold either SCAN arrow for
two seconds until SC appears on the display and
you hear a beep. The radio will go
to a station, play for
a few seconds, then go on to the next station. Press
either SCAN arrow again to stop scanning.
To scan preset stations, press and hold either SCAN
arrow for more than four seconds. PRESET SCAN will
appear on the display. You will hear a double beep.
The radio will go
to a preset station stored on your
pushbuttons, play for a few seconds, then go on
to the
next preset station. Press either SCAN arrow again
to stop scanning presets.
The radio will scan only
to stations that are in the
selected band and only to those with a strong signal.
Setting Preset Stations
The six numbered pushbuttons let you return to your
favorite stations. You can set up
to 18 stations (six AM,
six FM1 and six FM2) by performing the following
steps:
1.
2.
3.
4.
5.
6.
Turn the radio on.
Press AM FM
to select AM, FMI or FM2.
Tune in the desired station.
Press AUTO
EQ to select the equalization that best
suits the type of station selected.
Press and hold one of the six numbered
pushbuttons until you hear a beep. Whenever you
press that numbered pushbutton, the station
you set will return and the equalization that you
selected will also be automatically selected for that
pushbutton.
Repeat the steps for each pushbutton.
3-67
Page 191 of 410
To use the auxiliary audio and video inputs on the RSE,
connect an external auxiliary device such as a
camcorder to the RCA jacks and turn on both the
auxiliary device power and the power on the front of the
RSE player. If a disc is not present in the player, the
auxiliary signal will immediately be displayed on
the
RSE. If a disc is present when the RSE power is
turned on, the player will automatically begin playing the
disc and the user will need
to press the AUX button
on the remote control to display and/or hear the auxiliary
input signals. Each press of the AUX button on the
remote control will switch the system between disc and
auxiliary input. The wired headphone volume control
will only operate when the DVD player power is turned
on and it controls both wired headphone jacks at
the same time. See
Remote Control later in this section
for more information.
Audio Speakers
Audio from the DVD player can only be heard either
through the
IR headphones or wired headphones
(not included). The sound will not come through the
vehicle’s speakers.
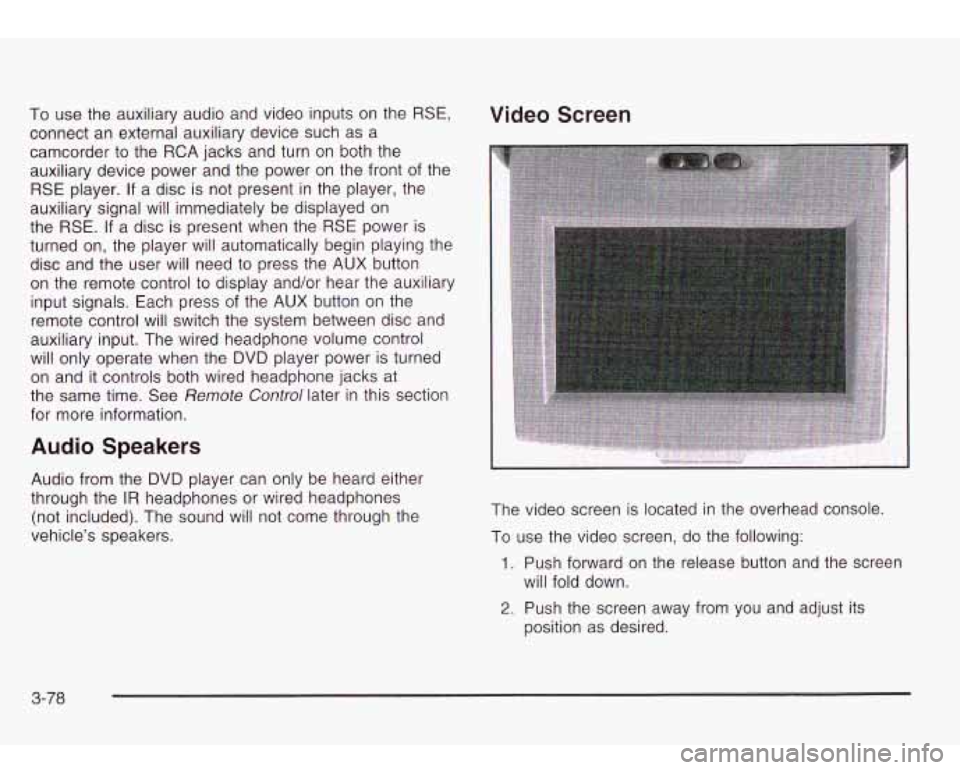
Video Screen
The video screen is located in the overhead console
To use the video screen, do the following:
1. Push forward on the release button and the screen
will fold down.
2. Push the screen away from you and adjust its
position as desired.
3-78
Page 194 of 410
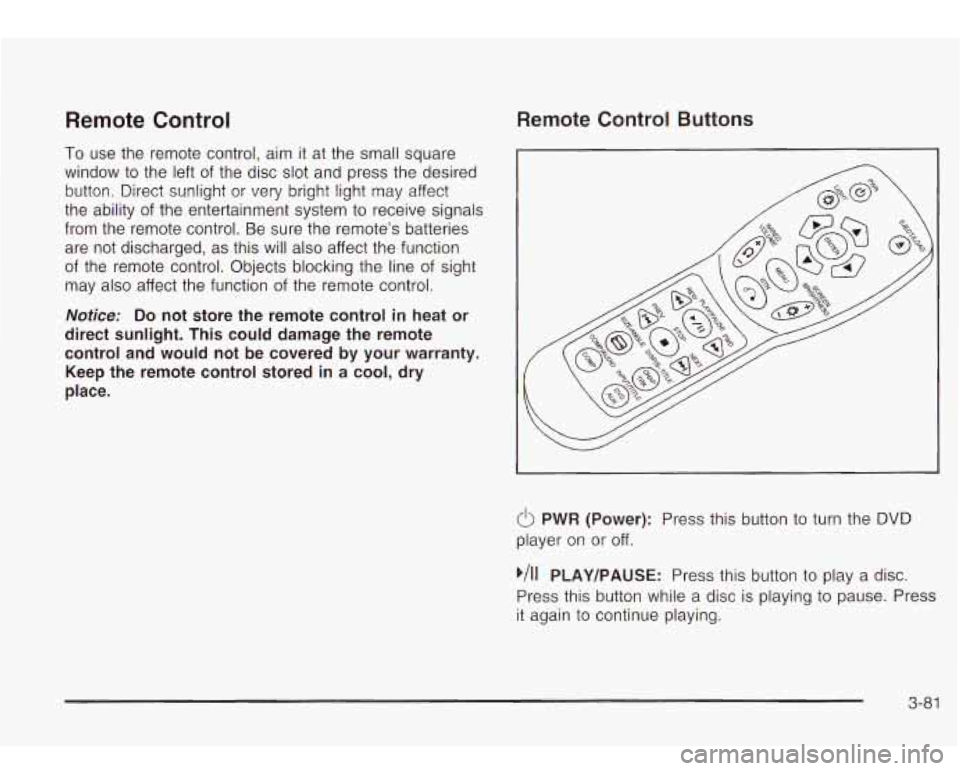
Remote Control
To use the remote control, aim it at the small square
window
to the left of the disc slot and press the desired
button. Direct sunlight or very bright light may affect
the ability of the entertainment system to receive signals
from the remote control. Be sure the remote’s batteries
are not discharged, as this will also affect the function
of the remote control. Objects blocking the line
of sight
may also affect the function of the remote control.
Remote Control Buttons
Notice: Do not store the remote control in heat or
direct sunlight. This could damage the remote
control and would not be covered by your warranty.
Keep the remote control stored in a cool, dry
place.
6 PWR (Power): Press this button to turn the DVD
player on or off.
,/I1 PLAY/PAUSE: Press this button to play a disc.
Press this button while a disc is playing
to pause. Press
it again to continue playing.
3-81
Page 202 of 410
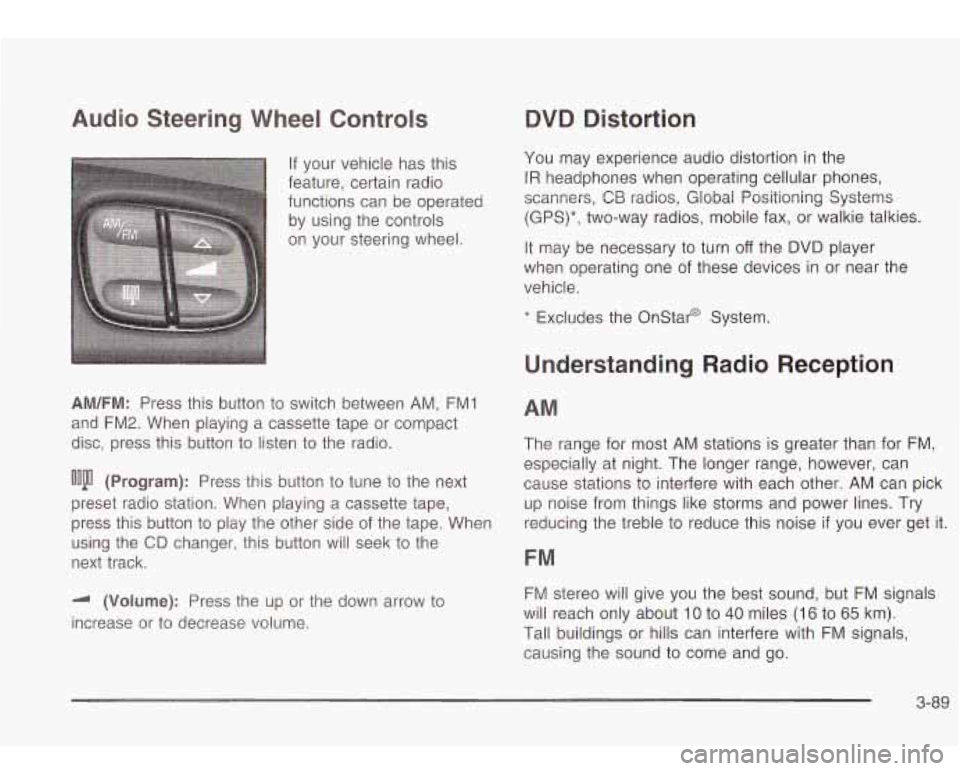
Audio Steering Wheel Controls
If your vehicle has this
feature, certain radio
functions can be operated
by using the controls
on your steering wheel.
AM/FM: Press this button to switch between AM, FMI
and FM2. When playing a cassette tape or compact
disc, press this button
to listen to the radio.
ooju (Program): Press this button to tune to the next
preset radio station. When playing a cassette tape,
press this button
to play the other side of the tape. When
using the
CD changer, this button will seek to the
next track.
-I (Volume): Press the up or the down arrow to
increase or to decrease volume.
QVQ Distortion
You may experience audio distortion in the
IR headphones when operating cellular phones,
scanners,
CB radios, Global Positioning Systems
(GPS)*, two-way radios, mobile fax, or walkie talkies.
It may be necessary to turn
off the DVD player
when operating one of these devices in or near the
vehicle.
* Excludes the Onstar@ System.
Understanding Radio Reception
AM
The range for most AM stations is greater than for FM,
especially at night. The longer range, however, can
cause stations
to interfere with each other. AM can pick
up noise from things like storms and power lines. Try
reducing the treble
to reduce this noise if you ever get it.
FM
FM stereo will give you the best sound, but FM signals
will reach only about
10 to 40 miles (16 to 65 km).
Tall buildings or hills can interfere with FM signals,
causing the sound to come and go.
3-89
Page 219 of 410
Check your mirrors, glance over your shoulder, and
start your left lane change signal before moving out
of the right lane to pass. When you are far
enough ahead of the passed vehicle to see its front
in your inside mirror, activate your right lane
change signal and move back into the right lane.
(Remember that your right outside mirror is convex.
The vehicle you just passed may seem to be
farther away from you than it really is.)
Try not to pass more than one vehicle at a time on
two-lane roads. Reconsider before passing the
next vehicle.
Don’t overtake a slowly moving vehicle too rapidly.
Even though the brake lamps are not flashing, it
may be slowing down or starting to turn.
If you’re being passed, make it easy for the
following driver to get ahead of you. Perhaps you
can ease a little to the right.
LOSS of Control
Let’s review what driving experts say about what
happens when the three control systems (brakes,
steering and acceleration) don’t have enough friction
where the tires meet the road to do what the driver
has
asked.
In any emergency, don’t give
up. Keep trying to steer
and constantly seek an escape route or area of
less danger.
Skidding
In a skid, a driver can lose control of the vehicle.
Defensive drivers avoid most skids by taking reasonable
care suited to existing conditions, and by not
“overdriving” those conditions. But skids are always
possible.
The three types of skids correspond to your vehicle’s
three control systems. In the braking skid, your wheels
aren’t rolling. In the steering or cornering skid, too much
speed or steering in a curve causes tires to slip and lose
cornering force. And in the acceleration skid, too much
throttle causes the driving wheels to spin.
A cornering skid is best handled by easing your foot off
the accelerator pedal.
If you have the Traction Assist System, remember: It
helps avoid only the acceleration skid.
If you do not have
this system, or
if the system is off, then an acceleration
skid
is also best handled by easing your foot off the
accelerator pedal.
If your vehicle starts to slide, ease your foot off the
accelerator pedal and quickly steer the way you want
the vehicle to
go. If you start steering quickly enough,
your vehicle may straighten out. Always be ready
for a second skid
if it occurs.
4-1 4
Page 224 of 410

When you drive over obstacles or rough terrain, keep a
firm grip on the steering wheel. Ruts, troughs or
other surface features can jerk the wheel out of your
hands
if you’re not prepared.
When you drive over bumps, rocks, or other obstacles,
your wheels can leave the ground.
If this happens,
even with one or two wheels, you can’t control
the vehicle as well or at all.
Because you will be on an unpaved surface, it’s
especially important
to avoid sudden acceleration,
sudden turns or sudden braking.
In a way, off-road driving requires a different kind of
alertness from driving on paved roads and highways.
There are no road signs, posted speed limits or
signal lights.
You have to use your own good judgment
about what is safe and what isn’t.
Drinking and driving can be very dangerous on any
road. And this is certainly true for off-road driving. At the
very time you need special alertness and driving
skills, your reflexes, perceptions and judgment can be
affected by even a small amount of alcohol.
You
could have a serious - or even fatal - accident if you
drink and drive or ride with a driver who has been
drinking. See
Drunken Driving on page 4-2.
Driving on Off-Road Hills
Off-road driving often takes you up, down or across a
hill. Driving safely on hills requires good judgment
and understanding of what your vehicle can and can’t
do. There are some hills that simply can’t be driven, no
matter how well bui he vehicle.
Man) ills are ~..-.ply .,o steep for any vehicle.
If you drive up them, you will stall. If you drive
down them, you can’t control your speed.
If you
drive across them, you
will roll over. You could
be seriously injured or killed. If you have any
doubt about the steepness, don’t drive the hill.
Approaching a Hill
When you approach a hill, you need to decide if it’s one
of those hills that’s just
too steep to climb, descend
or cross. Steepness can be hard to judge. On a very
small hill, for example, there may be a smooth, constant
incline with only a small change in elevation where
you can easily see all the way to the top. On a large hill,
the incline may get steeper as you near the top, but
you may not see this because the crest
of the hill
is hidden by bushes, grass or shrubs.
4-1 9
Page 236 of 410

City Driving One of the biggest problems with city streets is the
amount
of traffic on them. You’ll want to watch out for
what the other drivers are doing and pay attention
to traffic signals.
Here are ways to increase your safety
in city driving:
Know the best way to get to where you are
going. Get a city map and plan your trip into
an unknown part of the city just as you would for a
cross-country trip.
most large cities. You’ll save time and energy.
See
Freeway Driving on page 4-32.
Treat a green light as a warning signal. A traffic
light is there because the corner is busy enough
to need it. When a light turns green, and just before
you start to move, check both ways for vehicles
that have not cleared the intersection or may
be running the red light.
e Try to use the freeways that rim and crisscross
4-31
Page 237 of 410

Freeway Driving
Mile for mile, freeways (also called thruways, parkways,
expressways, turnpikes or superhighways) are the
safest of all roads. But they have their own special rules. The most important
advice on freeway driving is: Keep
up with traffic and keep to the right. Drive at the
same speed most
of the other drivers are driving.
Too-fast or too-slow driving breaks a smooth traffic flow.
Treat the left lane on a freeway as a passing lane.
At the entrance, there is usually a ramp that leads
to the
freeway. If you have a clear view of the freeway as you
drive along the entrance ramp, you should begin to check
traffic. Try
to determine where you expect to blend with
the flow. Try to merge into the gap at close
to the
prevailing speed. Switch on your turn signal, check your
mirrors and glance over your shoulder as often as
necessary. Try
to blend smoothly with the traffic flow.
Once
you are on the freeway, adjust your speed to the
posted limit or to the prevailing rate
if it’s slower.
Stay in the right lane unless you want to pass.
Before changing lanes, check your mirrors. Then use
your turn signal.
Just before you leave the lane, glance quickly over your
shoulder to make sure there isn’t another vehicle in
your “blind” spot.
4-32