lock Oldsmobile Bravada 2003 s Workshop Manual
[x] Cancel search | Manufacturer: OLDSMOBILE, Model Year: 2003, Model line: Bravada, Model: Oldsmobile Bravada 2003Pages: 410, PDF Size: 20.1 MB
Page 169 of 410
Audio System(s)
Notice: Before you add any sound equipment to
your vehicle
- like a tape player, CB radio, mobile
telephone or two-way radio
- be sure you can
add what you want. If you can,
it’s very important to
do
it properly. Added sound equipment may
interfere with the operation
of your vehicle’s engine,
Delphi Electronics radio or other systems, and
even damage them. Your vehicle’s systems may interfere with the operation
of sound equipment that
has been added improperly.
So, before adding sound equipment, check with
your dealer and be sure to check federal rules covering mobile radio and telephone units.
Your audio system has been designed
to operate easily
and
to give years of listening pleasure. You will get the
most enjoyment out of it
if you acquaint yourself with it
first. Find out what your audio system can do and how
to
operate all of its controls to be sure you’re getting the
most out of the advanced engineering that went into it.
Your vehicle has a feature called Retained Accessory
Power (RAP). With RAP, you can play your audio
system even after the ignition is turned
off. See
“Retained Accessory Power (RAP)” under
lgnition
Positions on page
2- 18.
Setting the Time
Your radio may have a button marked with an H or HR
to represent hours and an M or MIN to represent
minutes.
Press and hold the hour button until the correct hour
appears on the display. AM or PM will also appear
on the display. Press and hold the minute button until
the correct minute appears on the display. The time may
be set with the ignition on or
off.
To synchronize the time with an FM station broadcasting
Radio Data System
(RDS) information, press and
hold the hour and minute buttons at the same time for
two seconds until UPDATED and the clock symbol
appear on the display. If the time is not available from
the station,
NO UPDAT will appear on the display
instead.
RDS time is broadcast once a minute. Once you have
tuned
to an RDS broadcast station, it may take a
few minutes for your time
to update.
3-56
Page 177 of 410
Cassette Tape Messages
If an error occurs while trying to play a cassette tape, it
could be for one of the following reasons:
TIGHT TAPE: When this message is displayed, the
tape is tight and the player can’t turn the tape hubs.
Remove the tape. Hold the tape with the open end down
and try
to turn the right hub counterclockwise with a
pencil. Turn the tape over and repeat. If the hubs do not
turn easily, your tape may be damaged and should
not be used in the player. Try a new tape
to make sure
your player is working properly.
BROKEN TAPE: If this message is displayed, the tape
is broken. Try a new tape.
WRAPPED: When this message is displayed, the tape
is wrapped around the tape head. Attempt to get the
cassette out. Try a new tape.
CLEAN PLAYR (Clean Player): This message may
also appear on the radio display
to indicate that
the cassette tape player needs
to be cleaned. It will still
play tapes, but you should clean it as soon as possible
to prevent damage to the tapes and player. For
additional information see
Care of Your Cassette Tape
Player on page 3-90.
If any error occurs repeatedly or if an error can’t be
corrected, contact your dealer. If your radio displays an
error message, write it down and provide
it to your
dealer when reporting the problem.
Playing a Compact Disc
With the ignition on, insert a disc partway into the slot,
label side up. The player will pull it in and the disc should
begin playing. If you want
to insert a CD when the ignition
is
off, first press the eject button or the RCL knob.
When the disc is inserted, the CD symbol will be
displayed.
If you select an EQ setting for your CD, it will
be activated each time you play a
CD.
As each new track starts to play, the track number will
appear on the display.
If an error appears on the display, see “Compact Disc
Messages” later in this section.
1 REV (Reverse): Press and hold this pushbutton to
reverse quickly within a track. You will hear sound at a
reduced volume. Release it
to play the passage. The
display will show elapsed time.
2 FWD (Forward): Press and hold this pushbutton to
advance quickly within a track. You will hear sound at a
reduced volume. Release it
to play the passage. The
display will show elapsed time.
4 RDM (Random): Press this pushbutton to hear the
tracks in random, rather than sequential, order.
RDM and the track number will appear on the display.
Press this pushbutton again
to turn off random mode.
3-64
Page 192 of 410
When the video screen is not in use, push it up into its
locked position.
The DVD player and display will continue
to operate
when the display is in either the up or the down position.
Notice: Avoid directly touching the video screen,
as damage may occur. See “Cleaning the Video
Screen” in the Index for more information.
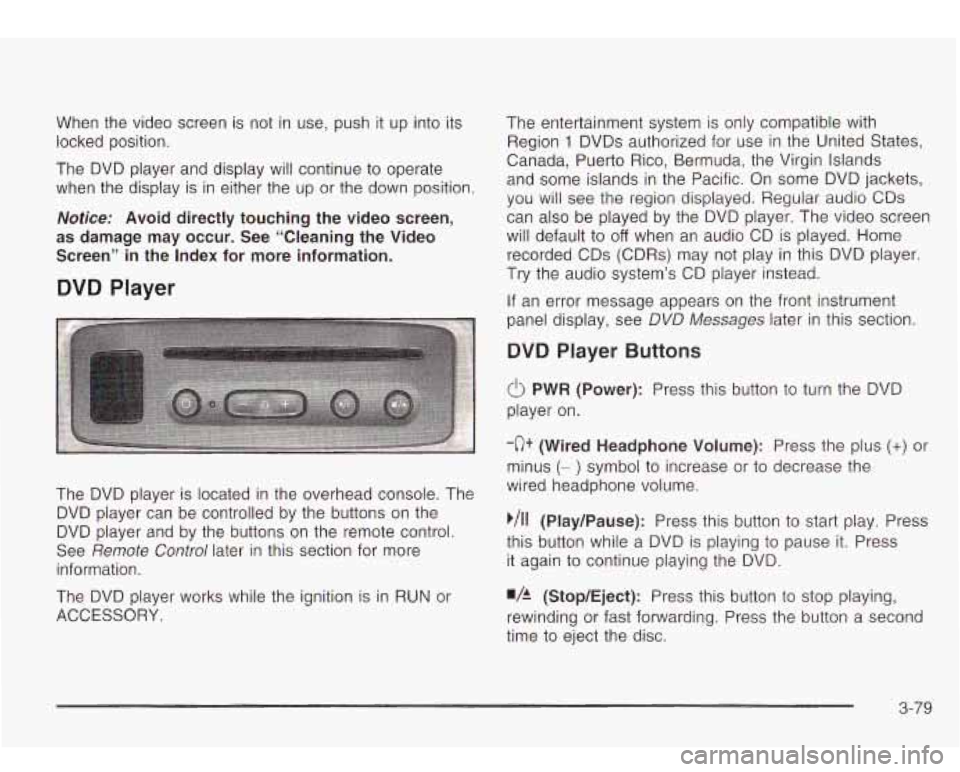
DVD Player
The DVD player is located in the overhead console. The
DVD player can be controlled by the buttons on the
DVD player and by the buttons on the remote control.
See
Remote Control later in this section for more
information.
The DVD player works while the ignition is in RUN or
ACCESSORY. The entertainment system is only compatible with
Region
1 DVDs authorized for use in the United States.
Canada, Puerto Rico, Bermuda, the Virgin Islands
and some islands in the Pacific. On some DVD jackets,
you will see the region displayed. Regular audio CDs
can also be played by the DVD player. The video screen
will default to
off when an audio CD is played. Home
recorded CDs (CDRs) may not play in this DVD player.
Try the audio system’s CD player instead.
If an error message appears on the front instrument
panel display, see DVD
Messages later in this section.
DVD Player Buttons
(I> PWR (Power): Press this button to turn the DVD
player on.
-c)+ (Wired Headphone Volume): Press the plus (+) or
minus (- ) symbol to increase or to decrease the
wired headphone volume.
,/I1 (Play/Pause): Press this button to start play. Press
this button while a DVD is playing
to pause it. Press
it again to continue playing the DVD.
w/h (StopIEject): Press this button to stop playing,
rewinding or fast forwarding. Press the button a second
time
to eject the disc.
3-79
Page 194 of 410
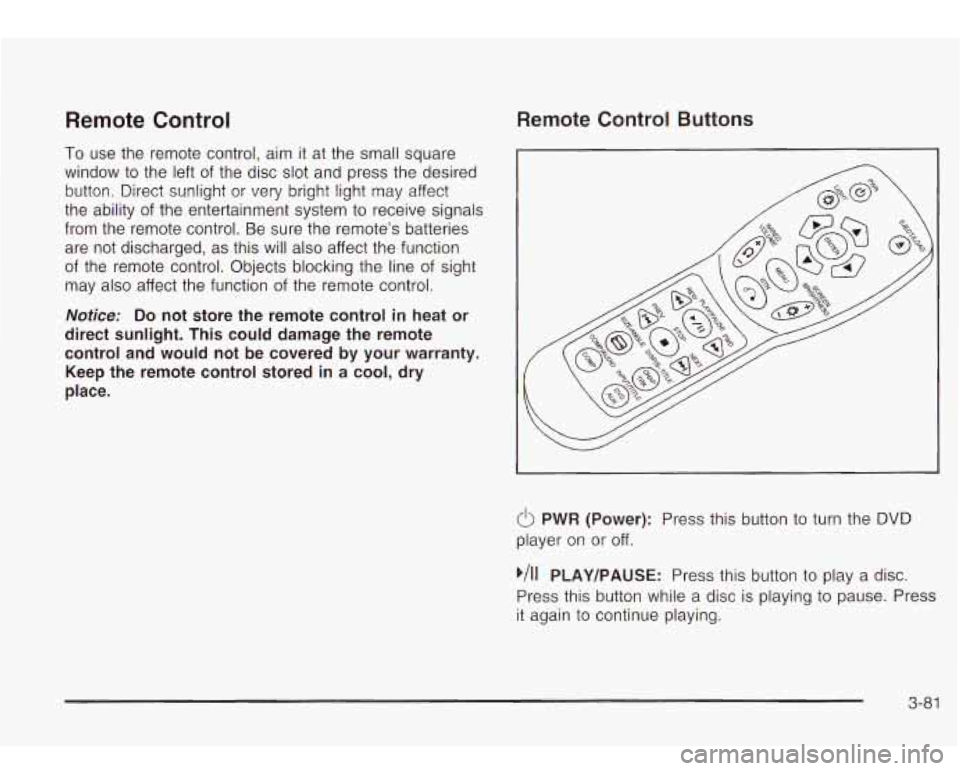
Remote Control
To use the remote control, aim it at the small square
window
to the left of the disc slot and press the desired
button. Direct sunlight or very bright light may affect
the ability of the entertainment system to receive signals
from the remote control. Be sure the remote’s batteries
are not discharged, as this will also affect the function
of the remote control. Objects blocking the line
of sight
may also affect the function of the remote control.
Remote Control Buttons
Notice: Do not store the remote control in heat or
direct sunlight. This could damage the remote
control and would not be covered by your warranty.
Keep the remote control stored in a cool, dry
place.
6 PWR (Power): Press this button to turn the DVD
player on or off.
,/I1 PLAY/PAUSE: Press this button to play a disc.
Press this button while a disc is playing
to pause. Press
it again to continue playing.
3-81
Page 201 of 410
PROG (Program): Press this button to switch between
playing a cassette tape or a CD and listening
to the
radio. The inactive tape
or CD will remain safely inside
the radio for future listening.
SEEK: Press the SEEK button to seek to the next
station and stay there. The display will show your
selection.
To scan preset stations, press and hold the SEEK
button. The radio will scan to a preset station, play for a
few seconds, then go on
to the next preset station.
The display will show your selections. The SEEK button
is inactive
if the front radio is in use.
While listening to a cassette tape, press the SEEK
button
to hear the next selection on the tape. Press and
hold the SEEK button to go
to the other side of the
tape. The SEEK button is inactive
if the tape mode on
the front radio is in use.
While listening
to a CD, press the SEEK button to hear
the next track on the CD. The SEEK button is inactive
if the CD mode on the front radio or the CD changer
is in use.
Radio Personalization
If your vehicle has this feature, it allows the driver to
return
to the last used audio source (radio, cassette or
CD) using the remote keyless entry transmitter. This
feature can also store and recall
AM and FM presets,
volume, tone and the
last selected radio station.
The number on the back of each transmitter
(1 or 2)
corresponds to driver 1 or 2. If transmitter 1 is used to
enter the vehicle, the last used audio source and/or
settings set by driver
1 will be recalled. If transmitter 2 is
used
to enter the vehicle, the last used audio source
and/or settings set by driver
2 will be recalled.
Theft-Deterrent Feature
THEFTLOCK@ is designed to discourage theft of yout
radio. The feature works automatically by learning a
portion of the Vehicle Identification Number (VIN). If the
radio is moved to
a different vehicle, it will not operate
and LOCKED will be displayed.
When the radio and vehicle are turned
off, your radio
may have a blinking red light that indicates that
THEFTLOCK is armed.
With THEFTLOCK activated, your radio will not operate
if stolen.
3-88
Page 206 of 410
Section Driving Your Vehicle
Your
Driving. the Road. and Your Vehicle .......... 4-2
Defensive Driving
........................................... 4.2
Drunken Driving
........................... ....... 4.2
Control
of a Vehicle ...................... ....... 4.5
Braking
......................................................... 4.6
Traction Assist System (TAS)
........................... 4.9
Locking Rear Axle
........................................ 4.10
Steering
...................................................... 4.10
Off-Road Recovery
....................................... 4-12
Passing
....................................................... 4. 1 3
Loss of Control ............................................. 4-14
Operating Your All-Wheel-Drive Vehicle
Off
Paved Roads ............................................ 4-15
Driving in Rain and on Wet Roads
.............. 4-28
Driving at Night
............................................ 4-27 City
Driving
.................................................. 4-31
Freeway Driving
........................................... 4-32
Before Leaving on a Long Trip
....................... 4-33
Highway Hypnosis
........................................ 4-34
Hill and Mountain Roads
................................ 4-34
Winter Driving
.............................................. 4-36
If You Are Stuck: In Sand, Mud,
Ice or Snow
.............................................. 4-40
Towing Your Vehicle
..................................... 4-41
Recreational Vehicle Towing
........................... 4-41
Loading Your Vehicle
.................................... 4-41
Adding a Snow Plow or Similar Equipment
....... 4-44
Towing a Trailer
........................................... 4-45
Towing .......................................................... 4-41
4- 1
Page 212 of 410
Anti-lock Brake System
Your vehicle has anti-lock brakes. ABS is an advanced
electronic braking system that will help prevent a
braking skid.
When you start your engine and begin to drive away,
your anti-lock brake system will check itself. You
may hear a momentary motor or clicking noise while
this test
is going on. This is normal.
If there’s a problem with
~ the anti-lock brake system,
~ this warning light will
stay on. See
Anti-Lock
Brake System Warning
Light
on page 3-34.
Along with ABS, your vehicle has a Dynamic Rear
Proportioning (DRP) system. If there’s a DRP problem,
both the brake and ABS warning lights will come on
accompanied by a IO-second chime. The lights
and chime will come on each time the ignition
is turned
on until the problem is repaired. See your dealer for
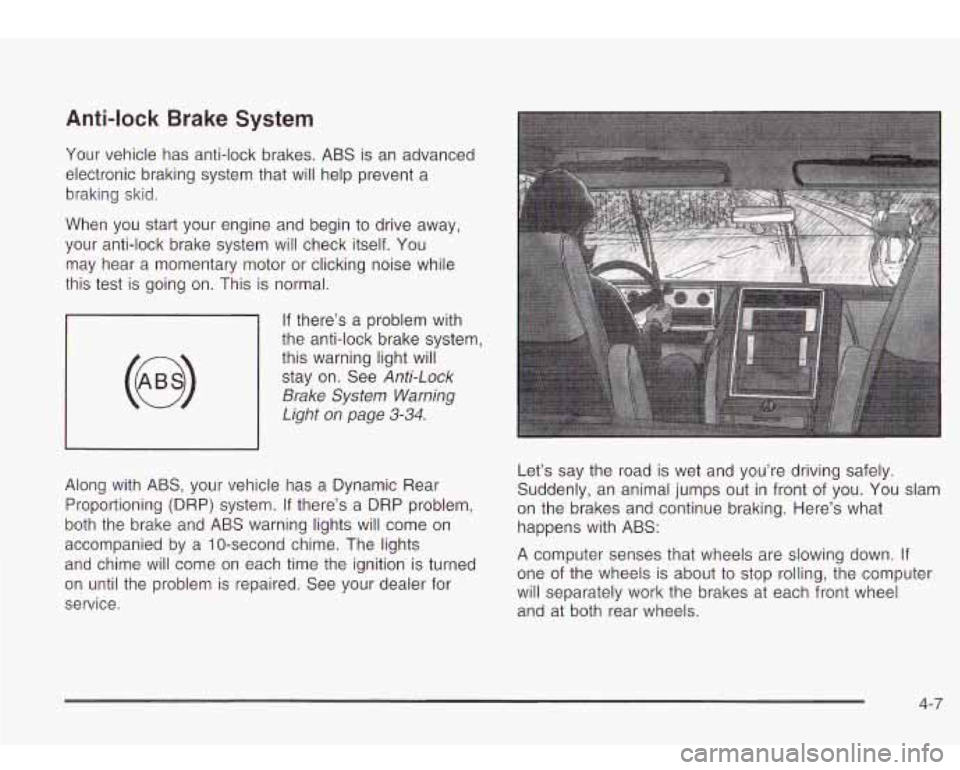
service. Let’s say the
road is wet and you’re driving safely.
Suddenly, an animal jumps out in front of you. You slam
on the brakes and continue braking. Here’s what
happens with ABS:
A computer senses that wheels are slowing down. If
one of the wheels is about to stop rolling, the computer
will separately work the brakes at each front wheel
and at both rear wheels.
4-7
Page 213 of 410
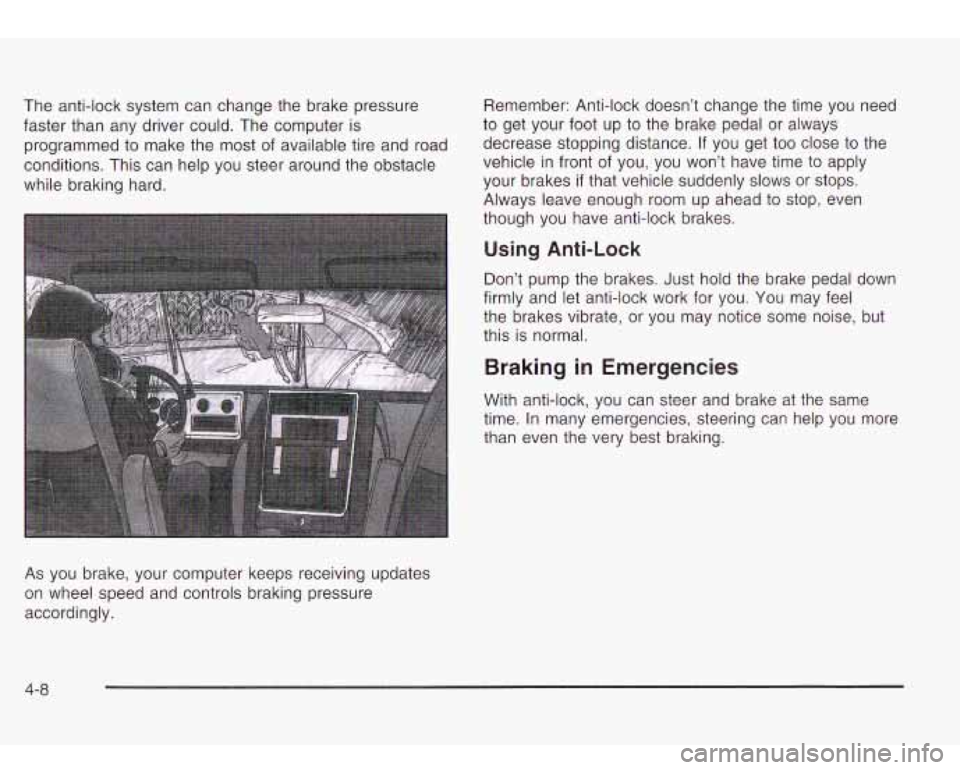
The anti-lock system can change the brake pressure
faster than any driver could. The computer is
programmed to make the
most of available tire and road
conditions. This can help you steer around the obstacle
while braking hard.
As you brake, your computer keeps receiving updates
on wheel speed and controls braking pressure
accordingly. Remember:
Anti-lock doesn’t change the time you need
to get your foot up to the brake pedal or always
decrease stopping distance. If you get too close to the
vehicle in front of you, you won’t have time to apply
your brakes
if that vehicle suddenly slows or stops.
Always leave enough room up ahead
to stop, even
though you have anti-lock brakes.
Using Anti-Lock
Don’t pump the brakes. Just hold the brake pedal down
firmly and let anti-lock work for you. You may feel
the brakes vibrate, or you may notice some noise, but
this is normal.
Braking in Emergencies
With anti-lock, you can steer and brake at the same
time. In many emergencies, steering can help you more
than even the very best braking.
4-8
Page 214 of 410
Traction Assist System (TAS)
Your vehicle has a Traction Assist System (TAS) that
limits wheel spin. This is especially useful in slippery
road conditions. The system operates only
if it senses
that one or both of the rear wheels are spinning or
beginning to lose traction. When this happens,
the system reduces engine power to limit wheel spin.
The LOW TRAC light next
to the button will come
on when the TAS is limiting wheel spin. You may feel or
hear the system working, but this is normal.
The Traction Assist System may operate on dry roads
under some conditions. When this happens, you
may notice a reduction in acceleration. This is normal
and doesn’t mean there’s a problem with your vehicle.
Examples of these conditions include a hard
acceleration in a turn, an abrupt upshift or downshift
of
the transmission or driving on rough roads.
If your vehicle is in cruise control when the TAS begins
to limit wheel spin, the cruise control will automatically
disengage. When road conditions allow you to safely
use it again, you may re-engage the cruise control. See
Cruise Control Light on page 3-40. When the TRAC
OFF light on the button is on, the TAS is off and will not
limit wheel spin. Adjust your driving accordingly. The TRAC
OFF light
on the button will come on under
the following conditions:
0 The Traction Assist System is turned off, either by
pressing the TAS on/off button or by turning
off
the automatic engagement feature of the TAS.
The transmission is in FIRST (1) gear; TAS will not
operate in this gear. This is normal.
0 The vehicle is driven on an extremely rough road.
When the vehicle leaves the rough surface,
slows
down or stops, the light will go off and TAS will
be on again. This is normal.
A Traction Assist System, Anti-Lock Brake System
or engine-related problem has been detected and
the vehicle needs service.
The Traction Assist System, as delivered from the factory, will automatically come on whenever you start
your vehicle. To limit wheel spin, especially in
slippery road conditions, you should always leave the
system on. But you can turn the TAS
off if you ever need
to. You shouid turn the TAS
off if your vehicle ever
gets stuck in sand, mud or snow and rocking the vehicle
is required.
4.- 9
Page 215 of 410
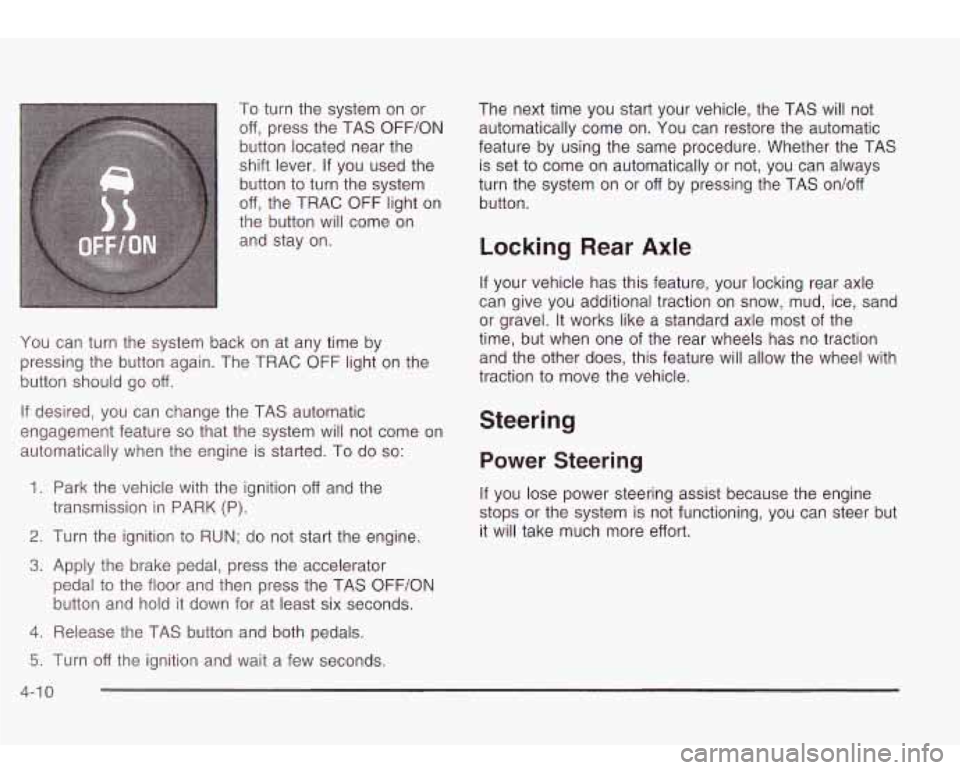
To turn the system on or
off, press the TAS OFF/ON
button located near the
shift lever.
If you used the
button to turn the system
off, the TRAC OFF light on
the button will come on
and stay on.
You can turn the system back on at any time by
pressing the button again. The TRAC OFF light on the
button should go off.
If desired, you can change the TAS automatic
engagement feature
so that the system will not come on
automatically when the engine is started. To do
so:
1.
Park the vehicle with the ignition off and the
2. Turn the ignition to RUN; do not start the engine.
3. Apply the brake pedal, press the accelerator
transmission in
PARK (P).
pedal
to the floor and then press the TAS OFF/ON
button and hold it down for at least six seconds.
4. Release the TAS button and both pedals. The next time you
start your vehicle, the TAS will not
automatically come on. You can restore the automatic
feature by using the same procedure. Whether the TAS
is set
to come on automatically or not, you can always
turn the system on or off by pressing the TAS on/off
button.
Locking Rear Axle
If your vehicle has this feature, your locking rear axle
can give you additional traction on snow, mud, ice, sand
or gravel. It works like a standard axle most of the
time, but when one
of the rear wheels has no traction
and the other does, this feature will allow the wheel with
traction to move the vehicle.
Steering
Power Steering
If you lose power steering assist because the engine
stops or the system is not functioning, you can steer but
it will take much more effort.
5. Turn off the ignition and wait a few seconds.
4-1 0