turn signal bulb Oldsmobile Cutlass 1998 Owner's Manuals
[x] Cancel search | Manufacturer: OLDSMOBILE, Model Year: 1998, Model line: Cutlass, Model: Oldsmobile Cutlass 1998Pages: 348, PDF Size: 17.46 MB
Page 94 of 348

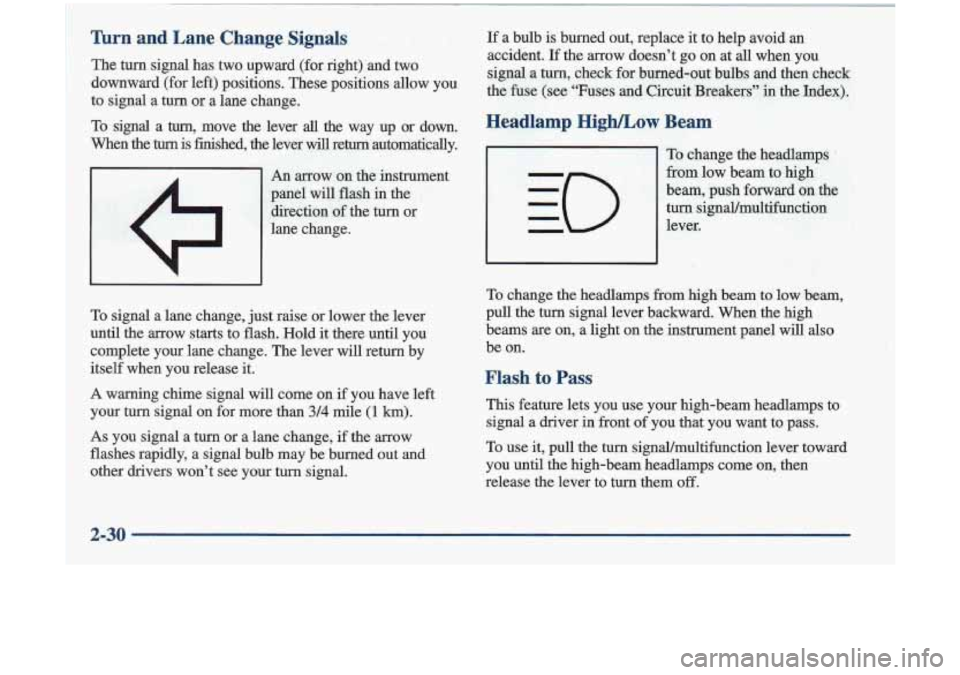
Turn and Lane Change Signals
The turn signal has two upward (for right) and two
downward (for left) positions. These positions allow you
to signal a turn or a lane change.
To signal a
turn, move the lever all the way up or down.
When the
turn is finished, the lever will return automatically.
An arrow on the instrument
panel will flash in the
direction of the turn or
lane change.
To signal a lane change, just raise or lower the lever
until the arrow starts to flash. Hold it there until you
complete your lane change. The lever will return by
itself when you release it.
A warning chime signal will come on if you have left
your turn signal on for more than
3/4 mile (1 km).
As you signal a turn or a lane change, if the arrow
flashes rapidly, a signal bulb may be burned out and
other drivers won’t see your turn signal. If
a bulb is burned out, replace it to help avoid an
accident.
If the arrow doesn’t go on at all when you
signal a
turn, check for burned-out bulbs and then check
the fuse (see “Fuses and Circuit Breakers” in the Index).
Headlamp HighLow Beam
To change the headlamps .
from low beam to high
beam, push forward on the
turn signal/multifunction
lever.
I I
To change the headlamps fkom high beam to low beam,
pull the
turn signal lever backward. When the high
beams
are on, a light on the instrument panel will also
be on.
Flash to Pass
This feature lets you use your high-beam headlamps to
signal a driver in front of
you that you want to pass.
To use it, pull the turn signal/multifunction lever toward
you until the high-beam headlamps come on, then
release the lever to turn them
off.
Page 184 of 348

Turn Signals When Towing a Trailer
When you tow a trailer, your vehicle may need additional wiring. Check with your retailer. The green
arrows on your instrument panel will flash whenever
you signal a turn or lane change. Properly hooked up,
the trailer lamps will also flash, telling other drivers
you’re about to
turn, change lanes or stop.
When towing a trailer, the green arrows on your instrument panel
will flash for turns even if the bulbs on
the trailer are burned out. Thus, you may think drivers
behind you are seeing your signal when they are not. It’s
important to check occasionally to be sure the trailer
bulbs are still working.
Driving On Grades
NOTICE:
Do not tow on steep continuous grades exceeding
6 miles (9.6 km). Extended, higher than normal
engine and transaxle temperatures may result
and damage your vehicle. Frequent stops are
very important to allow the engine and transaxle
to cool.
Reduce speed and shift to a lower gear before you start
down a long or steep downgrade. If you don’t shift
down, you might have to use your brakes
so much that
they would get hot and no longer work well.
On a long uphill grade, shift down and reduce your
speed to around
45 mph (70 km/h) to reduce the
possibility
of engine and transaxle overheating.
Pay attention to the engine coolant gage. If the indicator
is in the red area, turn
off the air conditioning to reduce
engine load (see “Engine Overheating” in the Index).
4-38
Page 279 of 348

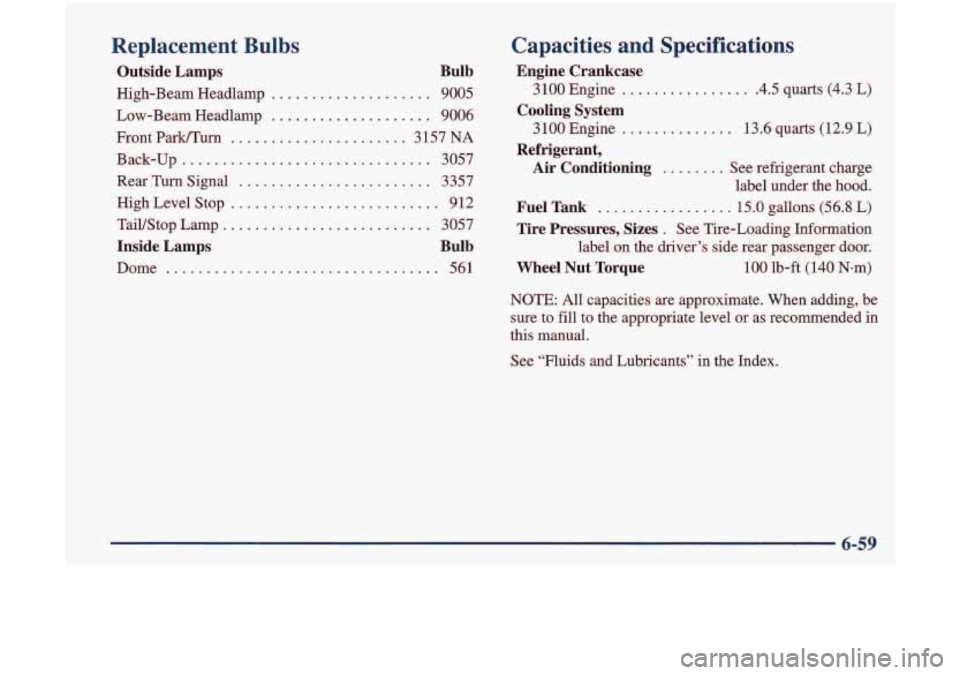
Replacement Bulbs
Outiide Lamps Bulb
High-Beam Headlamp .................... 9005
Low-Beam Headlamp
.................... 9006
Front Park/Turn
...................... 3 157 NA
Back-up
............................... 3057
Rear Turn Signal
........................ 3357
HighLevelStop
.......................... 912
TaiUStop Lamp
.......................... 3057
Inside Lamps Bulb
Dome .................................. 561
Capacities and Specifications
Engine Crankcase
Cooling System
Refrigerant,
3 100 Engine ................ .4.5 quarts (4.3 L)
3100 Engine
.............. 13.6 quarts (12.9 L)
Air Conditioning ........ See refrigerant charge
label under the hood.
Fuel Tank ................. 15.0 gallons (56.8 L)
Tire Pressures, Sizes . See Tire-Loading Information
label on the driver’s side rear passenger door.
Wheel Nut Torque 100 lb-ft (140 Nom)
NOTE: All capacities are approximate. When adding, be
sure to
fill to the appropriate level or as recommended in
this manual.
See “Fluids and Lubricants” in the Index.
6-59
Page 340 of 348

Shoulder Belt Height Adjuster ..................... 1-14
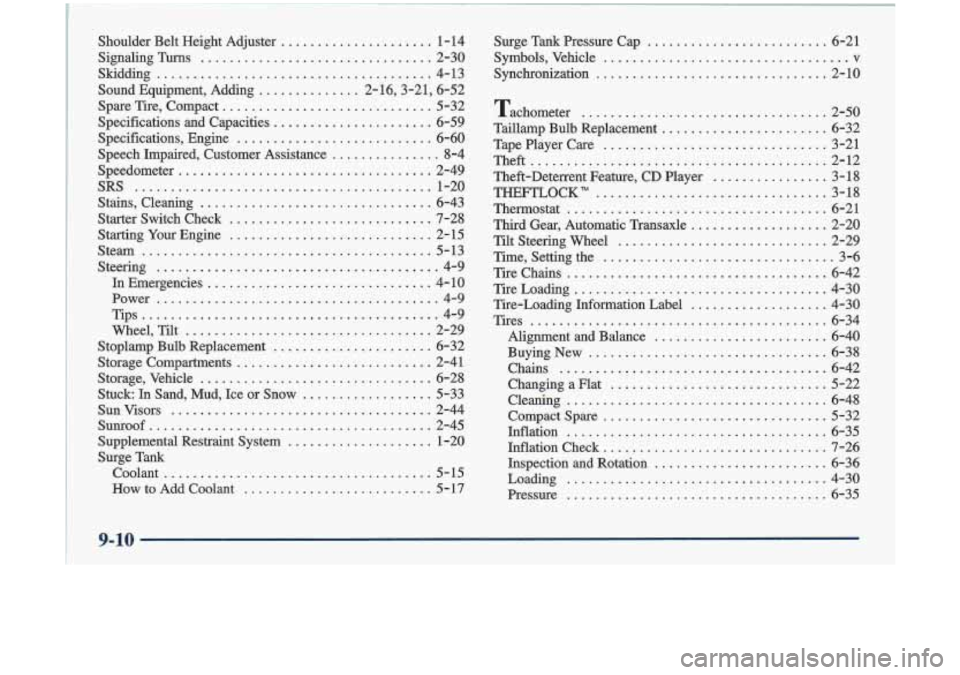
SignalingTurns
................................ 2-30
Sound Equipment, Adding
.............. 2-16,3-21, 6-52
Spare Tire, Compact
............................. 5-32
Specifications and Capacities
...................... 6-59
Specifications, Engine
........................... 6-60
Speech Impaired, Customer Assistance
............... 8-4
Speedometer
................................... 2-49
SRS
......................................... 1-20
Stains, Cleaning
................................ 6-43
Starter Switch Check
............................ 7-28
Starting Your Engine
............................ 2-15
Stem
........................................ 5-13
Steering
....................................... 4-9
In Emergencies
............................... 4- 10
Power
....................................... 4-9
Tips ......................................... 4-9
Wheel, Tilt
.................................. 2-29
Stoplamp Bulb Replacement
...................... 6-32
Storage Compartments
........................... 2-41
Storage, Vehicle
................................ 6-28
Stuck In Sand, Mud, Ice or Snow
.................. 5-33
SunVisors
.................................... 2-44
Sunroof ....................................... 2-45
Supplemental Restraint System
.................... 1-20
Surge Tank coolant
..................................... 5-15
How to Add Coolant
.......................... 5- 17
Skidding
...................................... 4-13
Surge
Tank Pressure Cap ......................... 6-21
Symbols. Vehicle
.................................. v
Synchronization ................................ 2-10
Tachometer
.................................. 2-50
Taillamp Bulb Replacement
....................... 6-32
Tape Player Care
............................... 3-21
Theft
......................................... 2-12
Theft-Deterrent Feature.
CD Player ................ 3-18
THEFTLOCK"
................................ 3-18
Thermostat
.................................... 6-21
Third Gear. Automatic Transaxle
................... 2-20
Tilt Steering Wheel
............................. 2-29
Time. Setting the
................................ 3-6
Tire Chains
.................................... 6-42
TireLoading
................................... 4-30
Tire-Loading Information Label
................... 4-30
Tires
......................................... 6-34
Alignment and Balance
........................ 6-40
Buying New
................................. 6-38
Chains
..................................... 6-42
ChangingaFlat
.............................. 5-22
Cleaning
.................................... 6-48
Compact Spare
............................... 5-32
Inflation
.................................... 6-35
Inflation Check
............................... 7-26
Inspection and Rotation
........................ 6-36
Loading
.................................... 4-30
Pressure
.................................... 6-35
9-10
I