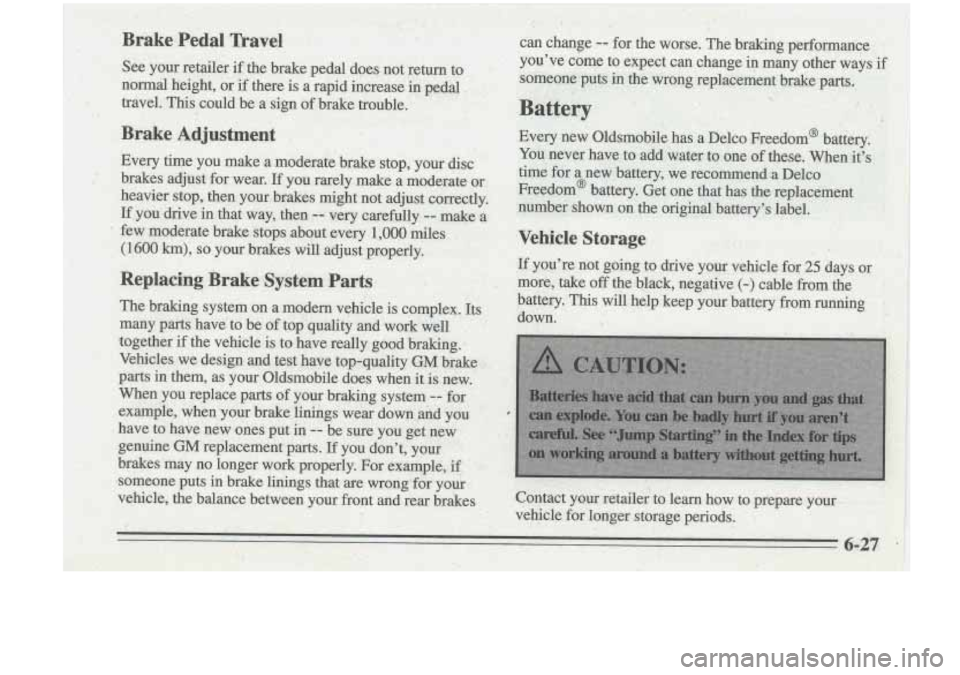
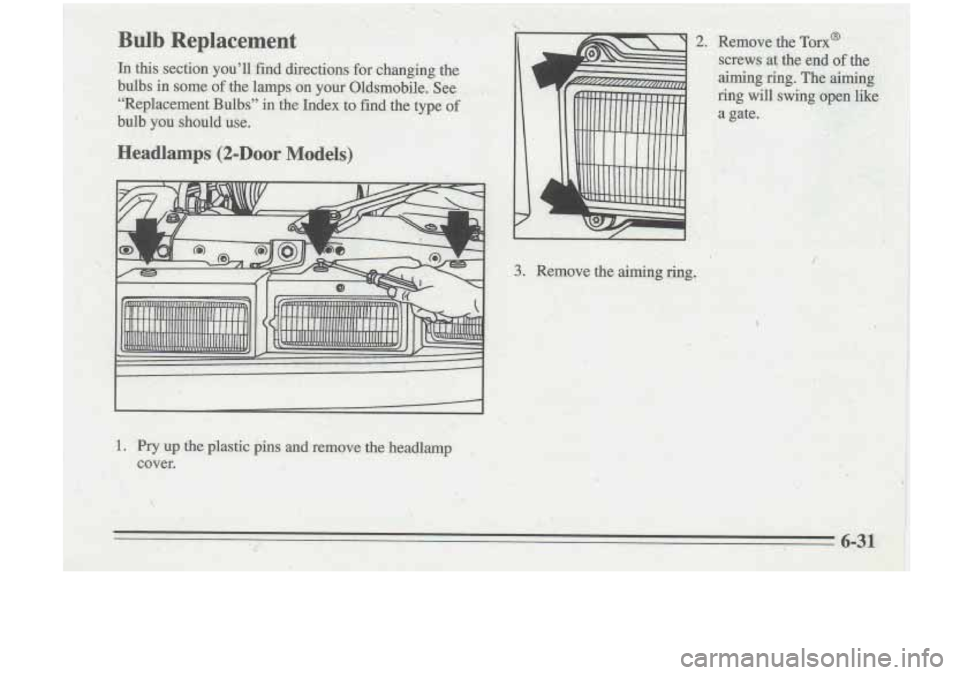
Halogen Bulbs
Headlamp
.A,jming
r ...... ';. ......... :.:..:..:..,.:. ............... ....... ........... .......... : ........... ......... : ............. ................ ........ .i ll
This section only applies to two-door Oldsmobiles. If
you have a four-door Oldsmobile, see your retailer when
your headlamp aim needs to be checked
or adjusted.
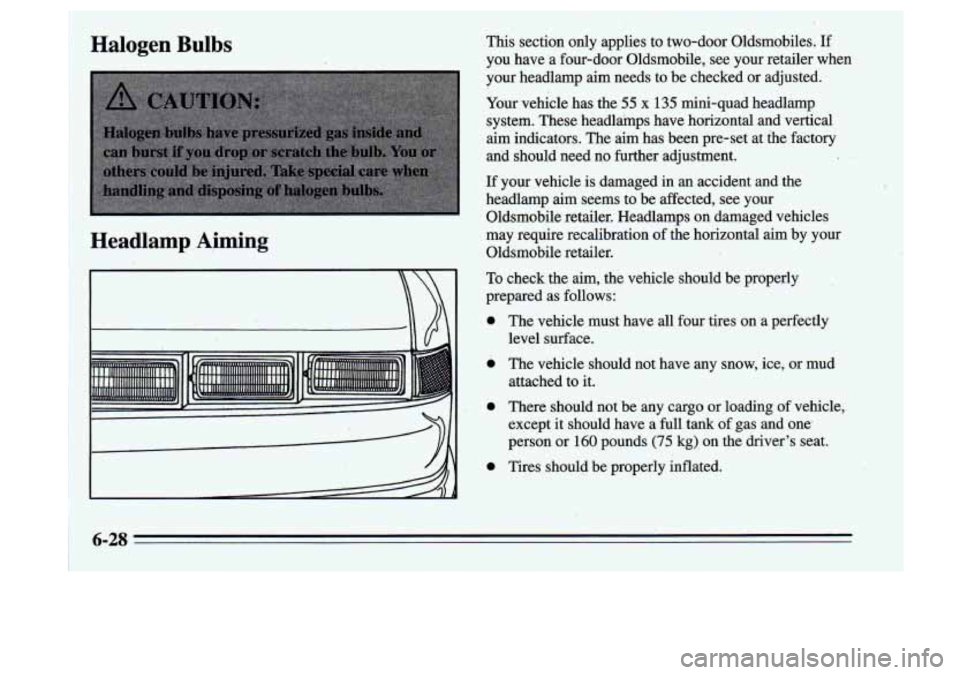
Your vehicle has the 55 x 135 mini-quad headlamp
system. These headldmps have horizontal and vertical
aim indicators. The aim has been pre-set at the factory
and should need no further adjustment.
If your vehicle is damaged in an accident and the
headlamp aim seems to be affected, see your
Oldsmobile. retailer. Headlamps on damaged vehicles
may require recalibration
of the horizontal aim by your
Oldsmobile retailer.
,
To check the aim, the vehicle should be properly
mepared
as follows:
The vehicle must have all four tires on
a perfectly
level surface.
The v'ehicle should not have any snow, ice, or mud
attached to it.
There should not be any cargo or loading
of vehicle,
except it should have a
full tank of gas and one
person or
160 pounds (75 kg) on the driver's seat.
Tires should be properly inflated.
6-28 .,
~~
~~ ~ ~~~ ‘1 ~ ~~
I
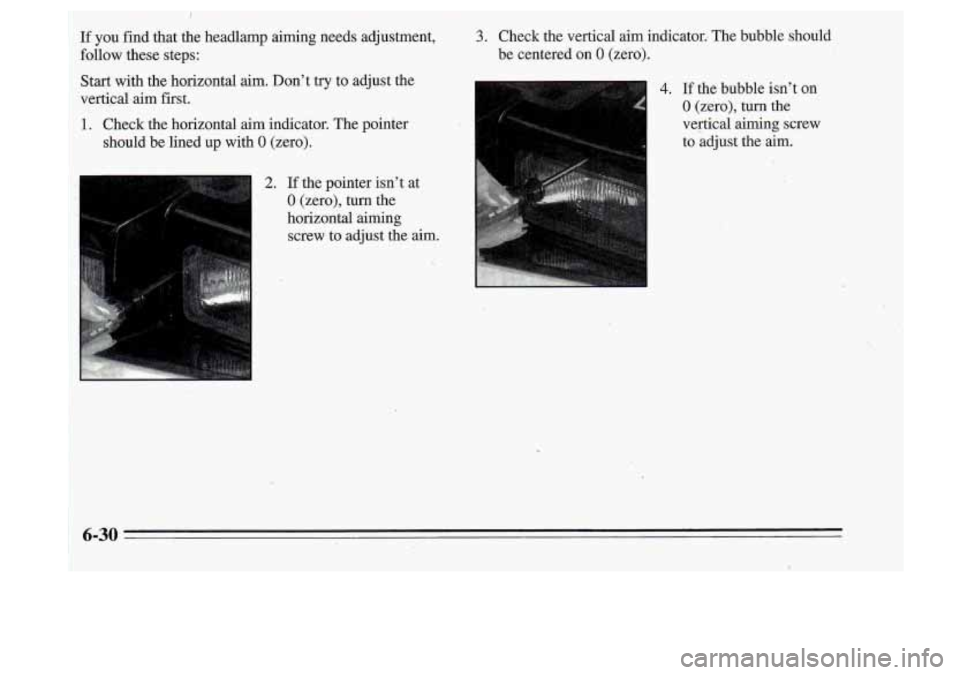
If you fid that the headlamp aiming needs adjustment, 3. Check the vertical aim indicator. The bubble should
follow these steps:
Start with the horizontal aim. Don’t try to adjust the
vertical aim first.
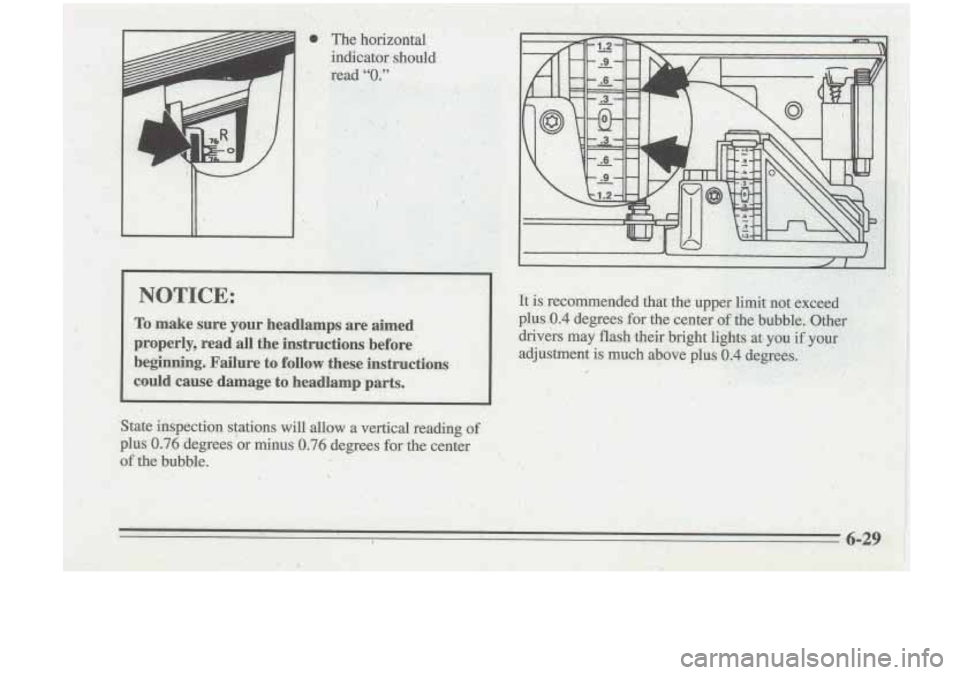
1. Check the horizontal aim indicator. The pointer
should be lined up with
0 (zero). be
centered on
0 (zero).
4. If the bubble isn’t on
0 (zero), turn the
vertical aiming screw
to adjust the aim.
2. If the pointer isn’t at
0 (zero), turn the
horizontal aiming screw to adjust the
aim. I
i
6-30
*.
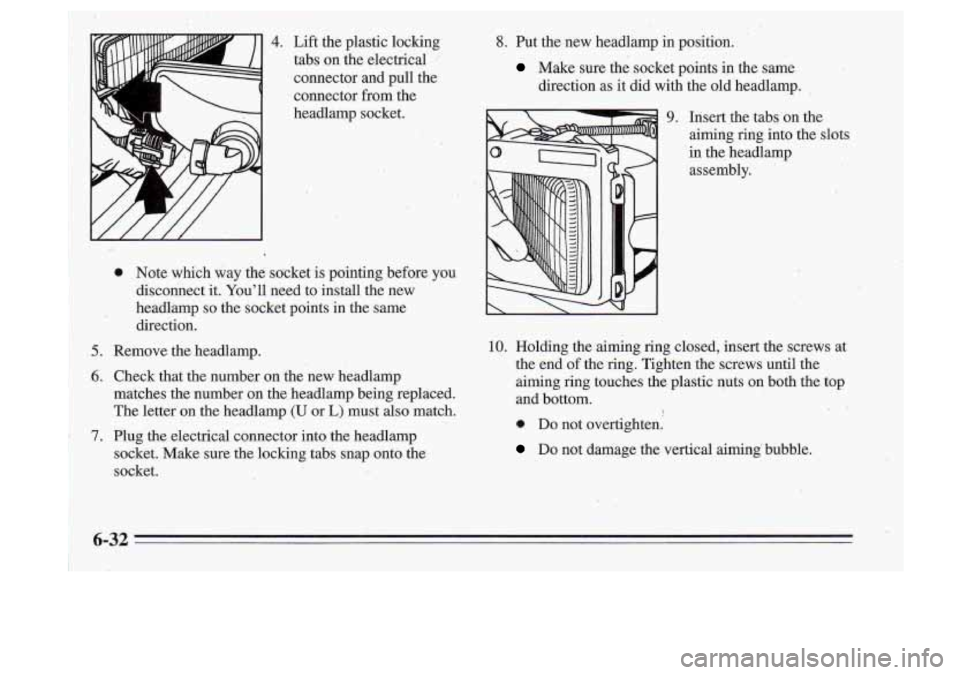
4. 8. Put the new headlamp in position.
Make sure the socket points in the same
direction
as it did with the old headlamp.
9. Insert the tabs on the
aiming
ring into the slots
in the headlamp
assembly.
10. Holding the aiming ring closed, insert the screws at
the end
of the ring. Tighten the screws until the
aiming ring touches the plastic nuts on both the
top
and bottom.
0. Do not overtighten.
Do not damage the vertical aiming bubble.
1
1 6-32
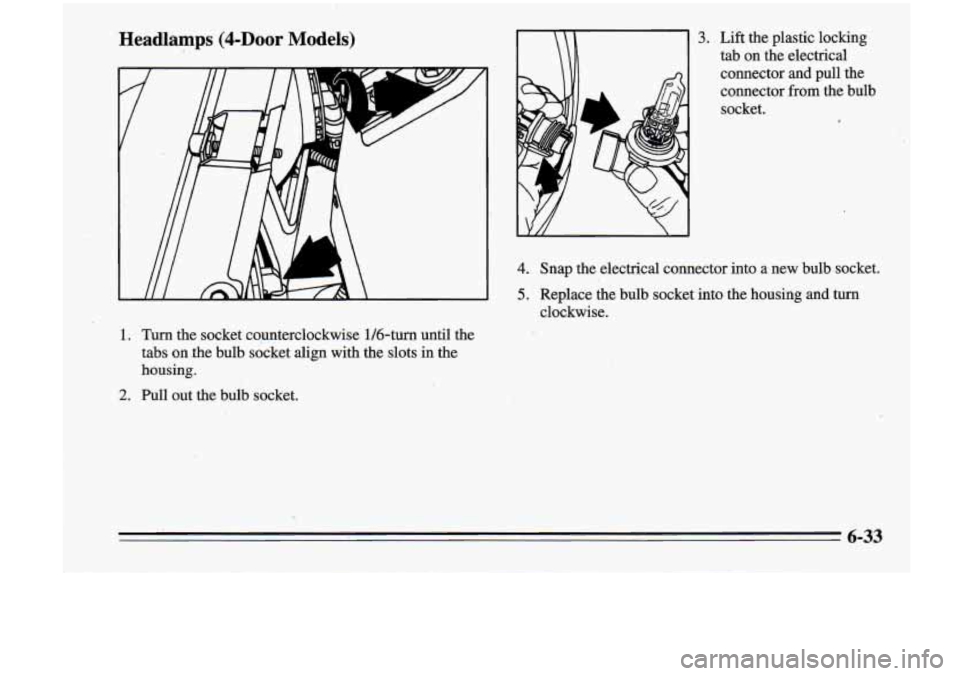
'Headlamps (4-DOOr Models)
1. Turn the socket c0,unterclockwise 1/6-turn until the tabs
on jhe bulb socket align with the slots in the
housing.
2. Pull out the bulb socket.
3. Lift the plastic locking
tab on the electrical
connector and pull the
connector from the bulb
socket.
1
4. Snap the electrical connector into a new bulb socket.
5. Replace the bulb socket into the housine and turn
clockwise.
6-33
