stop start Oldsmobile Cutlass Supreme 1996 Owner's Manuals
[x] Cancel search | Manufacturer: OLDSMOBILE, Model Year: 1996, Model line: Cutlass Supreme, Model: Oldsmobile Cutlass Supreme 1996Pages: 356, PDF Size: 18.48 MB
Page 70 of 356
New Vehicle aBreak-In”
NOTICE:
Your modern Oldsmobile doesn’t need an
elaborate “break-in.” But
it will perform better
in the long run
if you follow these guidelines:
0
0
0
Don’t drive at any one speed -- fast or
slow
-- for the first 500 miles (804 km).
Don’t make full-throttle starts.
Avoid making hard stops for the fist
200 miles (322 km) or so. During this time
your new brake linings aren’t yet broken
in. Hard stops with new linings can mean
premature wear and earlier replacement.
,
Follow this breaking-in guideline every
time you get new brake linings.
Don’t tow
a trailer during break-in. See
“Towing a nailer” in the Index for
more information.
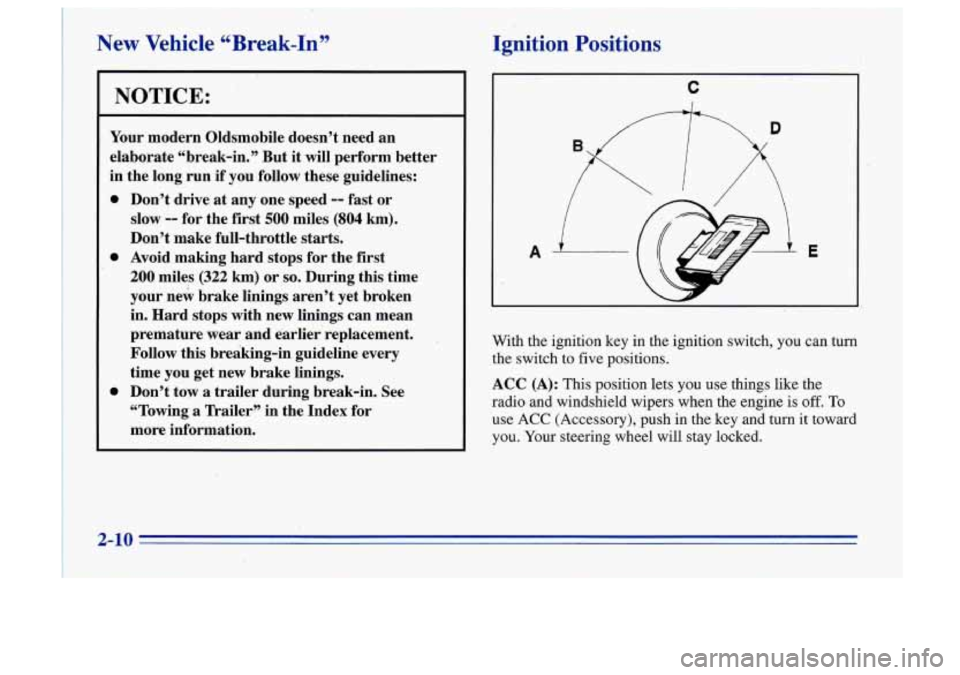
Ignition Positions
C
I
A E
With the ignition key in the ignition switch, you can turn
the switch to five positions.
ACC (A): This position lets you use things like the
radio and windshield wipers when the engine is
off. To
use ACC (Accessory), push in the key and turn it toward
you. Your steering wheel will stay locked.
I
Page 72 of 356
‘ Starting Your Engine
Move your shift lever to PARK (P) or NEUTRAL, (N).
Your engine won’t start in any other position -- that’s a
safety feature.
To restart when you’re already moving,
use NEUTRAL (N) only.
NOTICE:
Don’t try to shift to PARK (P) if your Oldsmobile
is moving.
If you do, you could damage the
transaxle. Shift to PARK
(P) only when your
vehicle is stopped.
~ 1. Without pushing the accelerator pedal, turn your
ignition key
to START. When the engine starts, let
go of
the key. The idle speed will go down as your
engine gets warm.
I NOTICE:
Holding your key in START for longer than
15 seconds at a time will cause your battery to
NOTICE: (Continued) NOTICE: (Continued)
be drained much sooner. And the excessive heat
can damage your starter motor.
2.
If your engine won’t start (or starts but then stops), it could
be flooded with’too much gasoline. Try pushing you
accelerator pedal
all the way to the floor and holding it
there
as you hold the key in START for up to 15 seconds.
his cl& the extra gasoline from the engine.
I NOTICE:
Your engine is designed to work with the
electronics in your vehicle. If you add electrical
parts or accessories, you could change the way
the engine operates. Before adding electrical
equipment, check with your retailer.
If you don’t,
your engine might not perform properly.
If you ever have to have your vehicle towed, see
the part of this manual that tells how to do it
without damaging your vehicle. See “Towing
Your Vehicle” in the Index.
. ,-
2-12
1
Page 75 of 356
brake pedal pushed down. Release the shift lever button if you have a console shift. Then move the shift lever
out of PARK
(P), being sure to press the shift lever
button if you have a console shift. See “Shifting Out of
PARK (P)” in the Index.
REVERSE (R): Use this gear to back up.
NOTICE:
Shifting to REVERSE (R) while your vehicle is
moving forward could damage your transaxle.
Shift to REVERSE (R) only after your vehicle
is stopped.
To rock your vehicle back and forth to get out of snow,
ice or sand without damaging your transaxle, see
“Stuck: In Sand, Mud,
Ice or Snow” in the Index.
NEUTRAL (N): In this position, your engine
doesn’t connect with the wheels.
To restart when you’re
already moving, use NEUTRAL
(N) only. Also, use
NEUTRAL
(N) when your vehicle is being towed.
I A CAUTION:
Shifting out of PARK (P) or NEUTRAL (N).while
your engine
is “racing” (running at high speed) is
dangerous. Unless your foot
is firmly on the
brake pedal, your vehicle could move very
rapidly. You could lose control and hit people or
objects. Don’t shift out of PARK
(P) or
NEUTRAL
(N) while your engine is racing.
I NOTICE:
Damage to your transaxle caused by shifting out
of PARK (P) or NEUTRAL
(N) with the engine
racing isn’t covered by your warranty.
~~ 2-15
Page 98 of 356

Center Console Convenience Net (Option)
To open the storage area, press
up on the latch on the
front edge and lift the cover. The console has a
cupholder, cassette tape and compact disc storage
and a coinholder.
Rear Door Cupholders
You may have a cupholder in each rear door. Your
vehicle may have a convenience net. You’ll see it
on the back wall of the trunk.
Put small loads, like grocery bags, behind the net. It can
help keep them from falling over during sharp turns or
quick starts and stops.
The net isn’t for larger, heavier loads. Store them in the
trunk as far forward as you can.
You can unhook the net so that it will lie flat when
you’re not using it.
You can also push the net down and
hook it under the plastic hooks.
2-38
Page 108 of 356
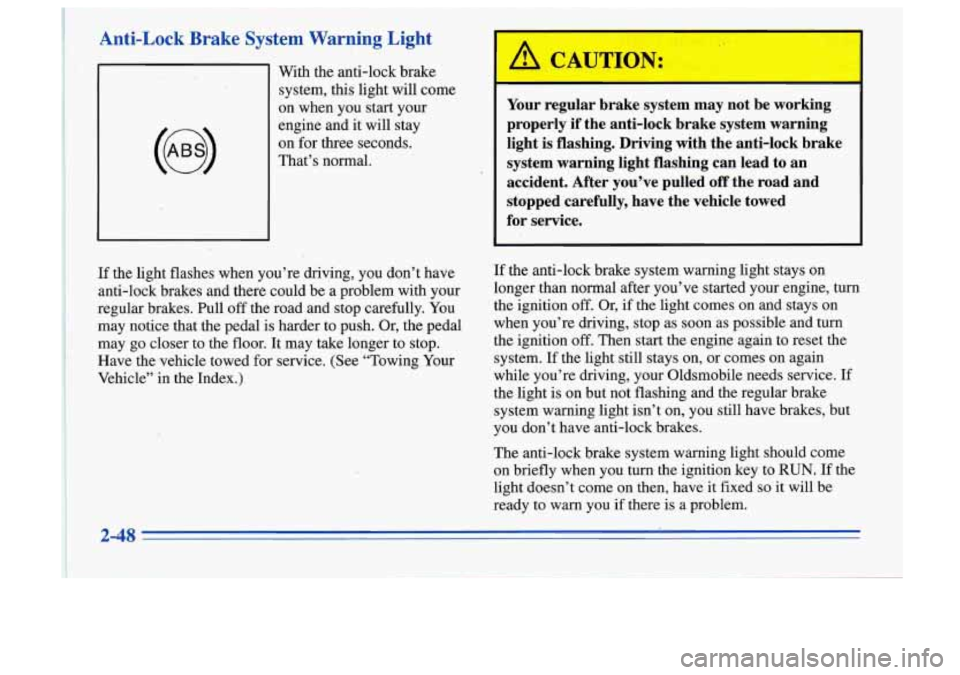
Anti-Lock Brake System Warning Light
With the anti-lock brake system, this light will come
on when you start your
engine and it will stay
on for three seconds.
That’s normal.
If the light flashes when you’re driving, you don’t have
anti-lock brakes and there could be
a problem with your
regular brakes. Pull
off the road and stop carefully. You
may notice that the pedal is harder to push. Or, the pedal
may go closer to the floor. It may take longer to stop.
Vehicle” in the Index.)
, Have the .vehicle towed for service. (See.“Towing Your
Your regular brake system may not be working
properly
if the anti-lock brake system warning
light is flashing. Driving with the anti-lock brake system warning light flashing can lead to an
accident. After you’ve pulled
off the road and
stopped carefully, have the vehicle towed
for service.
If the anti-lock brake system warning light stays on
longer than normal after you’ve started your engine, turn
the ignition
off. Or, if the light comes on and stays on
when you’re driving, stop as soon as possible and turn
the ignition
off. Then start the engine again to reset the
system. If the light still stays on, or comes on again
while you’re driving, your Oldsmobile needs service. If
the light is on but not flashing and the regular brake
system warning light isn’t on, you still have brakes, but
you don’t have anti-lock brakes.
The anti-lock brake system warning light should come
on briefly when you turn the ignition key to
RUN. If the
light doesn’t come on then, have it fixed
so it will be
ready
to warn you if there is a problem.
2-48
Page 112 of 356
0 Reduce vehicle speed.
0 Avoid hard accelerations.
Avoid steep uphill grades.
I 0 If towing a trailer, reduce the amount of cargo being
hauled as soon as it is possible.
If the lightstops flashing and remains,on steady, see “If
the Light
Is On Steady” following.
If
the light continues to flash, when it is safe to do so,
stop the vehicle. Put your vehicle in PARK (P). Turn the
key off, wait at least
10 seconds and restart the engine.
~ If the light remains on steady, see “If the Light Is On
Steady” following. If the light is still flashing, follow
the
1 previous steps, and drive the vehicle to your retailer or
qualified service center for service.
1
If the Light Is On Steady
You may be able to correct the emission system
malfunction by considering the.following:
Did you just put fuel into your vehicle?
If
so, reinstall the fuel cap, making sure to fully install
the cap. The diagnostic system can determine if the fuel
cap has been left
off or improperly installed. This will
allow fuel to .evap.orate into the atmosphere. A few
driving trips should turn the light
off.
Did you just drive through a deep puddle of water?
If
so, your electrical system may be wet. The condition
will usually be corrected when the electrical system
dries out. A few driving trips should turn the light
off.
Are you low on fuel?
As your engine starts to run out of fuel, your engine may
not
run as efficiently as designed since small amounts of
air are sucked into the fuel line causing a misfire.
The
system can detect this. Adding fuel should correct this
condition. Make sure to install the fuel cap properly. It
will take a few driving trips to turn the light off.
Page 114 of 356
I
0
0
When the ignition is on but the engine is not running,
the light will come on as a test to show you it is
working, but the light will go out when you turn the
ignition to
START. If it doesn’t come on with the
ignition on, you may have a problem with the fuse or
bulb. Have it fixed right away.
If you make a hard
stop, the light may come on for a
moment. This is normal.
A
I
Don’t keep driving if the oil pressure is low. If
you do, your engine can become so hot that it
catches fire.
You or others could be burned.
Check your oil as soon
as possible and have your
vehicle serviced.
I NOTICE:
Damage to your engine from neglected oil
problems can be costly and is not covered by
your warranty.
Page 134 of 356
I
Adjusting the Speakers
BAL: Press this knob, lightly so it extends, Tm the
knob to move the sound to the left or right speakers. Use
the middk position to balance these speakers.
FADE: Press the knob lightly--so it 'extends. Then pull
-. the knoti.all the way out. T& it to move the sound to
, the front or rear speakers. 'Use the middle position to'
I -balance these speakers.'
Push the knob back in when you're,not.using it.
Playing a Compact Disc 8.
Insert a disc partway into the slot, label side,up. The
player will pull it in. If the'ignition is
on and the radio is
off, the disc should begin playing.
If you're driving on a very rough road or if it's very hot,
the disc may not play and
Em, (error) may appear on
the display. When things get back to normzil, the disc
should play.
If the disc comes out, it could be that:
-, ,
The disc is upside down.
It is dirty, scratched or wet.
It is very humid. (If so, wait about an hour and
try again.)
RCL: Press this button to see which track is playing.
x Press it again within five seconds to see how long it has
been playing.
To change what is normally shown on the
display (track or elapsed-time), press the button until
you see the display you want, then hold the button until
the display flashes. While elapsed time is showing,
EL TM will appear on the display.
REV (1): Press and hold this button to quickly reverse
within a track (song). You will hear sound at a reduced
volume. The display will show elapsed time.
FWD (2): Press and hold this button to quickly advance
within a track (song). You will hear sound at a reduced
volume. The display will show elapsed time.
RDM (3): Press this button to hear the tracks in random,
rather than sequential, order. RDM will appear on the
display when you press
this button. Press RDM again to
turn
off random play.
AM-FM: Press this button to play the radio when a disc
is in the player.
CD: Press this button to change to the disc function
when the radio is
on if a disc is already loaded. The.disc
will start playing at the point where
it was stopped. A
box will appear around CD on the display'when the disc
is active.
3-16
Page 135 of 356
SEEK:. Press the down to go,.to the start of the
' %, -' 1:. '.
::, , :If you turn off the ignition or radio with a disc in-the
: ; I :.; -':player, it will stay in the player. \WhFn yo0 turn on the
- :?: ::,"ignition or system, the disc will start playing where i't
- * - 1. . .:-. '"was stopped.
.iu-,- :-
'(I. " " . ~. ..
. .. 8, I I",
~. : I' .
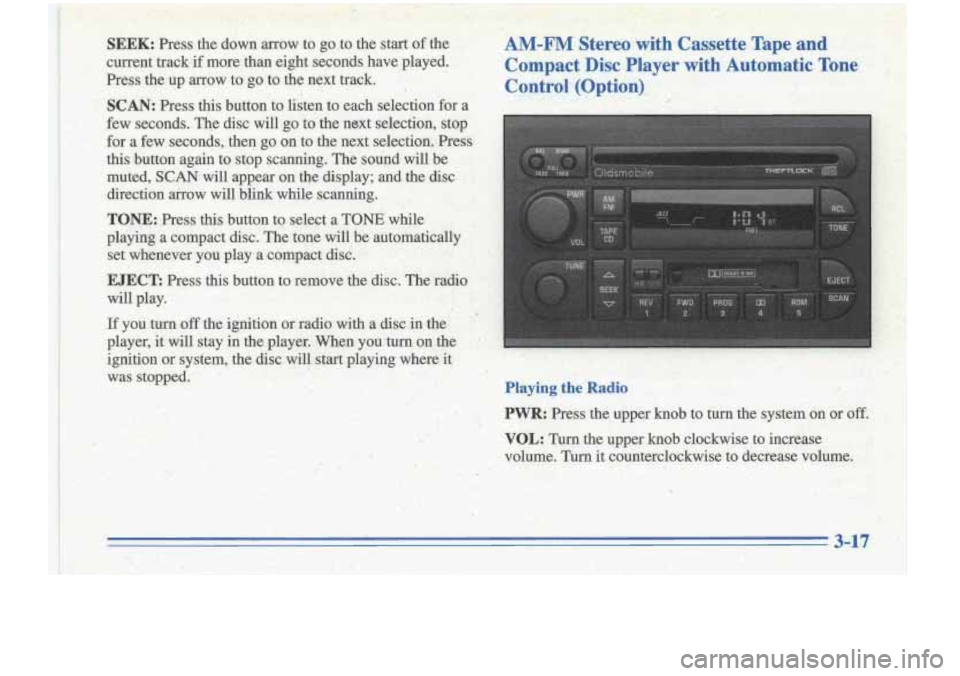
AM-FM. Stereo with Cassette Tape and
Compact Disc Player with Automatic Tone Control (Option)L
PWR: Press the upper knob to turn the system on or dff. ~ I 1-
VOL: Turn the upper knob clockwise to increase ..=
volume. Turn it; counterclockwise to decrease volume.
. '. - . ., r. ip:.-,:,,;
Page 139 of 356
SCAN: Press this button to listen to each selection for a
few seconds. The tape will go to the next selection, stop
for a few seconds, then go on to the next selection. Press
this button again to stop scanning. The sound will be
muted, SCAN will appear on the display and the tape
direction arrow will blink while scanning.
TONE: Press this button to select a TONE while
playing a cassette. The tone will be automatically set
whenever you play a cassette tape.
AM-FM: Press this button to play the radio when a tape
is in the player. The tape will stop but remain in the playe\
r.
TAPE-CD: Press this button if you have a disc loaded
in the changer and the radio is playing, to play a
compact disc. Press AM-FM to return to the radio when
a compact disc is playing. Press TAPE-CD to switch
between the tape and compact disc if both are loaded.
The inactive tape or CD- will remain safely inside the
radio for future listening.
EJECT Press this button to remove the tape. The
radio will play. EJECT may be activated with either the
ignition or radio off. Cassettes may be loaded with the
radio and ignition
off if this button is pressed first.
CLN: This message may appear on the display. If it
does, your cassette tape player needs to be cleaned. It
will still play tapes, but you should clean it as soon as
possible to prevent damage to your tapes and player.
See “Care of Your Cassette Tape Player” in the Index.
After you clean the player, press and hold EJECT for
five seconds to reset the CLN indicator. The radio will
display
--- to show the indicator was reset.
Playing a Compact Disc
The CD player will play either normal-size discs or the
smaller
8 cm discs without an adapter.
With the ignition on, insert a disc partway into the slot,
label side up. The player will pull
it in and the disc
should begin playing.
Note that when the disc is inserted, CD will be
displayed. When the disc is playing, a
box will appear
around CD on the display.
If you select a tone setting for
your CD, it will be activated each time you play a CD.
As each new track starts to play, the track number will
appear in the display.
3-21