headlamp OLDSMOBILE INTRIGUE 1998 User Guide
[x] Cancel search | Manufacturer: OLDSMOBILE, Model Year: 1998, Model line: INTRIGUE, Model: OLDSMOBILE INTRIGUE 1998Pages: 340, PDF Size: 17.93 MB
Page 259 of 340

Bulb Replacement
For the proper type of replacement bulb, see
"Replacement Bulb Numbers" in the Index.
Halogen Bulbs
'1
CAUTION:
- -
Halogen bulbs have pressurized gas inside and
can burst
if you drop or scratch the bulb. You or
others could be injured. Be sure to read and
follow the instructions on the bulb package.
Headlamps
To replace your headlamps follow these steps:
1. Open the hood.
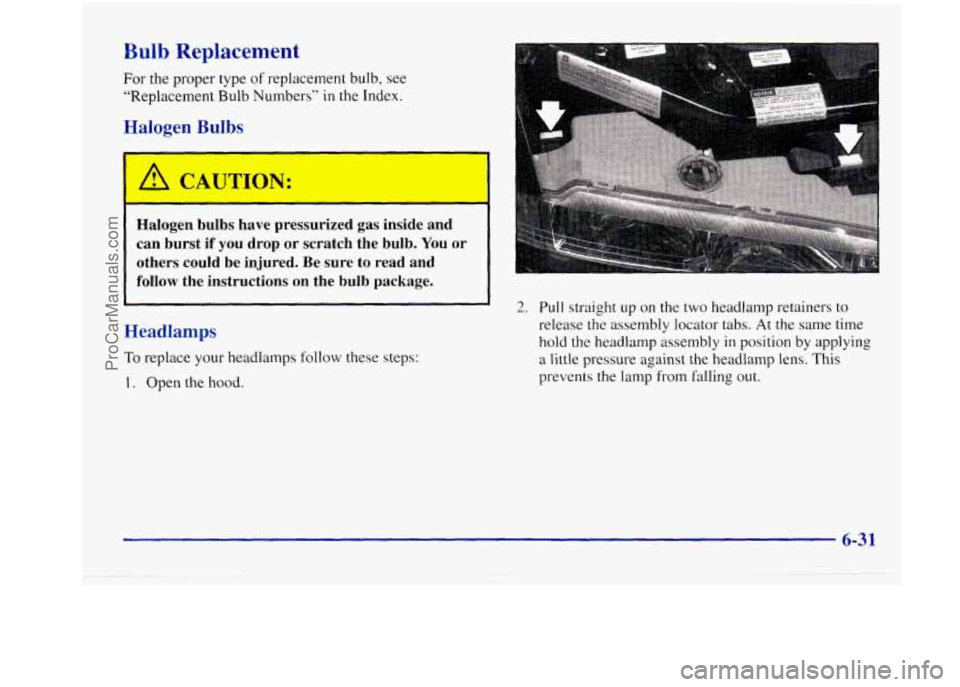
2. Pull straight up on the two headlamp retainers to
release the assembly locator tabs. At
the same time
hold the. headlamp assembly
in position by applying
a little pressure against
the headlamp lens. This
prevents the
lamp from falling out.
6-31
ProCarManuals.com
Page 261 of 340

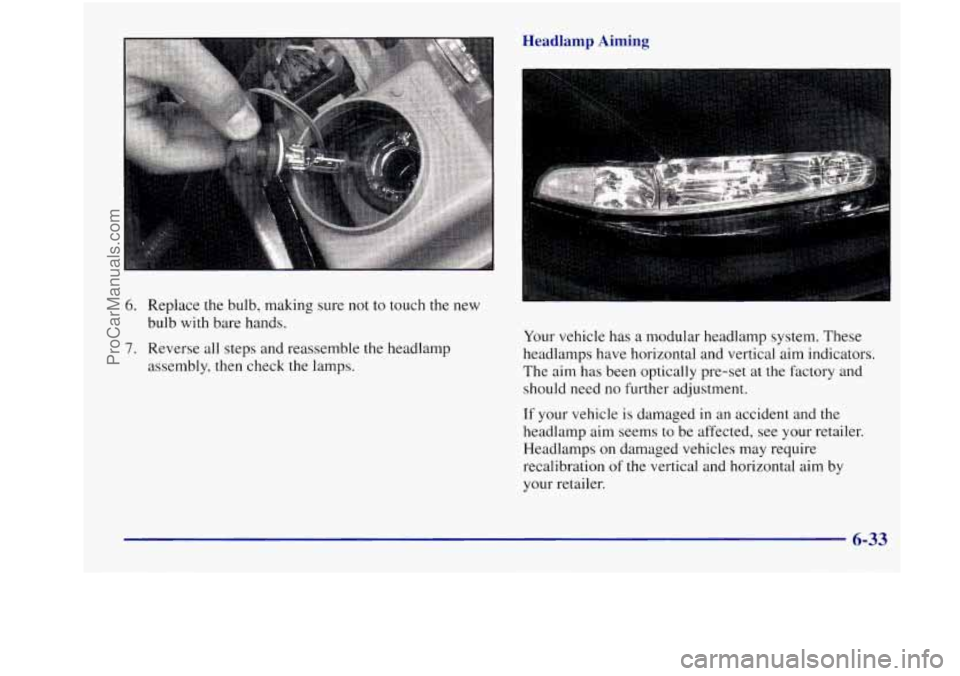
6. Replace the bulb, making sure not to touch the new
bulb with bare hands.
7. Reverse all steps and reassemble the headlamp
assembly, then check the lamps.
Headlamp Aiming
Your vehicle has a modular headlamp system. These
headlamps have horizontal and vertical aim indicators.
The aim has been optically preset at the factory and
should need no further adjustment.
If your vehicle is damaged in an accident and the
headlamp aim seems to be affected, see your retailer.
Headlamps on damaged vehicles may require
recalibration of the vertical and horizontal aim by
your retailer.
6-33
ProCarManuals.com
Page 262 of 340

To check the aim, the vehicle should be properly
prepared as follows: For the vertical adjustment, state inspection stations
will generdy dhw areading of plus 0.76 degrees or
minus 0.76 degrees from the center of the bubble. 0
0 Place the vehicle on a level pad or surface.
The vehicle should not have any snow, ice or mu(
attached to it.
0
0
0
0
0
1
The vehicle should be fully assembled and all other
work stopped while headlamp aiming is being done.
There should not be any cargo or loading of the
vehicle, except it should have a
full tank of gas and
one person
or 160 lbs. (75 kg) on the driver's seat.
Close
all doors.
Tires should be properly inflated.
Rock the vehicle to stabilize the suspension.
NOTICE:
To make sure your headlamps are aimed
properly, read all the instructions before
beginning. Failure to follow these instructions could cause damage to headlamp parts.
Dl .2" .4"
It is recommended that the
upper limit not exceed
plus
0.4 degrees from the
center of the bubble.
Other drivers may flash
their high beams at you
if
your adjustment is much
above plus
0.4 degrees.
6-34
ProCarManuals.com
Page 263 of 340

If you find that the headlamp aiming needs adjustment,
follow these steps:
A. Horizontal aim adjustment screw
B. Vertical aim adjustment screw
1. Start by opening the hood and locating the vertical
and horizontal aim indicators. The aiming screw for
the horizontal aim indicator is on the outboard side
of the headlamp cover
(A) and the aiming screw for
the vertical aim indicator
is on the inboard side (B).
NOTICE:
Horizontal aim of the headlamp must be done
first. Adjusting vertical aim first will result in
incorrect headlamp aim.
B. Vertical aim adjustment screw
C. Horizontal block index plate
D. Vertical aiming level
6-35
ProCarManuals.com
Page 264 of 340

2. Using an E8 torx socket, turn the horizontal aiming
adjustment screw
(A) until the “0” (zero) on the
pointer
is lined up with the center marking on the
3.
1.
-
horizontal block index plate (C).
To adjust the vertical aim, use an E8 torx socket
and turn the vertical aiming adjustment screw
(B)
until the bubble inside the level (D) is centered at
“0” (zero).
Front Parking, Sidemarker and Turn Signal
Cornering Lamp
Remove the headlamp assembly. Refer to the
removal procedure earlier in this section.
2.
3.
4.
5.
6.
Remove the rubber bulb access cover.
Twist and pull each bulb socket from the
headlamp assembly.
Holding the base
of the bulb, pull the bulb from
the socket.
Push the new bulb into the socket.
Put the bulb socket back into the headlamp assembly
and
turn it to the right until it is secure.
Redace the rubber bulb access cover.
I
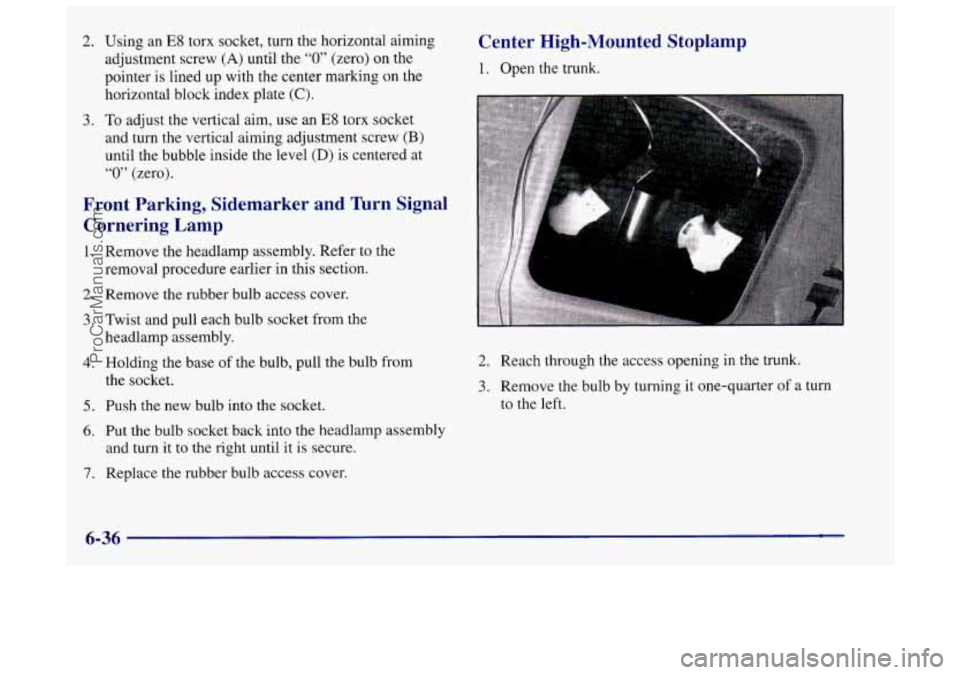
Center High-Mounted Stoplamp
1. Open the trunk.
Lr
2. Reach through the access opening in the trunk.
3. Remove the bulb by turning it one-quarter of a turn
to the left.
6-36
ProCarManuals.com
Page 274 of 340

I
NOTICE:
The wrong wheel can also cause problems with
bearing life, brake cooling, speedometer or
odometer calibration, headlamp aim, bumper
height, vehicle ground clearance and tire
clearance to the body and chassis.
See “Changing a Flat Tire” in the Index for
more information.
Used Replacement Wheels
-
-1
Putting a used wheel on your vehicle is
dangerous. You can’t know how
it’s been used or
how
far it’s been driven. It could fail suddenly
and cause an accident.
If you have to replace a
wheel, use a new
GM original equipment wheel.
Tire Chains
NOTICE:
Don’t use tire chains. They can damage your
vehicle because there’s not enough clearance.
Use another type of traction device only
if its
manufacturer recommends it
for use on your
vehicle and tire size combination and road
conditions. Follow that manufacturer’s
instructions. To help avoid damage to your
vehicle, drive slowly, readjust
or remove the
device
if it’s contacting your vehicle, and don’t
spin your wheels.
If you do find traction devices that will fit, install
them on the front tires.
6-46
ProCarManuals.com
Page 284 of 340

Electrical System
Add-on Electrical Equipment
NOTICE:
Don’t add anything electrical to your vehicle
unless you check with your retailer first. Some
electrical equipment can damage your vehicle
and the damage wouldn’t be covered
by your
warranty. Some add-on electrical equipment
can keep other components from working as
they should.
Your vehicle has an air bag system. Before attempting to
add anything electrical to your vehicle, see “Servicing
Your Air Bag-Equipped Vehicle” in the Index.
Headlamp Wiring
The headlamp wiring is protected by separate left and
right headlamp fuses in the underhood electrical center.
An electrical overload will cause a lamp to go off and
remain off.
If this happens, have your headlamp system
checked right away.
Windshield Wipers
The windshield wiper motor is protected by a circuit
breaker and a fuse.
If the motor overheats due to heavy
snow, etc., the wiper will stop
until the motor cools. If
the overload is caused by some electrical problem, have
it fixed.
Power Windows and Other Power Options
Circuit breakers in the fuse panel protect the power
windows and other power accessories. When the current
load is too heavy, the circuit breaker opens and closes,
protecting the circuit until the problem is fixed.
Fuses and Circuit Breakers
The wiring circuits in your vehicle are protected from
short circuits by a combination
of fuses, circuit breakers
and fusible thermal links in the wiring itself. This
greatly reduces the chance of fires caused by
electrical problems.
Look at the silver-colored band inside the fuse. If the
band is broken or melted, replace the fuse. Be sure you
replace a bad fuse with
a new one of the identical size
and rating.
6-56
ProCarManuals.com
Page 290 of 340

Fuse
30 31
32
33
34
35
36
37
38 39
40
41
42
43
Description
Engine Emissions
Not Used
Headlamp (Right)
Rear Compartment Release
Parking Lamp
Fuel Pump
Headlamp (Left) Spare
Spare
Spare
Spare
Spare Spare
Fuse Puller
Replacement Bulb Numbers
Exterior Lamps Number
Back-up ............................... 3057
Center High-Mounted Stop
In Spoiler ............................. 891
OnShelf
............................. 1141
Fog
.................................... 893
Front Parking/Turn Signal
............. 4 157NAK
Headlamp. High Beam
.................... 9005
Headlamp.
Low Beam .................... 9006
License Plate
............................ 194
Sidemarker. Front
......................... 194
Sidemarker. Rear
......................... 194
Stopmail
............................... 3057
Turn Signal (Rear)
....................... 3057
Cornering
.............................. 3156
6-62
ProCarManuals.com
Page 327 of 340

Section 9 Index
Accessory Power Outlets ........................ 2-48
AirBag
....................................... 1-19
How Does it Restrain
.......................... 1-24
How it Works
................................ 1-22
Location
.................................... 1-22
Readiness Light
......................... 1.21. 2.56
Servicing
................................... 1-26
What Makes it Inflate
.......................... 1-23
What Will
You See After it Inflates ............... 1-24
When Should it Inflate
......................... 1-23
Aircleaner
.................................... 6-16
Air Conditioning Refrigerants
..................... 6-64
AirFilter
...................................... 6-16
Air Filter Passenger Compartment
.................. 6-17
Alignment and Balance. Tire
...................... 6-45
Aluminum Wheels. Cleaning
...................... 6-52
Antenna. Backglass
............................. 3-28
Anti-Lock Brake System Warning Light
................ 2.57. 4.7
Brakes
...................................... 4-7
Anti.Theft. Radio
.............................. 3-23
Appearancecare
............................... 6-47
Appearance Care Materials Chart
.................. 6-54
Arbitration Program
.............................. 8-7
Ashtray and Lighter
............................. 2-48
Adding
Equipment to the Outside
of Your Vehicle ...... 6-3
Air Conditioning
................................ 3-3 Audio Equipment. Adding
........................ 3-26
Audio Steering Wheel Controls
.................... 3-25
Audio Systems
.................................. 3-9
Auto-Down Window
............................ 2-29
Automatic Headlamp Control
..................... 2-39
Automatic Transaxle
............................ 2-20
Fluid
....................................... 6-18
Operation
................................... 2-20
Park Mechanism Check
........................ 7-16
Shifting
..................................... 2-20
Backing Up with a Trailer
....................... 4-35
Battery
....................................... 6-30
Jump Starting
................................. 5-3
Replacement, Keyless Entry System
.............. 2-11
Saver
...................................... 2-42
Warnings
.................................... 5-3
BBB Auto Line ................................. 8-7
Before Leaving on a Long Trip
.................... 4-22
Better Business Bureau Mediation
................... 8-7
Blizzard
...................................... 4-27
Brake
Adjustment
.................................. 6-29
Fluid
....................................... 6-27
Master Cylinder
.............................. 6-27
Parking
..................................... 2-24
PedalTravel
................................. 6-29
ProCarManuals.com
Page 328 of 340

Brake (Continued) Replacing System Parts
........................ 6-30
System Warning Light
......................... 2-56
Trailer
...................................... 4-34
Transaxle Shift Interlock
.................. 2-27, 7-15
Transaxle Shift Interlock Check
.................. 7-15
Brakes, Anti-Lock
............................... 4-7
Braking in Emergencies
.......................... 4- 10
Break-In, New Vehicle
.......................... 2-15
BTSI
.................................... 2-27, 7-15
Bulb Replacement
.............................. 6-3 1
Center High-Mounted ......................... 6-36
Front Parking and Turn Signal Lamp
.............. 6-36
Tail/Stop/Turn Signal Lamp
..................... 6-37
Bulbs, Replacement Numbers
..................... 6-62
Wear
....................................... 6-29
WhattoAdd
................................. 6-28
Braking
........................................ 4-6
BTSICheck
................................... 7-15
Headlamps
.................................. 6-31
Capacities and Specifications
.................... 6-63
Carbon Monoxide
............... 2.13.2.28.4.28. 4.34
Care of Your Cassette Tape Player
.................. 3-27
Care of Your Compact Disc Player
................. 3-28
Care of Your Compact Discs
...................... 3-28
Cassette Deck Service
........................... 7-13
Cassette Tape Player
....................... 3.10. 3.14
CD Player
..................................... 3-14
CD Player Theft-Deterrent Feature
................. 3-23
Center Console
................................. 2-47
Center Passenger Position
........................ 1-32
CareofYourTapePlayer
......................... 3-27 Certification
Label
.............................. 4-30
Chains. Safety
................................. 4-34
Chains. Tire
................................... 6-46
Change Oil Light
............................... 2-64
Changing a Flat Tire
............................. 5-25
Charging System Light
.......................... 2-56
Checking Your Restraint Systems
.................. 1-51
Chemical Paint Spotting .......................... 6-53
Child Restraints
................................ 1-37
Securing in a Rear Outside Seat Position
........... 1-42
Securing
in the Center Rear Seat Position .......... 1-44
Securing in the Right Front Seat Position .......... 1-46
TopStrap
................................... 1-42
WheretoPut
..........,..................... l-41
Children ,,...........,........................ l-34
Cleaner. Air ................................... 6-16
Cleaning Circuit
Breakers and Fuses
....................... 6-56
Interior Plastic Components
..................... 6-49
Exterior Lamphnses
......................... 6-51
Glass
....................................... 6-50
Inside of
Your Vehicle ......................... 6-47
Instrument Panel
............................. 6-49
Outside
of Your Vehicle ........................ 6-50
Special Problems ............................. 6-48
Vinyl
....................................... 6-49
Windshield and Wiper Blades
................... 6-50
AluminumWheels
............................ 6-52
Fabric
...................................... 6-48
Leather
..................................... 6-49
Tires
....................................... 6-52
Wheels
..................................... 6-52
9-2
ProCarManuals.com