light OLDSMOBILE SILHOUETTE 1994 Repair Manual
[x] Cancel search | Manufacturer: OLDSMOBILE, Model Year: 1994, Model line: SILHOUETTE, Model: OLDSMOBILE SILHOUETTE 1994Pages: 276, PDF Size: 15.82 MB
Page 152 of 276
Your Driving and the Road
150
newspapers, burlap bags, rags, floor
mats
- anything you can wrap around
yourself or tuck under your clothing to
keep warm.
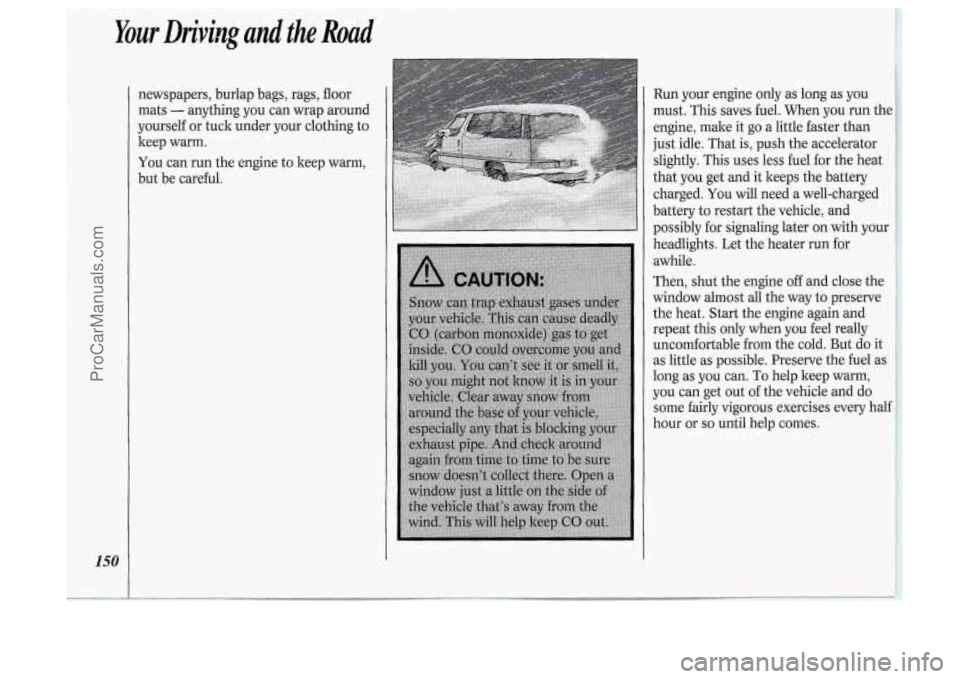
You can run the engine to keep warm,
but be careful. Run your engine
ody as long as you
must. This saves fuel. When you run the
engine, make it go a little faster than
just idle. That
is, push the accelerator
slightly. This uses less fuel for the heat
that you get and
it keeps the battery
charged.
You will need a well-charged
battery to restart the vehicle, and
possibly for signaling later on with your
headlights. Let the heater run for
awhile.
Then, shut the engine
off and close the
window almost
all the way to preserve
the heat. Start the engine again and
repeat this only when
you feel really
uncomfortable from the cold. But do it
as little as possible. Preserve the fuel as
long as you can.
To help keep warm,
you can get out of the vehicle and do
some fairly vigorous exercises every half
hour or
so until help comes.
ProCarManuals.com
Page 156 of 276
Your Driving and the Road
154
hitches to them. Use only a frame-
mounted hitch that does not attach to
the bumper.
Safety Chains
You should always attach chains
between
your vehicle and your trailer.
Cross the safety chains under the
tongue of the trailer
so that the tongue
will not drop to the road if it becomes
separated from the hitch. Instructions
about safety chains may be provided by
the hitch manufacturer
or by the trailer
manufacturer. Follow the
manufacturer’s recommendation for
attaching safety chains. Always leave
just enough slack
so you can turn with
your rig. And, never allow safety chains
to drag on the ground.
Trailer Brakes
If your trailer weighs more than 1,000
pounds (450 kg) loaded, then it needs
its own brakes
- and they must be
adequate. Be sure to read and follow
the instructions for the trailer brakes
so
you’ll be able to install, adjust and
maintain them properly. Because
you have anti-lock brakes, do
not try to tap into your vehicle‘s brake
system. If you do, both brake systems
won’t work well, or at all.
Driving with a Trailer
Towing a trailer requires a certain
amount of experience. Before setting
out for the open road,
you’ll want to get
to know your rig. Acquaint yourself
with the feel of handling and braking
with the added weight of the trailer.
And always keep in mind that the
vehicle you are driving is now a good
deal longer and not nearly
so responsive
as your vehicle is by itself.
Before you start, check the trailer hitch
and platform, safety chains, electrical
connector, lights, tires and mirror
adjustment. If the trailer has electric
brakes, start your vehicle and trailer
moving and then apply the trailer brake
controller by hand to be sure the brakes
are working. This lets you check your
electrical connection at the same time.
ProCarManuals.com
Page 157 of 276
During your trip, check occasionally to
be sure that the load is secure, and that
the lights and
any trailer brakes are still
working.
Following Distance
Stay at least twice as far behind the
vehicle ahead as you would when
driving your vehicle without a trailer.
This can help you avoid situations that
require heavy braking and sudden
turns.
Passing
You’ll need more passing distance up
ahead when you’re towing a trailer.
And, because you’re a good deal longer,
you’ll need to go much farther beyond
the passed vehicle before you can return
to your lane.
Backing Up
Hold the bottom of the steering wheel
with one hand. Then, to move the
trailer to the left, just move that hand to
the left.
To move the trailer to the right,
move your hand to the right. Always back up
slowly and, if possible, have
someone guide you.
Making Turns
When you’re turning with a trailer,
make wider turns than normal. Do this
so your trailer won’t strike soft
shoulders, curbs, road signs, trees, or
other objects. Avoid jerky or sudden
maneuvers. Signal well in advance.
Turn Signals When Towing a
Trailer
When you tow a trailer, your vehicle has
to have a different turn signal flasher
and extra wiring. The green arrows on
your instrument panel will flash
whenever you signal a turn or lane
change. Properly hooked up, the trailer
lights will
also flash, telling other
drivers you’re about to turn, change
lanes or stop.
When towing a trailer, the green arrows
on your instrument panel will flash for
turns even
if the bulbs on the trailer are
burned out. Thus, you may think
drivers behind you are seeing your signal
when they are not.
It’s important
to check occasionally to be sure the
trailer bulbs are still working.
Driving On Grades
Reduce speed and shift to a lower gear
before you start down a long or steep
downgrade. If you don’t
shift down, you
might have to use your brakes
so much
that they would get hot and
no longer
work well.
On a long uphill grade, shift down and
reduce your speed to around
45 mph
(70 lwh) to reduce the possibility of
engine and transaxle overheating.
If you are towing a trailer that weighs
more than
1,000 pounds (454 kg), and
you have an automatic transaxle with
Overdrive, you may prefer to drive in
D
instead of Overdrive (or, as you need to,
a lower gear). This will minimize heat
build-up and extend the life of your
transaxle.
n
ProCarManuals.com
Page 160 of 276

Problems on the Road
158
I Hazard Warning Flashers
Your hazard warning flashers let you
warn others. They also let police know
you have a problem. Your front and rear
turn signal lights will flash on and off. Your
hazard warning flashers switch is
on the steering column below the
ignition switch. Press the button in to
make your front and rear turn signal
lights flash on and off.
Your hazard warning flashers work no
matter what position your key
is in, and
even
if the key isn’t in.
To turn off the flashers, pull out on the
collar.
When the hazard warning flashers are
on, your turn signals won’t work.
Other Warning Devices
If you carry reflective triangles, you can
set one up at the side of the road about
300 feet (100 m) behind your vehicle.
I Jump Starting
If your battery has run down, you may
want to use another vehicle and some
jumper cables
to start your Oldsrnobile.
But please follow the steps below to do
it safely.
ProCarManuals.com
Page 161 of 276
NOTICE:
Ignoring these steps could result in
costly damage to your vehicle that
wouldn’t be covered by your
warranty. Trying to start your
Oldsmobile by pushing or pulling it
won’t work, and it could damage
your vehicle.
To Jump Start Your Oldsmobile:
1. Check the other vehicle. It must have
a 12-volt battery with a negative
ground system.
NOTICE:
If the other system isn’t a 12-volt
system with a negative ground,
both vehicles can be damaged.
2. Get the vehicles close enough so the
jumper cables can reach, but be sure
the vehicles aren’t touching each
other. If they are, it could cause a
ground connection
you don’t want.
You wouldn’t be able to start your
Oldsmobile, and the bad grounding
could damage the electrical systems.
You could be injured if the vehicles
roll. Set the parking brake firmly on
each vehicle. Put an automatic
transaxle in
P (Park) or a manual
transaxle in
N (Neutral).
3. Turn off the ignition on both
vehicles. Turn off all lights that aren’t
needed, and radios. This will avoid
sparks and help save both batteries.
And it could save your radio!
NOTICE:
If you leave your radio on, it could
be badly damaged. The repairs
wouldn’t be covered by your
warranty.
4. Open the hoods and locate the
batteries.
Find the positive
(+) and negative (-)
terminals on each battery.
159
ProCarManuals.com
Page 181 of 276
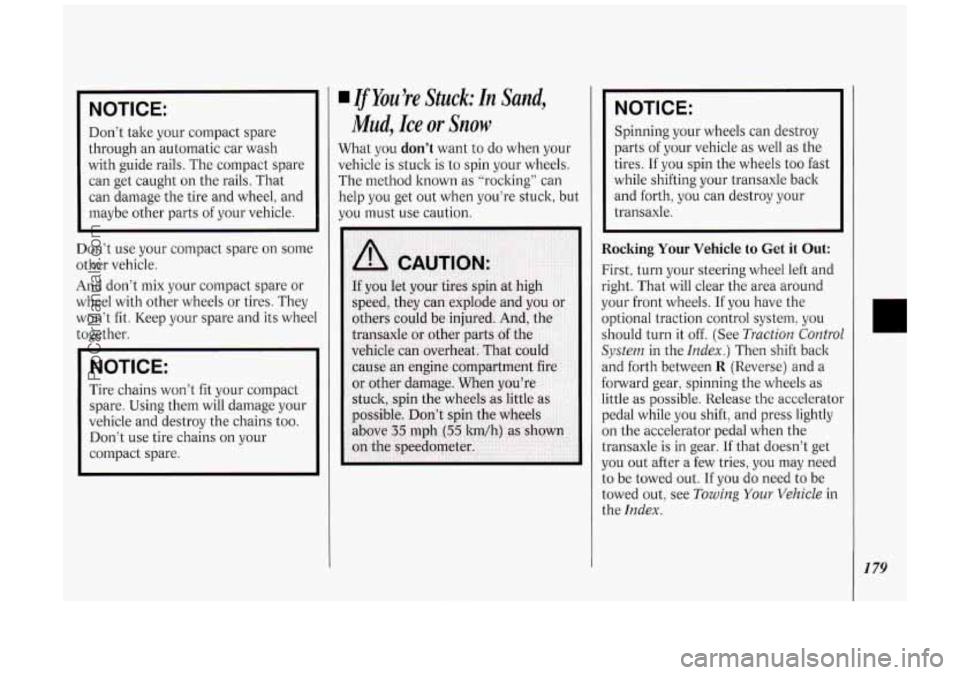
I NOTICE:
Don’t take your compact spare
through an automatic car wash
with guide rails. The compact spare
can get caught on the rails. That
can damage the tire and wheel, and
maybe other parts of your vehicle.
~
Don’t use your compact spare on some
other vehicle.
And don‘t mix your compact spare or
wheel with other wheels or tires. They
won’t fit. Keep your spare and its whec
together.
NOTICE:
Tire chains won’t fit your compact
spare. Using them will damage your
vehicle and destroy the chains too.
Don’t use tire chains on your
compact spare.
IfYou%e Stuck: In Sand,
Mud, Ice or Snow
What you don’t want to do when your
vehicle is stuck is to spin your wheels.
The method known as “rocking” can
help
you get out when you’re stuck, but
you must use caution.
I NOTICE:
Spinning your wheels can destroy
parts
of your vehicle as well as the
tires. If you spin the wheels too fast
while shifting your transaxle back
and forth, you can destroy your
transaxle.
Rocking Yowr Vehicle to Get it Out:
First, turn your steering wheel left and
right. That will clear the area around
your front wheels.
If you have the
optional traction control system, you
should turn it off. (See
Traction CorztroZ
System in the Index.) Then shift back
and forth between
R (Reverse) and a
forward gear, spinning the wheels as
little as possible. Release the accelerator
pedal while you shift, and press lightly
on the accelerator pedal when the
transaxle is in gear. If that doesn’t get
you out after a few tries, you may need
to be towed out. If you do need to be
towed out, see
Towing Your Vehicle in
the
Index.
1 79
ProCarManuals.com
Page 192 of 276
Service &Appearance Care
190
Underhood Light
Your underhood light will go on when
you open the hood.
Engine Oil
It’s a good idea to check your engine oil
every time you get fuel. In order to get
an accurate reading, the oil must be
warm and the vehicle must be on level
ground.
Turn off the engine and give the oil a
few minutes to drain back into the oil
pan.
If you don’t, the oil dipstick might
not show the actual level.
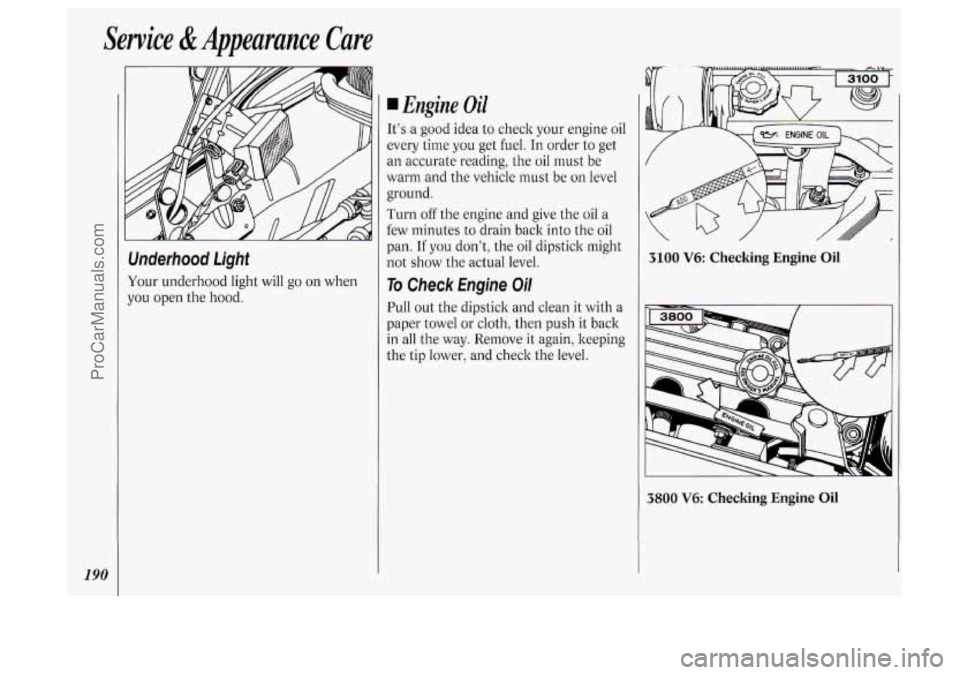
To Check Engine Oil
Pull out the dipstick and clean it with a
paper towel or cloth, then push it back
in all the way. Remove it again, keeping
the tip lower, and check the level.
3100 V6: Checking Engine Oil
3800 V6: Checking Engine Oil
ProCarManuals.com
Page 199 of 276
How to Add Fluid
Refer to the Maintenance Schedule to
determine what kind of transaxle fluid
to use. See
Recommended Fluids and
Lubricants
in the Index.
If the fluid level is low, add only enough
of the proper fluid to bring the level into
the cross-hatched area
on the dipstick.
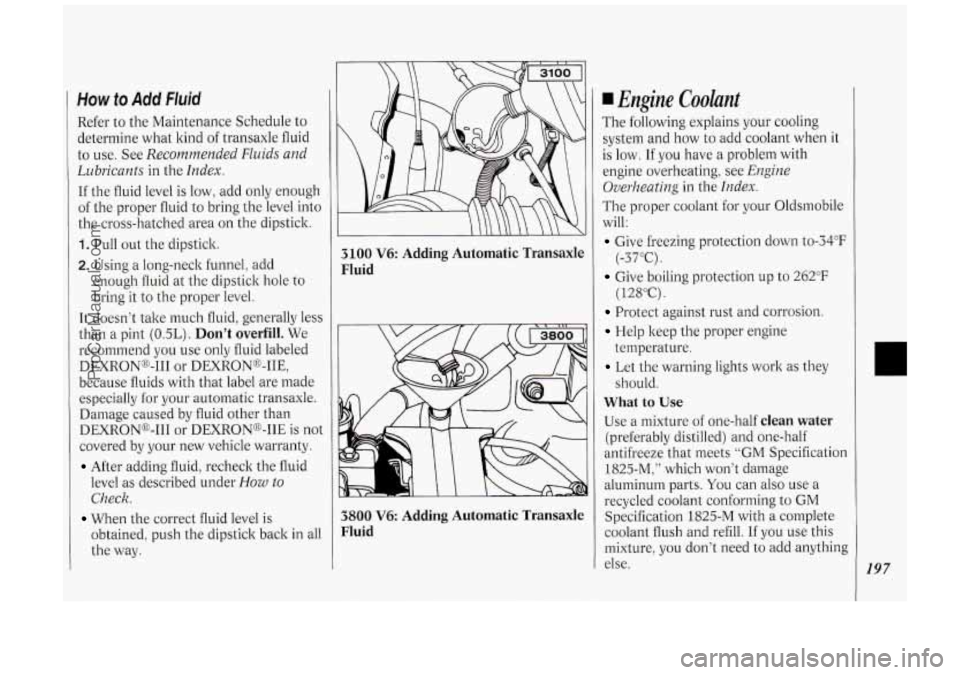
1. Pull out the dipstick.
2. Using a long-neck funnel: add
enough fluid at the dipstick hole to
bring it to the proper level.
It doesn’t take much fluid, generally less
than a pint
(OSL). Don’t overfill. We
recommend you use only fluid labeled
DEXRONo-I11 or DEXRON@-IIE,
because fluids with that label are made
especially for your automatic transaxle.
Damage caused by fluid other than
DEXRONo-I11 or DEXRONB-IIE is not
covered by your new vehicle warranty.
After adding fluid, recheck the fluid
level as described under
How to
Check.
obtained, push the dipstick back in all
the way.
When the correct fluid level is
3100 V6: Adding Automatic Transaxle
Fluid
3800 V6: Adding Automatic Transaxle
Fluid
Engine Coolant
The following explains your cooling
system and how to add coolant when it
is
low. If you have a problem with
engine overheating, see
Engine
Overheating
in the Index.
The proper coolant for your Oldsmobile
will:
Give freezing protection down to-34”F
Give boiling protection up to 262°F
Protect against rust and corrosion.
Help keep the proper engine
Let the warning lights work as they
What to Use
Use a mixture of one-half clean water
(preferably distilled) and one-half
antifreeze that meets
“GM Specification
1825-M:” which won’t damage
aluminum parts.
You can also use a
recycled coolant conforming to
GM
Specification 1825-M with a complete
coolant flush and refill.
If you use this
mixture,
you don’t need to add anything
else.
(-37°C).
( 12SoC).
temperature. should.
197
ProCarManuals.com
Page 203 of 276
NOTICE:
When using concentrated washer
fluid, follow the manufacturer’s
instructions for adding water.
Don’t mix water with ready-to-
use washer fluid. Water can cause
the solution to freeze and damage
your washer fluid tank and other
parts of the washer system. Also,
water doesn’t clean as well as
washer fluid.
Fill your washer fluid tank only %
full when it’s very cold. This
allows for expansion, which could
damage the tank
if it is
completely full.
Don’t use radiator antifreeze in
your windshield washer. It can
damage your washer system and
paint.
I
Brakes
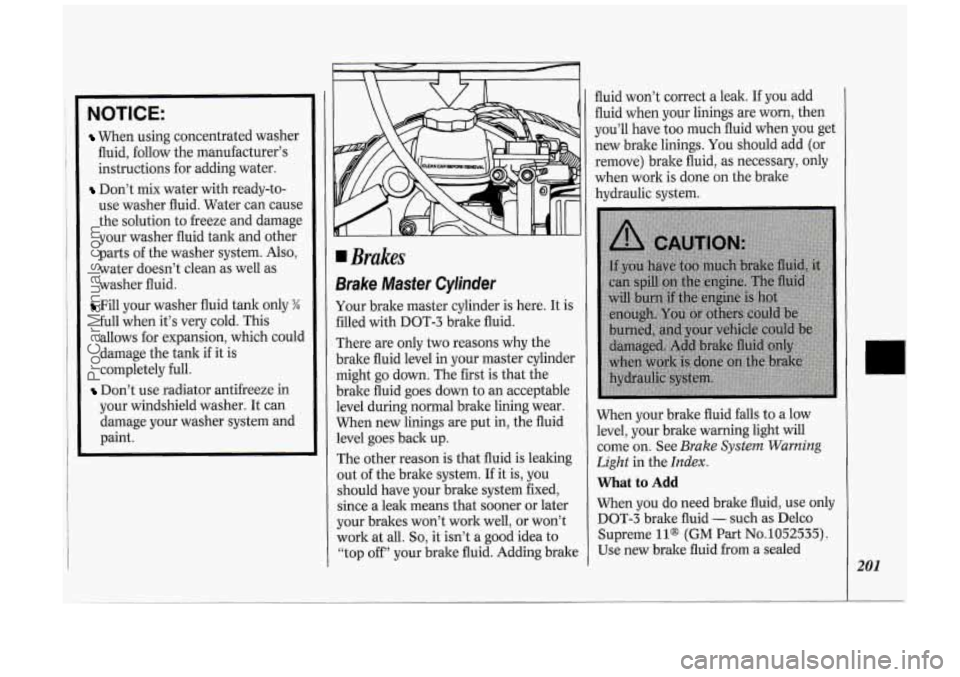
Brake Master Cylinder
Your brake master cylinder is here. It is
filled with DOT-3 brake fluid.
There are only
two reasons why the
brake fluid level in your master cylinder
might go down. The first is that the
brake fluid goes down to an acceptable
level during normal brake lining wear.
When new linings are put in, the fluid
level goes back up.
The other reason is that fluid is leaking
out of the brake system. If it is, you
should have your brake system fixed,
since a leak means that sooner or later
your brakes won’t work well, or won’t
work at all.
So, it isn’t a good idea to
“top off’’ your brake fluid. Adding brake fluid
won’t correct a leak. If you add
fluid when your linings are worn, then
you’ll have too much fluid when you get
new brake linings. You should add (or
remove) brake fluid, as necessary, only
when work is done on the brake
hydraulic system.
When your brake fluid falls to a low
level, your brake warning light will
come on. See
Brake System Warning
Light
in the Index.
What to Add
When you do need brake fluid, use only
DOT-3 brake fluid
- such as Delco
Supreme
ll@ (GM Part No.1052535).
Use new brake fluid from a sealed
201
ProCarManuals.com
Page 204 of 276
Service & Appearance Care
202
container only, and always clean the
brake fluid reservoir cap before
removing it.
NOTICE:
DOT-5 silicone brake fluid can
Don’t let someone put in the
damage
your vehicle. Don’t use it.
wrong kind of fluid. For example,
just a few drops of mineral-based
oil, such
as engine oil, in your
brake system can damage brake
system parts
so badly that they’ll
have to be replaced.
Brake fluid can damage paint, so
be careful not to spill brake fluid
on your vehicle. If you do, wash it
off immediately. See
Appearance
Care
in the Index.
Brake Wear
Your Oldsmobile has front disc brakes
and rear drum brakes.
Disc brake pads have built-in wear
indicators that make
a high-pitched
warning sound when the brake pads are worn
and new pads are needed. The
sound may come and go or be heard all
the time your vehicle is moving (except
when you are pushing on the brake
pedal firmly).
NOTICE:
Continuing to drive with worn-out
brake pads could result in costly
brake repair.
Some driving conditions or climates
may cause
a brake squeal when the
brakes are first applied or lightly
applied. This does not mean something
is wrong with your brakes. Your
rear drum brakes don’t have wear
indicators, but if you ever hear a rear
brake rubbing noise, have the rear brake
linings inspected. Also, the rear brake
drums should be removed and
inspected each time the tires are
removed for rotation or changing. When
you have the front brakes replaced,
have the rear brakes inspected, too.
Brake linings should always be replaced
as complete axle sets.
Brake Pedal Travel
See your dealer if the brake pedal does
not return to normal height, or if there
is a rapid increase in pedal travel. This
could be a sign of brake trouble.
Brake Adjustment
Every time you apply the brakes
moderately, with or without the vehicle
moving, your brakes adjust for wear.
ProCarManuals.com