stop start OLDSMOBILE SILHOUETTE 1994 Owners Manual
[x] Cancel search | Manufacturer: OLDSMOBILE, Model Year: 1994, Model line: SILHOUETTE, Model: OLDSMOBILE SILHOUETTE 1994Pages: 276, PDF Size: 15.82 MB
Page 33 of 276
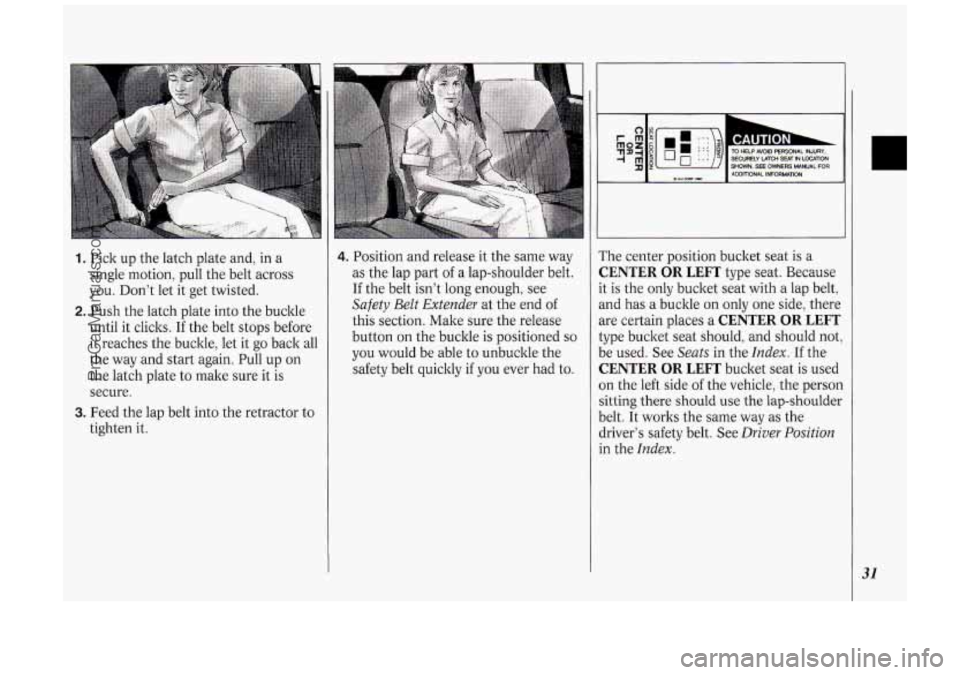
1. Pick up the latch plate and, in a
single motion, pull the belt across
you. Don’t let it get twisted.
2. Push the latch plate into the buckle
until it clicks.
If the belt stops before
it reaches the buckle,
let it go back all
the way and start again. Pull up on
the latch plate to make sure it is
secure.
tighten it.
3. Feed the lap belt into the retractor to
4. Position and release it the same way
as the lap part of a lap-shoulder belt.
If the belt isn’t long enough, see
Safety BeZt Extender at the end of
this section. Make sure the release
button on the buckle is positioned
so
you would be able to unbuckle the
safety belt quicltly if you ever had to. ’he
center position bucket seat is
a
:ENTER OR LEFT type seat. Because
t is the only bucket seat with a lap belt,
Lnd has a buckle on only one side, there
re certain places a
CENTER OR LEFT
ipe bucket seat should, and should not,
e used. See
Seats in the Index. If the
:ENTER OR LEFT bucket seat is used
n the left side
of the vehicle, the person
itting there should use the lap-shoulder
elt. It works the same way as the
river’s safety belt. See
Driver Position
I the Index.
31
ProCarManuals.com
Page 59 of 276
Raising the Liftgate
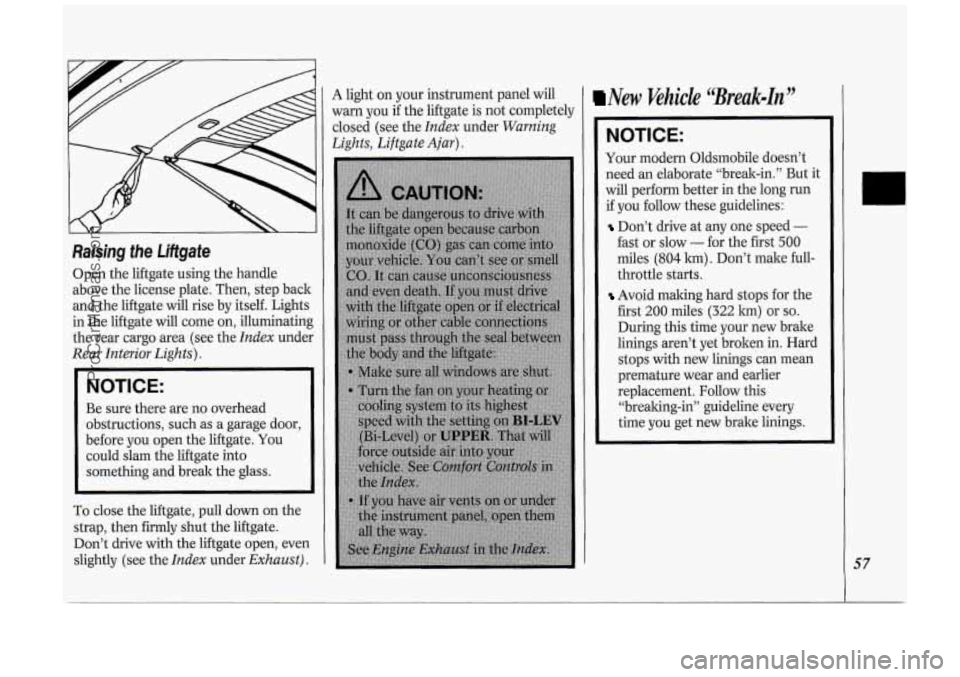
Open the liftgate using the handle
above the license plate. Then, step back
and the liftgate will rise by itself. Lights
in the liftgate will come on, illuminating
the rear cargo area (see the
Index under
Rear Interior Lights).
NOTICE:
Be sure there are no overhead
obstructions, such as a garage door,
before you open the liftgate. You
could slam the liftgate into
something and break the glass.
To close the liftgate, pull down on the
strap, then firmly shut the liftgate.
Don’t drive with the liftgate open, even
slightly (see the
Index under Exhaust).
A light on your instrument panel will
warn you
if the liftgate is not completely
closed (see the
Index under Warning
Lights, Liftgate Ajar).
New Vehicle “Break-In”
NOTICE:
Your modern Oldsmobile doesn’t
need an elaborate “break-in.” But it
will perform better in the long run
if you follow these guidelines:
Don’t drive at any one speed -
fast or slow - for the first 500
miles (804 km) . Don’t make full-
throttle starts.
Avoid making hard stops for the
first
200 miles (322 km) or so.
During this time your new brake
linings aren’t yet broken in. Hard
stops with new linings can mean
premature wear and earlier
replacement. Follow this
“breaking-in” guideline every
time you get new brake linings.
57
ProCarManuals.com
Page 61 of 276
NOTICE:
Don‘t try to shift to P (Park) if your
Oldsmobile is moving. If you do,
you could damage the transaxle.
Shift to
P (Park) only when your
vehicle is stopped.
To start your 3100 V6 engine
(Code D) :
1. Without pushing the accelerator
pedal, turn your ignition key to
Start.
When the engine starts, let go of the
ltey. The idle speed will go down as
your engine gets warm.
NOTICE:
Holding your key in Start for longer
than
15 seconds at a time will cause
your battery to be drained much
sooner. And the excessive heat can
damage your starter motor.
2. If it doesn’t start right away, hold
your key in
Start. If it doesn’t start in
three seconds (or starts but then stops), push the accelerator pedal
about one-quarter of the way down
for
12 more seconds, or until it starts.
3. If your engine still won’t start (or
starts but then stops), it could
be
flooded with too much gasoline. Try
this: Wait
15 seconds to let the
starter motor cool down. Then push
your accelerator pedal all the way to
the floor. Hold it there. Then hold the
key in
Start. This clears the extra
gasoline from the engine. When the
engine starts, let go
of the key and
the accelerator pedal. If the engine
still doesn‘t start, wait another
15
seconds and do Step 2 again.
NOTICE:
Your engine is designed to work
with the electronics in your vehicle.
If you add electrical parts or
accessories, you could change the
way the fuel injection system
operates. Before adding electrical
equipment, check with your dealer.
If you don’t, your engine might not
perform properly. If you ever have
to have your vehicle towed, see the
part
of this manual that tells how to
do it without damaging your
vehicle. See
Towing Your Vehicle
in the Index.
To start your 3800 V6 engine
(Code L):
1. Without pushing the accelerator
pedal, turn your ignition key to
Start.
When the engine starts, let go of the
ltey. The idle speed will go down as
your engine gets warm.
59
ProCarManuals.com
Page 62 of 276
Features & Controls
60
NOTICE:
Holding your key in Start for longer
than
15 seconds at a time will cause
your battery to be drained much
sooner. And the excessive heat can
damage your starter motor.
2. If it doesn’t start right away, hold
your key in
Start for about three to
five seconds at a time until your
engine starts. Wait about
15 seconds
between each try to help avoid
draining your battery.
3. If your engine still won’t start (or
starts but then stops), it could be
flooded with too much gasoline. Try
pushing your accelerator pedal all the
way to the floor and holding it there
as you hold the key in
Start for about
three seconds.
If the vehicle starts
briefly but then stops again, do the
same thing, but this time keep the
pedal down for five
or six seconds.
This clears the extra gasoline from
the engine. After waiting about
15
seconds, repeat the normal starting
procedure.
NOTICE:
Your engine is designed to work
with the electronics in your vehicle.
If you add electrical parts or
accessories, you could change the
way the fuel injection system
operates. Before adding electrical
equipment, check with your dealer.
If you don’t, your engine might not
perform properly.
If you ever have
to have your vehicle towed, see the
part of this manual that tells how to
do it without damaging your
vehicle. See
Towing Your Vehicle
in the Index.
I Driving Through Deep
Standing Water
NOTICE:
If you drive too quickly through
deep puddles or standing water,
water can come in through your
engine’s air intake and badly
damage your engine.
If you can’t
avoid deep puddles or standing
water, drive through them very
slowly.
ProCarManuals.com
Page 65 of 276
Reverse
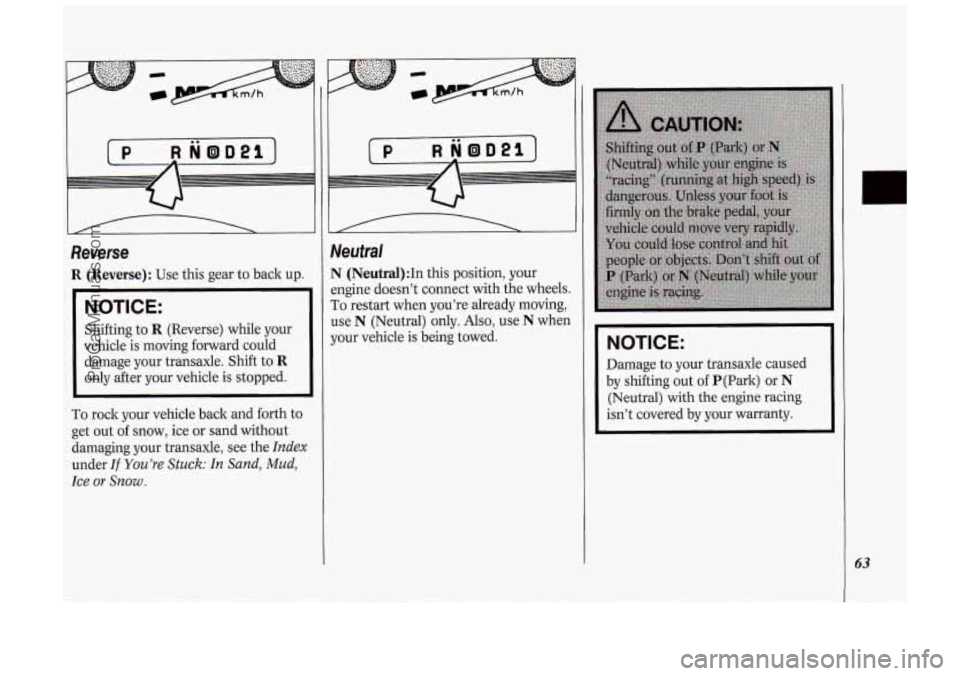
R (Reverse): Use this gear to back up.
NOTICE:
Shifting to R (Reverse) while your
vehicle is moving forward could
damage your transaxle. Shift to
R
only after your vehicle is stopped.
To rock your vehicle back and forth to
get out of snow, ice or sand without
damaging your transaxle, see the
Index
under If You’re Stuck: In Sand, Mud,
Ice
or Snow .
Neutral
N (Neutral):In this position, your
engine doesn’t connect with the wheels.
To restart when you’re already moving,
use N (Neutral) only.
Also, use N when
your vehicle is being towed.
NOTICE:
Damage to your transaxle caused
by shifting out
of P(Park) or N
(Neutral) with the engine racing
isn’t covered by your warranty.
63
ProCarManuals.com
Page 93 of 276
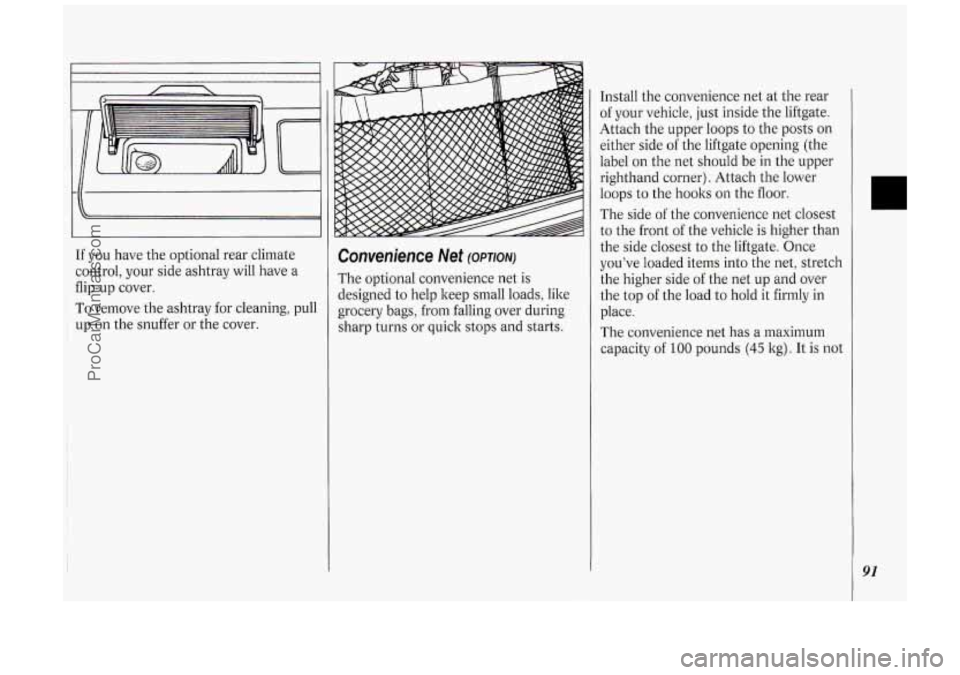
If you have the optional rear climate
control, your side ashtray will have a
flip-up cover.
~ To remove the ashtray for cleaning, pull
up on the snuffer or the cover.
Convenience Net (OPTION)
The optional convenience net is
designed to help keep small loads, like
grocery bags, from falling over during
sharp turns or quick stops and starts. Install
the convenience net at the rear
of your vehicle, just inside the liftgate.
Attach the upper loops to the posts on
either side of the liftgate opening (the
label on the net should be in the upper
righthand corner). Attach the lower
loops to the hoolts on the floor.
The side of the convenience net closest
to the front of the vehicle is higher than
the side closest to the liftgate. Once
you’ve loaded items into the net, stretch
the higher side of the net up and over
the top of the load to hold it firmly in
place.
The convenience net has a maximum
capacity of
100 pounds (45 kg). It is not
L3
91
ProCarManuals.com
Page 105 of 276
18 ‘I I
Voltmeter
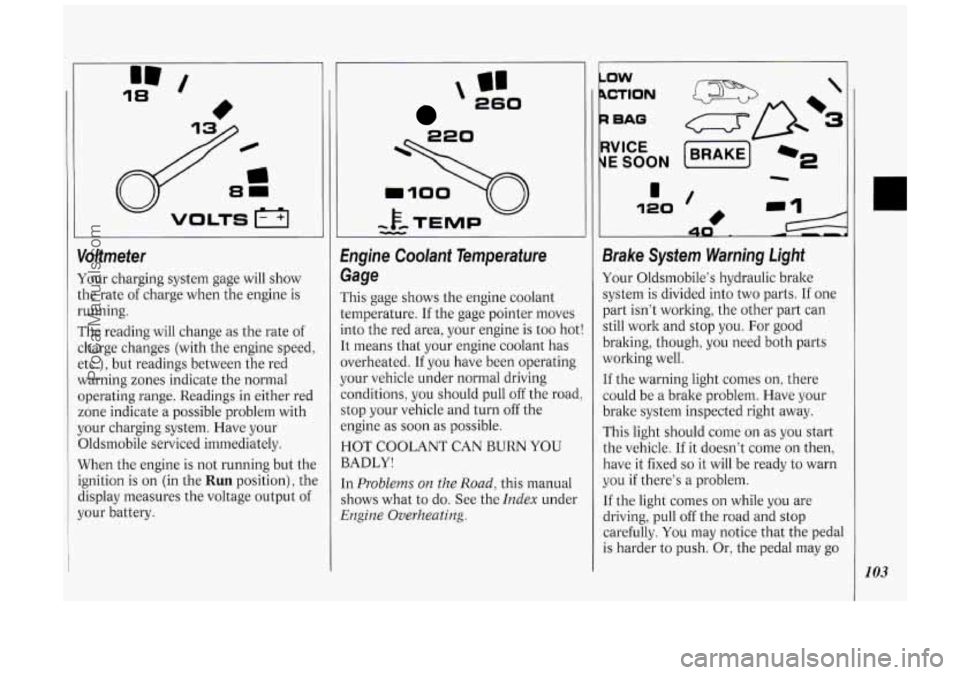
Your charging system gage will show
:he rate
of charge when the engine is
running.
The reading will change as the rate of
:barge changes (with the engine speed,
?tc.), but readings between the red
warning zones indicate the normal
3perating range. Readings in either red
zone indicate a possible problem with
your charging system. Have your
Oldsmobile serviced immediately.
When the engine is not running but the
ignition
is on (in the Run position), the
display measures the voltage output of
your battery.
I’ 260
1
‘
1
Engine Coolant Temperature
Gage
rhis gage shows the engine coolant
Iemperature. If the gage pointer moves
.nto the red area, your engine is too hot
[t means that your engine coolant has
werheated. If you have been operating
{our vehicle under normal driving
:onditions, you should pull off the road
;top your vehicle and turn off the
mgine as soon as possible.
HOT COOLANT CAN BURN YOU
BADLY!
[n
Problems on the Road, this manual
shows what to do. See the
Index under
Engine Overheating.
LOW
BAG
E SOON
Brake System Warning Light
Your Oldsmobile’s hydraulic brake
system is divided into two parts.
If one
part isn’t working, the other part can
still work and stop you. For good
braking, though, you need both parts
working well.
If the warning light comes on, there
could be a brake problem. Have your
brake system inspected right away.
This light should come on as you start
the vehicle. If it doesn’t come on then,
have it fixed
so it will be ready to warn
you if there’s a problem.
If the light comes on while you are
driving, pull off the road and stop
carefully.
You may notice that the pedal
is harder to push.
Or, the pedal may go
103
ProCarManuals.com
Page 106 of 276
Features & Controls
104
closer to the floor. It may take longer to
stop. If the light is still on, have the
vehicle towed for service. (See
Towing
Your Vehicle in the Index.)
The brake system warning light will also
come on when
you set your parking
brake, and it will stay on if your parking
brake doesn’t release fully. If it stays on
after your parking brake is fully
released, it means you have
a brake
problem.
L Wb
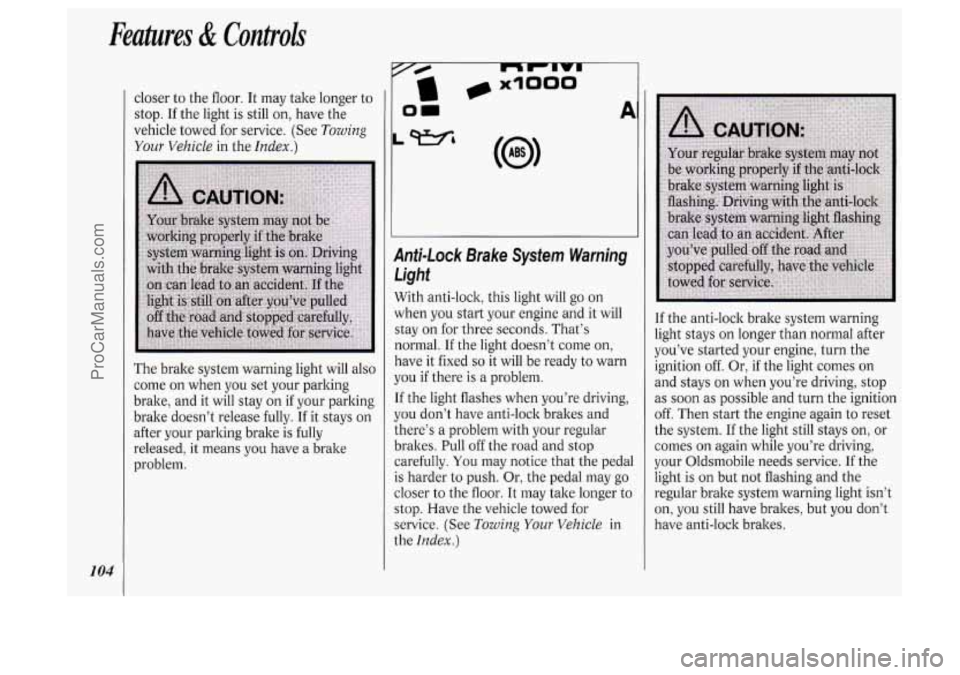
Anti-Lock Brake System Warning
Light
With anti-lock, this light will go on
when you start your engine and it will
stay on for three seconds. That’s
normal. If the light doesn’t come on,
have it fixed
so it will be ready to warn
you if there is a problem.
If the light flashes when you’re driving,
you don’t have anti-lock brakes and
there’s a problem with your regular
brakes. Pull off the road and stop
carefully.
You may notice that the pedal
is harder to push. Or, the pedal may go
closer to the floor. It may take longer to
stop. Have the vehicle towed for
service. (See
Towing Your Vehicle in
the
Index.)
I
If the anti-lock brake system warning
light stays on longer than normal after
you’ve started your engine, turn the
ignition off. Or, if the light comes on
i
and stays on when you’re driving, stop !
as soon as possible and turn the ignition
off. Then start the engine again to reset
! I
the system. If the light still stays on, or j
comes on again while you’re driving, ~
your Oldsmobile needs service. If the !
light is on but not flashing and the
regular brake system warning light isn’t
on,
you still have brakes, but you don’t
have anti-lock brakes.
ProCarManuals.com
Page 107 of 276
(J LOW
TRACTION -'I
AIR BAG
SERVICE
ENGINE
SOON
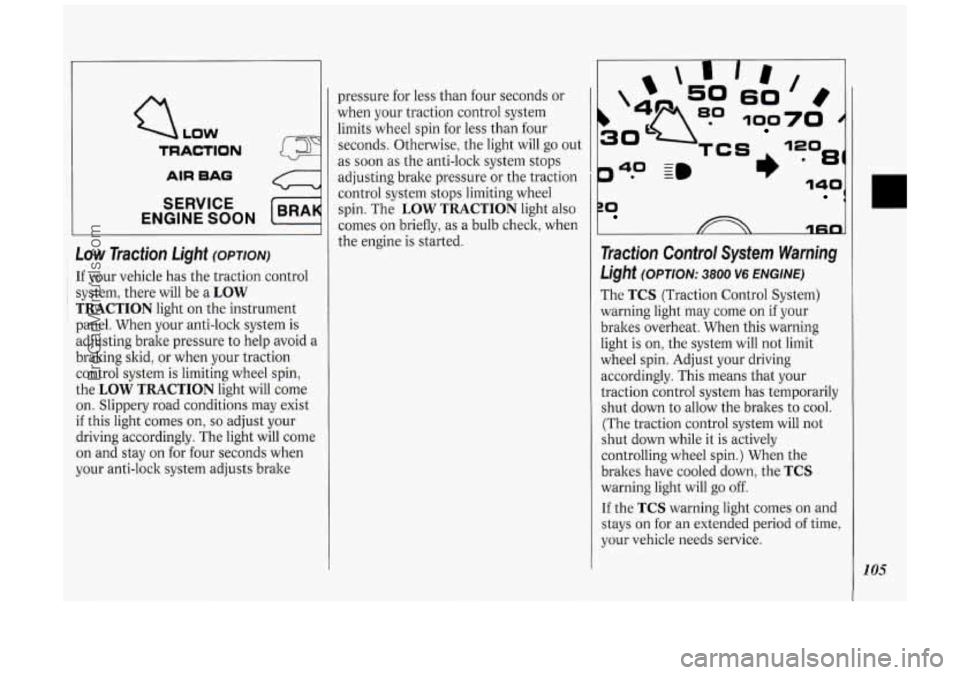
Low Traction Light (OPTION)
: If your vehicle has the traction control
~ i system, there will be a LOW
TRACTION light on the instrument
panel. When your anti-lock system is
adjusting brake pressure to help avoid a
braking skid, or when your traction
control system is limiting wheel spin,
the
LOW TRACTION light will come
on. Slippery road conditions may exist
if this light comes on, so adjust your
driving accordingly. The light will come
on and stay on for four seconds when
your anti-lock system adjusts brake pressure
for less than four seconds or
when your traction control system
limits wheel spin for less than four
seconds. Otherwise, the light will go out
as soon as the anti-lock system stops
adjusting brake pressure or the traction
control system stops limiting wheel
spin. The
LOW TRACTION light also
comes on briefly,
as a bulb check, when
the engine is started.
P* -
40 ~m
rn
60
100
81)
ZO 1
1fin
Traction Control System Warning
Light (OPTION: 3800 V6 ENGINE)
The TCS (Traction Control System)
warning light may come on if your
brakes overheat. When this warning
light is on, the system will not limit
wheel spin. Adjust your driving
accordingly. This means that your
traction control system has temporarily
shut down to allow the brakes to cool.
(The traction control system will not
shut down while it is actively
controlling wheel spin.) When the
brakes have cooled down, the
TCS
warning light will go off.
If the TCS warning light comes on and
stays on for an extended period of time,
your vehicle needs service.
105
ProCarManuals.com
Page 127 of 276

SEEK: Press SEEK to tune in and stop
on the next station on the
AM or FM
radio band.
SCAN: When you press SCAN, the
radio will go to the next station and
pause there for a few seconds.
SCAN
will display on the digital screen. Press
SCAN again to stop on a station.
RCL (Recall) : When the ignition is off,
press to display the clock. When the
radio is on, press to change between the
clock and the radio station frequency
displayed on the digital screen.
The five pushbuttons in the lower right
corner can be used to preset up to ten
radio stations (five AM and five FM
stations). These buttons have other
uses when you are playing a compact
disc (see
Compact Disc Controls later
in this section).
To Preset Radio Stations:
1. Tune the digital display to the station
you want.
2. Press SET. The SET indicator will
appear on the digital screen for five
seconds.
3. While the SET indicator is displayed,
press one of the five pushbuttons.
4. Repeat steps 1-3 for each of five AM
and five FM stations.
Compact Disc Controls
Many of the controls for the radio also
have functions for the compact disc
player, as explained here.
To Play a Compact Disc:
Don’t use mini-discs that are called
singles. They won’t eject. Use only full-
size compact discs.
1. Press POWER to turn the radio on.
2. Insert a disc part-way into the slot,
with the label side up. The player will
pull it in. In a few seconds, the disc
should play.
If the disc comes back out:
The disc may be upside down.
The disc may be dirty, scratched or
wet.
There may be too much moisture in
the air (wait about one hour and
try
again).
The player may be too hot, or the road
may be too rough for the disc to play.
If the word
HOT appears on the
display, the player is too hot. Press
RCL to remove HOT from the
display. As soon as things get back to
normal, the disc should play.
While a disc is playing, the
CD
indicator is displayed on the digital
screen, as is the clock.
RCL (Recall): Press once to see which
track is playing. Press again within five
seconds to see how long your selection
has been playing. The track number
also will be displayed when the volume
is changed or a new track starts to play.
PREV (Previous): Press to play a track
again. If you hold or keep pressing the
PREV button, the disc will keep
backing up to previous tracks.
NEXT: Press when you want to hear
the next track before the track you are
listening to has finished. If you hold or
keep pressing the
NEXT button, the
disc will keep advancing to other tracks.
REV (Reverse): Press and hold to
rapidly back up to a favorite passage.
Release to resume playing.
FF (Fast Forward): Press and hold to
rapidly advance the disc. Release to
resume playing.
r
125
ProCarManuals.com