steering OLDSMOBILE SILHOUETTE 1996 Owner's Manual
[x] Cancel search | Manufacturer: OLDSMOBILE, Model Year: 1996, Model line: SILHOUETTE, Model: OLDSMOBILE SILHOUETTE 1996Pages: 372, PDF Size: 19.39 MB
Page 234 of 372
If a Tire Goes Flat
It’s unusual for a tire to “blow out” while you’re driving,
especially if you maintain your tires properly. If air goes
out of a tire, it’s much more likely to leak out slowly.
But if you should ever have a “blowout,” here are a
few tips about what to expect and what to do:
If a front tire fails, the flat tire will create a drag that
pulls the vehicle toward that side. Take your’foot off
the accelerator pedal and grip the steering wheel firmly.
Steer to maintain lane position, and then gently brake to
a stop well out of the traffic lane.
A rear blowout, particularly on a curve, acts much like a
skid and may require the same correction you’d use in a
skid. In any rear blowout, remove your foot from the
accelerator pedal. Get the vehicle under control by
steering the way you want the vehicle to
go. It may be
very bumpy and noisy, but you can still steer. Gently
brake
to a stop -- well off the road if possible.
If a tire goes flat, the next part shows how to use your
jacking equipment to change a flat tire safely.
Air Inflator (Option)
Your vehicle may have an air inflator used to bring tires
up
to the proper pressure. See “Air Inflator System” in
the Index for more details.
Changing a Flat Tire
If a tire goes flat, avoid further tire and wheel damage
by driving slowly to a level place. Turn on your hazard
warning flashers.
Changing a tire can cause an injury. The vehicle
can slip off the jack and roll over you
or other
people. You and they could be badly injured.
Find a level place to change your tire. To help
prevent the vehicle from moving:
1. Set the parking brake firmly.
2. Put the shift lever in PARK (P).
3. Turn off the engine.
To be even more certain the vehicle won’t move,
you can put blocks at the front and rear of the
tire farthest away from the one being changed.
That would be the tire on the other side of the
vehicle, at the opposite end.
5-22
ProCarManuals.com
Page 246 of 372
NOTICE:
Spinning your wheels can destroy parts of your
vehicle as well as the tires.
If you spin the wheels
too fast while shifting your transaxle back and
forth, you can destroy your transaxle.
For information about using tire chains on your vehicle,
see “Tire Chains”
in the Index.
Rocking your vehicle to get it out:
First, turn your steering wheel left and right. That will
clear the area around your front wheels. Then shift back
and forth between REVERSE
(R) and a forward gear,
spinning the wheels as little as possible. Release the
accelerator pedal while you shift, and press lightly on
the accelerator pedal when the transaxle is
in gear. If
that doesn’t get you out after a few tries, you may need
to be towed out. If you
do need to be towed out, see
“Towing Your Vehicle”
in the Index.
ProCarManuals.com
Page 254 of 372
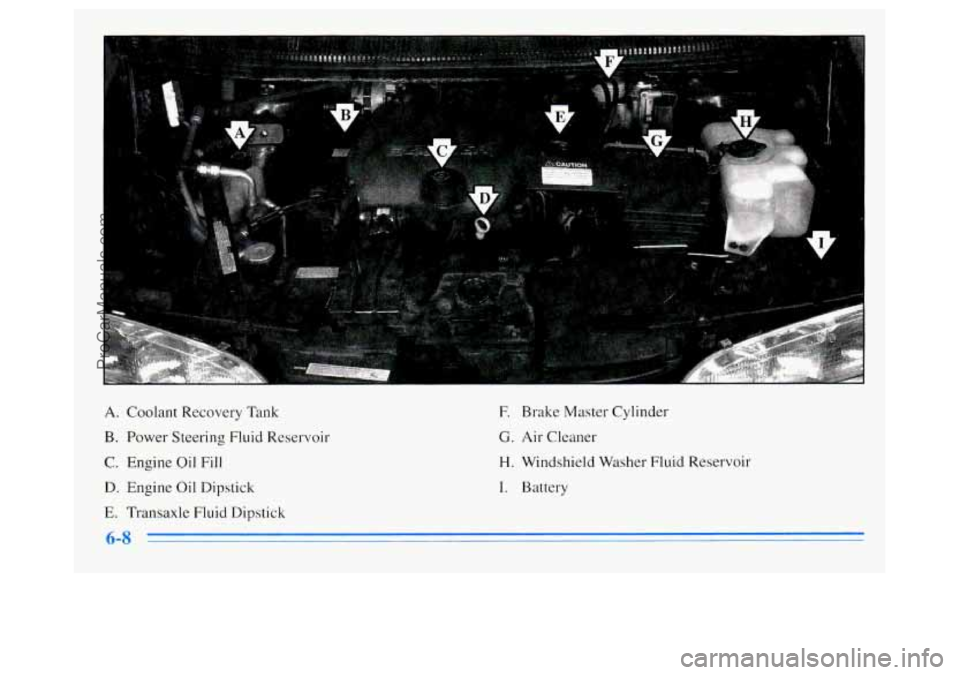
A. Coolant Recovery Tank
B. Power Steering Fluid Reservoir
C. Engine Oil Fill
D. Engine Oil Dipstick
E. Transaxle Fluid Dipstick
E Brake Master Cylinder
G. Air Cleaner
H. Windshield Washer Fluid Reservoir
I. Battery
ProCarManuals.com
Page 268 of 372
Radiator Pressure Cap
NOTICE:
Your radiator cap is a 15 psi (105 kPa)
pressure-type cap and must be tightly installed to prevent coolant loss and possible engine damage
from overheating. Be sure the arrows on the cap line up with the overflow tube on the radiator
filler neck.
When you replace your radiator pressure cap, an AC@
cap is recommended.
Thermostat
Engine coolant temperature is controlled by a thermostat
in the engine coolant system. The thermostat stops the
flow
of coolant through the radiator until the coolant
reaches
a preset temperature.
When
you replace your thermostat, an AC@ thermostat
is recommended.
Power Steering Fluid
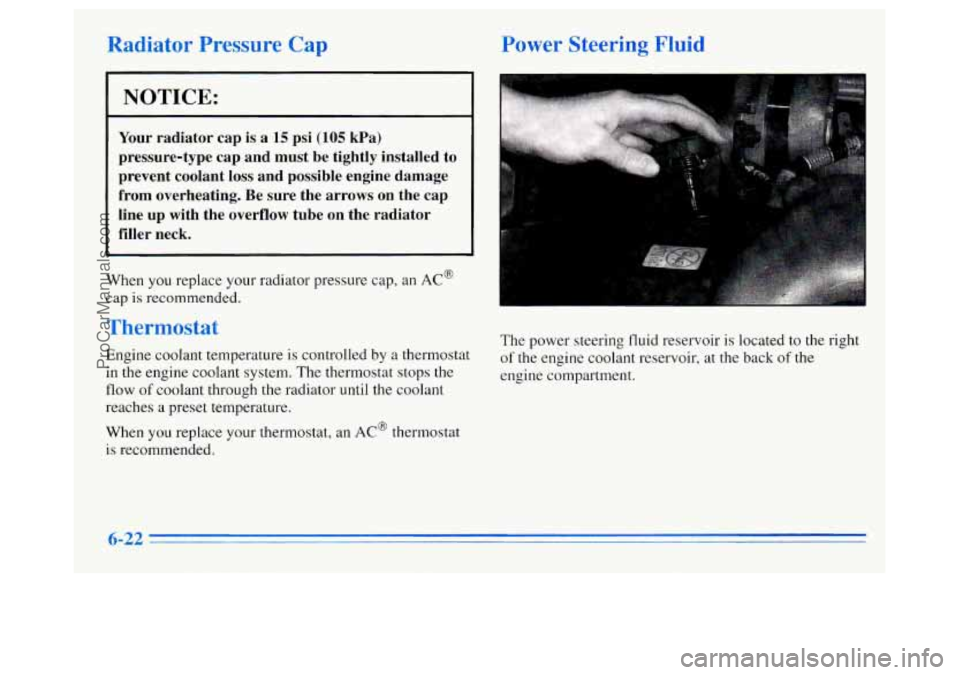
The power steering fluid reservoir is located to the right
of the engine coolant reservoir, at the back of the
engine compartment.
6-22
ProCarManuals.com
Page 269 of 372

When to Check Power Steering Fluid
It is not necessary to regularly check power steering
fluid unless you suspect there is a leak in the system or
you hear an unusual noise.
A fluid loss in this system
could indicate a problem. Have the system inspected
and repaired.
How To Check Power Steering Fluid
When the engine compartment is cool, unscrew the cap
and wipe the dipstick with
a clean rag. Replace the cap
and completely tighten
it. Then remove the cap again
and look at the fluid level on the dipstick.
When the engine compartment is hot, the level should be
at the
H mark. When it’s cold, the level should be at the
C mark. If the fluid is at the ADD mark, you should
add fluid.
What to Use
Refer to the Maintenance Schedule to determine what
kind of fluid
to use. See “Recommended Fluids and
Lubricants” in the Index. Always use the proper fluid.
Failure to use the proper fluid can cause leaks and
damage hoses and seals.
Windshield Washer Fluid
What to Use
When you need windshield washer fluid, be sure to read
the manufacturer’s instructions before use. If you will be
operating your vehicle in an area where the temperature
may fall below freezing, use a fluid that has sufficient
protection against freezing.
6-23
ProCarManuals.com
Page 301 of 372

Fuse Usage
GAUGES/AC A/C Compressor Relay, ABS,
Electronic Level Control Height
Sensor, Instrument Panel Cluster,
Power Sliding Door Controller
LPS
ABS Interior Lamps Dimming, Rear
Climate Control Blower, Door Lock
Switches, Temperature and Compass
Display, Headlamp and Instrument
Panel Dimmer Switch, Heater-A/C
Control, Instrument Panel Cluster,
Illumination for Power Sliding
Door Switches
ABS Enable Relay
Fuse
RD02
R WIPER
F WIPER
IGN
HTR-A/C
R BLW
Usage
Radio, Steering Wheel Controls
Temperature and Compass Display,
Rear Window Wipermasher
Windshield and Rear Window
Wipermasher
Cruise Control Switch, Heater-A/C
Control, Speedometer and
Tachometer, Rear Window Defogger
Relay, Safety Belt Reminder Chime,
Lamps on Reminder, Key in the
Ignition Warning
Low Speed A/C Blower Relay
Rear Climate Control Blower
6-55
ProCarManuals.com
Page 343 of 372

Steering Column Lock Check
While parked, and with the parking brake set, try to turn
the key to LOCK in each shift lever position.
0 The key should turn to LOCK only when the shft
0 The key should come out only in LOCK.
lever
is in
PARK (P).
Parking Brake and Automatic Transaxle PARK (P)
lism Check Park
on a fairly steep
hill, with the vehicle facing
downhill. Keeping your foot on the regular brake,
set the parking brake.
To check the parking brake: With the engine running
and transaxle in NEUTRAL
(N), slowly remove foot
pressure from the regular brake pedal.
Do this until
the vehicle
is held by the parking brake only.
To check the PARK (P) mechanism’s holding ability:
With the engine running, shift to PARK
(P). Then
release all brakes.
Underbody Flushing Service At least every spring, use plain water to flush any
corrosive materials from the underbody. Take care to
clean thoroughly any areas where mud and other debris
can collect.
When
you
are doing this check, your vehicle
could begin to move. You or others could be
injured and property could be damaged. Make
sure there is room
in front of your vehicle in case
it begins to roll. Be ready to apply the regular
brake at once should the vehicle begin
to move.
7-37
ProCarManuals.com
Page 344 of 372

Part C: Periodic Maintenance
Inspections
Listed below are inspections and services which should
be performed at least twice a year (for instance, each
spring and fall).
You should let your GM retailer’s
service department or other qualified service center do
these jobs. Make sure any necessary repairs are
completed at once.
Proper procedures to perform these services may be
found
in an Oldsmobile Service Manual. See “Service
and Owner Publications’’ in the Index.
Steering, Suspension and Front-Wheel-Drive
Axle Boot and Seal Inspection
Inspect the front and rear suspension and steering system
for damaged, loose or missing parts, signs of wear or lack
of lubrication. Inspect the power steering lines and hoses
for proper hook-up, binding, leaks, cracks, chafing, etc.
Clean and then inspect the drive axle boot seals for
damage, tears or leakage. Replace seals if necessary.
Exhaust System Inspection
Inspect the complete exhaust system. Inspect the body
near the exhaust system. Look for broken, damaged,
missing or out-of-position parts as well as open seams, holes, loose connections
or other conditions which could
cause a heat build-up in the floor pan or could
let
exhaust fumes into the vehicle. See “Engine Exhaust’’ in
the Index.
Radiator anc d Heater Hose Inspection
Inspect the hoses and have them replaced if they are
cracked, swollen or deteriorated. Inspect all pipes,
fittings and clamps; replace as needed.
Throttle Linkage Inspect!. :
Inspect the throttle linkage for interrerence or binding,
and for damage or missing parts. Replace parts as
needed. Replace any cables that have high effort or
excessive wear.
Do not lubricate accelerator and cruise
control cables.
Brake System Inspection
Inspect the complete system. Inspect brake lines and
hoses for proper hook-up, binding, leaks, cracks, chafing, etc. Inspect disc brake pads for wear and rotors
for surface condition.
Also inspect drum brake linings
for wear and cracks. Inspect other brake parts, including
drums, wheel cylinders, calipers, parking brake, etc.
Check parking brake adjustment. You may need to have
your brakes inspected more often
if your driving habits
or conditions result
in frequent braking.
ProCarManuals.com
Page 345 of 372

Part D: Recommended Fluids and
Lubricants
NOTE: Fluids and lubricants identified below by name,
part number or specification may be obtained from your
GM retailer.
USAGE
Engine Oil
Engine Coolant
FLUIDLUBRICANT
Engine oil with the American
Petroleum Institute Certified For
Gasoline Engines “Starburst”
symbol of the proper viscosity.
To
determine the preferred viscosity
for your vehicle’s engine, see
“Engine Oil” in the Index.
50/50 mixture of clean wateL
(preferably distilled) and GM
Goodwrench@ DEX-COOL
TM or
Havoline@ DEX-COOL’”
(orange-colored, silicate-free)
antifreeze conforming
to GM
Specification 6277M. See “Engine
Coolant” in the Index.
USAGE
Coolant
Supplement
Sealer
Hydraulic Brake
System
Parking Brake
Cable Guides
Power Steering
System
Automatic
Transaxle
Key Lock
Cylinders GM
Part No. 3634621 or
equivalent with a complete flush
and refill.
(GM Part No.
1052535 or
Chassis lubricant (GM Part
No. 1052497 or equivalent) or
lubricant meeting requirements
of NLGI Grade 2, Category LB
or GC-LB.
GM Power Steering Fluid
(GM Part
No. 1052884 - 1 pt.,
1050017
- l qt., or equivalent).
DEXRON@-I11 Automatic
Transmission Fluid.
Multi-Purpose Lubricant, Superlube@ (GM Part No. 12346241
or equivalent).
7-39
ProCarManuals.com
Page 359 of 372
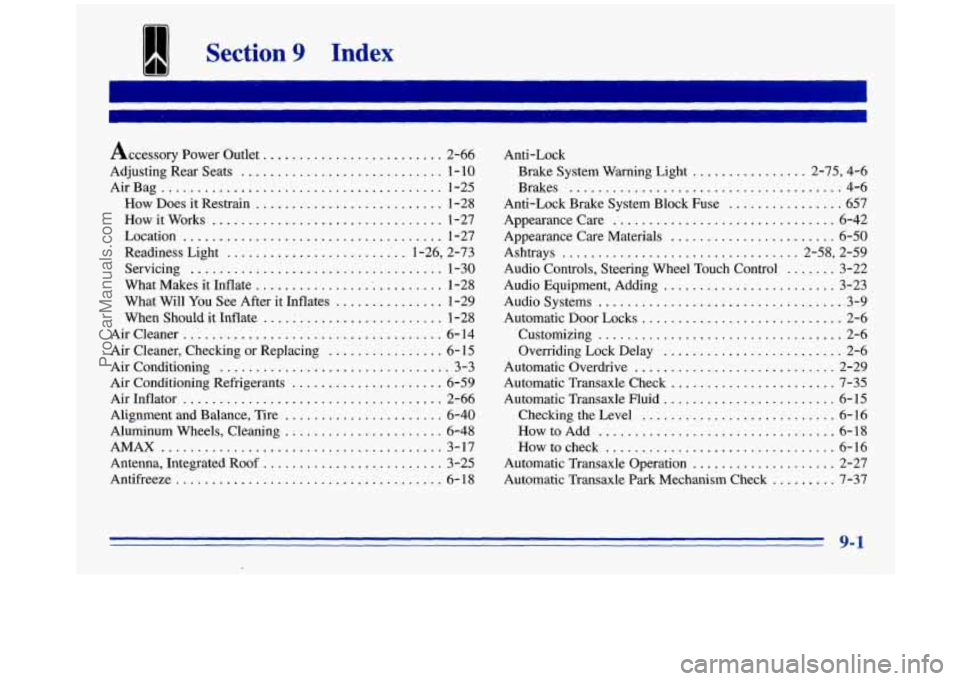
I Section 9 Index
I ..
Accessory Power Outlet ......................... 2-66
Adjusting Rear Seats
............................ 1-10
How Does it Restrain .......................... 1-28
How it Works
................................ 1-27
Location
.................................... 1-27
Readiness Light
......................... 1.26. 2.73
Servicing
................................... 1-30
What Makes it Inflate
........................... 1-28
What Will
You See After it Inflates ............... 1-29
When Should it Inflate
.... : .................... 1-28
Aircleaner
.................................... 6-14
Air Cleaner. Checking or Replacing
................ 6- 15
Air Conditioning
................................ 3-3
Air Conditioning Refrigerants
..................... 6-59
Airhflator
.................................... 2-66
Alignment and Balance. Tire
...................... 6-40
Aluminum Wheels. Cleaning
...................... 6-48
AMAX ....................................... 3-17
Antenna. Integrated Roof
......................... 3-25
Antifreeze
..................................... 6-18
AirBag
....................................... 1-25
I
.
Anti-Lock
Brake System Warning Light
................ 2.75. 4.6
Brakes
...................................... 4-6
Appearance Care
............................... 6-42
Appearance Care Materials
....................... 6-50
Ashtrays ................................. 2.58. 2.59
Audio Equipment. Adding
........................ 3-23
Audio Systems
.................................. '3-9
Automatic
Door Locks ............................ 2-6
Customizing
.................................. 2-6
Overriding Lock Delay ......................... 2-6
Automatic Overdrive
............................ 2-29
Automatic Transaxle Check
....................... 7-35
Automatic Transaxle Fluid
........................ 6-15
Checking the Level
........................... 6-16
Howtocheck
................................. 6-16
Automatic Transaxle Operation
.................... 2-27
Automatic Transaxle Park Mechanism Check
......... 7-37
Anti-Lock Brake System Block Fuse
................ 657
Audio Controls. Steering Wheel Touch Control
....... 3-22
HowtoAdd
................................. 6-18
9-1
ProCarManuals.com