change wheel OLDSMOBILE SILHOUETTE 1997 Owners Manual
[x] Cancel search | Manufacturer: OLDSMOBILE, Model Year: 1997, Model line: SILHOUETTE, Model: OLDSMOBILE SILHOUETTE 1997Pages: 436, PDF Size: 21.87 MB
Page 89 of 436
Section 2 Features and Controls
Here you can learn about the many standard and optional features on your Oldsmobile, and information on starting,
shifting and braking. Also explained are the instrument panel and the warning systems that
tell you if everything is
working properly
-- and what to do if you have a problem.
2-2 2-4
2-7
2-
10
2- 12
2-13 2-15
2-19
2-23
2-26 2-26
2-28 2-29
2-3 1
2-35
2-37
2-4
1
2-50 Important Information About Keys
Door Locks
Remote Lock
Control
Battery Replacement for RKE
Switchbanks
Sliding Door
Power Sliding Door
Operation of Sliding Door Security Locks
Preventing Theft
of Your Vehicle
New Vehicle "Break-In"
Ignition Positions
Tips on Starting
Your Engine
Using the Engine Coolant Heater
Automatic Transaxle Operation
Parking Brake Guidelines
Important Information on Engine Exhaust
Locks and Lighting Choices
Windows 2-52
2-52
2-53
2-54
2-55
2-59
2-59
2-6
I
2-66
2- 67
2-7
I
2- 84
2-85
2- 86
2-88
2-92 Adjusting the
Tilt Steering
Wheel
Functions of the Multifunction Lever
How to Use
the High/Low Beam
Headlamp Changer
Windshield Wipers and Fluid
Using Cruise Control
Exterior Lamps
Daytime Running Lamps (DRL)
Interior Lamps
Rearview Mirrors
Storage Compartments
Driver Information Center
Accessory Power Outlets
S u nroo f
Air Inflator System
Instrument Panel Overview
All About Your Warning Lights and Gages
ProCarManuals.com
Page 140 of 436
Tilt Steering Wheel
A tilt steering wheel allows you to adjust the steering
wheel before you drive.
You can also raise it to the
highest level to give your legs more room when you exit
and enter the vehicle.
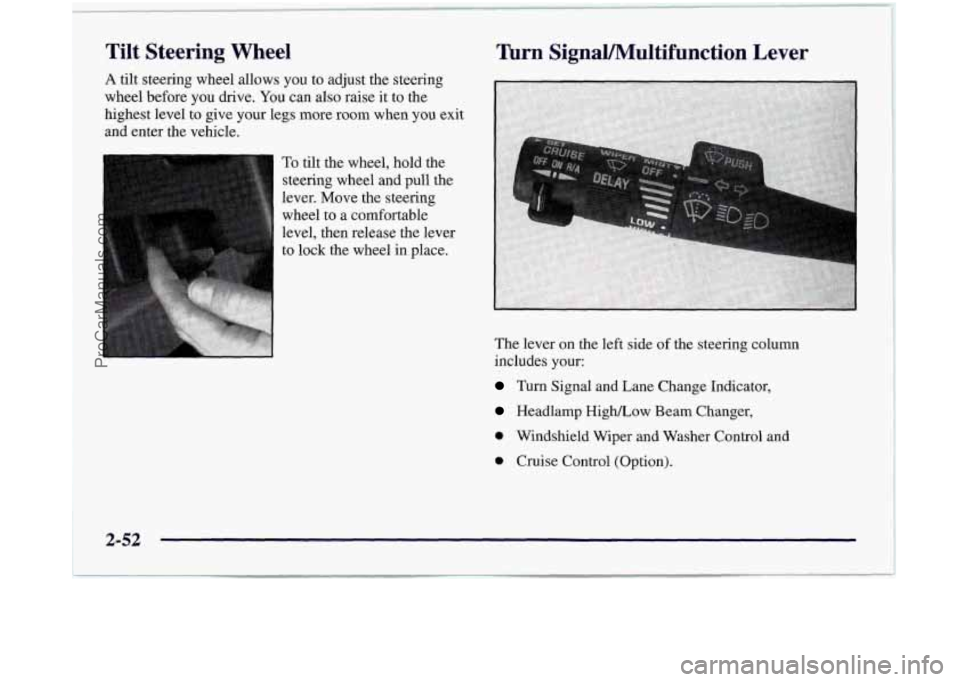
To tilt the wheel, hold the
steering wheel and pull the
lever. Move the steering
wheel to a comfortable
level, then release the lever
to
lock the wheel in place.
Turn SignaUMultifunction Lever
The lever on the left side of the steering column
includes your:
Turn Signal and Lane Change Indicator,
Headlamp High/Low Beam Changer,
0 Windshield Wiper and Washer Control and
0 Cruise Control (Option).
2-52
,
ProCarManuals.com
Page 143 of 436

Rear Window Wiper and Washer
\-
I The rear window wiper
switch
is located in
the Instrument Panel
switchbank.
Push the wiper symbol on the bottom
of the button to
turn on the intermittent wiper. To turn off the wiper,
gently push the top
of the button.
To wash and wipe the rear window, push in the washer
symbol on the top
of the button. Washer fluid will spray
as long as the button is held
in. When the top of the
button is released, the wiper will continue to cycle three
more times.
To wash the rear window when the rear wiper is already on,
push on the top
of the button with the wash symbol on it.
Push in the bottom of the button to continue the intermittent
wiper cycle after the washing cycle is completed.
Cruise Control (Option)
With cruise control, you can maintain a speed of about
25 mph (40 km/h) or more without keeping your foot
on the accelerator. This can really help
on long trips.
Cruise control does not work at speeds below about
25 mph (40 kmh).
When you apply your brakes,
the cruise control
shuts
off.
0 Cruise control can be dangerous where you
can’t drive safely at
a steady speed. So,
don’t use your cruise control on winding
roads or in heavy traffic.
slippery roads. On such roads, fast changes
in tire traction can cause needless wheel
spinning, and you could lose control. Don’t
use cruise control on slippery roads.
0 Cruise control can be dangerous on
2-55
ProCarManuals.com
Page 235 of 436
Remember: Anti-lock doesn’t change the time you need
to get your foot up to the brake pedal or always decrease
stopping distance.
If you get too close to the vehicle in
front of you, you won’t have time to apply your brakes
if that vehicle suddenly slows or stops. Always leave
enough room up ahead to stop, even though you have
anti-lock brakes.
Using Anti-Lock
Don’t pump the brakes. Just hold the brake pedal
down and let anti-lock work for you. You may feel the
system working, or you may notice some noise, but this
is normal.
LOW
TRACTION
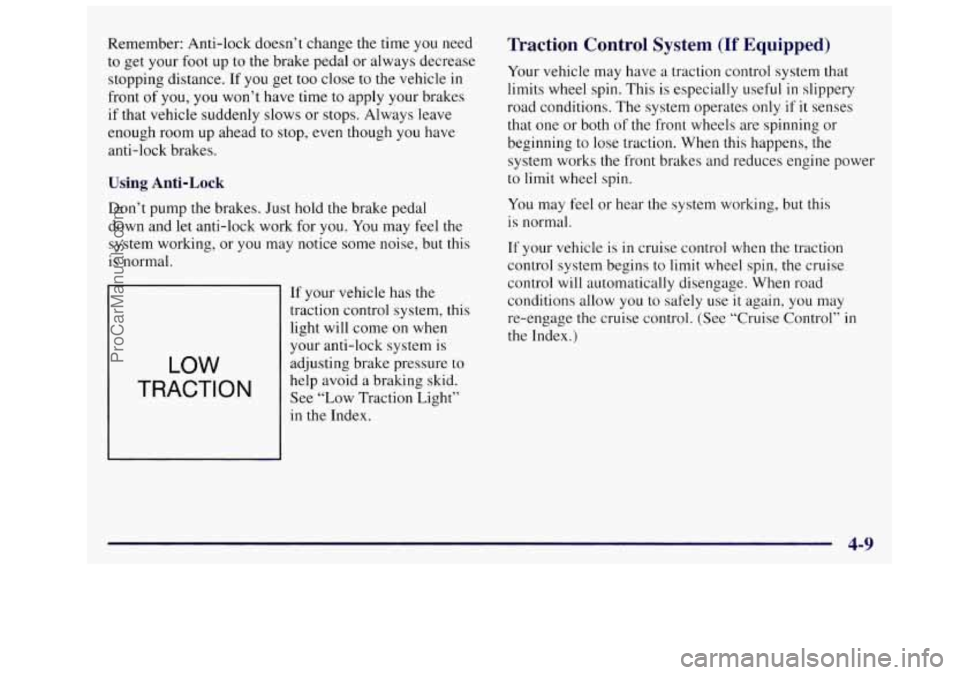
If your vehicle has the
traction control system, this
light will come on when
your anti-lock system is
adjusting brake pressure to
help avoid a braking skid.
See “Low Traction Light”
in the Index.
Traction Control System (If Equipped)
Your vehicle may have a traction control system that
limits wheel spin. This is especially useful in slippery
road conditions. The system operates only if
it senses
that one or both of the front wheels are spinning or
beginning to lose traction. When this happens,
the
system works the front brakes and reduces engine power
to
limit wheel spin.
You may feel or hear the system worlung, but this
is normal.
If your vehicle is in cruise control when the traction
control system begins to limit wheel spin, the cruise
control will automatically disengage. When road
conditions allow you to safely use
it again, you may
re-engage the cruise control. (See “Cruise Control” in
the Index.)
4-9
ProCarManuals.com
Page 237 of 436

Steering
Power Steering
If you lose power steering assist because the engine
stops or the system is not functioning, you can steer but
it will take much more effort.
Steering Tips
Driving on Curves
It’s important to take curves at a reasonable speed.
A lot of the “driver lost control” accidents mentioned on
the news happen on curves. Here’s why:
Experienced driver or beginner, each of
us is subject to
the same laws of physics when driving on curves. The
traction of the tires against
the road surface makes it
possible for the vehicle to change its path when you turn
the front wheels.
If there’s no traction, inertia will keep
the vehicle going
in the same direction. If you’ve ever
tried to steer a vehicle
on wet ice, you’ll understand this.
The traction you can get
in a curve depends on the
condition of your tires and the road surface, the angle at
which the curve is banked, and your speed. While you’re
in a curve, speed is the one factor you can control. Suppose you’re steering
through a sharp curve. Then you
suddenly accelerate. Both control systems
-- steering and
acceleration
-- have to do their work where the tires meet
the road. Adding the sudden acceleration can demand too
much of those places.
You can lose control.
What should you do if this ever happens? Ease up on the
accelerator pedal, steer the vehicle the way you want it
to
go, and slow down.
Speed limit signs near curves warn that you should
adjust your speed. Of course, the posted speeds are
based
on good weather and road conditions. Under less
favorable conditions you’ll want to
go slower.
If you need to reduce your speed as you approach a
curve, do
it before you enter the curve, while your front
wheels are straight ahead.
Try to adjust your speed
so you can “drive” through the
curve. Maintain a reasonable, steady speed. Wait to
accelerate
until you are out of the curve, and then
accelerate gently into the straightaway.
ProCarManuals.com
Page 241 of 436
Loss of Control
Let’s review what driving experts say about what
happens when the
three control systems (brakes, steering
and acceleration) don’t have enough friction where the
tires meet the road to do what the driver has asked.
In any emergency, don’t give up. Keep trying to steer and
constantly seek
an escape route or area of less danger.
Skidding
In a skid, a driver can lose control of the vehicle.
Defensive drivers avoid most skids by taking reasonable
care suited
to existing conditions, and by not “overdriving”
those conditions. But skids
are always possible.
The three types of skids correspond to your
Oldsmobile’s
three control systems. In the bralung skid,
your wheels aren’t rolling. In the steering or cornering
skid, too much speed or steering in a curve causes tires
to slip and lose cornering force. And in the acceleration
slud, too much throttle causes the driving wheels to spin.
A cornering skid and an acceleration skid are best
handled by easing your foot off the accelerator pedal.
If your vehicle starts to slide, ease your foot off the
accelerator pedal and quickly steer the way you want the
vehicle to go.
If you start steering quickly enough, your
vehicle may straighten out. Always be ready for a
second skid
if it occurs.
Of course, traction is reduced when water, snow, ice,
gravel or other material is on
the road. For safety, you’ll
want to slow down and adjust your driving to these conditions. It is important to slow down on slippery
surfaces because stopping distance will be longer and
vehicle control more limited.
While driving on a surface with reduced traction, try
your best to avoid sudden steering, acceleration or
braking (including engine braking by shifting to a lower
gear). Any sudden changes could cause
the tires to slide.
You may not realize the surface is slippery until your
vehicle is sludding. Learn to recognize warning
clues
-- such as enough water, ice or packed snow on
the road to make a “mirrored surface”
-- and slow down
when you have any doubt.
Remember: Any anti-lock brake system (ABS) helps
avoid only the braking skid.
4-15
- --
ProCarManuals.com
Page 257 of 436
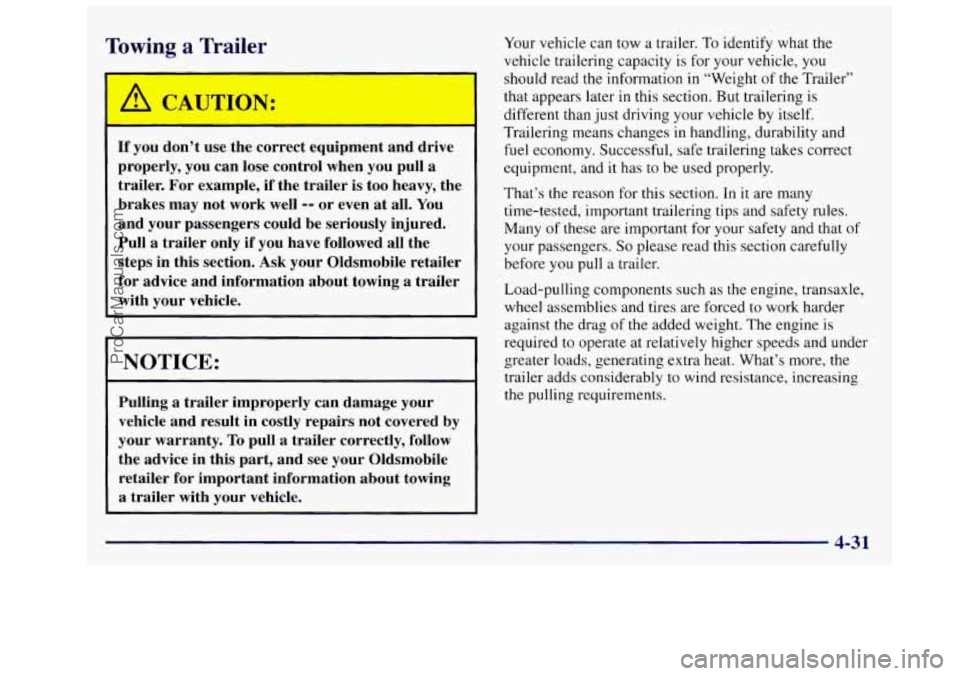
Towing a Trailer
/ CA, TKL 4:
If you don’t use the correct equipment and drive
properly, you can lose control when you pull a
trailer. For example, if the trailer is too heavy, the
brakes may not work well
-- or even at all. You
and your passengers could be seriously injured.
Pull a trailer only if you have followed all the
steps in this section. Ask your Oldsmobile retailer
for advice and information about towing
a trailer
with your vehicle.
NOTICE:
Pulling a trailer improperly can damage your
vehicle and result in costly repairs not covered by
your warranty.
To pull a trailer correctly, follow
the advice in this part, and see your Oldsmobile
retailer for important information about towing
a trailer with your vehicle.
Your vehicle can tow a trailer. To identify what the
vehicle trailering capacity is for your vehicle, you
should read the information
in “Weight of the Trailer”
that appears later in this section. But trailering
is
different than just driving your vehicle by itself.
Trailering means changes
in handling, durability and
fuel economy. Successful, safe trailering takes correct
equipment, and it has
to be used properly.
That’s the reason for this section. In
it are many
time-tested, important trailering tips and safety rules.
Many
of these are important for your safety and that of
your passengers.
So please read this section carefully
before you pull a trailer.
Load-pulling components such as the engine, transaxle,
wheel assemblies and tires are forced to work harder
against the drag of the added weight. The engine is
required to operate at relatively higher speeds and under
greater loads, generating extra heat. What’s more, the
trailer adds considerably to wind resistance, increasing
the pulling requirements.
ProCarManuals.com
Page 263 of 436
Turn Signals When Towing a Trailer
When you tow a trailer, your vehicle has to have extra
wiring and a different turn signal flasher.
The arrows on your instrument panel will flash
whenever you signal a turn or lane change. Properly
hooked up, the trailer lamps will also flash, telling other
drivers you’re about to turn, change lanes or stop.
When towing a trailer, the arrows on your instrument
panel will flash for turns even if
the bulbs on the trailer
are burned out. Thus, you may think drivers behind you
are seeing your signal when
they are not. It’s important
to check occasionally to be sure the trailer bulbs are
still working.
Driving On Grades
Reduce speed and shift to a lower gear befure you start
down a long or steep downgrade.
If you don’t shift
down, you might have to use your brakes
so much that
they would get hot and
no longer work well.
On a long uphill grade, shift down and reduce your
speed to around
45 mph (70 km/h) to reduce the
possibility of engine and transaxle overheating.
If you are towing a trailer that weighs more than
1,000 lbs.
(454 kg), you may prefer to drive in
THIRD
(3) instead of AUTOMATIC OVERDRIVE (D)
(or, as
you need to, a lower gear). This will minimize
heat build-up and extend the life of your transaxle.
Parking on Hills
You really should not park your vehicle, with a trailer
attached, on a
hill. If something goes wrong, your rig
could start to move. People can be injured, and both
your vehicle and the trailer can be damaged.
But
if you ever have to park your rig on a hill, here’s
how to do it:
1.
2.
3.
4.
5.
Apply your regular brakes, but don’t shift into
PARK
(P) yet.
Have someone place chocks under
the trailer wheels.
When
the wheel chocks are in place, release the
regular brakes
until the chocks absorb the load.
Reapply the regular brakes. Then apply your parking
brake, and then shift
to PARK (P).
Release the regular brakes.
4-37
ProCarManuals.com
Page 272 of 436
Towing Your Vehicle
Try to have a GM dealer or a professional towing
service tow your vehicle. They can provide the right
equipment and know how
to tow it without damage.
See “Roadside Assistance”
in the Index.
If your vehicle has been changed or modified since it
was factory-new by adding aftermarket items like
fog
lamps, aero skirting, or special tires and wheels, these
things can be damaged during towing.
Before
you do anything, turn on the hazard
warning flashers.
When you call, tell the towing service:
0 That your vehicle has front-wheel drive.
0 That your vehicle cannot be towed from the front or
rear with sling-type equipment.
0 The make, model and year of your vehicle.
0 Whether you can still move the shift lever.
If there was an accident, what was damaged. To
help avoid injury to you or others:
Never let passengers ride in a vehicle that is
Never tow faster than safe or posted speeds.
Never tow with damaged parts not
Never get under your vehicle after it has
Always use separate safety chains on each
Never use J-hooks. Use T-hooks instead.
being towed.
fully secured.
been lifted by the tow truck.
side when towing
a vehicle.
5-8
ProCarManuals.com
Page 286 of 436
If a Tire Goes Flat
It’s unusual for a tire to “blow out” while you’re driving,
especially if you maintain your tires properly. If air goes
out of a tire, it’s much more likely to leak out slowly.
But if you should ever have
a “blowout,” here are a few
tips about what to expect and what to do:
If a front tire fails, the flat tire will create a drag that
pulls the vehicle toward that side. Take your foot off
the
accelerator pedal and grip the steering wheel firmly.
Steer
to maintain lane position, and then gently brake to
a stop well out
of the traffic lane.
A rear blowout, particularly on a curve, acts much like a
skid and may require the same correction you’d use
in a
skid. In any rear blowout, remove your foot from the
accelerator pedal. Get the vehicle under control by
steering the way you want the vehicle to go. It may be
very bumpy and noisy, but you can still steer. Gently
brake
to a stop -- well off the road if possible.
If
a tire goes flat, the next part shows how to use your
jacking equipment to change a flat tire safely.
Air Inflator (Option)
Your vehicle may have an air inflator used to bring tires
up
to the proper pressure. See “Air Inflator” in the Index
for more details.
Changing a Flat Tire
If a tire goes flat, avoid further tire and wheel damage
by driving slowly to a level place. Turn on your hazard
warning flashers.
Changing
a tire can cause an injury. The vehicle
can slip off the jack and roll over you or other
people. You and they could be badly injured.
Find
a level place to change your tire. To help
prevent the vehicle from moving:
1. Set the parking brake firmly.
2. Put the shift lever in PARK (P).
3. lhrn off the engine.
To be even more certain the vehicle won’t move,
you can put blocks at the front and rear of the
tire farthest away from the one being changed.
That would be the tire on the other side
of the
vehicle, at the opposite end.
5-22
ProCarManuals.com