turn signal bulb OLDSMOBILE SILHOUETTE 1997 Owners Manual
[x] Cancel search | Manufacturer: OLDSMOBILE, Model Year: 1997, Model line: SILHOUETTE, Model: OLDSMOBILE SILHOUETTE 1997Pages: 436, PDF Size: 21.87 MB
Page 141 of 436
Turn Signal and Lane Change Indicator
The turn signal has two upward (for right) and two
downward (for left) positions. These positions allow you
to signal a turn or
a lane change.
To signal a turn, move the lever all the way up or down.
When the turn is finished, the lever will return automatically.
An arrow on the instrument panel will flash in the
direction of the turn or lane change.
To signal a lane change, just raise or lower the lever
until the arrow starts to flash. Hold it there until you
complete your lane change. The lever will return by
itself when
you release it.
As you signal a turn or a lane change, if the arrow
flashes faster than normal, a signal bulb may be burned
out and other drivers won’t see your turn signal.
If a bulb is burned out, replace it to help avoid an
accident. If the arrows don’t go on at all when you
signal
a turn, check for burned-out bulbs and check the
fuse (see “Fuses and Circuit Breakers”
in the Index).
If you have a trailer towing option with added wiring for
the trailer lamps, the signal indicator will flash at a
normal rate even
if a turn signal bulb is burned out.
Check the front and rear turn signal lamps regularly to
make sure
they are working.
Turn Signal Reminder Chime
If either turn signal is left on for more than 3/4 of a mile,
a chime will sound to let the driver know to turn it off.
If you need to leave the signal on for more than 3/4 of a
mile, turn off the signal and then turn it back on.
Headlamp HigWLow Beam Changer
To change the headlamps from high to low beam, or low
to high, simply pull
the turn signal lever all the way
toward you. Then release it.
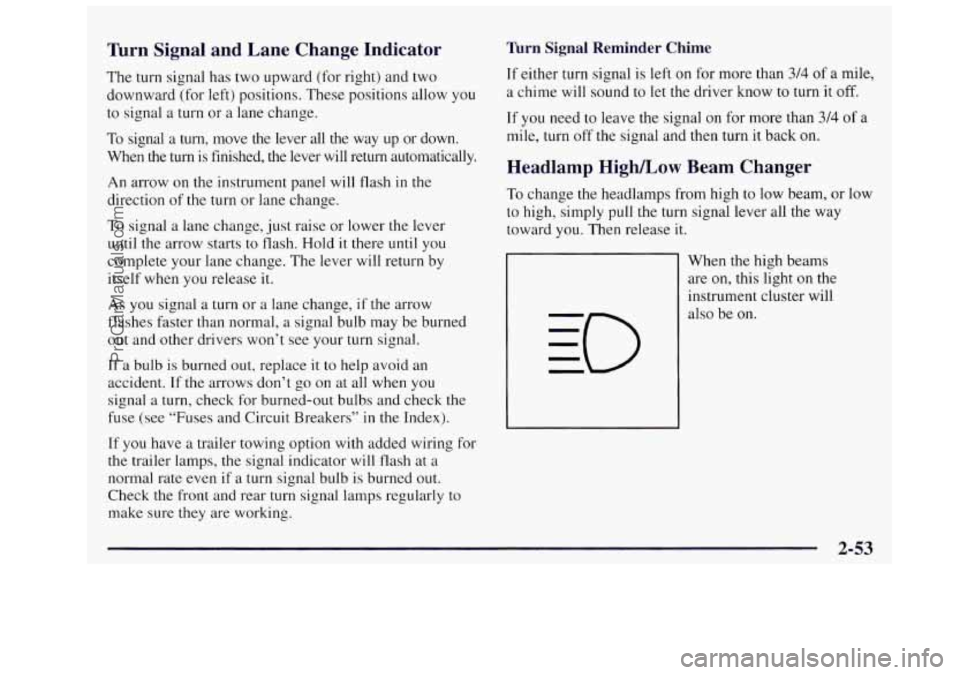
When the high beams
are on, this light on the
instrument cluster will
also be on.
2-53
ProCarManuals.com
Page 263 of 436
Turn Signals When Towing a Trailer
When you tow a trailer, your vehicle has to have extra
wiring and a different turn signal flasher.
The arrows on your instrument panel will flash
whenever you signal a turn or lane change. Properly
hooked up, the trailer lamps will also flash, telling other
drivers you’re about to turn, change lanes or stop.
When towing a trailer, the arrows on your instrument
panel will flash for turns even if
the bulbs on the trailer
are burned out. Thus, you may think drivers behind you
are seeing your signal when
they are not. It’s important
to check occasionally to be sure the trailer bulbs are
still working.
Driving On Grades
Reduce speed and shift to a lower gear befure you start
down a long or steep downgrade.
If you don’t shift
down, you might have to use your brakes
so much that
they would get hot and
no longer work well.
On a long uphill grade, shift down and reduce your
speed to around
45 mph (70 km/h) to reduce the
possibility of engine and transaxle overheating.
If you are towing a trailer that weighs more than
1,000 lbs.
(454 kg), you may prefer to drive in
THIRD
(3) instead of AUTOMATIC OVERDRIVE (D)
(or, as
you need to, a lower gear). This will minimize
heat build-up and extend the life of your transaxle.
Parking on Hills
You really should not park your vehicle, with a trailer
attached, on a
hill. If something goes wrong, your rig
could start to move. People can be injured, and both
your vehicle and the trailer can be damaged.
But
if you ever have to park your rig on a hill, here’s
how to do it:
1.
2.
3.
4.
5.
Apply your regular brakes, but don’t shift into
PARK
(P) yet.
Have someone place chocks under
the trailer wheels.
When
the wheel chocks are in place, release the
regular brakes
until the chocks absorb the load.
Reapply the regular brakes. Then apply your parking
brake, and then shift
to PARK (P).
Release the regular brakes.
4-37
ProCarManuals.com
Page 329 of 436
Jump Starting
For jump starting instructions, see “Jump Starting” in
the Index.
Bulb Replacement
For the type of bulbs, see “Replacement Bulbs” in
the Index.
Halogen Bulbs
Halogen bulbs have pressurized gas inside and
can burst if you drop or scratch the bulb.
You or
others could be injured. Be sure to read and
follow the instructions on the bulb package.
Headlamps
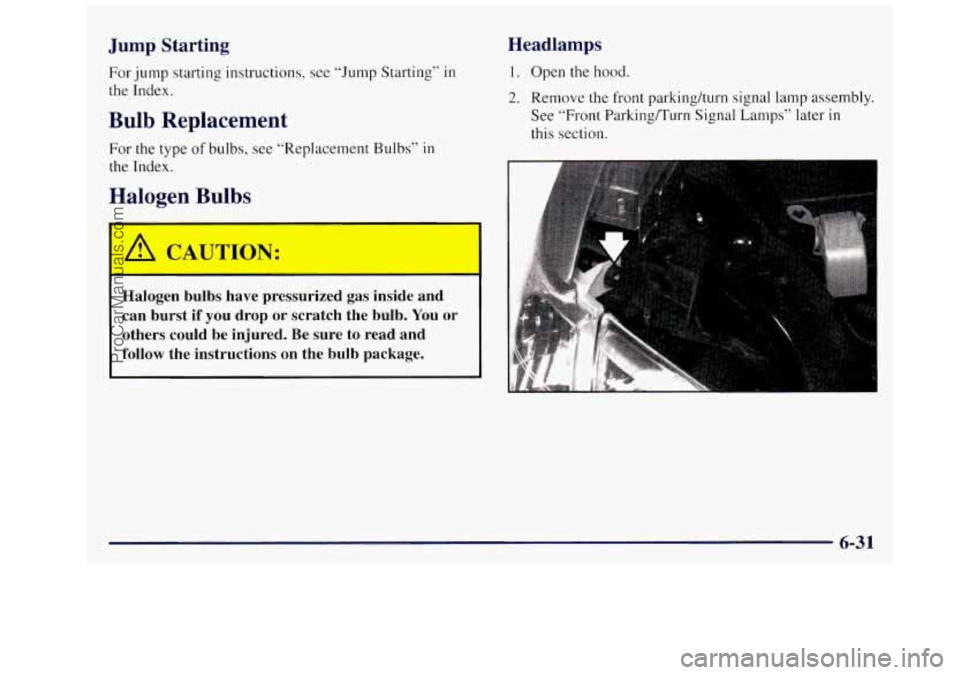
1. Open the hood.
2. Remove the front parking/turn signal lamp assembly.
See “Front Parking/Turn Signal Lamps” later
in
this section.
6-31
ProCarManuals.com
Page 333 of 436
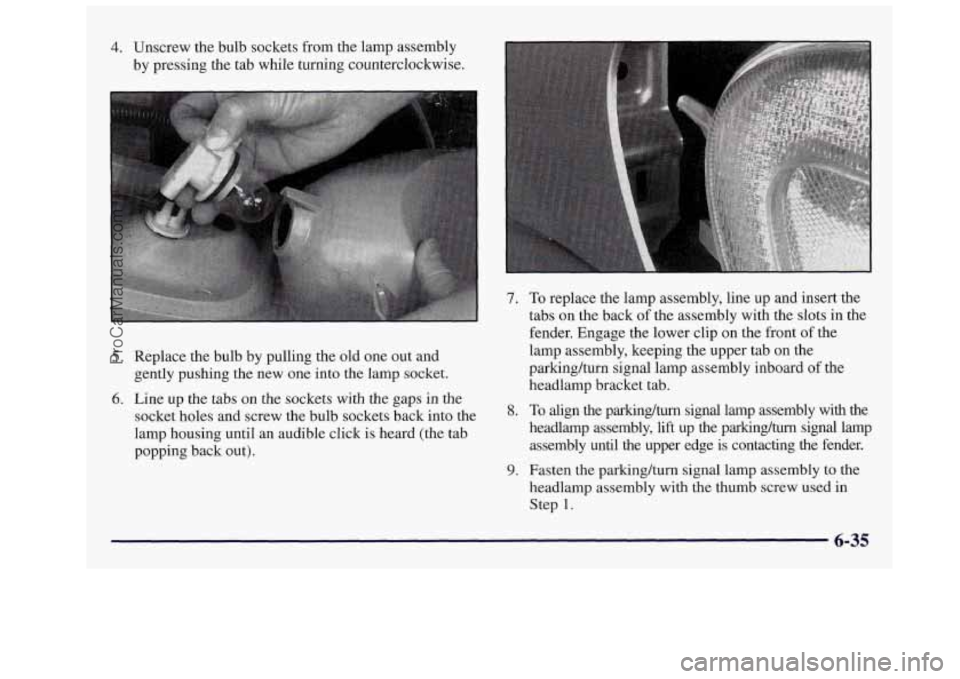
4. Unscrew the bulb sockets from the lamp assembly
by pressing the tab while turning counterclockwise.
7. To replace the lamp assembly, line up and insert the
tabs on the back
of the assembly with the slots in the
fender. Engage the lower clip
on the front of the
5. Replace the bulb by pulling the old one out and lamp assembly, keeping the upper tab on the
6. Line up the tabs on the sockets with the gaps in the
gently pushing the
new one into the lamp socket. parkinghm signal lamp assembly inboard of
the
socket holes and screw the bulb sockets back into the 8. To align the parking/turn signal lamp assembly with the
lamp housing until an audible click
is heard (the tab headlamp assembly, lift up the parking/turn signal lamp
popping back out). assembly until the upper
edge is contacting the fender.
headlamp bracket tab.
9. Fasten the parkinghurn signal lamp assembly
to the
headlamp assembly with the thumb screw used in
Step
1.
6-35
ProCarManuals.com
Page 334 of 436
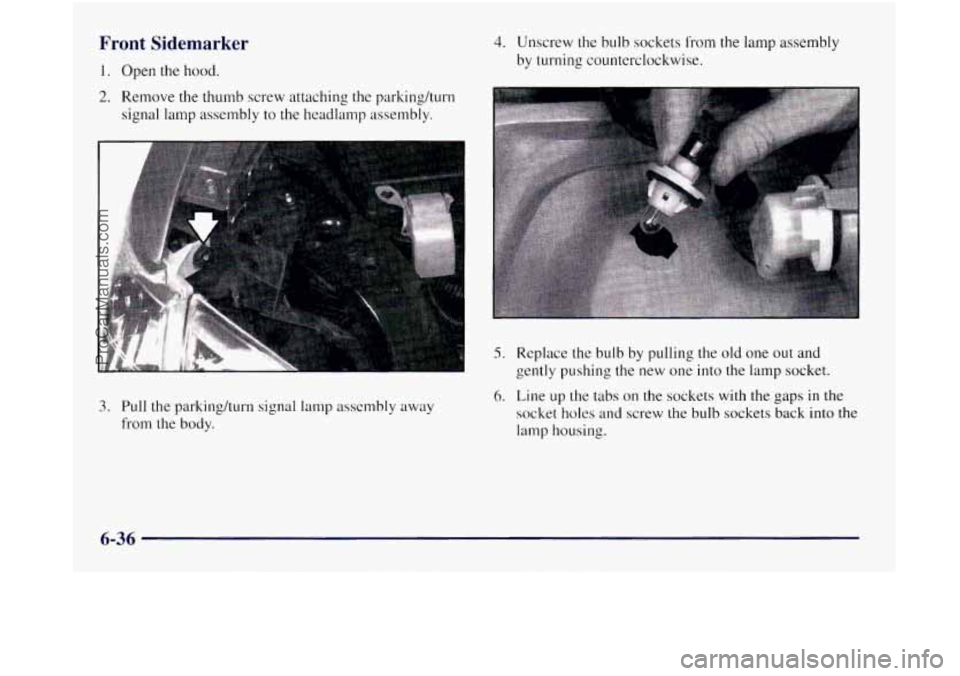
Front Sidemarker
1. Open the hood.
2. Remove the thumb screw attaching the parking/turn
signal lamp assembly
to the headlamp assembly.
3. Pull the parkinghurn signal lamp assembly away
from the body.
4. Unscrew the bulb sockets from the lamp assembly
by turning counterclockwise.
5. Replace the bulb by pulling the old one out and
gently pushing the new one into the lamp socket.
6. Line up the tabs on the sockets with the gaps in the
socket holes
and screw the bulb sockets back into the
lamp housing.
6-36
ProCarManuals.com
Page 335 of 436
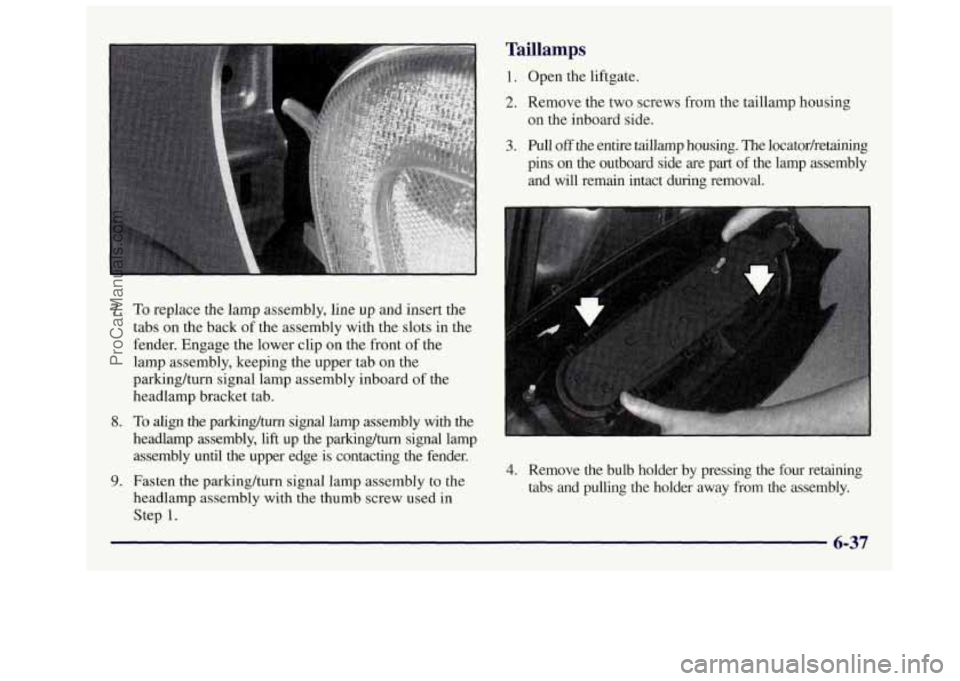
7. To replace the lamp assembly, line up and insert the
tabs on the back of the assembly with the slots in the
fender. Engage the lower clip on the front of the
lamp assembly, keeping the upper tab on the
parkinghrn signal lamp assembly inboard of the
headlamp bracket tab.
8. To align the parking/turn signal lamp assembly with the
headlamp assembly,
lift up the parking/turn signal lamp
assembly until the upper edge is contacting the fender.
9. Fasten the parking/turn signal lamp assembly to the
headlamp assembly with the thumb screw used in
Step
1.
Taillamps
1. Open the liftgate.
2. Remove the two screws from the taillamp housing
on the inboard side.
3. Pull off the entire taillamp housing. The locator/retaining
pins on the outboard side are part
of the lamp assembly
and will remain intact during removal.
4. Remove the bulb holder by pressing the four retaining
tabs and pulline the holder away from the assembly.
6-37
ProCarManuals.com
Page 336 of 436
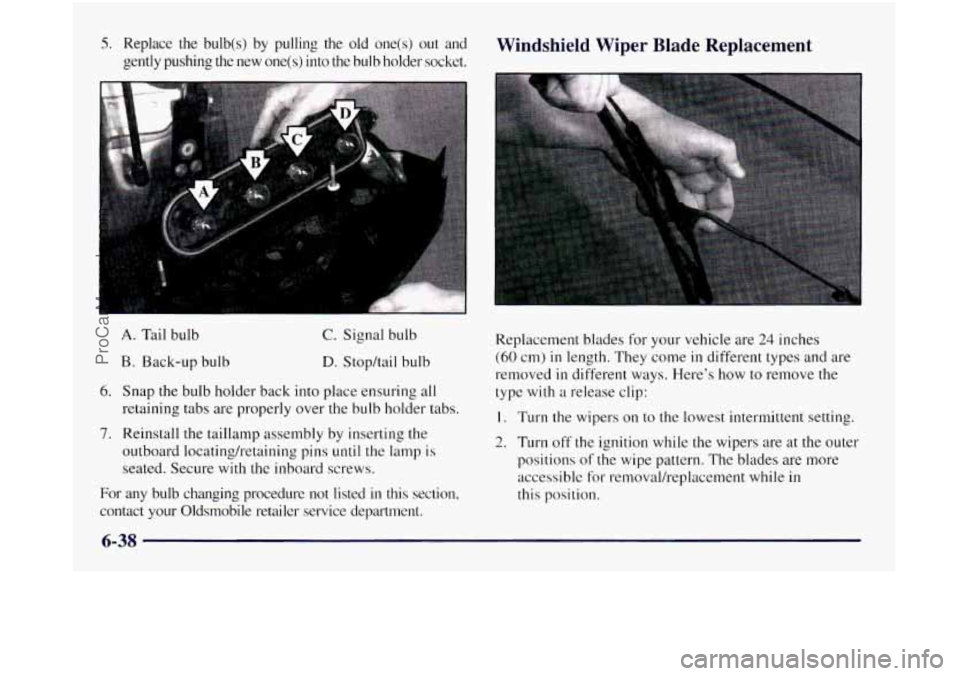
5. Replace the bulb(s) by pulling the old one(s) out and
gently pushing the new one(s)
into the bulb holder socket.
Windshield Wiper Blade Replacement
A. Tail bulb
B. Back-up bulb
C. Signal bulb
D. Stophail bulb
6. Snap the bulb holder back into place ensuring all
retaining tabs are properly over the bulb holder tabs.
7. Reinstall the taillamp assembly by inserting the
outboard locatinghetaining pins
until the lamp is
seated. Secure with thc inboard screws.
For any bulb changing procedure
not listed in this section,
contact your Oldsmobile retailer service department. Replacement
blades for your vehicle are
24 inches
(60 cm) in length. They come in different types and are
removed
in different ways. Here's how to remove the
type with
a release clip:
I. Turn the wipers on to the lowest intermittent setting.
2. Turn off the ignition while the wipers are at the outer
positions
of the wipe pattern. The blades are more
accessible
for removal/replacement while in
this position.
6-38
ProCarManuals.com
Page 360 of 436
Replacement Bulbs
Exterior Lamps Bulb Number
Headlamps ......................... 9004-HBI
Front Parking/Turn Signal Lamps
........... 3 157NA or 3 IS7 NAK
Stopmail (Top) .......................... 3057
Signal (2nd from top)
..................... 3 156
Back-up Lamps (3rd from top) ............. 3 1 S6
Tail (Bottom) ........................... 3057
Front Sidemarker
Lamps
................... 194
Capacities and Specifications
(Approximate)
The following approximate capacities are given in
English and Metric conversions.
Please refer
to “Recommended Fluids and Lubricants”
in the Index for more information.
Automatic Transaxle
Pan Removal and Replacement ..... 8 quarts (7.6 L)
Cooling System
With A/C ................. 1 1.75 quarts (1 1.25 L)
With Rear Climate Control or
Rear Heater
.............. 13.5 quarts ( 12.75 L)
Engine Crankcase - Oil and
Filter Change
.................... 4.5 (3.75 L)
Fuel Capacity
Standard (SWB) ................ 20 gallons (76 L)
Optional (LWB) ................ 25 gallons (95 L)
Refrigerant,
Air Conditioning*
........ See Refrigerant Label
under the hood.
Tire Pressures, Sizes ........... See Tire-Loading
Information
label on driver’s door.
Wheel Nut Torque .......... 100 lb-ft (140 Nem)
Windshield Washer Fluid ....... 1 gallon (0.37 L)
*See Air Conditioning Refrigerants later in this section.
NOTE: All capacities are approximate. When adding, be
sure to fill
to the appropriate level, as recommended in
this manual.
Air Conditioning Refrigerants
Not all air conditioning refrigerants are the same.
If the air conditioning system in your vehicle needs
rcfr-igerant,
be sure the proper refrigerunt is used.
If you’re not sure, ask your Oldsmobile retailel:
6-62
ProCarManuals.com
Page 425 of 436
Finish Damage ................................. 6-52
FirstGear
..................................... 2-34
Flashers. Hazard Warning
......................... 5-2
Flat Tire. Changing
............................. 5-22
Fluid Capacities
................................ 6-62
Fluids and Lubricants
............................ 7-43
FogLamps
.................................... 2-60
Folding Driver's Seatback
......................... 1-3
Foreign Countries. Fuel ........................... 6-4
FrontDoor
..................................... 2-4
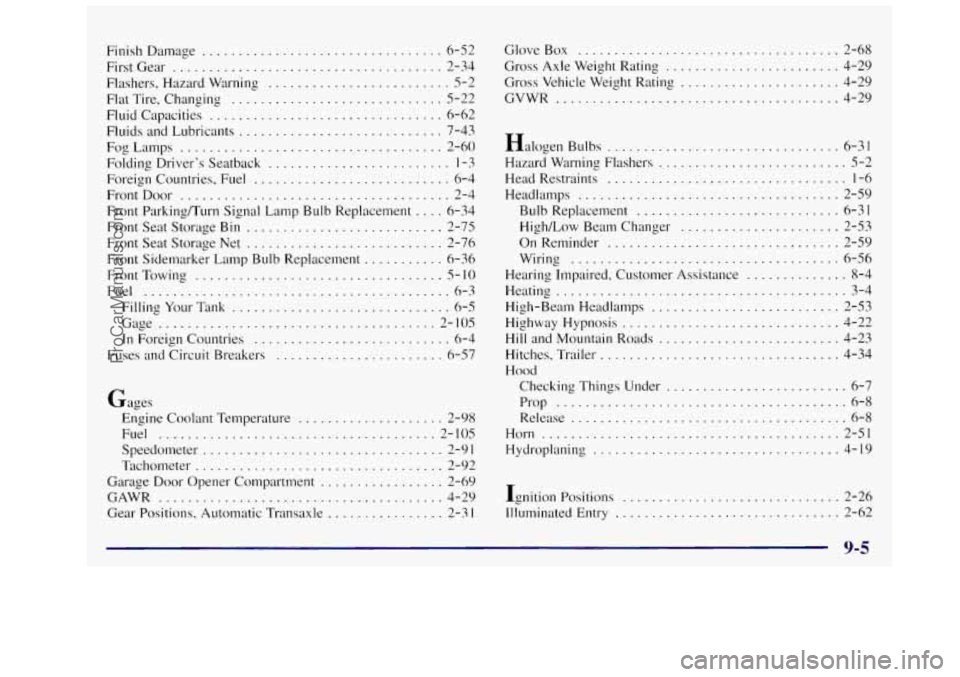
Front Parking/Turn Signal Lamp Bulb Replacement
.... 6-34
Front Seat Storage Bin
........................... 2-75
Front Seat Storage Net
........................... 2-76
Front Sidemarker Lamp Bulb Replacement
........... 6-36
FrontTowing
.................................. 5-10
Fuel .......................................... 6-3
Filling Your Tank
.............................. 6-5
Gage ...................................... 2-105
In Foreign Countries ........................... 6-4
Fuses and Circuit Breakers ....................... 6-57
Gages Engine Coolant Temperature
.................... 2-98
Fuel
...................................... 2-105
Speedometer ................................. 2-9 1
Tachometer .................................. 2-92
Garage Door Opener Compartment
................. 2-69
Gear Positions. Automatic Transaxle
................ 2-3 I
GAWR ....................................... 4-29 GloveBox
.................................... 2-68
Gross Axle Weight Rating
........................ 4-29
Gross Vehicle Weight Rating
...................... 4-29
GVWR
....................................... 4-29
Halogen Bulbs
................................ 6-31
Hazard Warning Flashers
.......................... 5-2
Head Restraints ................................. 1-6
Headlamps
.................................... 2-59
Bulb Replacement ............................ 6-31
High/Low Beam Changer
...................... 2-53
OnReminder
................................ 2-59
Wiring
..................................... 6-56
Hearing Impaired, Customer Assistance
.............. 8-4
Heating
........................................ 3-4
High-Beam Headlamps
.......................... 2-53
Highway Hypnosis
.............................. 4-22
Hill and Mountain Roads ......................... 4-23
Hitches, Trailer
................................. 4-34
Hood
Checking Things Under ......................... 6-7
Prop
........................................ 6-8
Release ...................................... 6-8
Horn ......................................... 2-51
Hydroplaning
.................................. 4-19
Ignition Positions
.............................. 2-26
Illuminated Entry
............................... 2-62
9-5
__ . .- ~
ProCarManuals.com
Page 431 of 436
Servicing Your Air Bag-Equipped Oldsmobile ........ 1-48
Sheet Metal Damage
............................ 6-52
Automatic Transaxle
.......................... 2-3 1
Intopark
.................................... 2-36
Outofpark
.................................. 2-38
Shifting
. Shoulder Belt Height
Adjuster ..................... 1-36
SideAshtrays
.................................. 2-82
Side Convenience Net
........................... 2-78
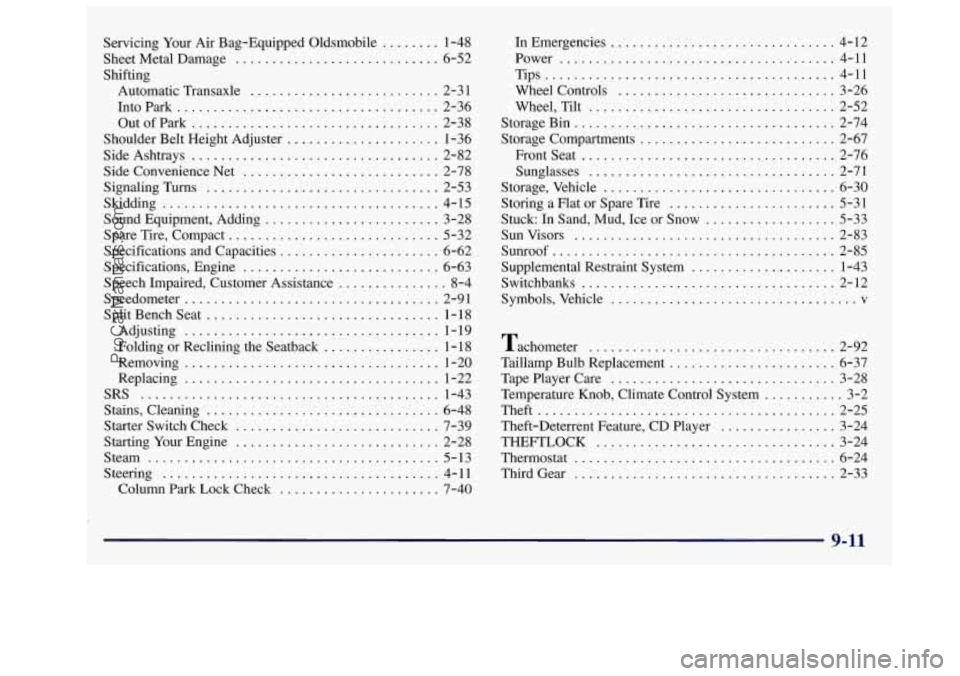
Signaling Turns
................................ 2-53
Skidding
...................................... 4-15
Sound Equipment. Adding
........................ 3-28
Specifications and Capacities
...................... 6-62
Specifications. Engine
........................... 6-63
Speech Impaired. Customer Assistance
............... 8-4
Speedometer
................................... 2-91
SplitBenchSeat
................................ 1-18
Adjusting
................................... 1-19
Folding or Reclining the Seatback
................ 1 - 18
Removing
................................... 1-20
Replacing
................................... 1-22
Stains. Cleaning
................................ 6-48
Starter Switch Check
............................ 7-39
Starting Your Engine
............................ 2-28
Stem
........................................ 5-13
Steering
...................................... 4-11
Column Park Lock Check
...................... 7-40
Spare
Tire. Compact
............................. 5-32
SRS
......................................... 1-43 In Emergencies
............................... 4-
12
Power
...................................... 4-11
Tips
........................................ 4-11
Wheel Controls
.............................. 3-26
Wheel. Tilt
.................................. 2-52
StorageBin
.................................... 2-74
Storage Compartments
........................... 2-67
Frontseat
................................... 2-76
Sunglasses
.................................. 2-71
Storage. Vehicle
................................ 6-30
Stuck: In Sand. Mud. Ice or Snow
.................. 5-33
Sunvisors
.................................... 2-83
Sunroof
....................................... 2-85
Supplemental Restraint System
.................... 1-43
Switchbanks
................................... 2-12
Symbols. Vehicle
.................................. v
Storing a Flat or Spare Tire ....................... 5-31
Tachometer .................................. 2-92
Taillamp Bulb Replacement
....................... 6-37
TapePlayerCare
............................... 3-28
Temperature Knob. Climate Control System
........... 3-2
Theft
......................................... 2-25
Theft-Deterrent Feature. CD Player
................ 3-24
THEFTLOCK
................................. 3-24
Thermostat
.................................... 6-24
Third Gear
.................................... 2-33
9-11
ProCarManuals.com