low oil pressure OLDSMOBILE SILHOUETTE 1997 Owners Manual
[x] Cancel search | Manufacturer: OLDSMOBILE, Model Year: 1997, Model line: SILHOUETTE, Model: OLDSMOBILE SILHOUETTE 1997Pages: 436, PDF Size: 21.87 MB
Page 190 of 436
Have you recently changed brands of fuel?
If
so, be sure to fuel your vehicle with quality fuel (see
“Fuel” in the Index). Poor fuel quality will cause your
engine not to run as efficiently
as designed. You may
notice this as stalling after start-up, stalling when you
put the vehicle into gear, misfiring, hesitation
on
acceleration or stumbling on acceleration. (These
conditions may go away once the engine
is warmed up.)
This will be detected by the system and cause
the light
to turn on.
If you experience one or more of these conditions,
change the fuel brand you use. It will require at least one
full tank
of the proper fuel to turn the light off.
If none of the above steps have made the light turn off,
have your retailer or qualified service center check
the
vehicle. Your retailer has the proper test equipment and
diagnostic tools to fix any mechanical or electrical
problems that may have developed.
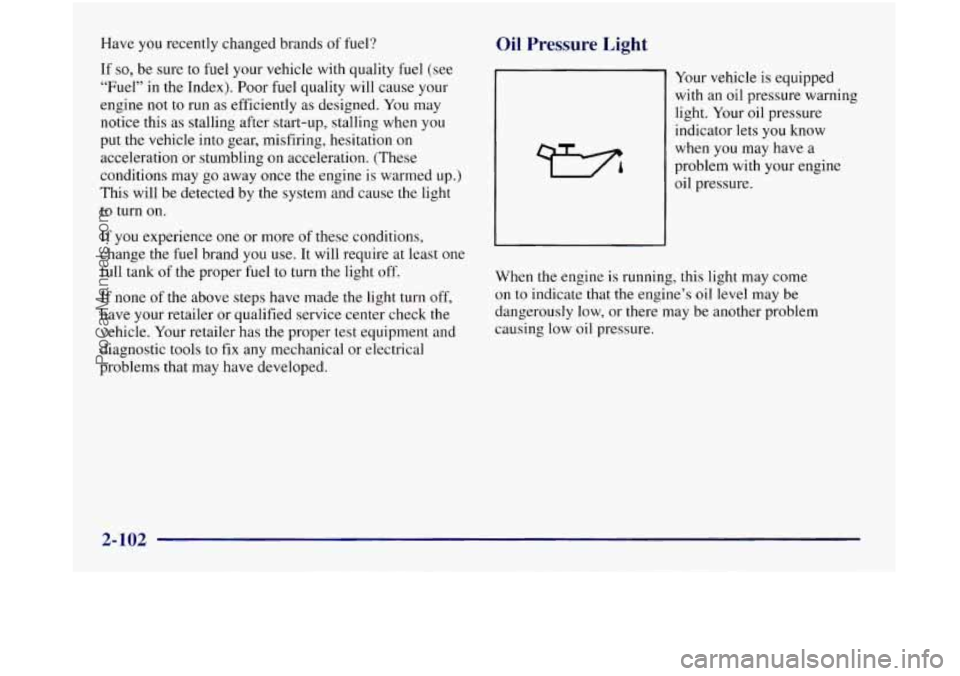
Oil Pressure Light
Your vehicle is equipped
with an oil pressure warning
light. Your oil pressure
indicator lets
you know
when you may have a
problem with your engine
oil pressure.
When
the engine is running, this light may come
on to indicate that
the engine’s oil level may be
dangerously low, or there may be another problem
causing low
oil pressure.
2-102
ProCarManuals.com
Page 191 of 436

Driving your vehicle with low oil pressure can
cause extensive engine damage. Have your vehicle
serviced immediately.
A CAUTION:
Don’t keep driving if the oil pressure is low. If
you do, your engine can become so hot that it
catches fire. You or others could be burned.
Check your oil
as soon as possible and have your
vehicle serviced.
I NOTICE:
Damage to your engine from neglected oil
problems can be costly and
is not covered by
your warranty.
Low Oil Level Light
If this light comes on, it
means your engine is low
on oil.
LEVEL
You need to check the oil level right away. Driving your
vehicle without enough oil can cause extensive engine
damage. Have your vehicle serviced immediately.
2-103
ProCarManuals.com
Page 248 of 436
The exit speed is usually posted.
Reduce your speed according to your speedometer, not
to your sense of motion. After driving for any distance
at higher speeds, you may tend
to think you are going
slower than you actually are.
Before Leaving on a Long Trip
Make sure you’re ready. Try to be well rested. If you
must start when you’re not fresh
-- such as after a day’s
work
-- don’t plan to make too many miles that first part
of the journey. Wear comfortable clothing and shoes you
can easily drive in.
Is your vehicle ready for a long trip? If you keep it
serviced and maintained, it’s ready to go. If it needs
service, have it done before starting out.
Of course,
you’ll find experienced and able service experts in
Oldsmobile retail facilities all across North America.
They’ll be ready and willing to help
if you need it.
Here are some things you can check before a trip:
Windshield Washer Fluid: Is the reservoir full? Are
all windows clean inside and outside?
Wiper Blades: Are they in good shape?
Fuel, Engine Oil, Other Fluids: Have you checked
all levels?
0 Lamps: Are they all working? Are the lenses clean?
Tires: They are vitally important to a safe,
trouble-free trip.
Is the tread good enough for
long-distance driving? Are the tires all inflated
to
the recommended‘pressure?
Weather Forecasts: What’s the weather outlook
along your route? Should
you delay your trip a short
time to avoid
a major storm system?
0 Maps: Do you have up-to-date maps?
Highway Hypnosis
Is there actually such a condition as “highway hypnosis”?
Or is it just plain falling asleep at the wheel? Call it
highway hypnosis, lack
of awareness, or whatever.
There is something about an easy stretch
of road with
the same scenery, along with the hum of the tires on
the road, the drone
of the engine, and the rush of the
wind against the vehicle that can make you sleepy.
Don’t let
it happen to you! If it does, your vehicle can
leave the road
in less than CI second, and you could
crash and be injured.
4-22
ProCarManuals.com
Page 308 of 436

Pull forward on the hood prop to release it from its
storage clip. Then put the end of
the hood prop into the
slot in the underside of the hood.
Before closing the hood, be sure all the filler caps are on
properly.
Then lift the hood to relieve pressure on the
hood prop. Remove the hood prop from the slot
in the
hood and return the prop to its retainer. Then just let
the
hood down and close it firmly.
Underhood Lamp
Your underhood lamp will go on when you open the hood.
Engine Oil
LWEL
If the Low Oil Level light on
the instrument panel comes
on, it means you need to
check your engine oil level
right away. For more information, see “Low Oil
Level Light”
in the Index.
You should check your
engine oil level regularly;
this is an added reminder. It‘s
a good idea
to check your engine oil every time you
get
fuel. In order to get an accurate reading, the oil must
be warm and the vehicle must be on level ground.
The engine oil dipstick
is located at the front of the engine
compartment, near the center. The dipstick handle has
a
bright, yellow loop design for easy identification.
Turn
off the engine and give the oil a few minutes to
drain back into the oil pan. If you don’t, the oil dipstick
might not show the actual level.
6-10
ProCarManuals.com
Page 345 of 436
Cleaning the Inside of Your Oldsmobile
Use a vacuum cleaner often to get rid of dust and loose
dirt. Wipe
vinyl or leather with a clean, damp cloth.
Your Oldsmobile retailer has two cleaners,
a
solvent-type spot lifter and a foam-type powdered
cleaner. They will clean normal spots and stains
very
well. Do not use them on vinyl or leather.
Here are some cleaning tips:
1.
2.
3.
4.
5.
Always read the instructions on the cleaner label.
Clean up stains
as soon as you can -- before they set.
Use a clean cloth or sponge, and change to a clean area
often.
A soft brush may be used if stains are stubborn.
Use solvent-type cleaners
in a well-ventilated area
only.
If you use them, don’t saturate the stained area.
If a ring forms after spot cleaning, clean the entire
area immediately or
it will set.
Using Foam-Type Cleaner on Fabric
1. Vxuum and brush the area to remove any loose dirt.
2. Always clean a whole trim panel or section. Mask
surrounding trim along stitch or welt lines.
4. Use suds only and apply with a clean sponge. Don’t
saturate the material and don’t rub
it roughly.
5. As soon as you’ve cleaned the section, use a sponge
to remove the suds.
6. Rinse the section with a clean, wet sponge.
7. Wipe off what’s left with a slightly damp paper towel
or cloth.
8. Dry it immediately with a blow dryer.
9. Wipe with a clean cloth.
Using Solvent-Type Cleaner on Fabric
First, see if you have to use solvent-type cleaner at all.
Some spots and stains will clean off better with just
water and mild soap.
If you need to
use a solvent:
1. Gently scrape excess soil from the trim material with
a clean, dull
knife or scraper.
2. Use very little cleaner, light pressure and clean cloths
(preferably cheesecloth). Cleaning should start at the
outside of the stain, “feathering” toward
the center.
3. Keep changing to a clean section of the cloth.
3. Mix Multi-Purpose Powdered Cleaner following the 4. When you clean a stain from fabric, immediately dry the
directions on the container label. area with a
blow dryer to help prevent a cleaning ring.
6-47
ProCarManuals.com
Page 349 of 436
Washing Your Vehicle
The best way to preserve your vehicle’s finish is to
keep it clean by washing
it often with lukewarm or
cold water.
Don’t wash your vehicle
in the direct rays of the sun.
Don’t use strong soaps or chemical detergents. Use
liquid hand, dish or car washing (mild detergent) soaps.
Don’t use cleaning agents that are petroleum based, or
that contain acid
or abrasives. All cleaning agents
should be flushed promptly and not allowed to dry
on
the surface, or they could stain. Dry the finish with a
soft, clean chamois or an all-cotton towel to avoid
surface scratches and water spotting.
Before you enter an automatic car wash,
if your vehicle
is equipped with the optional power sliding door, be sure
to have
the power sliding door override feature enabled.
High pressure car washes may cause water to enter
your vehicle.
Finish Care
Occasional waxing or mild polishing of your
Oldsmobile by hand may be necessary to remove
residue from the paint finish. You can get GM-approved
cleaning products from your retailer. (See “Appearance
Care and Materials”
in the Index.) Your
Oldmobile has a “basecoatklearcoat” paint finish.
The clearcoat gives more depth and gloss to the colored
basecoat. Always use waxes and polishes that are
non-abrasive and made for a basecoatklearcoat
paint finish.
NOTICE:
Machine compounding or aggressive polishing on
a basecoatklearcoat paint finish may dull the
finish
or leave swirl marks.
Foreign materials such as calcium chloride and other
salts, ice melting agents, road oil and tar, tree sap, bird
droppings, chemicals from industrial chimneys, etc., can
damage your vehicle’s finish
if they remain on painted
surfaces. Wash the vehicle as soon as possible. If
necessary, use non-abrasive cleaners that are marked
safe for painted surfaces to remove foreign matter.
Exterior painted surfaces are subject to aging, weather
and chemical fallout that can take their toll over a period
of years. You can help to keep the paint finish looking
new by keeping your Oldsmobile garaged or covered
whenever possible.
6-51
ProCarManuals.com
Page 360 of 436
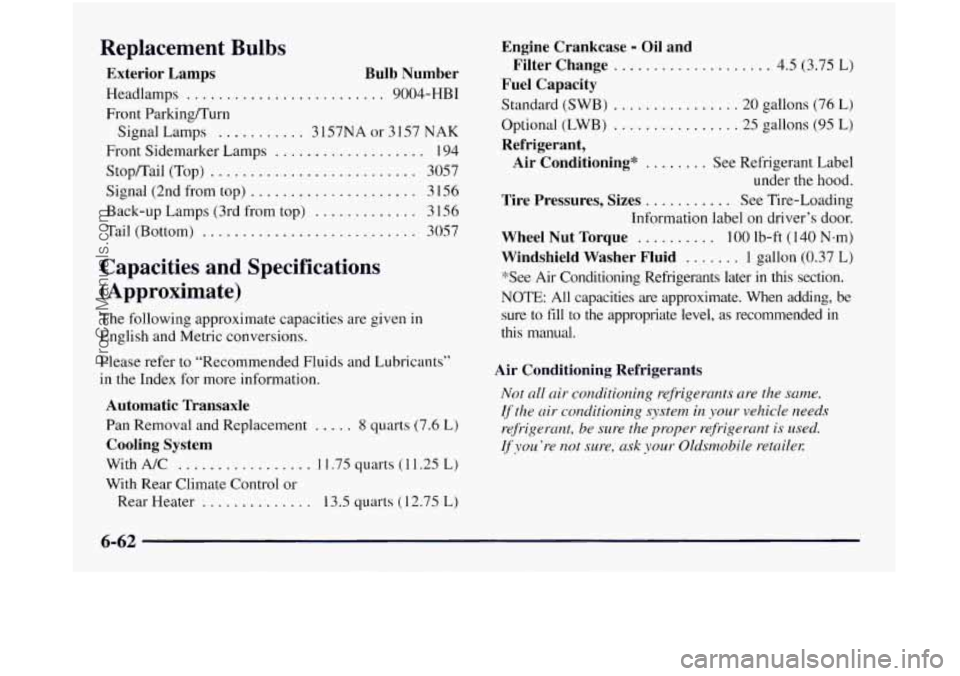
Replacement Bulbs
Exterior Lamps Bulb Number
Headlamps ......................... 9004-HBI
Front Parking/Turn Signal Lamps
........... 3 157NA or 3 IS7 NAK
Stopmail (Top) .......................... 3057
Signal (2nd from top)
..................... 3 156
Back-up Lamps (3rd from top) ............. 3 1 S6
Tail (Bottom) ........................... 3057
Front Sidemarker
Lamps
................... 194
Capacities and Specifications
(Approximate)
The following approximate capacities are given in
English and Metric conversions.
Please refer
to “Recommended Fluids and Lubricants”
in the Index for more information.
Automatic Transaxle
Pan Removal and Replacement ..... 8 quarts (7.6 L)
Cooling System
With A/C ................. 1 1.75 quarts (1 1.25 L)
With Rear Climate Control or
Rear Heater
.............. 13.5 quarts ( 12.75 L)
Engine Crankcase - Oil and
Filter Change
.................... 4.5 (3.75 L)
Fuel Capacity
Standard (SWB) ................ 20 gallons (76 L)
Optional (LWB) ................ 25 gallons (95 L)
Refrigerant,
Air Conditioning*
........ See Refrigerant Label
under the hood.
Tire Pressures, Sizes ........... See Tire-Loading
Information
label on driver’s door.
Wheel Nut Torque .......... 100 lb-ft (140 Nem)
Windshield Washer Fluid ....... 1 gallon (0.37 L)
*See Air Conditioning Refrigerants later in this section.
NOTE: All capacities are approximate. When adding, be
sure to fill
to the appropriate level, as recommended in
this manual.
Air Conditioning Refrigerants
Not all air conditioning refrigerants are the same.
If the air conditioning system in your vehicle needs
rcfr-igerant,
be sure the proper refrigerunt is used.
If you’re not sure, ask your Oldsmobile retailel:
6-62
ProCarManuals.com
Page 399 of 436
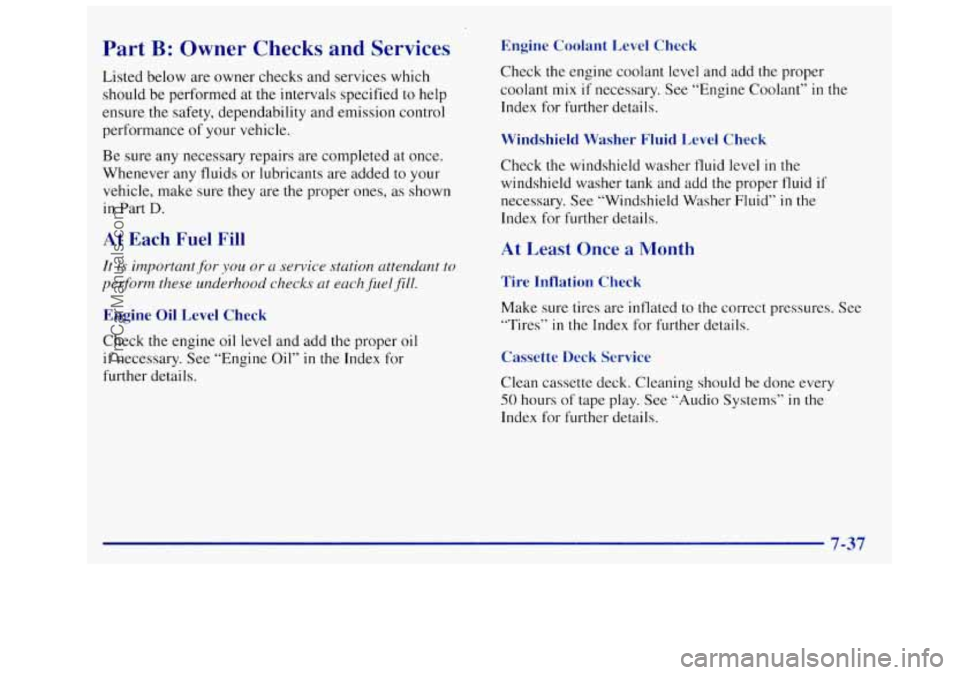
Part B: Owner Checks and Services
Listed below are owner checks and services which
should be performed at the intervals specified to help
ensure the safety, dependability and emission control
performance of your vehicle.
Be sure any necessary repairs are completed at once.
Whenever any fluids or lubricants are added to your
vehicle, make sure they are the proper ones,
as shown
in Part
D.
At Each Fuel Fill
It is importunt.for you or a service station attendant to
perform these underhood checks at each fuelfill.
Engine Oil Level Check
Check the engine oil level and add the proper oil
if necessary. See “Engine Oil” in the Index for
further details.
Engine Coolant Level Check
Check the engine coolant level and add the proper
coolant mix
if necessary. See “Engine Coolant’’ in the
Index for further details.
Windshield Washer Fluid Level Check
Check the windshield washer fluid level in the
windshield washer tank and add the proper fluid
if
necessary. See “Windshield Washer Fluid” in the
Index for further details.
At Least Once a Month
Tire Inflation Check
Make sure tires are inflated to the correct pressures. See
“Tires”
in the Index for further details.
Cassette Deck Service
Clean cassette deck. Cleaning should be done every
50 hours of tape play. See “Audio Systems” in the
Index for further details.
7-37
ProCarManuals.com
Page 427 of 436
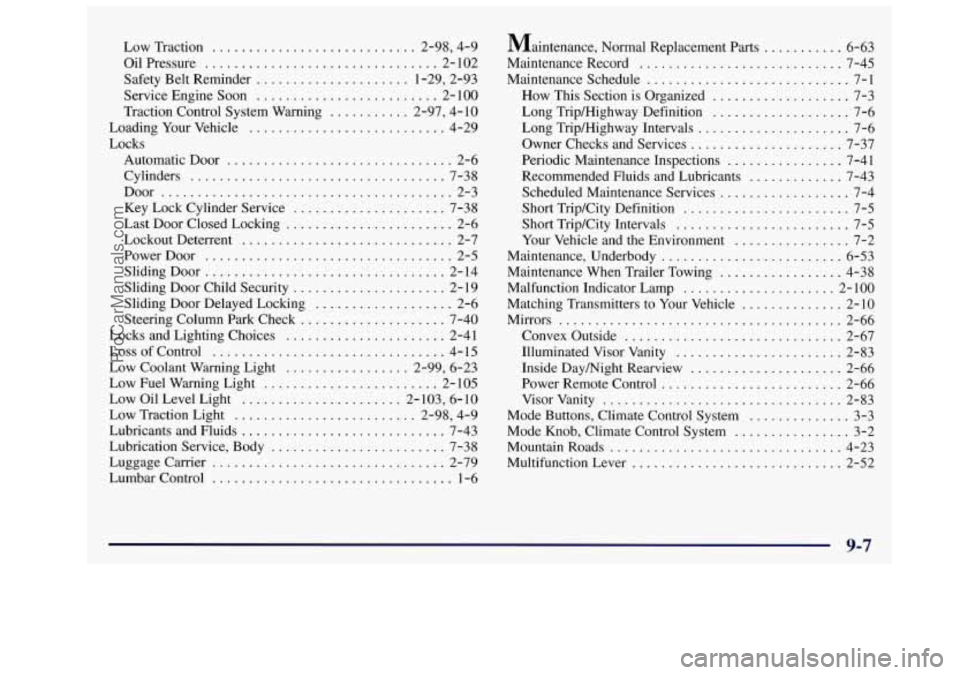
Low Traction ............................ 2.98. 4.9
Oil Pressure
................................ 2- 102
Safety Belt Reminder ..................... 1.29, 2.93
Service Engine Soon
......................... 2- 100
Traction Control System Warning
........... 2.97. 4.10
Loading Your Vehicle
........................... 4-29
Locks
Automatic Door
............................... 2-6
Cylinders
................................... 7-38
Door
........................................ 2-3
Key Lock Cylinder Service
..................... 7-38
Last Door Closed Locking
....................... 2-6
Lockout Deterrent
............................. 2-7
Power Door
.................................. 2-5
Sliding Door
................................. 2- 14
Sliding Door Child Security
..................... 2-19
Sliding Door Delayed Locking
................... 2-6
Steering Column Park Check
.................... 7-40
Locks and Lighting Choices
...................... 2-41
Loss of Control
................................ 4- 15
Low Coolant Warning Light
................. 2.99. 6.23
Low Fuel Warning Light
........................ 2- 105
Low Oil Level Light ...................... 2.103, 6.10
Low Traction Light
......................... 2.98. 4.9
Lubricants and Fluids
............................ 7-43
Lubrication Service. Body
........................ 7-38
Luggagecarrier
................................ 2-79
Lumbar Control
................................. 1-6 Maintenance.
Normal Replacement Parts
........... 6-63
Maintenance Record
............................ 7-45
Maintenance Schedule
............................ 7-1
How This Section is Organized ................... 7-3
Long Trip/Highway Definition
................... 7-6
Long Trip/Highway Intervals
..................... 7-6
Owner Checks and Services
..................... 7-37
Recommended Fluids and Lubricants
............. 7-43
Scheduled Maintenance Services
.................. 7-4
Short Trip/City Definition
....................... 7-5
Short Trip/City Intervals
........................ 7-5
Your Vehicle and the Environment
................ 7-2
Maintenance. Underbody
......................... 6-53
Maintenance When Trailer Towing
................. 4-38
Malfunction Indicator Lamp
..................... 2- 100
Mirrors
....................................... 2-66
Convex Outside
.............................. 2-67
Illuminated Visor Vanity
....................... 2-83
Inside Daymight Rearview
..................... 2-66
Power Remote Control
......................... 2-66
Visor Vanity
................................. 2-83
Periodic Maintenance Inspections
................ 7-41
Matching Transmitters to Your Vehicle
.............. 2-10
Mode Buttons. Climate Control System .............. 3-3
Mode
Knob. Climate Control System ................ 3-2
MountainRoads
................................ 4-23
Multifunction Lever
............................. 2-52
9-7
ProCarManuals.com