diagram OLDSMOBILE SILHOUETTE 1998 Owners Manual
[x] Cancel search | Manufacturer: OLDSMOBILE, Model Year: 1998, Model line: SILHOUETTE, Model: OLDSMOBILE SILHOUETTE 1998Pages: 444, PDF Size: 23.2 MB
Page 18 of 444

Manual Lumbar Control
Turn the knob on the
inboard
side of the
seat to adjust the lower
back support.
Head Restraints
Slide the head restraint up or down so that the top of the
restraint is closest to the top
of your ears. This position
reduces the chance
of a neck injury in a crash.
Rear Seats
Seat Controls
The rear seats in your vehicle have levers and straps
used to adjust, remove and replace the seats. By using
the levers and straps, in the correct order, you can easily
remove the seats from your vehicle. When
you replace the seats in the vehicle, be sure to
follow
the label on the back of the seat for proper location.
Follow this diagram when the text in this manual tells you
what sets of floor cups to use for each seat.
0
i
El
G
3
i
0
C
41
D
B
0
0
H
F
0
H I
1
J
Floor Seat Pin Diagram
1-6
ProCarManuals.com
Page 24 of 444

Replacing the Split Bench Sections
Don’t put the sections of the bench seat in so they face
rearward because they won’t latch that way. If
you want
more storage room behind the seat, adjust each section
by sliding it forward.
The split benches have seat position labels, located on
the back
of each seat, showing where the seat must go.
Follow that diagram.
0 The left (40) section of the 40/60 split bench uses the
A and B sets of floor cups.
the
C and D sets of floor cups.
and
H sets of floor cups.
and
J sets of floor cups.
0 The right (60) section of the 40/60 split bench uses
0 The left section of the 50/50 split bench uses the G
0 The right section of the 50/50 split bench uses the I
1. Squeeze the angled gray bar toward the solid gray
crossbar while placing the front hooks of the bench
seat onto the front two floor pins.
See “Seat Controls” in the beginning of this section for
more details. The seat must be placed in the proper
location for the legs to attach correctly.
Make sure the seat is in the full rear position before
beginning this procedure.
1-12
ProCarManuals.com
Page 31 of 444

Replacing the Bucket Seats
Don’t put the seats in so they face rearward because they
won’t latch that way. If you want more storage room
behind the seat, adjust the seat by sliding it forward.
The bucket seats have seat position labels, located on the
back
of the seat, showing where the seat must go. Follow
that diagram. See “Seat Controls” in the beginning of
this
section for more details. The seat must be placed in the
proper location for the legs
to attach correctly.
RIGHT
ONLY seats that don’t have the built-in child
restraint option fit only in the right location of either
row, the
E and F or I and J sets of floor cups.
The CENTER
OR LEFT seat fits in the center location
or in either left location, the
A and B, C and D or G
and H sets of floor cups.
The
LEFT ONLY seats that don’t have the built-in child
restraint option fit only in the left location of either row,
the
A and B or G and H sets of floor cups.
RIGHT ONLY seats that have the built-in child restraint
option fit only
in the right location of the second row,
the
E and F sets of floor cups.
LEFT ONLY seats that have the built-in child restraint
option fit only
in the left location of the second row, the
A and B sets of floor cups.
Make sure the seat is in the full rear position before
beginning this procedure.
1. With the seat folded, squeeze the angled gray bar
toward the solid gray crossbar while placing the
front hooks of the bench seat
onto the front two
floor pins.
To do this,
the seat will
need to be angled
so that
the front hooks clear the
floor pins.
1-19
ProCarManuals.com
Page 185 of 444

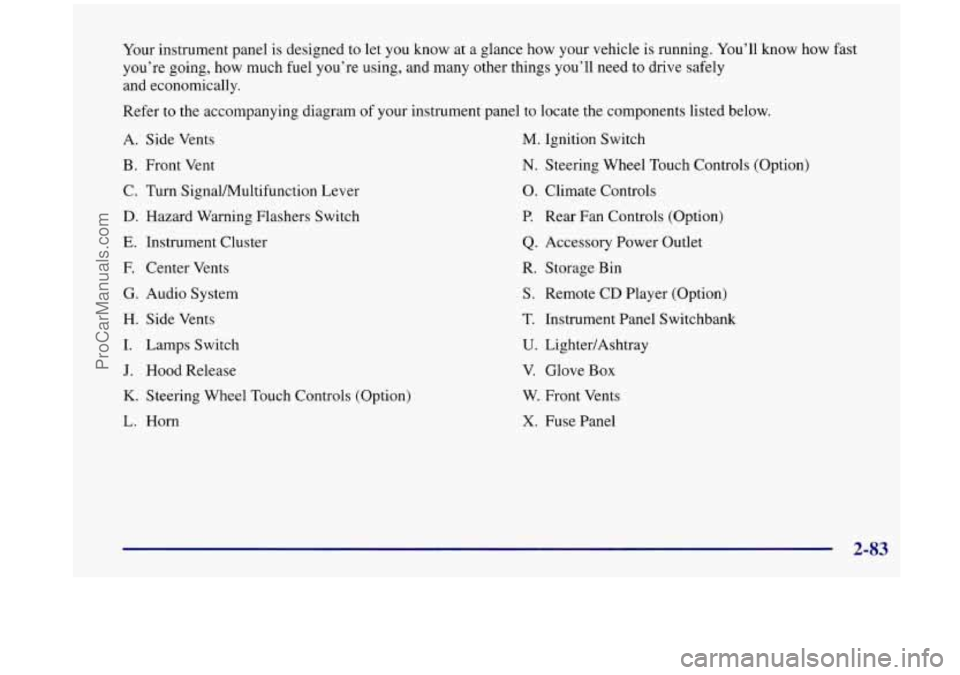
Your instrument panel is designed to let you know at a glance how your vehicle is running. You’ll know how fast
you’re going, how much fuel you’re using, and many other things you’ll need to drive safely
and economically.
Refer to the accompanying diagram of your instrument panel to locate the components listed below.
A. Side Vents
B. Front Vent
C. Turn SignalMultifunction Lever
D. Hazard Warning Flashers Switch
E. Instrument Cluster
F. Center Vents
G. Audio System
H. Side Vents
I. Lamps Switch
J. Hood Release
K. Steering Wheel Touch Controls (Option)
L. Horn
M. Ignition Switch
N. Steering Wheel Touch Controls (Option)
0. Climate Controls
P. Rear Fan Controls (Option)
Q. Accessory Power Outlet
R. Storage Bin
S. Remote CD Player (Option)
T. Instrument Panel Switchbank
U. LightedAshtray
V. Glove Box
W. Front Vents
X, Fuse Panel
2-83
ProCarManuals.com