fuel cap OLDSMOBILE SILHOUETTE 2003 Owners Manual
[x] Cancel search | Manufacturer: OLDSMOBILE, Model Year: 2003, Model line: SILHOUETTE, Model: OLDSMOBILE SILHOUETTE 2003Pages: 466, PDF Size: 21.55 MB
Page 2 of 466
.
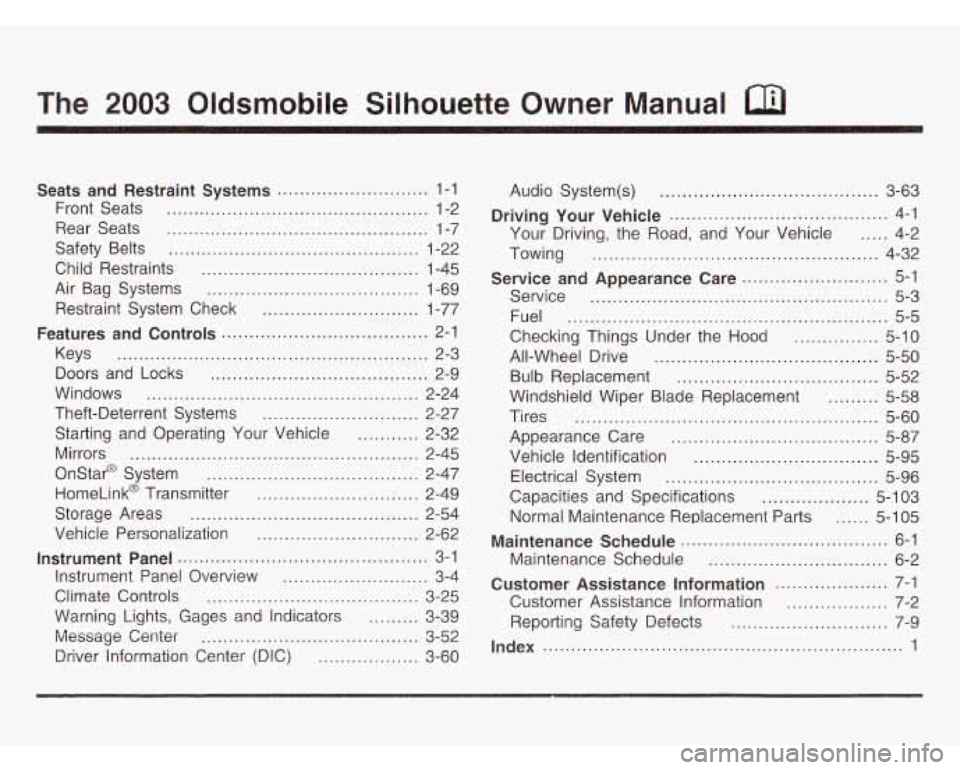
The 2003 Oldsmobile Silhouette Owner Manual
Seats and Restraint Systems ........................... 1-1
Front Seats
............................................... 1-2
Rear Seats
............................................... 1-7
Safety Belts
............................................. 1-22
Child Restraints
....................................... 1-45
Air Bag Systems
...................................... 1-69
Restraint System Check
............................ 1-77
Features and Controls
..................................... 2-1
Keys
........................................................ 2-3
Doors and Locks
....................................... 2-9
Windows
................................................. 2-24
Theft-Deterrent Systems
............................ 2-27
Starting and Operating Your Vehicle
........... 2-32
Mirrors
.................................................... 2-45
Onstar@ System
...................................... 2-47
HomeLink@ Transmitter
......................... 2-49
Storage Areas
......................................... 2-54
Vehicle Personalization
............................. 2-62
Instrument Panel Overview
.......................... 3-4
Climate Controls
...................................... 3-25
Warning Lights, Gages and Indicators
......... 3-39
Driver Information Center (DIC)
.................. 3-60
Instrument Panel
............................................. 3-1
Messaye Center 5-3L n r~ .......................................
Audio
System(s) ....................................... 3-63
Your Driving, the Road, and Your Vehicle
..... 4-2
Towing
................................................... 4-32
Service
..................................................... 5-3
Fuel
......................................................... 5-5
Checking Things Under the Hood
............... 5-10
All-Wheel Drive
........................................ 5-50
Bulb Replacement
.................................... 5-52
Windshield Wiper Blade Replacement
......... 5-58
Tires
...................................................... 5-60
Appearance Care
..................................... 5-87
Vehicle Identification
................................. 5-95
Electrical System
...................................... 5-96
Capacities and Specifications
................... 5-1 03
Normal Maintenance Replacement Parts
...... 5-1 05
Maintenance Schedule
................................ 6-2
Customer Assistance Information
.................... 7-1
Customer Assistance Information
.................. 7-2
Reporting Safety Defects
............................ 7-9
Driving Your Vehicle
....................................... 4-1
Service and Appearance Care
.......................... 5-1
Maintenance Schedule
..................................... 6-1
Index
................................................................ 1
Page 183 of 466
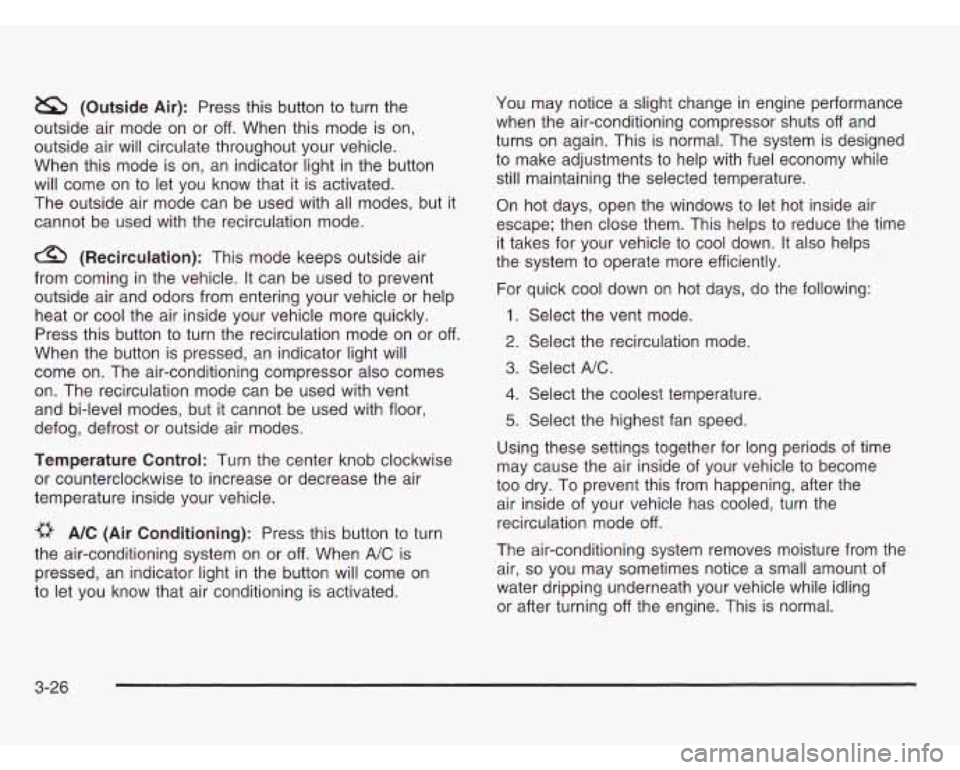
a (Outside Air): Press this button to turn the
outside air mode on or
off. When this mode is on,
outside air will circulate throughout your vehicle.
When this mode is on, an indicator light in the button
will come on to let you know that
it is activated.
The outside air mode can be used with all modes, but
it
cannot be used with the recirculation mode.
a (Recirculation): This mode keeps outside air
from coming in the vehicle. It can be used to prevent
outside air and odors from entering your vehicle or help
heat or cool the air inside your vehicle more quickly.
Press this button to turn the recirculation mode on or
off.
When the button is pressed, an indicator light will
come on. The air-conditioning compressor also comes
on. The recirculation mode can be used with vent
and bi-level modes, but it cannot be used with floor,
defog, defrost or outside air modes.
Temperature Control: Turn the center knob clockwise
or counterclockwise to increase or decrease the air
temperature inside your vehicle.
e A/C (Air Conditioning): Press this button to turn
the air-conditioning system on or
off. When A/C is
pressed, an indicator light in the button will come on
to let you know that air conditioning
is activated. You may
notice a slight change in engine performance
when the air-conditioning compressor shuts
off and
turns on again. This is normal. The system is designed
to make adjustments to help with fuel economy while
still maintaining the selected temperature.
On hot days, open the windows to let hot inside air
escape; then close them. This helps to reduce the time
it takes for your vehicle to cool down. It also helps
the system to operate more efficiently.
For quick cool down on hot days,
do the following:
1. Select the vent mode.
2. Select the recirculation mode.
3. Select A/C.
4. Select the coolest temperature.
5. Select the highest fan speed.
Using these settings together for long periods of time
may cause the air inside of your vehicle to become
too dry. To prevent this from happening, after the
air inside of your vehicle has cooled, turn the
recirculation mode
off.
The air-conditioning system removes moisture from the
air,
so you may sometimes notice a small amount of
water dripping underneath your vehicle while idling
or after turning off the engine. This is normal.
3-26
Page 186 of 466
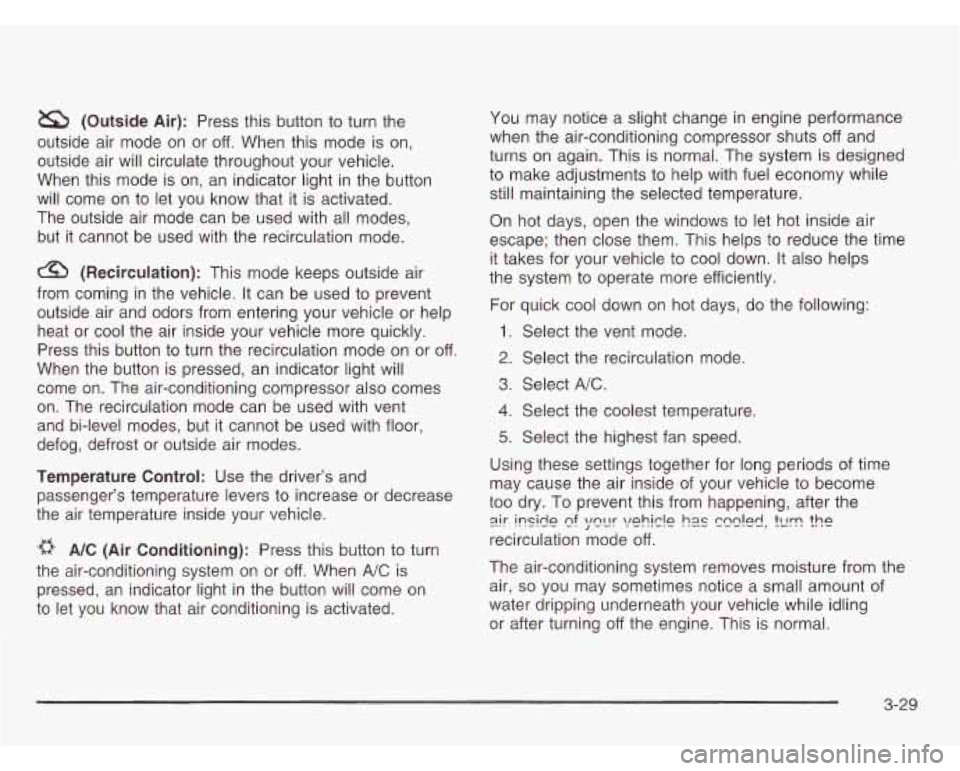
a (Outside Air): Press this button to turn the
outside air mode on or
off. When this mode is on,
outside air will circulate throughout your vehicle.
When this mode is on, an indicator light in the button
will come on to let you know that it is activated.
The outside air mode can be used with all modes,
but it cannot be used with the recirculation mode.
(Recirculation): This mode keeps outside air
from coming in the vehicle. It can be used to prevent
outside air and odors from entering your vehicle or help
heat or cool the air inside your vehicle more quickly.
Press this button to turn the recirculation mode on or
off.
When the button is pressed, an indicator light will
come on. The air-conditioning compressor also comes
on. The recirculation mode can be used with vent
and bi-level modes, but it cannot be used with floor,
defog, defrost or outside air modes.
Temperature Control: Use the driver’s and
passenger’s temperature levers to increase or decrease
the air temperature inside your vehicle.
a A/C (Air Conditioning): Press this button to turn
the air-conditioning system on or off. When
A/C is
pressed, an indicator light in the button will come on
to let you know that air conditioning is activated. You may
notice a slight change in engine performance
when the air-conditioning compressor shuts
off and
turns
on again. This is normal. The system is designed
to make adjustments to help with fuel economy while
still maintaining the selected temperature.
On hot days, open the windows to let hot inside air
escape; then close them. This helps to reduce the time
it takes for your vehicle to cool down. It also helps
the system to operate more efficiently.
For quick cool down on hot days, do the following:
1. Select the vent mode.
2. Select the recirculation mode.
3. Select
A/C.
4. Select the coolest temperature.
5. Select the highest fan speed.
Using these settings together for long periods of time
may cause the air inside of your vehicle to become
too dry. To prevent this from happening, after the
recirculation mode
off.
The air-conditioning system removes moisture from the
air,
so you may sometimes notice a small amount of
water dripping underneath your vehicle while idling
or after turning
off the engine. This is normal.
gr inside cf )mIr \/ehic!e hzs ccs!ed, tllrn the
3-29
Page 206 of 466
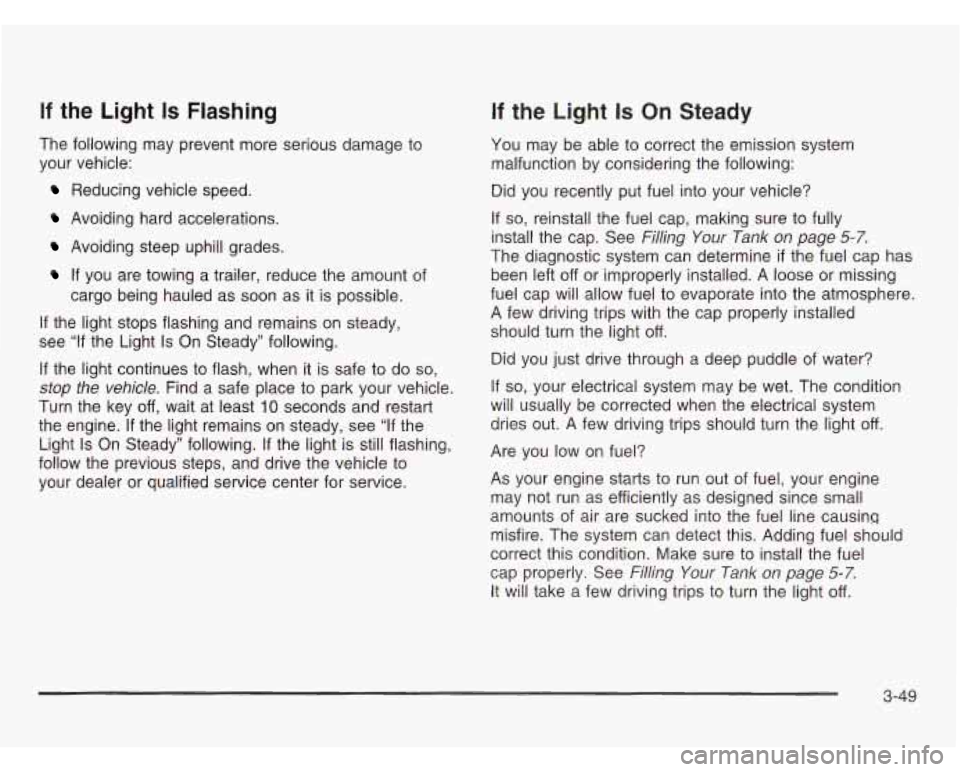
If the Light Is Flashing
The following may prevent more serious damage to
your vehicle:
Reducing vehicle speed.
Avoiding hard accelerations.
Avoiding steep uphill grades.
If you are towing a trailer, reduce the amount of
cargo being hauled as soon as
it is possible.
If the light stops flashing and remains on steady,
see
“If the Light Is On Steady” following.
If the light continues to flash, when it is safe to do so,
stop the vehicle. Find a safe place to park your vehicle.
Turn the key off, wait at least
10 seconds and restart
the engine. If the light remains on steady, see
“If the
Light
Is On Steady” following. If the light is still flashing,
follow the previous steps, and drive the vehicle to
your dealer or qualified service center for service.
If the Light Is On Steady
You may be able to correct the emission system
malfunction by considering the following:
Did you recently put fuel into your vehicle?
If
so, reinstall the fuel cap, making sure to fully
install the cap. See
Filling Your Tank on page 5-7.
The diagnostic system can determine if the fuel cap has
been left off or improperly installed.
A loose or missing
fuel cap will allow fuel to evaporate into the atmosphere.
A few driving trips with the cap properly installed
should turn the light
off.
Did you just drive through a deep puddle of water?
If so, your electrical system may be wet. The condition
will usually be corrected when the electrical system
dries out.
A few driving trips should turn the light off.
Are you low on fuel?
As your engine starts to run out of fuel, your engine
may not run as efficiently as designed since small
amounts of air are sucked into the fuel line causing
misfire. The system can detect this. Adding fuel should
correct this condition. Make sure to install the fuel
cap properly. See
Filling Your Tank on page 5-7.
It will take a few driving trips to turn the light off.
3-49
Page 208 of 466
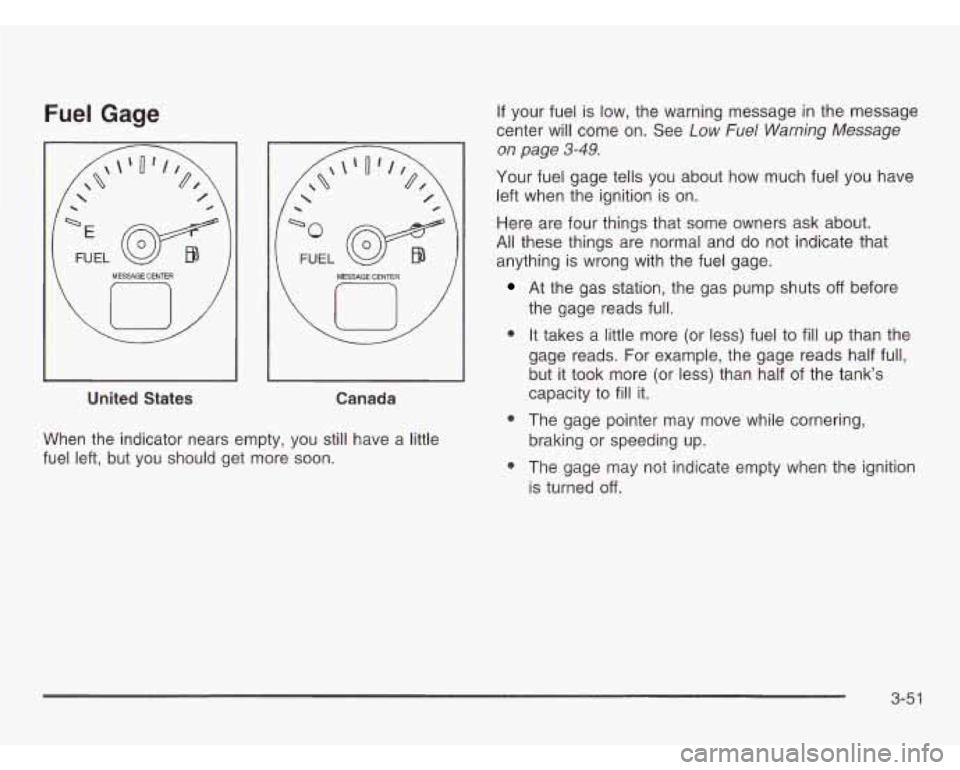
Fuel Gage
u
MESSAGE CENTER
FUEL
w
MESSAGE CENTER
United States Canada
When the indicator nears empty, you still have a little
fuel left, but you should get more soon.
If your fuel is low, the warning message in the message
center will come on. See
Low Fuel Warning Message
on page
3-49.
Your fuel gage tells you about how much fuel you have
left when the ignition is on.
Here are four things that some owners ask about.
All these things are normal and do not indicate that
anything is wrong with the fuel gage.
At the gas station, the gas pump shuts off before
the gage reads full.
0 It takes a little more (or less) fuel to fill up than the
gage reads. For example, the gage reads half full,
but it took more (or less) than half of the tank’s
capacity to
fill it.
0 The gage pointer may move while cornering,
0 The gage may not indicate empty when the ignition
braking or speeding
up.
is turned
off.
3-5 1
Page 297 of 466

Loading Your Vehicle
The CertificationDire label is found on the rear edge of
the driver's door.
The label shows the size of your original tires and the
inflation pressures needed to obtain the gross weight
capacity of your vehicle. This is called the Gross Vehicle
Weight Rating (GVWR). The GVWR includes the
weight of the vehicle, all occupants, fuel and cargo. The
Certificationflire label also tells you the maximum
weights for the front and rear axles, called the Gross
Axle Weight Rating (GAWR).
To find out the actual loads
on your front and rear axles, you need to go to a
weigh station and weigh your vehicle. Your dealer can
help you with this. Be sure to spread out your load
equally on both sides of the centerline.
Never exceed the GVWR for your vehicle or the GAWR
for e:'"er the front or rear axle.
Do not load your vehicle any heavier than the
GVWR, or either the maximum front or rear
GAWR. If you do, parts on your vehicle can
break, and
it can change the way your vehicle
handles. These could cause you to lose
control and crash.
Also, overloading can
shorten the life of your vehicle.
Notice: Your warranty does not cover parts or
components that fail because
of overloading.
4-34
Page 299 of 466

Towiv a Trailer
=mm
If you don’t use the correct equipment and
drive properly, you can lose control when you
pull a trailer. For example, if the trailer is too
heavy, the brakes may not work well
-- or even
at all. You and your passengers could be
seriously injured. Pull a trailer only if you have
followed all the steps
in this section. Ask your
dealer for advice and information about towing
a trailer with your vehicle.
Notice: Pulling a trailer improperly can damage
your vehicle and result
in costly repairs not covered
by your warranty. To pull a trailer correctly, follow
the advice
in this part, and see your dealer for
important information about towing a trailer with
your vehicle. Additional rear axle maintenance
is required for a vehicle used to tow a trailer.
See “Scheduled Maintenance Services” in the Index. Your
vehicle can tow a trailer. To identify what the
vehicle trailering capacity
is for your vehicle, you should
read the information in “Weight of the Trailer” that
appears later in this section. But trailering is different
than just driving your vehicle by itself. Trailering means
changes in handling, durability and fuel economy.
Successful, safe trailering takes correct equipment
and
it has to be used properly.
That’s the reason for this section. In
it are many
time-tested, important trailering tips and safety rules.
Many
of these are important for your safety and that of
your passengers.
So please read this section carefully
before you pull a trailer.
Load-pulling components such as the engine, transaxle,
wheel assemblies and tires are forced to work harder
against the drag of the added weight. The engine
is required to operate at relatively higher speeds and
under greater loads, generating extra heat. What’s more,
the trailer adds considerably to wind resistance,
increasing the pulling requirements.
4-36
Page 308 of 466
Section 5 Service and Appearance Care
Service ............................................................ 5.3
Doing Your Own Service Work
......................... 5.3
Adding Equipment to the Outside
of
Your Vehicle .............................................. 5-4
Fuel
.............................................................. -5-5
Gasoline Octane
............................................ 5-5
Gasoline Specifications
................................... 5-5
California Fuel
............................................... 5-6
Additives
....................... .... ......... 5-6
Fuels in Foreign Countries
........... ..... 5-7
Filling Your Tank
............................ ..... 5-7
Filling a Portable Fuel Container
.................... 5-9
Checking Things Under the
Hood .................. -5-1 0
Hood Release .............................................. 5-10
Engine Compartment Overview ....................... 5-12
Engine Oil
................................................... 5-14
Engine Air CleanedFilter
................................ 5-19
Automatic Transaxle Fluid
.............................. 5-20
Radiator Pressure Cap
............................... 5-26
Engine Overheating
.................................... 5-26
Cooling System
............................. , ....... 5-29
Power Steering Fluid .................. , ....... 5-37
Windshield Washer Fluid
................. , ....... 5-38
Brakes
.......................... .... ........ 5-39
r.--.:.-- ---I-.- b CI lyll IC uuvlal I1 4-LU c r)r) .............................................
Battery ........................................................ 5.43
Jump Starting
............................................... 5-44
All-Wheel Drive
.............................................. 5-50
Bulb Replacement .......................................... 5-52
Halogen Bulbs
.............................. ......... 5-52
Front Turn Signal, Sidemarker and
Taillamps, Turn Signal, Stoplamps and
Headlamps
...................................... ..... 5-52
Parking Lamps
.............................. ..... 5-54
Replacement Bulbs
....................................... 5-57
Back-up Lamps
......................................... 5-56
Windshield Wiper Blade Replacement
.............. 5-58
Tires
.............................................................. 5-60
Inflation
- Tire Pressure ................................ 5-61
Tire Inspection and Rotation
........................... 5-62
When It
Is Time for New Tires ....................... 5-63
Buying New Tires
......................................... 5-64
Uniform Tire Quality Grading
.......................... 5-65
Wheel Alignment and Tire Balance
.................. 5-66
Wheel Replacement
...................................... 5-66
Tire Chains
.................................................. 5-67
Accessory Inflator
......................................... 5-68
If a Tire Goes Flat ........................................ 5-69
Changing a Flat Tire ..................................... 5-70
Compact Spare Tire ...................................... 5-86
5- 1
Page 315 of 466
1
m
If you get fuel on yourself and then something ignites
it, you could be badly burned. Fuel can
spray out on you if you open the fuel cap too
quickly. This spray can happen if your tank is
nearly full, and
is more likely in hot weather.
Open the fuel cap slowly and wait for any
“hiss” noise to stop. Then unscrew the cap
all the
way.
Be careful not to spill fuel. Clean fuel from painted
surfaces as soon as possible. See
Cleaning the Outside
of Your Vehicle on page 5-90.
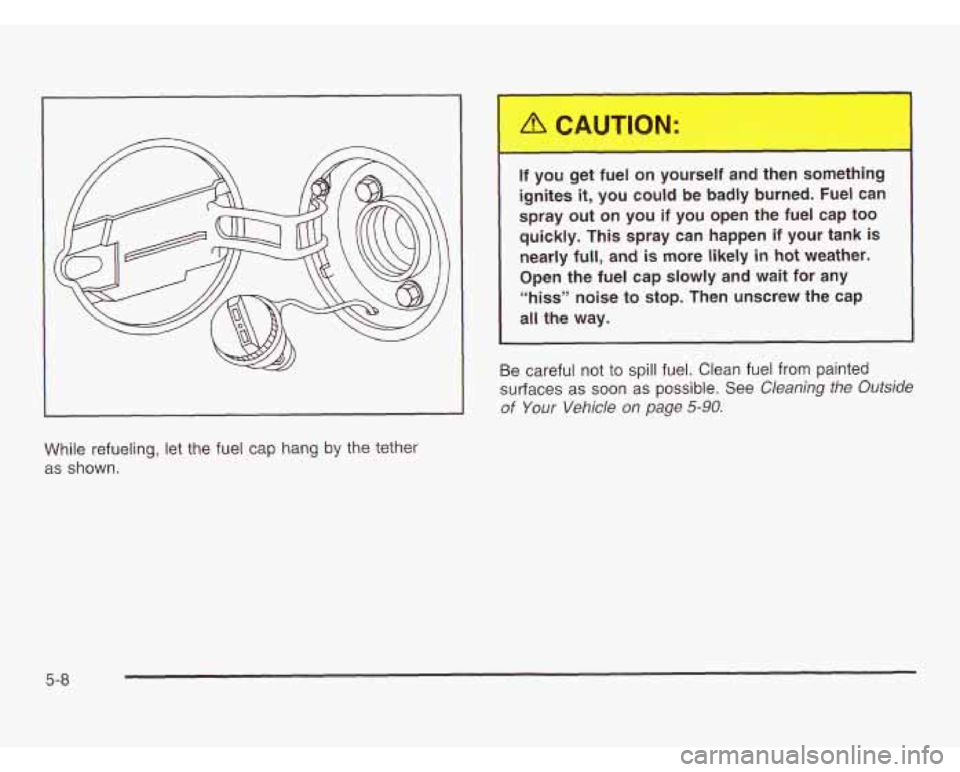
While refueling, let the fuel cap hang by the tether
as shown.
5-8
Page 316 of 466
When you put the fuel cap back on, turn it to the right
(clockwise) until you hear a clicking sound. Make
sure you fully install the cap. The diagnostic system can
determine
if the fuel cap has been left off or improperly
installed. This would allow fuel to evaporate into the
atmosphere. See
Malfunction Indicator Lamp on
page 3-47.
The malfunction indicator lamp (SERVICE ENGINE
SOON or CHECK ENGINE light) will come on
if the
fuel cap is not properly installed.
Notice: If you need a new fuel cap, be sure to get
the right type. Your dealer can get one for you.
If you get the wrong type, it may not fit properly.
This may cause your malfunction indicator lamp to
light and may damage your fuel tank and emissions
system. See “Malfunction Indicator Lamp”
in the
Index.
Filling a Po -able Fuel C ‘ainer
I-
I fil portablc uel container while it is in
your vehicle. Static electricity discharge from
the container can ignite the gasoline vapor.
You can be badly burned and your vehicle
damaged if this occurs.
To help avoid injury
to you and others:
Dispense gasoline only into approved
containers.
Do not fill a container while it is inside a
vehicle, in a vehicle’s trunk, pickup bed or on any surface other than the ground.
Bring the fill nozzle in contact with the
inside of the fill opening before operating
the nozzle. Contact should be maintained
until the filling is complete.
0 Don’t smoke while pumping gasoline.
5-9