set clock OLDSMOBILE SILHOUETTE 2003 Owners Manual
[x] Cancel search | Manufacturer: OLDSMOBILE, Model Year: 2003, Model line: SILHOUETTE, Model: OLDSMOBILE SILHOUETTE 2003Pages: 466, PDF Size: 21.55 MB
Page 107 of 466

Liftgate
To unlock the liftgate from the outside, turn the key in
the cylinder clockwise or use the remote keyless
entry transmitter.
To lock the liftgate using the key,
turn the key counterclockwise.
Open the liftgate using the handle located above the
license plate. Once slightly opened, the liftgate will rise
by itself. Lamps
in the rear of the vehicle will come
on, illuminating the rear cargo area. See
lnterior Lamps
on page 3-17.
Notice: Be sure there are no overhead
obstructions, such as a garage door, before you
open the liftgate. You could slam the liftgate
into something and break the
glass.
It can be dangerous to drive w ~~~ the liftgate
open because carbon monoxide
(CO) gas can
come into your vehicle. You can’t see or smell
CO.
It can cause unconsciousness and even
death. If you must drive with the liftgate open
or if electrical wiring or other cable
connections must pass through the seal between the body and the liftgate:
Make sure all other windows are shut.
Turn the fan on your heating or cooling
system to
its highest speed and select the
control setting that will force outside air into your vehicle. See “Comfort Controls”
in the Index.
If you have air outlets on or under the
instrument panel, open them all
the way.
See “Engine Exhaust”
in the Index.
2-22
Page 143 of 466

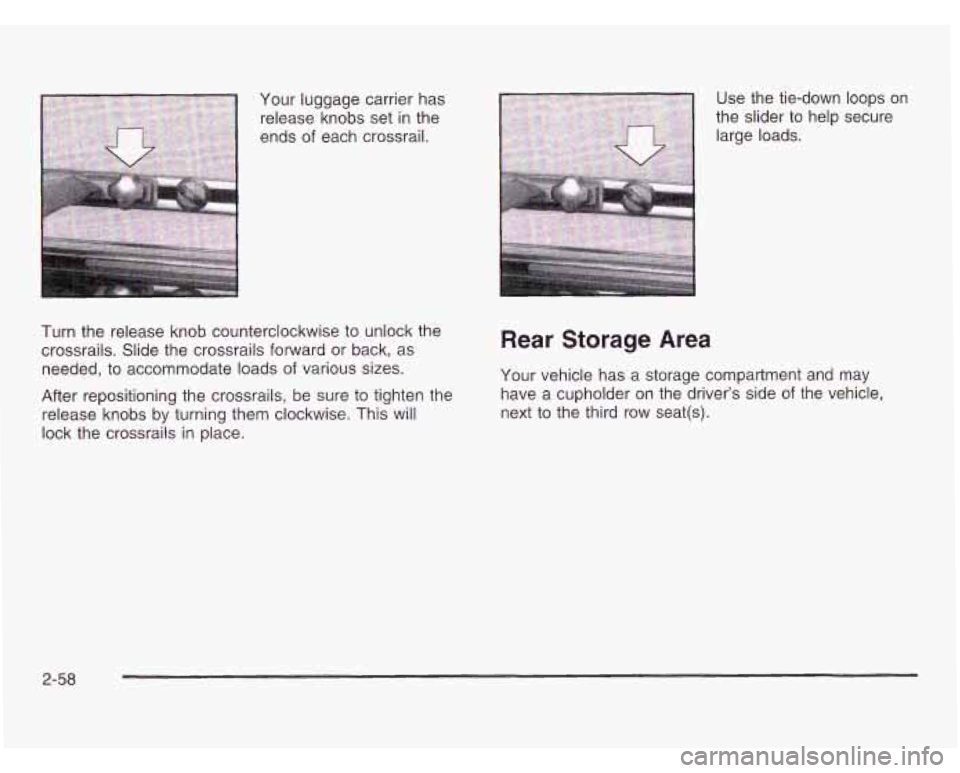
Your luggage carrier has
release knobs set in the
ends
of each crossrail.
Turn the release knob counterclockwise to unlock the
crossrails. Slide the crossrails forward or back, as
needed, to accommodate loads
of various sizes.
After repositioning the crossrails, be sure to tighten the
release knobs by turning them clockwise. This will
lock the crossrails in place.
Rear Storage Area
Your vehicle has a storage compartment and may
have a cupholder on the driver’s side
of the vehicle,
next to the third row seat(s).
2-58
Page 183 of 466

a (Outside Air): Press this button to turn the
outside air mode on or
off. When this mode is on,
outside air will circulate throughout your vehicle.
When this mode is on, an indicator light in the button
will come on to let you know that
it is activated.
The outside air mode can be used with all modes, but
it
cannot be used with the recirculation mode.
a (Recirculation): This mode keeps outside air
from coming in the vehicle. It can be used to prevent
outside air and odors from entering your vehicle or help
heat or cool the air inside your vehicle more quickly.
Press this button to turn the recirculation mode on or
off.
When the button is pressed, an indicator light will
come on. The air-conditioning compressor also comes
on. The recirculation mode can be used with vent
and bi-level modes, but it cannot be used with floor,
defog, defrost or outside air modes.
Temperature Control: Turn the center knob clockwise
or counterclockwise to increase or decrease the air
temperature inside your vehicle.
e A/C (Air Conditioning): Press this button to turn
the air-conditioning system on or
off. When A/C is
pressed, an indicator light in the button will come on
to let you know that air conditioning
is activated. You may
notice a slight change in engine performance
when the air-conditioning compressor shuts
off and
turns on again. This is normal. The system is designed
to make adjustments to help with fuel economy while
still maintaining the selected temperature.
On hot days, open the windows to let hot inside air
escape; then close them. This helps to reduce the time
it takes for your vehicle to cool down. It also helps
the system to operate more efficiently.
For quick cool down on hot days,
do the following:
1. Select the vent mode.
2. Select the recirculation mode.
3. Select A/C.
4. Select the coolest temperature.
5. Select the highest fan speed.
Using these settings together for long periods of time
may cause the air inside of your vehicle to become
too dry. To prevent this from happening, after the
air inside of your vehicle has cooled, turn the
recirculation mode
off.
The air-conditioning system removes moisture from the
air,
so you may sometimes notice a small amount of
water dripping underneath your vehicle while idling
or after turning off the engine. This is normal.
3-26
Page 190 of 466

Directing the Airflow
To direct the airflow to the rear-seating area, use the
right knob located on the main climate-control panel.
Select vent or bi-level mode to direct air to the
rear of the vehicle through the overhead outlets.
Select floor, defog or defrost mode to direct air to
the rear of the vehicle through the floor outlets.
Generally the upper outlets are used for air cor
and the floor outlets are used for heating.
Selecting the Fan Speed
8@ (Fan): Turn the fan knob on either rear far 1
ditioning
control
to numeral
1, 2, or 3 to increase or decrease airflow
to the rear-seating area. Turn the fan knob on either rear
fan control to
0 or OFF to turn off the fan.
Setting the Temperature
If the driver is adjusting the temperature, do the
following:
To increase or decrease the temperature for the entire
vehicle, use the temperature controls located on the
main climate-control panel.
If using the main climate-control panel, then the
air-conditioning system must be on to direct cooled air
to the rear of the vehicle. If it is not on, then the
temperature in the rear of the vehicle will remain at
cabin temperature.
If a rear-seat passenger is adjusting the temperature,
do the following:
Turn the right knob, located on the overhead
rear-control panel, behind the driver’s seat, clockwise or
counterclockwise to raise or lower the temperature in
the rear-seating area only.
3-33
Page 234 of 466

4 FWD (Forward): Press this pushbutton to advance
quickly. Press this pushbutton again to return
to playing
speed. The radio will play while the tape advances.
The station frequency and
FWD will appear on
the display. You may select stations during forward
operation by using TUNE, SEEK or PSCAN.
5 0 SIDE: Press this pushbutton to play the other side
of the tape.
4 SEEK b : The right arrow is the same as the
NEXT pushbutton, and the left arrow is the same as the
PREV pushbutton. If the arrows are held or pressed
more than once, the player will continue moving forward
or backward through the tape. SEEK and a positive
or a negative number
will appear on the display.
BAND: Press this button to listen to the radio when
a tape is playing. The tape will stop but remain in
the player.
TAPE
CD: Press this button to play a tape when
listening
to the radio. Press TAPE CD to switch between
the tape and compact disc
if both are loaded. The inactive
tape or
GU will remain safely inside the radio for future
listening.
A EJT (Eject): Press this button, located to the right
of the cassette tape slot, to eject a tape. Eject may
be activated with the radio
off. Cassette tapes may be
ioacieci with the radio off if this button is pressea first.
Cassette Tape Messages
CHK TAPE (Check Tape): If this message appears on
the radio display, the tape won’t play because of one
of the following errors.
@ The tape is tight and the player can’t turn the tape
hubs. Remove the tape. Hold the tape with the
open end down and try
to turn the right hub
counterclockwise with
a pencil. Turn the tape over
and repeat. If the hubs do not turn easily, your
tape may be damaged and should not be used in
the player.
Try a new tape to make sure your player
is working properly.
The tape is broken. Try a new tape.
The tape is wrapped around the tape head.
Attempt to get the cassette out. Try a new tape.
CLEAN: If this message appears on the display, the
cassette tape player needs to be cleaned. It will still play
tapes, but you should clean it as soon as possible to
prevent damage to the tapes and player. See
Care
of Your Cassette Tape Player on page 3-103.
If any error occurs repeatedly or if an error can’t be
corrected, contact your dealer.
3-77