wiring OLDSMOBILE SILHOUETTE 2003 Owners Manual
[x] Cancel search | Manufacturer: OLDSMOBILE, Model Year: 2003, Model line: SILHOUETTE, Model: OLDSMOBILE SILHOUETTE 2003Pages: 466, PDF Size: 21.55 MB
Page 107 of 466

Liftgate
To unlock the liftgate from the outside, turn the key in
the cylinder clockwise or use the remote keyless
entry transmitter.
To lock the liftgate using the key,
turn the key counterclockwise.
Open the liftgate using the handle located above the
license plate. Once slightly opened, the liftgate will rise
by itself. Lamps
in the rear of the vehicle will come
on, illuminating the rear cargo area. See
lnterior Lamps
on page 3-17.
Notice: Be sure there are no overhead
obstructions, such as a garage door, before you
open the liftgate. You could slam the liftgate
into something and break the
glass.
It can be dangerous to drive w ~~~ the liftgate
open because carbon monoxide
(CO) gas can
come into your vehicle. You can’t see or smell
CO.
It can cause unconsciousness and even
death. If you must drive with the liftgate open
or if electrical wiring or other cable
connections must pass through the seal between the body and the liftgate:
Make sure all other windows are shut.
Turn the fan on your heating or cooling
system to
its highest speed and select the
control setting that will force outside air into your vehicle. See “Comfort Controls”
in the Index.
If you have air outlets on or under the
instrument panel, open them all
the way.
See “Engine Exhaust”
in the Index.
2-22
Page 165 of 466
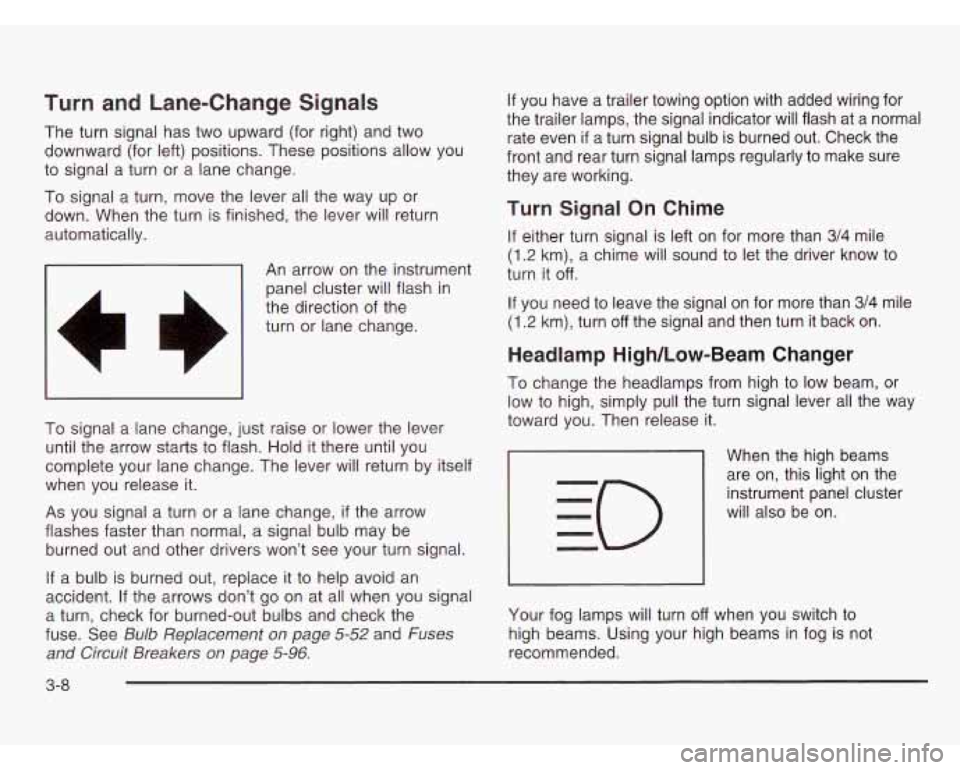
Turn and Lane-Change Signals
The turn signal has two upward (for right) and two
downward (for left) positions. These positions allow you
to signal a turn or a lane change.
To signal a turn, move the lever all the way up or
down. When the turn is finished, the lever will return
automatically.
-1 An arrow on the instrument
panel cluster will flash in
the direction of the
turn or lane change.
To signal a lane change, just raise or lower the lever
until the arrow starts to flash. Hold it there until you
complete your lane change. The lever will return by itself
when you release it.
As you signal a turn or a lane change,
if the arrow
flashes faster than normal, a signal bulb may be
burned out and other drivers won’t see your turn signal.
If a bulb is burned out, replace it to help avoid an
accident. If the arrows don’t go on at all when you signal
a turn, check for burned-out bulbs and check the
fuse. See
Bulb Replacement on page 5-52 and Fuses
and Circuit Breakers on page
5-96.
If you have a trailer towing option with added wiring for
the trailer lamps, the signal indicator will flash at a normal
rate even
if a turn signal bulb is burned out. Check the
front and rear turn signal lamps regularly to make sure
they are working.
Turn Signal On Chime
If either turn signal is left on for more than 3/4 mile
(1.2 km), a chime will sound to let the driver know to
turn
it off.
If you need to leave the signal on for more than 3/4 mile
(1.2 km), turn off the signal and then turn it back on.
Headlamp High/Low-Beam Changer
To change the headlamps from high to low beam, or
low to high, simply pull the turn signal lever all the way
toward you. Then release it.
When the high beams
are on, this light on the
instrument panel cluster
will also be on.
Your fog lamps will turn
off when you switch to
high beams. Using your high beams in fog is not
recommended.
3-8
Page 200 of 466
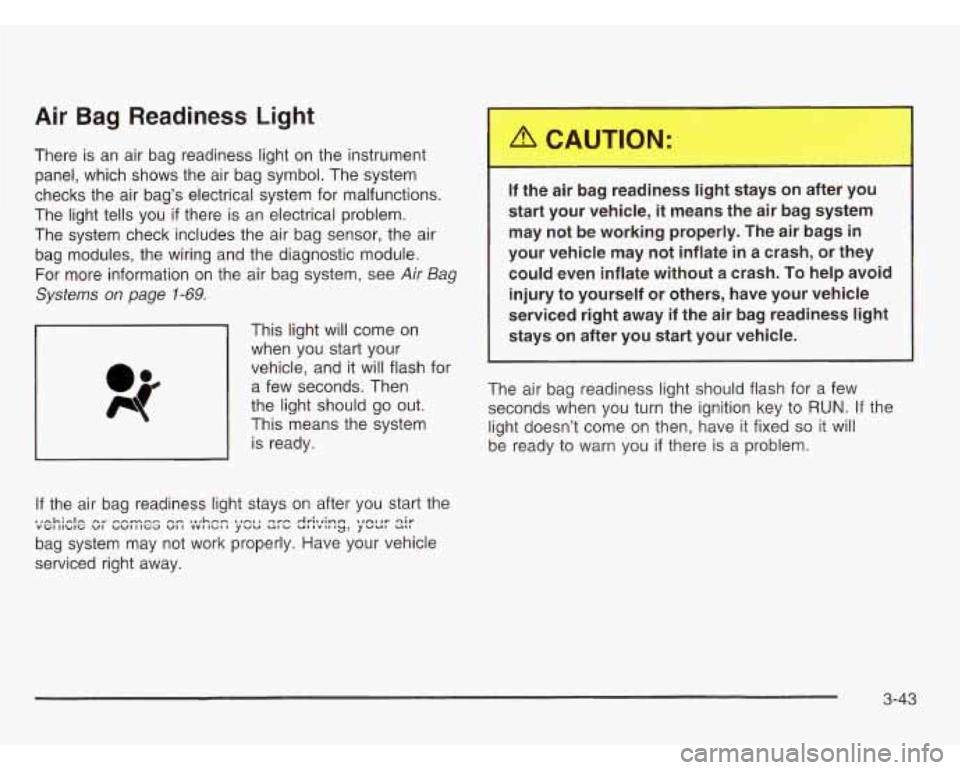
Air Bag Readiness Light
There is an air bag readiness light on the instrument
panel, which shows the air bag symbol. The system
checks the air bag’s electrical system for malfunctions.
The light tells you
if there is an electrical problem.
The system check includes the air bag sensor, the air
bag modules, the wiring and the diagnostic module.
For more information on the air bag system, see
Air Bag
Systems on page
1-69.
This light will come on
when you start your
vehicle, and it will flash for
a few seconds. Then
the light should go out.
This means the system
is ready.
If the air bag readiness light stays on after you start the
bag system may not work properly. Have your vehicle
serviced right away. .,nL;-lm nr n-mrrn nm ..rhn- ,,-ma qvn Av;~r;mrn \,A~*V qir VGIIIbIG VI bW111Ga VI1 YYIIGII YWU UI’V UiIViIIy’ YWUt UBI
If the air bag .eaG...ess light ,.ays on after y--
start your vehicle, it means the air bag system
may not be working properly. The air bags
in
your vehicle may not inflate in a crash, or they
could even inflate without a crash. To help avoid
injury to yourself or others, have your vehicle
serviced right away if the air bag readiness
light
stays on after you start your vehicle.
The air bag readiness light should flash for a few
seconds when you turn the ignition key to
RUN. If the
light doesn’t come on then, have it fixed
so it will
be ready to warn you
if there is a problem.
3-43
Page 305 of 466
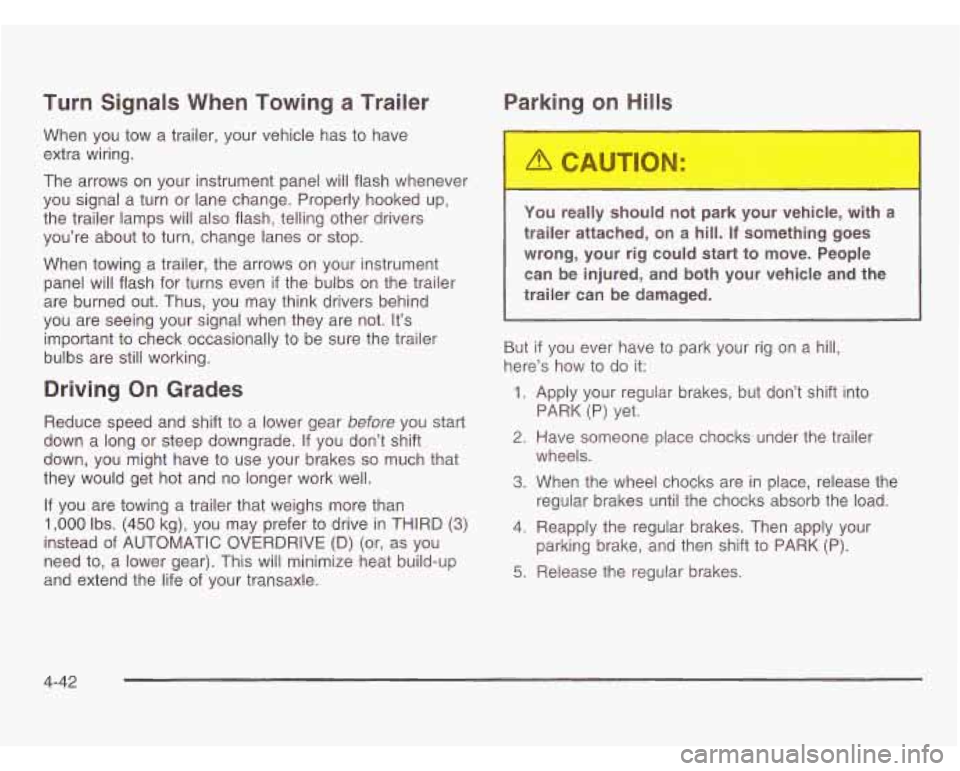
Turn Signals When Towing a Trailer
When you tow a trailer, your vehicle has to have
extra wiring.
The arrows on your instrument panel will flash whenever
you signal a turn or lane change. Properly hooked up,
the trailer lamps will also flash, telling other drivers
you’re about
to turn, change lanes or stop.
When towing a trailer, the arrows on your instrument
panel will flash for turns even
if the bulbs on the trailer
are burned out. Thus, you may think drivers behind
you are seeing your signal when they are not.
It’s
important to check occasionally to be sure the trailer
bulbs are still working.
Driving On Grades
Reduce speed and shift to a lower gear before you start
down a long or steep downgrade. If you don’t shift
down, you might have
to use your brakes so much that
they would get hot and no longer work well.
If you are towing a trailer that weighs more than
1,000 Ibs. (450 kg), you may prefer to drive in THIRD (3)
instead of AUTOMATIC OVERDRIVE (D) (or, as you
need
to, a lower gear). This will minimize heat build-up
and extend the life of your transaxle.
Parking on Hills
I
You really should not park your vehicle, u....~ a
trailer attached, on a hill. If something goes
wrong, your rig could start to move. People can be injured, and both your vehicle and the
trailer can be damaged.
But
if you ever have to park your rig on a hill,
here’s how to do it:
1. Apply your regular brakes, but don’t shift into
2, Have someone place chocks under the trailer
3. When the wheel chocks are in place, release the
PARK
(P) yet.
wheels. regular brakes until the chocks absorb the load.
4. Reapply the regular brakes. Then apply your
parking brake, and then shift
to PARK (P).
5. Release the regular brakes.
4-42
Page 306 of 466
When You Are Ready to Leave After
Parking on a Hill
1. Apply your regular brakes and hold the pedal down
while you:
start your engine,
* shift into a gear, and
* release the parking brake.
2. Let up on the brake pedal.
3. Drive slowly until the trailer is clear of the chocks.
4. Stop and have someone pick up and store the
chocks.
Maintenance When Trailer Towing
Your vehicle will need service more often when you’re
pulling a trailer. See the Maintenance Schedule for more
on this. Things that are especially important in trailer
operation are automatic transaxle fluid (don’t overfill),
engine
oil, belts, cooling system and brake system.
Each of these is covered in this manual, and the
Index will help you find them quickly.
If you’re trailering,
it’s a good idea to review these sections before you
start your trip.
Check periodically
to see that all hitch nuts and bolts
are tight.
Trailer Wiring Harness
Your vehicle has a trailer wiring harness located at the
rear of your vehicle.
To use the trailer wiring harness
you need a converter kit. Contact your dealer for more
information.
4-43
Page 309 of 466
Section 5 Service and Appearance Care
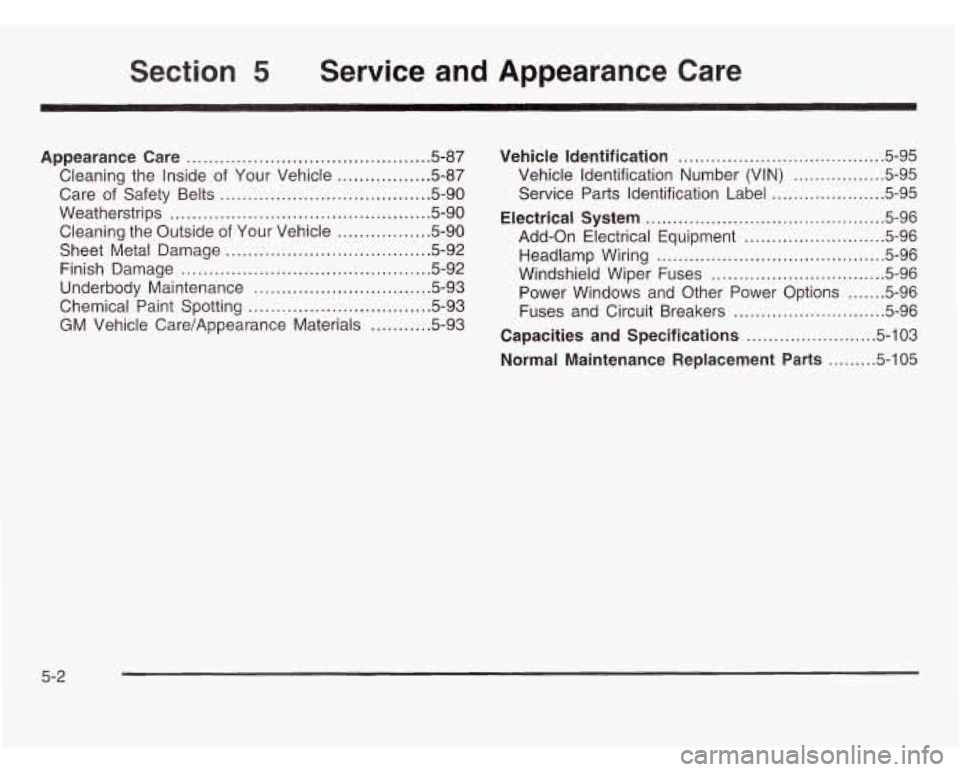
Appearance Care ............................................ 5.87
Care of Safety Belts ...................................... 5-90
Weatherstrips
............................................... 5-90
Sheet Metal Damage
..................................... 5.92
Finish Damage
............................................. 5.92
Underbody Maintenance
................................ 5.93
Chemical Paint Spotting
................................. 5.93
GM Vehicle Care/Appearance Materials
........... 5.93
Cleaning
the Inside
of Your Vehicle ................. 5-87
Cleaning the Outside of Your Vehicle ................. 5-90 Vehicle
Identification
........................ ...... 5.95
Vehicle Identification Number (VIN)
... ...... 5.95
Service Parts Identification Label
... ...... 5.95
Electrical System
.......................... .......... 5.96
Add-on Electrical Equipment
...................... 5.96
Headlamp Wiring
.......................................... 5.96
Windshield Wiper Fuses
................................ 5.96
Power Windows and Other Power Options
....... 5.96
Fuses and Circuit Breakers
............................ 5.96
Capacities and Specifications
........................ 5.103
Normal Maintenance Replacement Parts
......... 5.105
5-2
Page 403 of 466
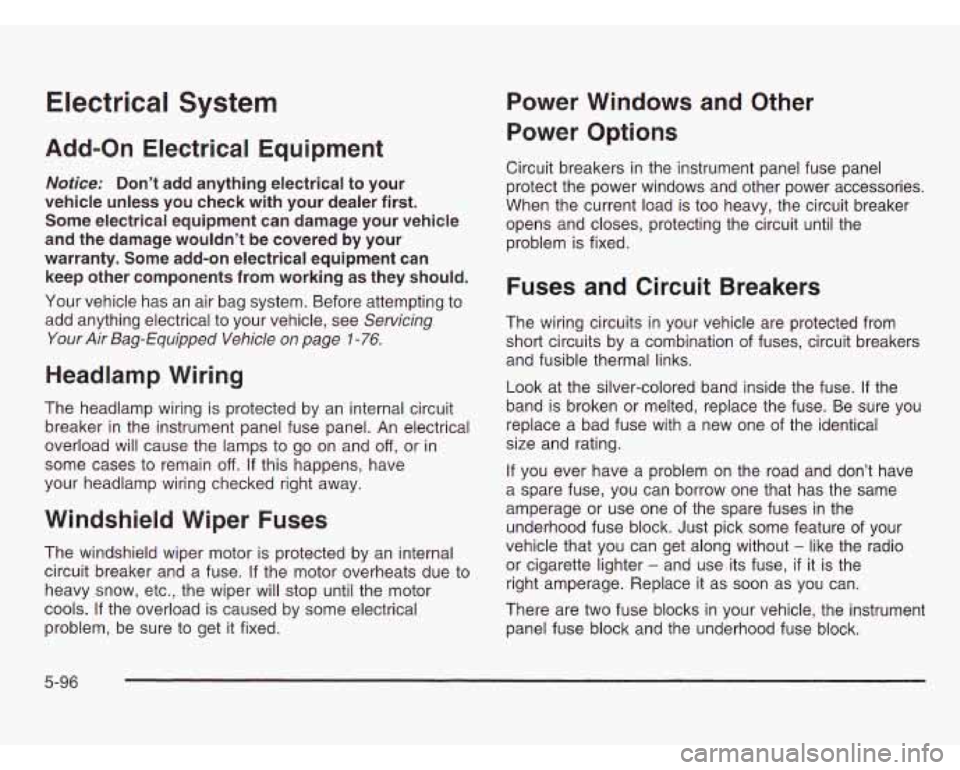
Electrical System
Add-on Electrical Equipment
Notice: Don’t add anything electrical to your
vehicle unless you check with your dealer first.
Some electrical equipment can damage your vehicle
and the damage wouldn’t be covered by your
warranty. Some add-on electrical equipment can
keep other components from working as they should.
Your vehicle has an air bag system. Before attempting to
add anything electrical to your vehicle, see
Servicing
Your Air Bag-Equipped Vehicle
on page 1-76.
Headlamp Wiring
The headlamp wiring is protected by an internal circuit
breaker in the instrument panel fuse panel. An electrical
overload will cause the lamps to go on and
off, or in
some cases to remain
off. If this happens, have
your headlamp wiring checked right away.
Windshield Wiper Fuses
The windshield wiper motor is protected by an internal
circuit breaker and a fuse. If the motor overheats due to
heavy snow, etc., the wiper will stop until the motor
cools. If the overload is caused by some electrical
problem, be sure to get it fixed.
Power Windows and Other
Power Options
Circuit breakers in the instrument panel fuse panel
protect the power windows and other power accessories.
When the current load is too heavy, the circuit breaker
opens and closes, protecting the circuit until the
problem is fixed.
Fuses and Circuit Breakers
The wiring circuits in your vehicle are protected from
short circuits by a combination of fuses, circuit breakers
and fusible thermal links.
Look at the silver-colored band inside the fuse. If the
band is broken or melted, replace the fuse. Be sure you
replace a bad fuse with a new one
of the identical
size and rating.
If you ever have a problem on the road and don’t have
a spare fuse, you can borrow one that has the same
amperage or use one of the spare fuses in the
underhood fuse block. Just pick some feature of your
vehicle that you can get along without
- like the radio
or cigarette lighter
- and use its fuse, if it is the
right amperage. Replace it as soon as you can.
There are two fuse blocks in your vehicle, the instrument
panel fuse block and the underhood fuse block.
5-96
Page 450 of 466
Door Ajar Warning Message
................................. 3-57
Last Door Closed Locking
............................. 2-1 1
Power Door Locks ....................................... 2-10
Power Sliding Door
...................................... 2-1 6
Power Sliding Warning Message
.................... 3-56
Programmable Automatic Door Locks
............. 2-1 2
Position, Safety Belt
..................................... 1-28
Dual Sliding
Doors
....................................... 2-13
Locks
.......................................................... 2-9
Driver
Driver Information Center (DIC)
......................... 3-60
Driving
At Night
.................................................. 4-17
City
........................................................ 4-21
Defensive ..................................................... 4-2
Drunken ....................................................... 4-3
Freeway
..................................................... 4-22
Hill and Mountain Roads
.............................. 4-24
In Rain and on Wet Roads
........................... 4-1 8
Winter
........................................................ 4-26
Driving On Grades
.......................................... 4-42
Driving Through Deep Standing Water
............... 4-20
Driving with a Trailer
....................................... 4-40
Dual Trip Odometers
....................................... 3-41
ZrkiGCJ Gfi Sncjiiv Gi- kl3 4-a
Driving Through Flowing Water ......................... 4-20
Dual Climate Control System
............................ 3-28
n ,. ....................................
DVD
Care of Your
.......................................... 3-104
Care
of Your DVD Player ............................ 3-104
Cleaning the Video Screen
.......................... 3-105
Cleaning Your DVD Player .......................... 3-105
Distortion
.................................................. 3-1 03
Entertainment System
.................................. 3-91
DVD Player
.................................................... 3-94
E
Eight-Way Power Seats ..................................... 1-3
Electrical System
Add-on Equipment
...................................... 5-96
Fuses and Circuit Breakers
........................... 5-96
Headlamp Wiring
......................................... 5-96
Power Windows and Other Power Options
...... 5-96
Windshield Wiper Fuses
............................... 5-96
Maintenance Programs
............................. 3-50
Air CleanedFilter
...................... ........ 5-19
Battery ....................................................... 5-43
Change Oil Message
................................... 3-56
Coolant
...................................................... 5-23
Coolant Heater
............................................ 2-35
Emissions Inspection and
Engine
Check and Service Engine Soon Light
............ 3-47
Cnn!ant Temperature G2ge ........................... 3-47
5
Page 452 of 466

Fuel (cont.) Filling a Portable Fuel Container
..................... 5-9
Filling Your Tank
........................................... 5-7
Fuels in Foreign Countries
.............................. 5-7
Gage ......................................................... 3-51
Gasoline Octane
........................................... 5-5
Gasoline Specifications .................................. 5-5
System Inspection ....................................... 6-1 4
Fuses and Circuit Breakers
........................... 5-96
Windshield Wiper
......................................... 5-96
Low Warning Message
................................. 3-59
Fuses
G
Gage Engine Coolant Temperature
......................... 3-47
Fuel
.......................................................... 3-51
Speedometer
.............................................. 3-41
Garage Door Opener
....................................... 2-49
Gasoline Octane
........................................................ 5-5
Specifications ............................................... 5-5
Gate Operator and Canadian Programming ........ 2-52
Glass Surfaces
............................................... 5-89
Glove
Box ..................................................... 2-54
GM Mobility Program for Persons with
Disab!!!t!es 7-5 .. E ....................................................
Hatch Ajar Warning Message ............................ 3-58
Hazard Warning Flashers
................................... 3-6
Head Restraints
............................................... 1-6
Headlamp Wiring
............................................ 5-96
Headlamps
.................................................... 5-52
Bulb Replacement ....................................... 5-52
Front Turn Signal, Sidemarker and
Parking Lamps
......................................... 5-54
Halogen Bulbs
............................................ 5-52
Heated Seats
................................................... 1-4
Highway Hypnosis
........................................... 4-24
Hill and Mountain Roads
.................................. 4-24
Hitches
.............................................. ..... 4-39
HomeLink Transmitter, Programming
.............. 2-50
HomeLink@ Transmitter ................................ 2-49
Hood
Checking Things Under
................................ 5-10
Release ..................................................... 5-10
Horn
............................................................... 3-7
iiuw tile Sysierrl Yiurks ................................... 3-za ^^
How to Add Coolant to the Coolant
Recovery Tank
............................................ 5-31
How to Add Coolant to the Radiator
.................. 5-34
How to Add Fluid
............................................ 5-22
How
to Check ........................................ 5-20, 5-61
Headphones
................................................... 3-92
How
to Check Power Steering Fluid .................. 5-38
7
Page 461 of 466
Throttle System Inspection ..... ................ 6-15
Tilt Wheel
................................ ................. 3-7
Tire Inflation Check
...................................... 6-10
Tires
..................................................... 5-60, 5-92
Buying New Tires
........................................ 5-64
Chains
....................................................... 5-67
Changing a Flat Tire
.................................... 5-70
If a Tire Goes Flat ....................................... 5-69
Inflation
- Tire Pressure ............................... 5-61
Inspection and Rotation
................................ 5-62
Wheel Alignment and Tire Balance
................. 5-66
When It
Is Time for New Tires ...................... 5-63
To Use the Engine Coolant Heater
.................... 2-35
Top of the Instrument Panel
............................. 5-89
Top Strap Anchor Location
............................... 1-56
Total Weight on Your Vehicle’s Tires .................. 4-39
Towing
Recreational Vehicle
..................................... 4-32
Towing a Trailer
.......................................... 4-36
Your Vehicle
............................................... 4-32
Active Message
........................................... 3-53
Compact
Spare Tire
..................................... 5-86
Uniform Tire Quality Grading
......................... 5-65
Wheel Replacement
..................................... 5-66
Top Strap
...................................................... 1-55
Torque Lock
................................................... 2-42
Traction Control System (TCS)
.................................. 4-10 Traction
(cont.)
Control System Warning Light
....................... 3-46
Service Traction System Warning Message
..... 3-52
Trailer Brakes
................................................. 4-40
Trailer Wiring Harness
..................................... 4-43
Transaxle
Transaxle Operation, Automatic
......................... 2-36
Transfer Case (Power Transfer Unit)
.................. 5-50
Transmission, Transaxle, Transfer Case Unit Repair Manual
...................................... 7-10
Fluid, Automatic
........................................... 5-20
Transportation Options
...................................... 7-7
Trip Computer
................................................ 3-62
Turn and Lane-Change Signals
.......................... 3-8
Turn SignaVMultifunction Lever
........................... 3-7
Turn Signals When Towing a Trailer
.................. 4-42
Underbody Flushing Service
............................. 6-13
Underhood Fuse Block
................................... 5-100
Understanding Radio Reception
....................... 3-1 03
Uniform Tire Quality Grading ............................ 5-65
United States
................................................... 7-4
Used Replacement Wheels
.............................. 5-67
Using Cleaner on Fabric
.................................. 5-88
Using HomeLink@
........................................... 2-52
16