reset OPEL CASCADA 2015 Manual user
[x] Cancel search | Manufacturer: OPEL, Model Year: 2015, Model line: CASCADA, Model: OPEL CASCADA 2015Pages: 253, PDF Size: 7.58 MB
Page 88 of 253
86Instruments and controlsOdometer
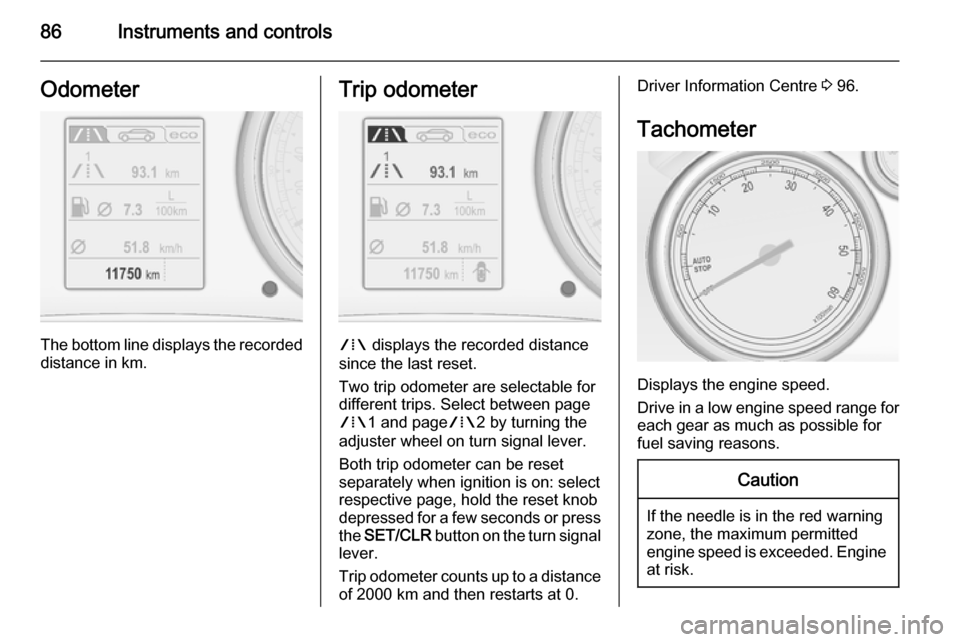
The bottom line displays the recordeddistance in km.
Trip odometer
W displays the recorded distance
since the last reset.
Two trip odometer are selectable for
different trips. Select between page
W 1 and page W2 by turning the
adjuster wheel on turn signal lever.
Both trip odometer can be reset
separately when ignition is on: select
respective page, hold the reset knob
depressed for a few seconds or press
the SET/CLR button on the turn signal
lever.
Trip odometer counts up to a distance of 2000 km and then restarts at 0.
Driver Information Centre 3 96.
Tachometer
Displays the engine speed.
Drive in a low engine speed range for each gear as much as possible for
fuel saving reasons.
Caution
If the needle is in the red warning
zone, the maximum permitted
engine speed is exceeded. Engine at risk.
Page 90 of 253

88Instruments and controls
The remaining oil life duration is
displayed in the Vehicle Information
Menu .
The menu and function can be
selected via the buttons on the turn
signal lever.
To display the remaining engine oil
life duration:
Press the MENU button to select the
Vehicle Information Menu X.
Turn the adjuster wheel to select Remaining Oil Life .
The system must be reset every time
the engine oil is changed to allow
proper functionality. Seek the
assistance of a workshop.
Press the SET/CLR button to reset.
Therefore the ignition must be
switched on, with the engine not
running.
When the system has calculated that
engine oil life has been diminished,
Change Engine Oil Soon appears in
the Driver Information Centre. Have
engine oil and filter changed by a
workshop within one week or
500 km (whichever occurs first).
Driver Information Centre 3 96.
Service information 3 226.
Control indicators The control indicators described are
not present in all vehicles. The
description applies to all instrument
versions. Depending on the
equipment, the position of the control indicators may vary. When theignition is switched on, most control
indicators will illuminate briefly as a
functionality test.
The control indicator colours mean:red=danger, important reminderyellow=warning, information, faultgreen=confirmation of activationblue=confirmation of activationwhite=confirmation of activation
Page 94 of 253

92Instruments and controls
Illuminates
Brake pedal must be depressed to release the electric parking brake
3 145.
Clutch pedal must be depressed to
start the engine in Autostop mode.
Stop-start system 3 136.
Flashes Clutch pedal must be depressed for amain start of the engine 3 17, 3 135.
On some versions, the operate pedal
message is indicated in the Driver
Information Display 3 102.
Electric parking brake
m illuminates or flashes red.
Illuminates Electric parking brake is applied
3 145.Flashes
Electric parking brake is not fullyapplied or released. Switch on
ignition, depress brake pedal and
attempt to reset the system by first
releasing and then applying the
electric parking brake. If m remains
flashing, do not drive and seek the
assistance of a workshop.
Electric parking brake fault
j illuminates or flashes yellow.
Illuminates
Electric parking brake is operating
with degraded performance 3 145.
Flashes Electric parking brake is in service
mode. Stop vehicle, apply and
release the electric parking brake to
reset.9 Warning
Have the cause of the fault
remedied immediately by a
workshop.
Antilock brake system
(ABS) u illuminates yellow.
Illuminates for a few seconds after the ignition is switched on. The system is
ready for operation when the control
indicator extinguishes.
If the control indicator does not
extinguish after a few seconds, or if it illuminates while driving, there is a
fault in the ABS. The brake system
remains operational but without ABS
regulation.
Antilock brake system 3 144.
Page 99 of 253
Instruments and controls97
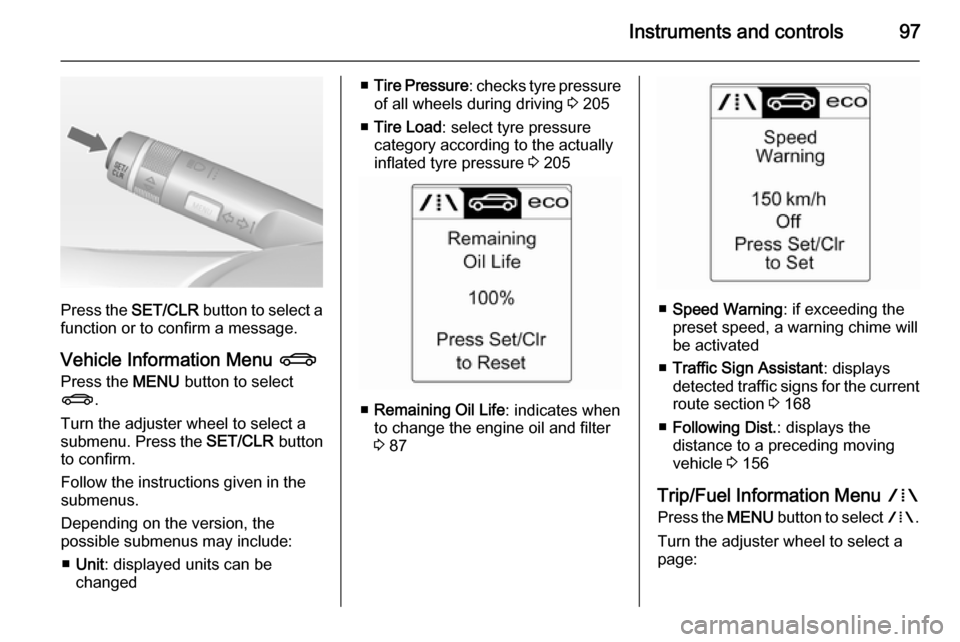
Press the SET/CLR button to select a
function or to confirm a message.
Vehicle Information Menu X
Press the MENU button to select
X .
Turn the adjuster wheel to select a
submenu. Press the SET/CLR button
to confirm.
Follow the instructions given in the
submenus.
Depending on the version, the
possible submenus may include:
■ Unit : displayed units can be
changed
■ Tire Pressure : checks tyre pressure
of all wheels during driving 3 205
■ Tire Load : select tyre pressure
category according to the actually
inflated tyre pressure 3 205
■ Remaining Oil Life : indicates when
to change the engine oil and filter
3 87
■ Speed Warning : if exceeding the
preset speed, a warning chime will
be activated
■ Traffic Sign Assistant : displays
detected traffic signs for the current
route section 3 168
■ Following Dist. : displays the
distance to a preceding moving
vehicle 3 156
Trip/Fuel Information Menu W
Press the MENU button to select W.
Turn the adjuster wheel to select a
page:
Page 100 of 253
98Instruments and controls
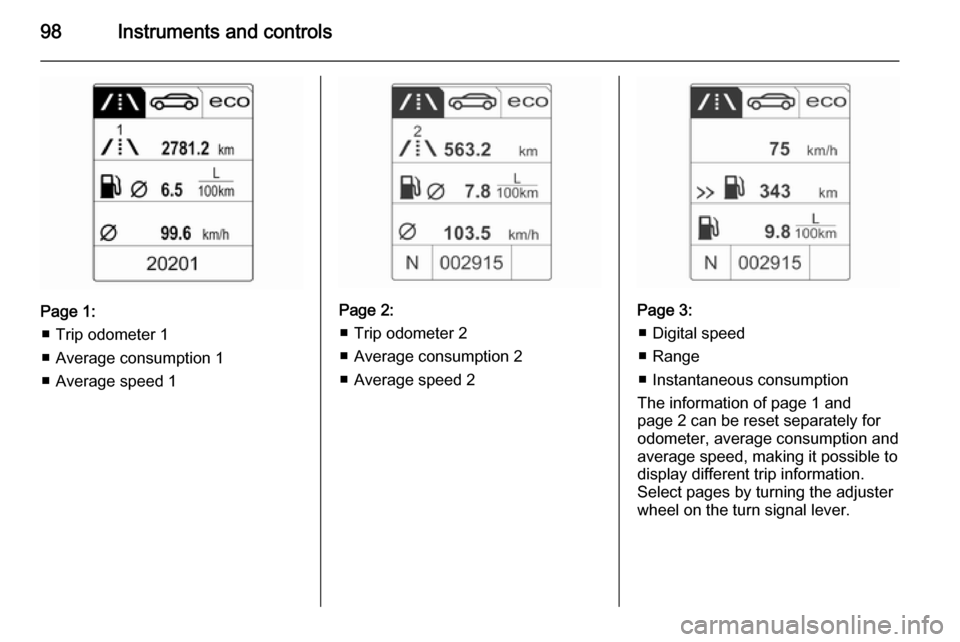
Page 1:■ Trip odometer 1
■ Average consumption 1
■ Average speed 1Page 2: ■ Trip odometer 2
■ Average consumption 2
■ Average speed 2Page 3: ■ Digital speed
■ Range
■ Instantaneous consumption
The information of page 1 and
page 2 can be reset separately for
odometer, average consumption and
average speed, making it possible to
display different trip information.
Select pages by turning the adjuster
wheel on the turn signal lever.
Page 101 of 253
Instruments and controls99
Trip odometer 1 or 2
Trip odometer displays the recorded
distance since a certain reset.
Trip odometer counts up to a distance
of 2,000 km and then restarts at 0.
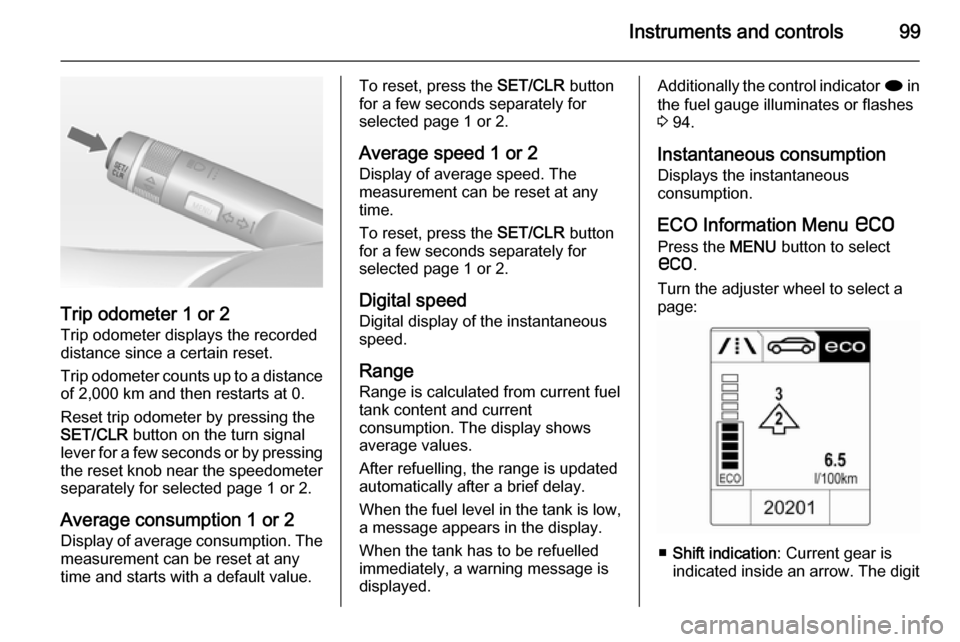
Reset trip odometer by pressing the
SET/CLR button on the turn signal
lever for a few seconds or by pressing the reset knob near the speedometer
separately for selected page 1 or 2.
Average consumption 1 or 2 Display of average consumption. Themeasurement can be reset at any
time and starts with a default value.
To reset, press the SET/CLR button
for a few seconds separately for
selected page 1 or 2.
Average speed 1 or 2 Display of average speed. The
measurement can be reset at any
time.
To reset, press the SET/CLR button
for a few seconds separately for
selected page 1 or 2.
Digital speed Digital display of the instantaneous
speed.
Range
Range is calculated from current fuel
tank content and current
consumption. The display shows
average values.
After refuelling, the range is updated
automatically after a brief delay.
When the fuel level in the tank is low, a message appears in the display.
When the tank has to be refuelled
immediately, a warning message is
displayed.Additionally the control indicator i in
the fuel gauge illuminates or flashes
3 94.
Instantaneous consumption Displays the instantaneous
consumption.
ECO Information Menu s
Press the MENU button to select
s .
Turn the adjuster wheel to select a
page:
■ Shift indication : Current gear is
indicated inside an arrow. The digit
Page 109 of 253
Instruments and controls107
Auto relock doors: Activates or
deactivates the automatic relock
function after unlocking without
opening the vehicle.
■ Restore factory settings
Restore factory settings : Resets all
settings to the default settings.
Settings in the Colour-Info-
Display
Navi 950/Navi 650/CD 600
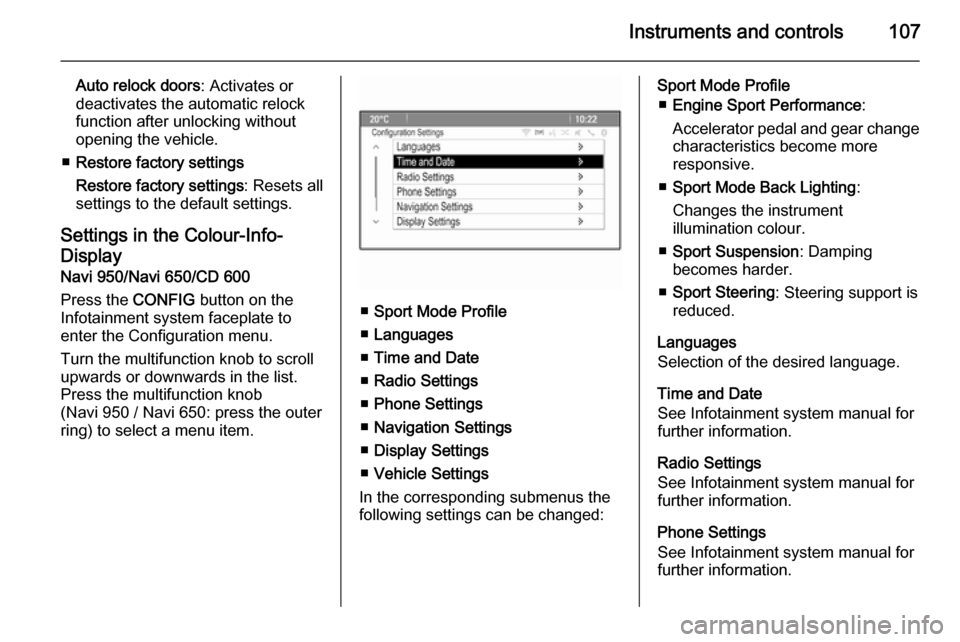
Press the CONFIG button on the
Infotainment system faceplate to enter the Configuration menu.
Turn the multifunction knob to scroll
upwards or downwards in the list.
Press the multifunction knob
(Navi 950 / Navi 650: press the outer
ring) to select a menu item.
■ Sport Mode Profile
■ Languages
■ Time and Date
■ Radio Settings
■ Phone Settings
■ Navigation Settings
■ Display Settings
■ Vehicle Settings
In the corresponding submenus the
following settings can be changed:
Sport Mode Profile
■ Engine Sport Performance :
Accelerator pedal and gear change characteristics become more
responsive.
■ Sport Mode Back Lighting :
Changes the instrument
illumination colour.
■ Sport Suspension : Damping
becomes harder.
■ Sport Steering : Steering support is
reduced.
Languages
Selection of the desired language.
Time and Date
See Infotainment system manual for
further information.
Radio Settings
See Infotainment system manual for further information.
Phone Settings
See Infotainment system manual for further information.
Page 111 of 253

Instruments and controls109
unlocking without opening the
vehicle.
■ Return to Factory Settings? :
Resets all settings to the default
settings.
Page 119 of 253
Lighting117
Automatic high beam activation
operates at a speed above 40 km/h
and deactivates below 20 km/h.
Intelligent light ranging operates
above 55 km/h.
The green control indicator l
illuminates continuously when the
function is activated, the blue one 7
illuminates when high beam switches on automatically.
Deactivation
Push indicator lever once. It is also deactivated when front fog lights are
switched on.
Dynamic automatic headlight levelling
To prevent oncoming traffic from
dazzle, headlight levelling is
automatically adjusted based on
inclination information measured by
front and rear axle, acceleration or
deceleration and vehicle speed.Fault in Adaptive forward
lighting system When the system detects a failure in
the Adaptive forward lighting system,
the system moves to a preset position
to avoid dazzling of oncoming traffic.
If this is not possible, the affected headlight will be automatically
switched off. In any case, one
headlight will stay on. A warning is
displayed in the Driver Information Centre.
Hazard warning flashers
Operated with the ¨ button.
In the event of an accident with airbag
deployment the hazard warning
flashers are activated automatically.
Turn and lane-change
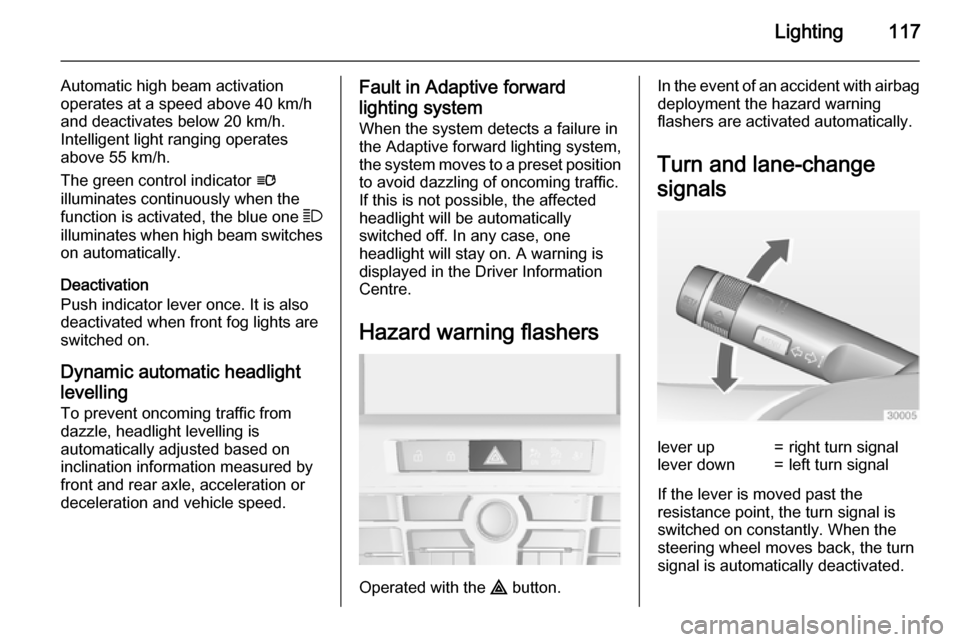
signalslever up=right turn signallever down=left turn signal
If the lever is moved past the
resistance point, the turn signal is
switched on constantly. When the
steering wheel moves back, the turn
signal is automatically deactivated.
Page 155 of 253
Driving and operating153Speed limiterThe speed limiter prevents the
vehicle exceeding a preset maximum
speed.
The maximum speed can be set at a
speed above 25 km/h.
The driver can only accelerate up to
the preset speed. Deviations from the
limited speed may occur when driving downhill.
The preset speed limit is displayed in
the top line of the Driver Information
Centre when the system is active.
ActivationPress button L. If cruise control has
been activated before, it is switched
off when speed limiter is activated
and the control indicator m
extinguishes.
Set speed limit
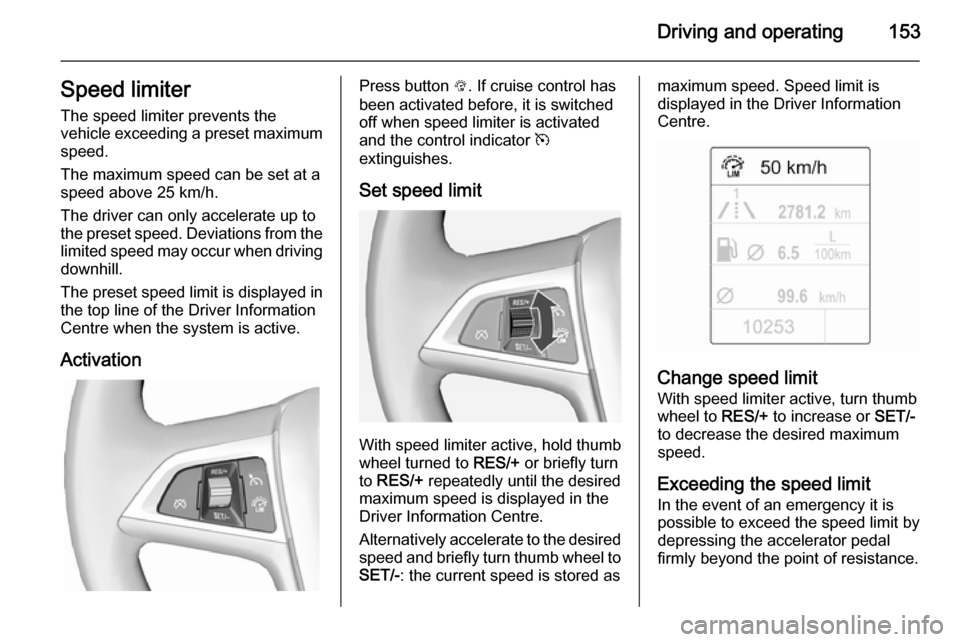
With speed limiter active, hold thumb
wheel turned to RES/+ or briefly turn
to RES/+ repeatedly until the desired
maximum speed is displayed in the
Driver Information Centre.
Alternatively accelerate to the desired speed and briefly turn thumb wheel to SET/- : the current speed is stored as
maximum speed. Speed limit is
displayed in the Driver Information
Centre.
Change speed limit
With speed limiter active, turn thumb
wheel to RES/+ to increase or SET/-
to decrease the desired maximum
speed.
Exceeding the speed limit
In the event of an emergency it is possible to exceed the speed limit by
depressing the accelerator pedal
firmly beyond the point of resistance.