buttons OPEL COMBO 2017 Manual user
[x] Cancel search | Manufacturer: OPEL, Model Year: 2017, Model line: COMBO, Model: OPEL COMBO 2017Pages: 195, PDF Size: 4.71 MB
Page 38 of 195
36Seats, restraintsRear head restraints, height
adjustment
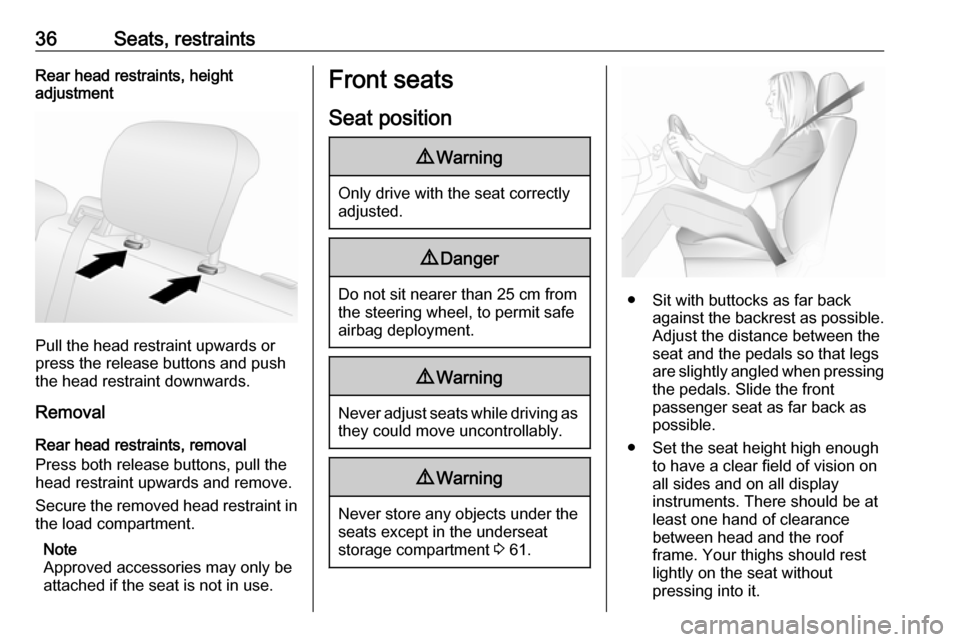
Pull the head restraint upwards or
press the release buttons and push
the head restraint downwards.
Removal
Rear head restraints, removal
Press both release buttons, pull the
head restraint upwards and remove.
Secure the removed head restraint in the load compartment.
Note
Approved accessories may only be
attached if the seat is not in use.
Front seats
Seat position9 Warning
Only drive with the seat correctly
adjusted.
9 Danger
Do not sit nearer than 25 cm from
the steering wheel, to permit safe
airbag deployment.
9 Warning
Never adjust seats while driving as
they could move uncontrollably.
9 Warning
Never store any objects under the
seats except in the underseat
storage compartment 3 61.
● Sit with buttocks as far back
against the backrest as possible.
Adjust the distance between the
seat and the pedals so that legs
are slightly angled when pressing the pedals. Slide the front
passenger seat as far back as
possible.
● Set the seat height high enough to have a clear field of vision on
all sides and on all display
instruments. There should be at
least one hand of clearance
between head and the roof
frame. Your thighs should rest
lightly on the seat without
pressing into it.
Page 42 of 195
40Seats, restraintsHeating
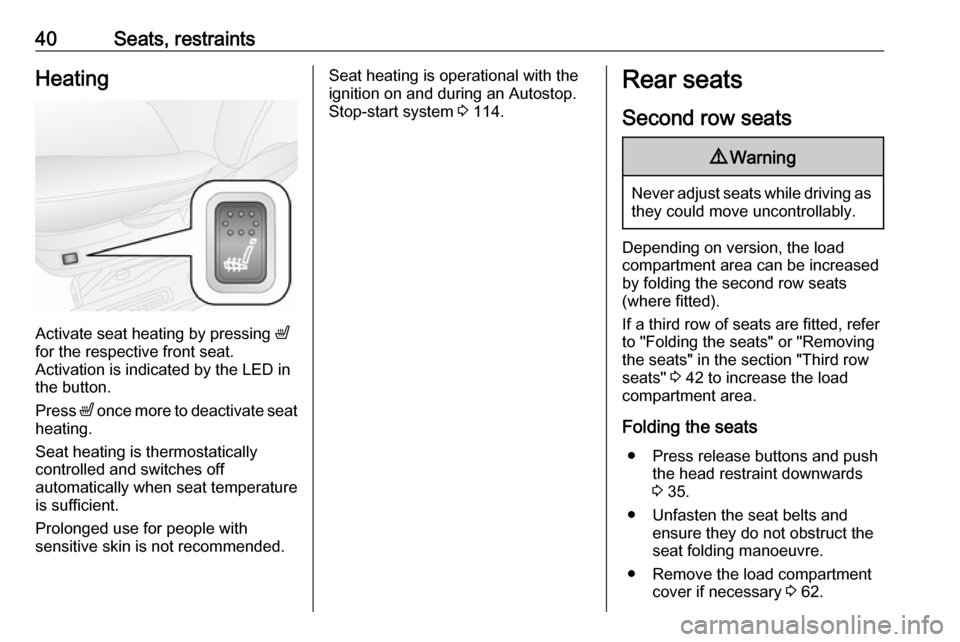
Activate seat heating by pressing ß
for the respective front seat.
Activation is indicated by the LED in
the button.
Press ß once more to deactivate seat
heating.
Seat heating is thermostatically
controlled and switches off
automatically when seat temperature
is sufficient.
Prolonged use for people with
sensitive skin is not recommended.
Seat heating is operational with the
ignition on and during an Autostop.
Stop-start system 3 114.Rear seats
Second row seats9 Warning
Never adjust seats while driving as
they could move uncontrollably.
Depending on version, the load
compartment area can be increased
by folding the second row seats
(where fitted).
If a third row of seats are fitted, refer
to "Folding the seats" or "Removing
the seats" in the section "Third row
seats" 3 42 to increase the load
compartment area.
Folding the seats ● Press release buttons and push the head restraint downwards
3 35.
● Unfasten the seat belts and ensure they do not obstruct the
seat folding manoeuvre.
● Remove the load compartment cover if necessary 3 62.
Page 44 of 195
42Seats, restraints9Warning
When unfolding the seat, ensure
that the seat is securely locked in
position before driving. Failure to
do so may result in personal injury in the event of hard braking or a
collision.
9 Warning
Only drive the vehicle if the
backrests are securely locked into position. Otherwise there is a risk
of personal injury or damage to the
load or vehicle in the event of hard braking or a collision.
Third row seats
9 Warning
Never adjust seats while driving as
they could move uncontrollably.
Depending on version, the load
compartment area can be increased
by folding up the third row seats.
Folding the seats
● Press release buttons and push the head restraint downwards3 35.
● Unfasten the seat belts and ensure they do not obstruct the
seat folding manoeuvre.
● Remove the load compartment cover if necessary 3 62.
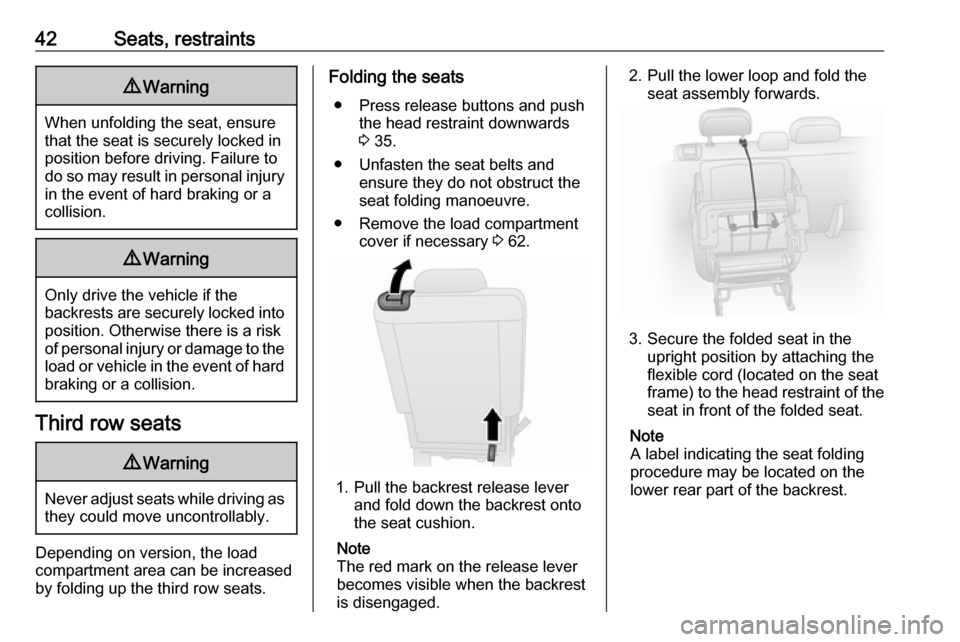
1. Pull the backrest release lever
and fold down the backrest onto
the seat cushion.
Note
The red mark on the release lever
becomes visible when the backrest
is disengaged.
2. Pull the lower loop and fold the seat assembly forwards.
3. Secure the folded seat in theupright position by attaching the
flexible cord (located on the seat
frame) to the head restraint of the
seat in front of the folded seat.
Note
A label indicating the seat folding
procedure may be located on the
lower rear part of the backrest.
Page 45 of 195
Seats, restraints439Warning
When folding the seat use caution
- beware of moving parts. Ensure
the seat is secure when
completely folded.
9 Warning
No person is allowed to occupy a
rear seat when the seat in front is
in the folded position. Risk of
injury.
Unfolding the seats
1. Ensure that the seat belts are unfastened and that they do not
obstruct the unfolding
manoeuvre.
2. Remove the flexible cord and lower the seat assembly to the
floor, ensuring the rear support is
located on the anchor point and
securely latched into position.
3. Raise the backrest and adjust the
head restraint.
Note
The backrest is properly engaged
when the red mark on the release
lever is no longer visible.9 Warning
When unfolding the seat, ensure
that the seat is securely locked in
position before driving. Failure to
do so may result in personal injury in the event of hard braking or a
collision.
Removing the seats
Depending on version, the load
compartment area can be increased by removing the third row seats.
9 Warning
Removable rear seats are heavy!
Do not attempt to remove without assistance.
● Press release buttons and pull the rear seat head restraints
upwards to remove them 3 35.
● Ensure that the seat belts are unfastened and that they do not
obstruct the unfolding
manoeuvre.
● Remove the load compartment cover if necessary 3 62.
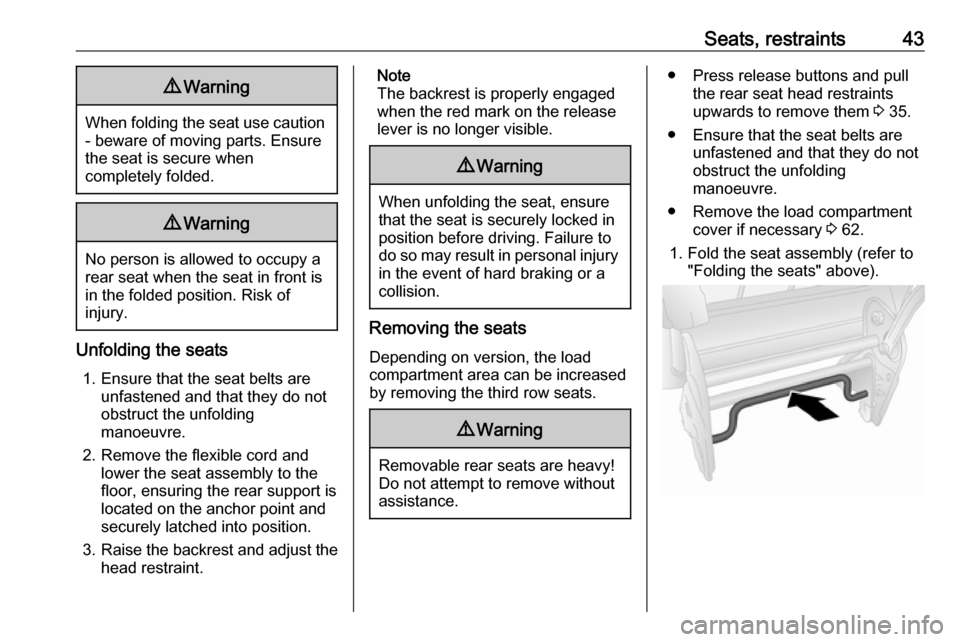
1. Fold the seat assembly (refer to "Folding the seats" above).
Page 92 of 195
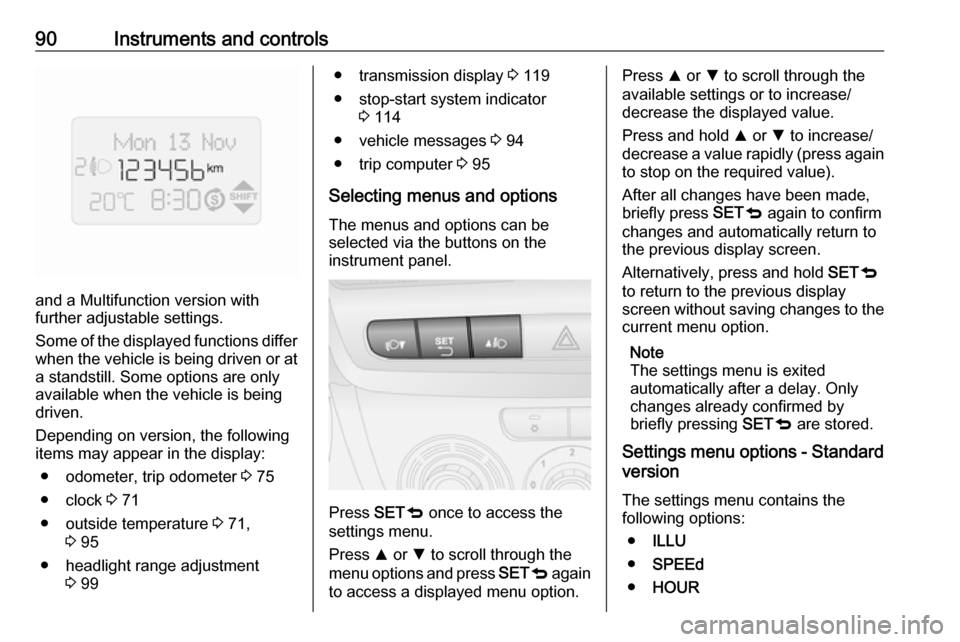
90Instruments and controls
and a Multifunction version with
further adjustable settings.
Some of the displayed functions differ
when the vehicle is being driven or at a standstill. Some options are onlyavailable when the vehicle is being
driven.
Depending on version, the following
items may appear in the display:
● odometer, trip odometer 3 75
● clock 3 71
● outside temperature 3 71,
3 95
● headlight range adjustment 3 99
● transmission display 3 119
● stop-start system indicator 3 114
● vehicle messages 3 94
● trip computer 3 95
Selecting menus and options
The menus and options can be
selected via the buttons on the
instrument panel.
Press SET
q once to access the
settings menu.
Press R or S to scroll through the
menu options and press SETq again
to access a displayed menu option.
Press R or S to scroll through the
available settings or to increase/ decrease the displayed value.
Press and hold R or S to increase/
decrease a value rapidly (press again
to stop on the required value).
After all changes have been made,
briefly press SETq again to confirm
changes and automatically return to
the previous display screen.
Alternatively, press and hold SETq
to return to the previous display
screen without saving changes to the current menu option.
Note
The settings menu is exited
automatically after a delay. Only
changes already confirmed by
briefly pressing SETq are stored.
Settings menu options - Standard
version
The settings menu contains thefollowing options:
● ILLU
● SPEEd
● HOUR
Page 110 of 195

108Climate controlclockwise:warmanticlockwise:cold
Heating will not be fully effective until
the engine has reached normal
operating temperature.
When the minimum temperature is
set below 16 ℃, the electronic climate
control system runs at maximum
cooling. LO appears in the display.
If the maximum temperature is set
above 32 ℃, the electronic climate
control system runs at maximum
heating. HI appears in the display.
Note
If A/C is switched on, reducing the
set cabin temperature can cause the
engine to restart from an Autostop or inhibit an Autostop.
Stop-start system 3 114.
Fan speed
The selected fan speed is indicated
with bars in the display.
Press ] or < to increase or decrease
the fan speed.
maximum fan
speed:all bars displayedminimum fan
speed:one bar displayed
Cooling n must be switched off
before fan can be deactivated.
To return to automatic fan speed:
Press AUTO.
Demisting and defrosting the
windows
Press Ê.
Temperature and air distribution are
set automatically and the fan runs at
a high speed.
When the vehicle reaches normal
operating temperature the function
remains active for approx.
three minutes.
To return to automatic mode: press
n or AUTO .
Air distribution Press R, S or 6.
LED in buttons illuminate.
Arrows shown in the display indicate
the distribution settings.
Cooling
Press n to switch on cooling. Cooling
is only functional when the engine is
running and climate control fan is switched on.
Press n again to switch off cooling.
The air conditioning system cools and
dehumidifies (dries) when outside temperature is above a specific level. Therefore condensation may form
and drip from under the vehicle.
If no cooling or drying is required
press n again to switch the cooling
system off, thus saving fuel.
Manual air recirculation mode Operated by pressing 4.recirculation on:LED in button
illuminated; D
appears in the
displayrecirculation off:LED in button
extinguishes; E
appears in the
display