display OPEL GRANDLAND X 2018 Infotainment system
[x] Cancel search | Manufacturer: OPEL, Model Year: 2018, Model line: GRANDLAND X, Model: OPEL GRANDLAND X 2018Pages: 265, PDF Size: 7.5 MB
Page 115 of 265
Instruments and controls113Diagnostic report
The vehicle automatically transmits
diagnostic data to OnStar which
sends a monthly email report to you
and your preferred workshop.
Note
The workshop notification function
can be disabled in your account.
The report contains the status of key
operating systems of the vehicle like
engine, transmission, airbags, ABS,
and other major systems. It also
provides information on possible
maintenance items and tyre pressure
(only with tyre pressure monitoring
system).
To look at the information in greater
detail, select the link within the email and log in to your account.
OnStar settings
OnStar PIN
To have full access to all OnStar
services, a four-digit PIN is required. The PIN has to be personalised when first talking to an advisor.
To change the PIN, press Z to call an
advisor.Account data
An OnStar subscriber has an account
where all the data is stored. To
request a change of the account
information, press Z and talk to an
advisor or log in to your account.
If the OnStar service is used on
another vehicle, press Z and request
that the account be transferred to the new vehicle.
Note
In any case, if the vehicle is disposed
of, sold or otherwise transferred,
immediately inform OnStar about
the changes and terminate the
OnStar service on this vehicle.
Vehicle location
The vehicle location is transmitted to OnStar when service is requested or triggered. A message on the Info-
Display informs about this
transmission.
To activate or deactivate the
transmission of the vehicle location,
press and hold j until an audio
message is heard.The deactivation is indicated by the
status light flashing red and green for a short period of time and each time
the vehicle is started.
Note
If the transmission of the vehicle
location is deactivated, some
services are no longer available.
Note
The vehicle location always remains
accessible to OnStar in the case of
an emergency.
Find the privacy policy in your
account.
Software updates
OnStar may remotely carry out software updates without further
notice or consent. These updates are to enhance or maintain safety and
security or the operation of the
vehicle.
These updates may concern privacy
issues. Find the privacy policy in your
account.
Page 119 of 265
Lighting117Daytime running lightsDaytime running light increases
visibility of the vehicle during daylight.
They are switched on automatically
when the engine is running.
The system switches between
daytime running lights and low beam
automatically, depending on the
lighting conditions.
LED headlights9 Warning
Do not look directly into the LED
lights to avoid damage to your
eyes.
LED headlight system contains a
variety of particular LEDs in each
headlight which enables the control of
the Adaptive forward lighting
functions.
Light distribution and intensity of light
are variably triggered depending on
the lighting conditions, road type and
driving situation. The vehicle adapts
the headlights automatically to the
situation to enable optimal light
performance for the driver.
Some Adaptive forward lighting
functions of the LED headlights can
be deactivated or activated in the
vehicle personalisation menu. Select
the relevant setting in Settings, I
Vehicle in the Info-Display. Vehicle
personalisation 3 106.
The lighting functions are only
available with light switch in position
AUTO .
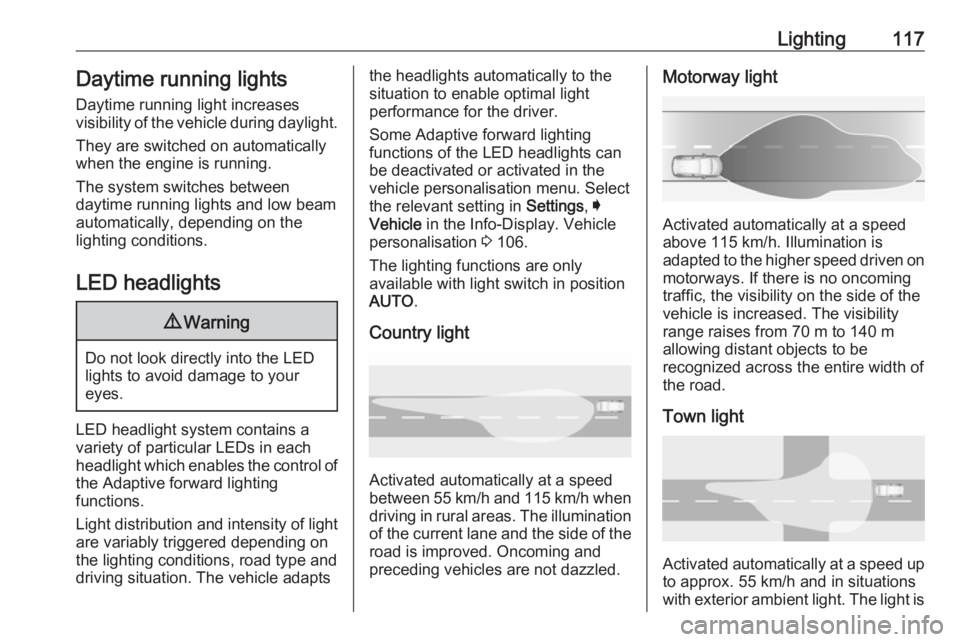
Country light
Activated automatically at a speed
between 55 km/h and 115 km/h when driving in rural areas. The illumination
of the current lane and the side of the road is improved. Oncoming and
preceding vehicles are not dazzled.
Motorway light
Activated automatically at a speed
above 115 km/h. Illumination is
adapted to the higher speed driven on
motorways. If there is no oncoming
traffic, the visibility on the side of the
vehicle is increased. The visibility
range raises from 70 m to 140 m
allowing distant objects to be
recognized across the entire width of
the road.
Town light
Activated automatically at a speed up to approx. 55 km/h and in situations
with exterior ambient light. The light is
Page 122 of 265
120LightingIf a headlight flash is activated when
the high beam assist is activated and
high beam is on, the high beam assist will be deactivated. The system
changes to low beam.
To reactivate the high beam assist,
flash the headlights again.
Fault in LED headlight system
When the system detects a failure in
the LED headlight system, it selects a preset position to avoid dazzling of
oncoming traffic. A warning is
displayed in the Driver Information
Centre.Hazard warning flashers
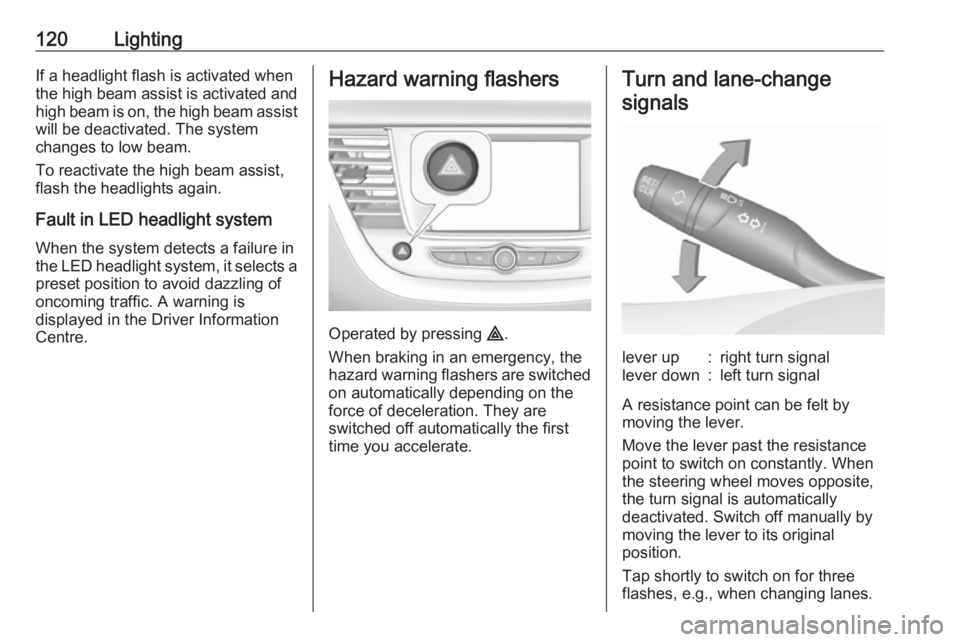
Operated by pressing ¨.
When braking in an emergency, the
hazard warning flashers are switched
on automatically depending on the
force of deceleration. They are
switched off automatically the first
time you accelerate.
Turn and lane-change
signalslever up:right turn signallever down:left turn signal
A resistance point can be felt bymoving the lever.
Move the lever past the resistance
point to switch on constantly. When
the steering wheel moves opposite,
the turn signal is automatically
deactivated. Switch off manually by
moving the lever to its original
position.
Tap shortly to switch on for three
flashes, e.g., when changing lanes.
Page 124 of 265
122LightingReversing lights
The reversing light comes on when
the ignition is on and reverse gear is
selected.
Misted light covers
The inside of the light housing may
mist up briefly in poor, wet and cold weather conditions, in heavy rain or
after washing. The mist disappears
quickly by itself; to help switch on the
headlights.Interior lighting
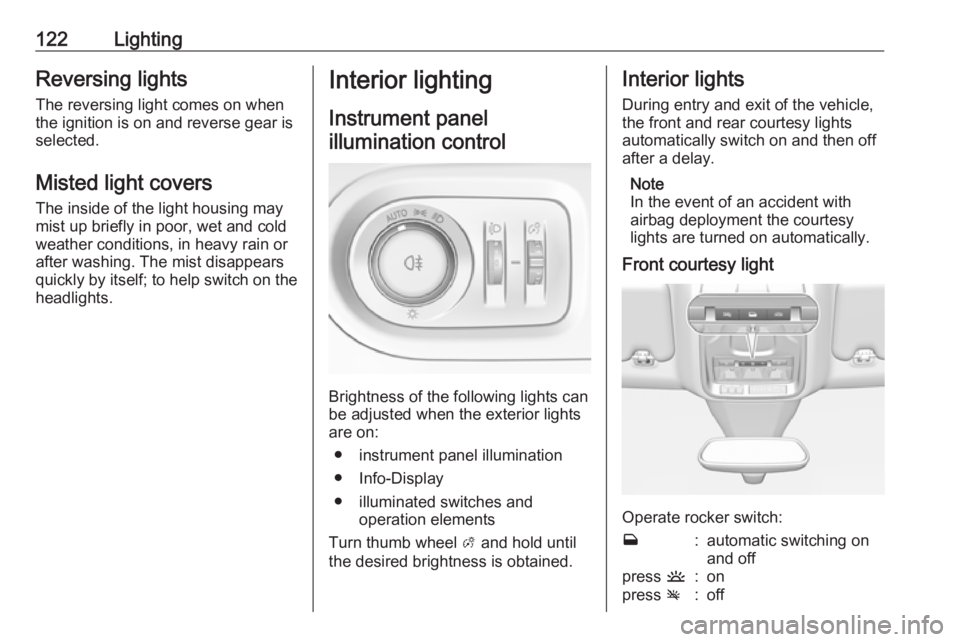
Instrument panelillumination control
Brightness of the following lights can
be adjusted when the exterior lights
are on:
● instrument panel illumination
● Info-Display
● illuminated switches and operation elements
Turn thumb wheel A and hold until
the desired brightness is obtained.
Interior lights
During entry and exit of the vehicle,
the front and rear courtesy lights
automatically switch on and then off
after a delay.
Note
In the event of an accident with
airbag deployment the courtesy
lights are turned on automatically.
Front courtesy light
Operate rocker switch:
w:automatic switching on
and offpress u:onpress v:off
Page 128 of 265
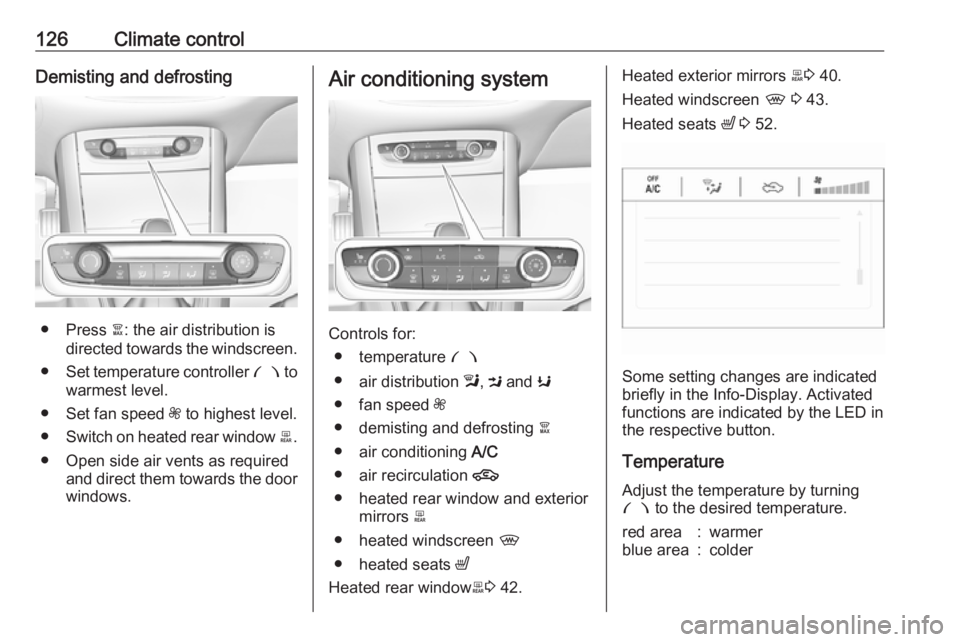
126Climate controlDemisting and defrosting
● Press à: the air distribution is
directed towards the windscreen.
● Set temperature controller £ to
warmest level.
● Set fan speed Z to highest level.
● Switch on heated rear window b.
● Open side air vents as required and direct them towards the doorwindows.
Air conditioning system
Controls for:
● temperature £
● air distribution l, M and K
● fan speed Z
● demisting and defrosting à
● air conditioning A/C
● air recirculation 4
● heated rear window and exterior mirrors b
● heated windscreen ,
● heated seats ß
Heated rear window b3 42.
Heated exterior mirrors b3 40.
Heated windscreen , 3 43.
Heated seats ß 3 52.
Some setting changes are indicated
briefly in the Info-Display. Activated
functions are indicated by the LED in
the respective button.
Temperature
Adjust the temperature by turning
£ to the desired temperature.
red area:warmerblue area:colder
Page 131 of 265
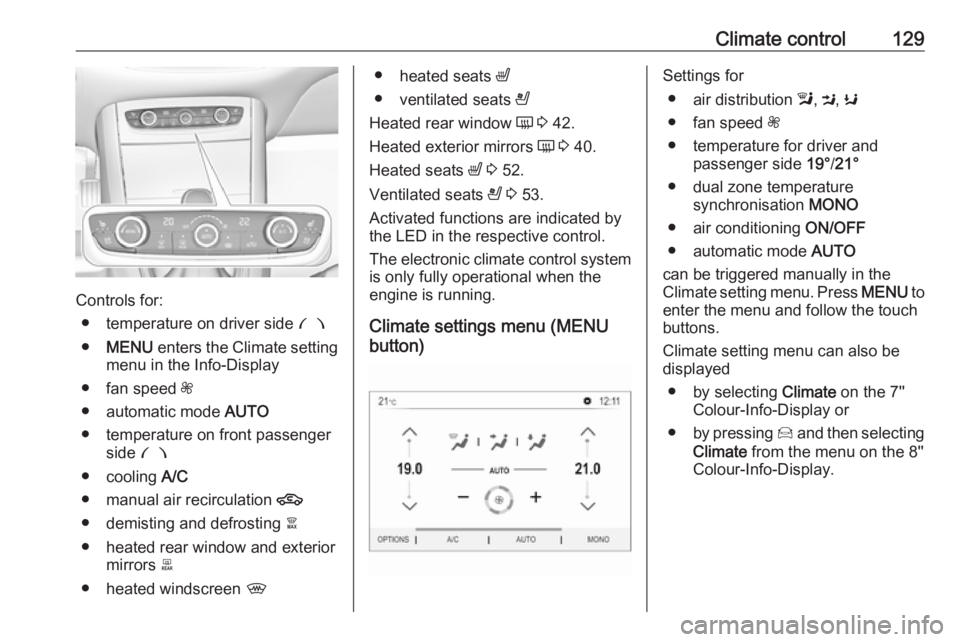
Climate control129
Controls for:● temperature on driver side £
● MENU enters the Climate setting
menu in the Info-Display
● fan speed Z
● automatic mode AUTO
● temperature on front passenger side £
● cooling A/C
● manual air recirculation 4
● demisting and defrosting à
● heated rear window and exterior mirrors b
● heated windscreen ,
●
heated seats ß
● ventilated seats A
Heated rear window Ü 3 42.
Heated exterior mirrors Ü 3 40.
Heated seats ß 3 52.
Ventilated seats A 3 53.
Activated functions are indicated by the LED in the respective control.
The electronic climate control system
is only fully operational when the
engine is running.
Climate settings menu (MENU
button)Settings for
● air distribution l, M , K
● fan speed Z
● temperature for driver and passenger side 19°/21°
● dual zone temperature synchronisation MONO
● air conditioning ON/OFF
● automatic mode AUTO
can be triggered manually in the
Climate setting menu. Press MENU to
enter the menu and follow the touch
buttons.
Climate setting menu can also be
displayed
● by selecting Climate on the 7''
Colour-Info-Display or
● by pressing Í and then selecting
Climate from the menu on the 8''
Colour-Info-Display.
Page 132 of 265
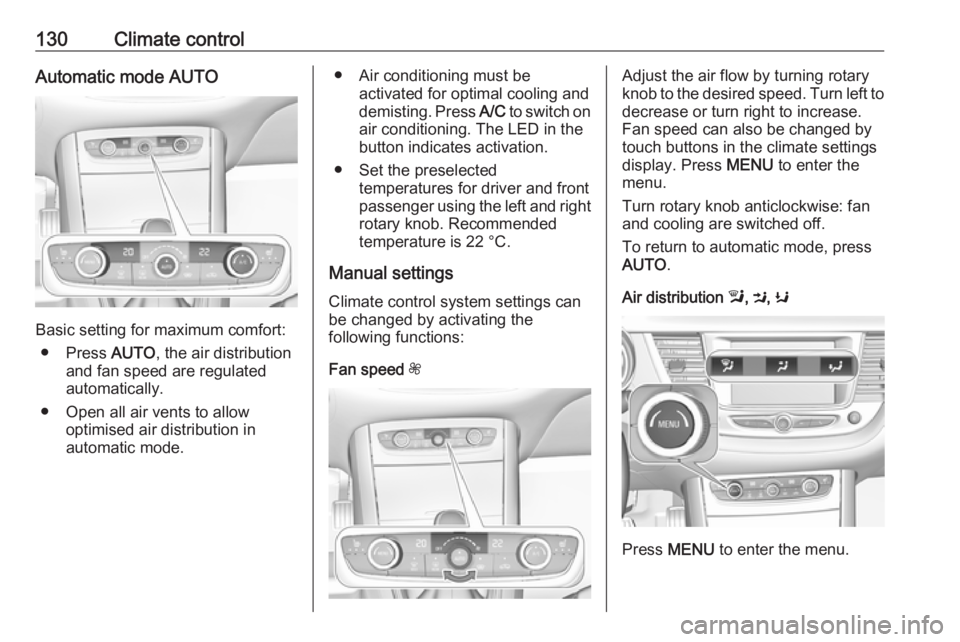
130Climate controlAutomatic mode AUTO
Basic setting for maximum comfort:● Press AUTO, the air distribution
and fan speed are regulated
automatically.
● Open all air vents to allow optimised air distribution in
automatic mode.
● Air conditioning must be activated for optimal cooling and
demisting. Press A/C to switch on
air conditioning. The LED in the
button indicates activation.
● Set the preselected temperatures for driver and front
passenger using the left and right rotary knob. Recommended
temperature is 22 °C.
Manual settings Climate control system settings canbe changed by activating the
following functions:
Fan speed ZAdjust the air flow by turning rotary
knob to the desired speed. Turn left to decrease or turn right to increase.
Fan speed can also be changed by touch buttons in the climate settings
display. Press MENU to enter the
menu.
Turn rotary knob anticlockwise: fan and cooling are switched off.
To return to automatic mode, press
AUTO .
Air distribution l, M , K
Press MENU to enter the menu.
Page 133 of 265
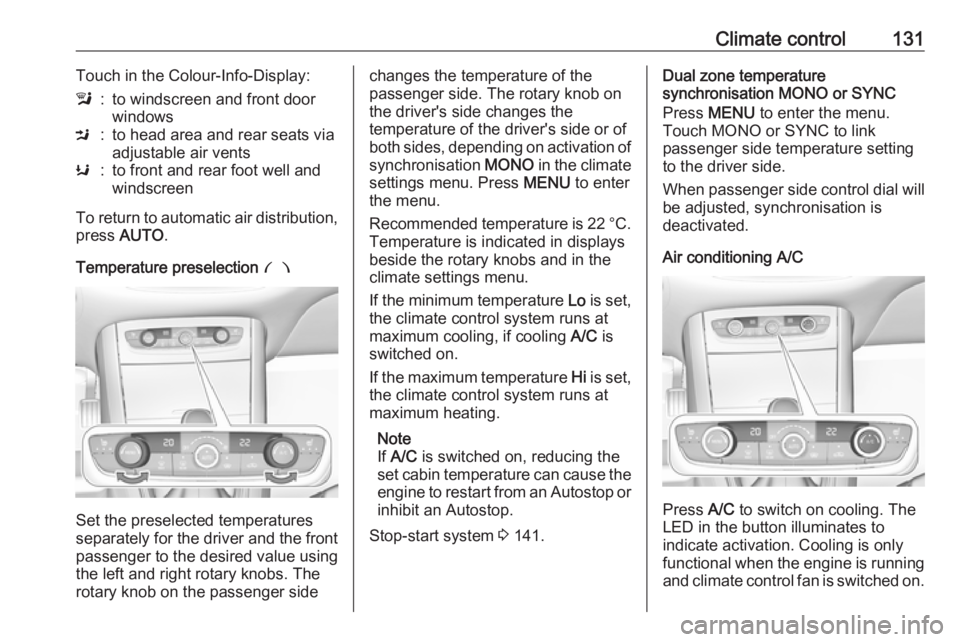
Climate control131Touch in the Colour-Info-Display:l:to windscreen and front door
windowsM:to head area and rear seats via
adjustable air ventsK:to front and rear foot well and
windscreen
To return to automatic air distribution,
press AUTO .
Temperature preselection £
Set the preselected temperatures
separately for the driver and the front
passenger to the desired value using
the left and right rotary knobs. The rotary knob on the passenger side
changes the temperature of the
passenger side. The rotary knob on
the driver's side changes the
temperature of the driver's side or of both sides, depending on activation of
synchronisation MONO in the climate
settings menu. Press MENU to enter
the menu.
Recommended temperature is 22 °C .
Temperature is indicated in displays beside the rotary knobs and in the
climate settings menu.
If the minimum temperature Lo is set,
the climate control system runs at
maximum cooling, if cooling A/C is
switched on.
If the maximum temperature Hi is set,
the climate control system runs at
maximum heating.
Note
If A/C is switched on, reducing the
set cabin temperature can cause the
engine to restart from an Autostop or inhibit an Autostop.
Stop-start system 3 141.Dual zone temperature
synchronisation MONO or SYNC
Press MENU to enter the menu.
Touch MONO or SYNC to link
passenger side temperature setting
to the driver side.
When passenger side control dial will be adjusted, synchronisation is
deactivated.
Air conditioning A/C
Press A/C to switch on cooling. The
LED in the button illuminates to
indicate activation. Cooling is only
functional when the engine is running and climate control fan is switched on.
Page 137 of 265
Driving and operating135Driving and
operatingDriving hints ............................... 136
Control of the vehicle ...............136
Steering ................................... 136
Starting and operating ...............136
New vehicle running-in ............136
Ignition switch positions ...........136
Power button ........................... 137
Power saving mode .................138
Starting the engine ..................139
Overrun cut-off ........................ 140
Stop-start system ....................141
Parking .................................... 143
Engine exhaust .......................... 144
Diesel particle filter ..................144
Catalytic converter ...................145
AdBlue ..................................... 145
Automatic transmission ..............148
Transmission display ...............148
Selector lever .......................... 149
Manual mode ........................... 150
Electronic driving programmes 150
Fault ........................................ 150
Interruption of power supply ....151Manual transmission ..................151
Brakes ........................................ 152
Antilock brake system .............152
Parking brake .......................... 153
Brake assist ............................. 154
Hill start assist ......................... 154
Ride control systems .................155
Electronic Stability Control and Traction Control system .........155
Selective ride control ...............156
Sport mode .............................. 158
Driver assistance systems .........159
Cruise control .......................... 159
Speed limiter ........................... 162
Adaptive cruise control ............164
Forward collision alert .............170
Active emergency braking .......172
Front pedestrian protection .....175
Parking assist .......................... 176
Advanced parking assist .........179
Side blind spot alert .................183
Panoramic view system ...........185
Rear view camera ...................188
Lane departure warning ..........190
Lane keep assist .....................191
Driver alert ............................... 193
Fuel ............................................ 194
Fuel for petrol engines .............194
Fuel for diesel engines ............195Refuelling ................................ 196
Fuel consumption - CO 2-
Emissions ............................... 197
Trailer hitch ................................ 198
General information .................198
Driving characteristics and towing tips .............................. 198
Trailer towing ........................... 199
Towing equipment ...................199
Trailer stability assist ...............202
Page 140 of 265
138Driving and operating9Warning
If the vehicle battery is discharged,
the vehicle must not be towed,
tow-started or jump-started as the
steering wheel lock cannot be
disengaged.
Operation on vehicles with
electronic key system in case of
failure
If either the electronic key fails or the
battery of the electronic key is weak,
the Driver Information Centre may
display No Remote Detected or
Replace Battery in Remote Key when
you try to start the vehicle.
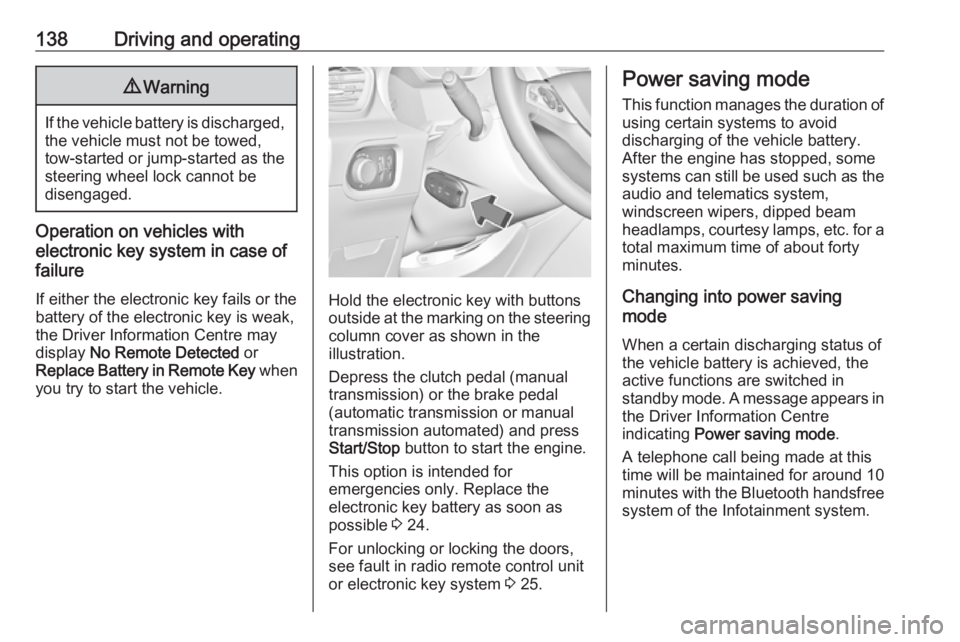
Hold the electronic key with buttons outside at the marking on the steering column cover as shown in the
illustration.
Depress the clutch pedal (manual
transmission) or the brake pedal
(automatic transmission or manual
transmission automated) and press
Start/Stop button to start the engine.
This option is intended for
emergencies only. Replace the
electronic key battery as soon as
possible 3 24.
For unlocking or locking the doors,
see fault in radio remote control unit
or electronic key system 3 25.
Power saving mode
This function manages the duration of
using certain systems to avoid
discharging of the vehicle battery.
After the engine has stopped, some
systems can still be used such as the audio and telematics system,
windscreen wipers, dipped beam
headlamps, courtesy lamps, etc. for a total maximum time of about forty
minutes.
Changing into power saving
mode
When a certain discharging status of
the vehicle battery is achieved, the
active functions are switched in
standby mode. A message appears in the Driver Information Centre
indicating Power saving mode .
A telephone call being made at this
time will be maintained for around 10
minutes with the Bluetooth handsfree
system of the Infotainment system.