display OPEL INSIGNIA BREAK 2020 Manual user
[x] Cancel search | Manufacturer: OPEL, Model Year: 2020, Model line: INSIGNIA BREAK, Model: OPEL INSIGNIA BREAK 2020Pages: 315, PDF Size: 9.45 MB
Page 118 of 315
116Instruments and controlsFor further information, see
Infotainment manual.
Vehicle information menu, ?,
Options or %
The following list contains all possible Options Menu pages. Some may not
be available for your particular
vehicle. Depending on the display
some functions are symbolised.
● Units
● Display
● Info Page Options
● Home Page Options
● Adaptive Cruise
● Speed Warning
● Tyre Load
● Gauges
● Software Information
● Head-up Display
● AdBlue Level
Units
Select display unit system: imperial or
metric.Display
Press é and select Sport or Touring
mode. Sport mode includes more
vehicle information, Tour mode
includes more media information.
This setting is only available with
Uplevel display.
Info Page Options
A list of all pages in the Info Menu is
displayed, see above. Select the
pages to be displayed in the Info
Menu. Selected pages have a 0.
Non viewable functions have a blank
checkbox.
Home Page Options
Select, which values are shown on
the Driver Information Center home
page, e.g. speed or fuel range.
Adaptive Cruise
Activates or deactivates adaptive
cruise control 3 181.
Speed Warning
The speed warning page allows you
to set a speed that you do not want to exceed.Speed limit can only be set when
speed warning is enabled. Once the
speed is set, this feature can be
turned off by pressing Å while
viewing this page. If the selected
speed limit is exceeded, a pop-up
warning is displayed with a chime.
Tyre Load
The tyre pressure category according
to the actual tyre inflation pressure
can be selected 3 256.
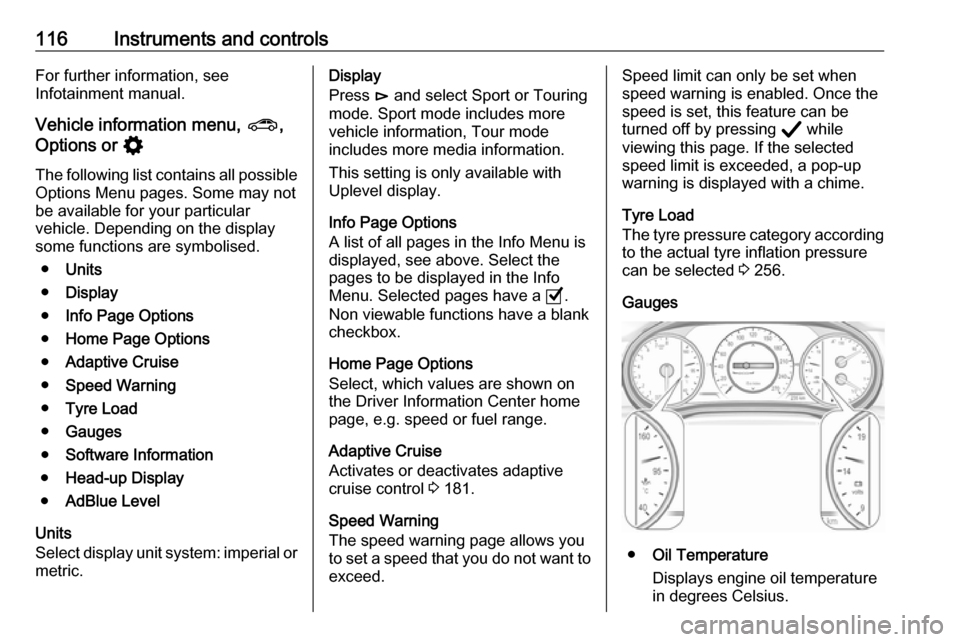
Gauges
● Oil Temperature
Displays engine oil temperature
in degrees Celsius.
Page 119 of 315
Instruments and controls117●Battery Voltage
Displays the vehicle battery
voltage. During engine running
voltage can vary between 12 V
and 15.5 V. Temporary voltage below 12 V is possible when high electrical load is used.
● Engine Boost
Displays the engine turbocharger
boost pressure in %.
● AdBlue
Displays the level of the Adblue
tank 3 162.
● IFE-AFE
Displays both instantaneous and
average fuel economy.
● Fuel Range
Displays average remaining
distance with remaining fuel in
the tank.
● Blank Page
Displays a blank gauge.
Software information
Displays the open source software
information.Head-Up Display
Allows rotation of the head-up display
projection 3 118.
Info Display
The Info Display is located in the
instrument panel near the instrument
cluster.
Depending on the vehicle
configuration the vehicle is equipped
with one of the following infotainment
systems:
● Multimedia
or
● Multimedia Navi
or
● Multimedia Navi Pro
or
The Info Display can indicate: ● time 3 93
● outside temperature 3 93
● date 3 93
● Infotainment system
● climate control settings 3 143
● rear view camera 3 211● panoramic view system 3 209
● parking assist instructions 3 199
● rear cross traffic 3 213
● Flex Ride visualisation menu 3 176
● navigation
● system messages
● settings for vehicle personalisation 3 123
Multimedia Navi Selecting menus and settings
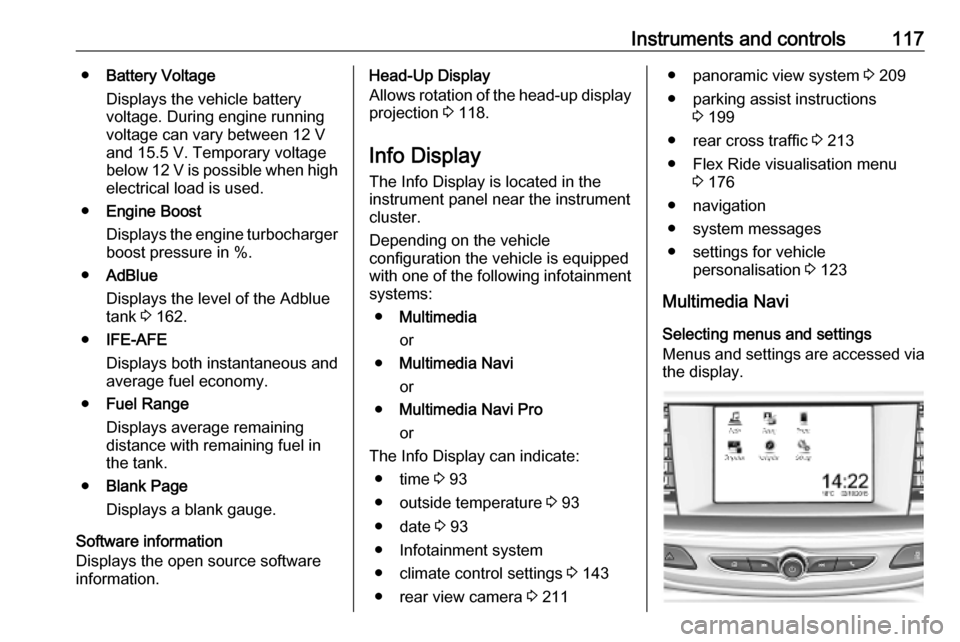
Menus and settings are accessed via the display.
Page 120 of 315
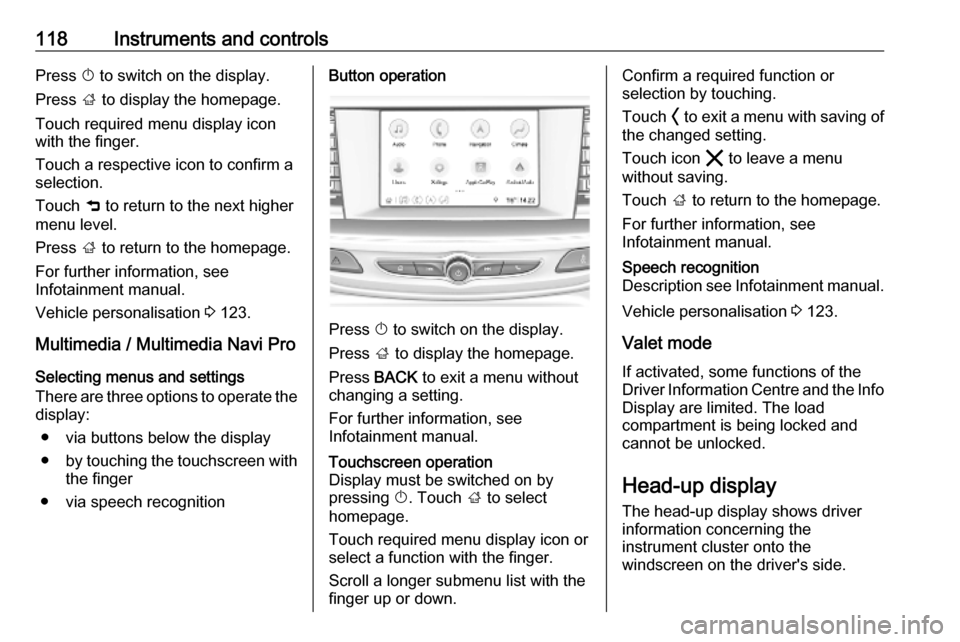
118Instruments and controlsPress X to switch on the display.
Press ; to display the homepage.
Touch required menu display icon
with the finger.
Touch a respective icon to confirm a
selection.
Touch 9 to return to the next higher
menu level.
Press ; to return to the homepage.
For further information, see
Infotainment manual.
Vehicle personalisation 3 123.
Multimedia / Multimedia Navi Pro Selecting menus and settings
There are three options to operate the
display:
● via buttons below the display
● by touching the touchscreen with
the finger
● via speech recognitionButton operation
Press X to switch on the display.
Press ; to display the homepage.
Press BACK to exit a menu without
changing a setting.
For further information, see
Infotainment manual.
Touchscreen operation
Display must be switched on by
pressing X. Touch ; to select
homepage.
Touch required menu display icon or select a function with the finger.
Scroll a longer submenu list with the
finger up or down.Confirm a required function or
selection by touching.
Touch O to exit a menu with saving of
the changed setting.
Touch icon & to leave a menu
without saving.
Touch ; to return to the homepage.
For further information, see
Infotainment manual.Speech recognition
Description see Infotainment manual.
Vehicle personalisation 3 123.
Valet mode
If activated, some functions of the
Driver Information Centre and the Info Display are limited. The load
compartment is being locked and cannot be unlocked.
Head-up display The head-up display shows driver
information concerning the
instrument cluster onto the
windscreen on the driver's side.
Page 121 of 315
Instruments and controls119The information appears as an image
projected from a lense in the
instrument panel onto the windscreen
directly ahead in driver's view. The
image appears focused out toward
the front of the vehicle.
Depending on the equipment head-
up display can indicate:
● general driving information
● alerts from driver assistance systems
● automatic transmission selector lever position
● gear shift indication
● audio / phone information
● turn-by-turn navigation information if equipped with
navigation Infotainment.
There are three controls above the
light switch to operate the head-up
display.
Switching on
Lift up button & briefly.
Display views
Different views are selectable in the
head-up display by pressing /
button. Each press will change the
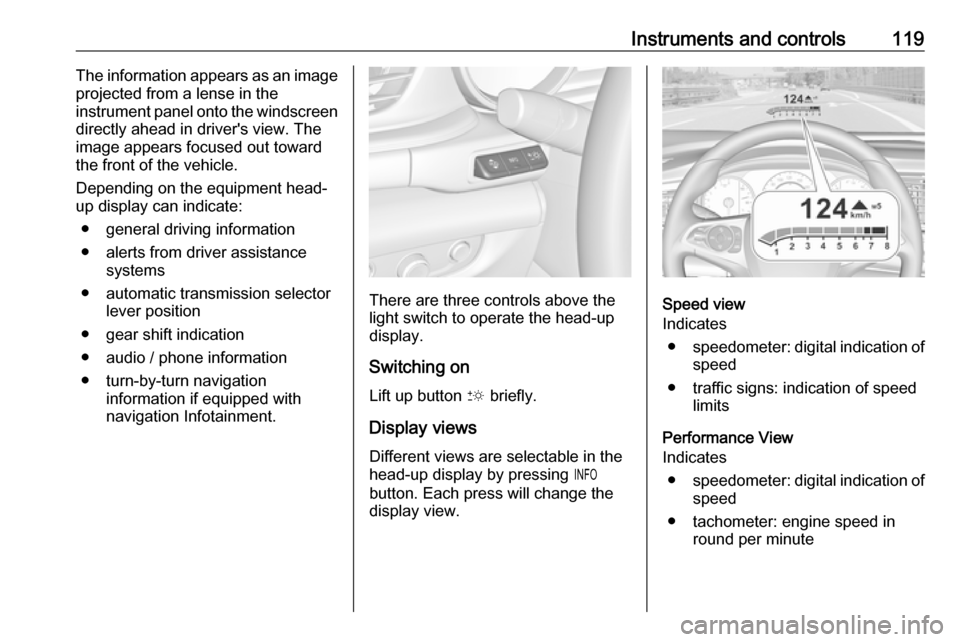
display view.Speed view
Indicates
● speedometer: digital indication of
speed
● traffic signs: indication of speed limits
Performance View
Indicates
● speedometer: digital indication of
speed
● tachometer: engine speed in round per minute
Page 122 of 315

120Instruments and controls● automatic transmission: selectorlever position
● manual / automatic transmission:
gear shift indication
Audio view
Indicates
● speedometer: digital indication of
speed
● actual audio playing information
Navigation view
Indicates
● speedometer: digital indication of
speed
● turn-by-turn navigation information
Active safety control indicators
On all views control indicators of
following Driver assistance systems
are indicated in the top line of the
display
● vehicle detected ahead A:
vehicle recognition
● lane keep assist a: status and
warning● adaptive cruise control Õ: set
speed and status
● pedestrian detected ahead 7:
pedestrian recognition
Pop-up alerts
The following list contains just an
extract of possible alerts. Some may
not be available for your particular
vehicle, others can appear depending on vehicle configuration.
Alerts pop-up on each page if
required
● pedestrian protection alert
● forward collision alert
● up-/downshift alert
● incoming call
Alerts with lower priority can be reset
by pressing G, high priority alerts
appear as long as danger continues.
System messages or vehicle
warnings may require immediately
action. Seek the assistance of a
workshop.Adjust position of head-up display
image
1. Adjust the driver's seat.
2. Start the engine.
3. Press down or lift up button . to
centre the image. It can only be
adjusted up and down, not side to
side.9 Warning
If the head-up display image is too
bright or too high in your field of
view, it may obstruct your view
when it is dark outside. Be sure to keep the head-up display imagedim and placed low in your field of
view.
Adjust brightness
The head-up display image will
automatically dim and brighten to compensate for outside lighting.
Brightness can also be adjusted
manually as needed:
Lift up & and hold to brighten the
display. Press down and hold to dim
the display.
Page 123 of 315

Instruments and controls121The image can temporarily light up
depending on angel and position of
sunlight.
Adjust rotation Select Options /% in the Driver
Information Center main menu.
Select submenu page
Head-Up Display . Press é on the
steering wheel to open adjustment dialogue. Press ä or å to turn
projection clockwise or counter-
clockwise. Press è to leave
adjustment dialogue.
Switching off Hold down & to turn the head-up
display off.
Language
Preferred language can be set in vehicle personalisation menu 3 123.
Units Units can be changed in the settings
menu of the Driver Information Centre
3 111.Care of head-up display
Clean the inside of the windscreen as
needed to remove any dirt or film that
could reduce the sharpness or clarity
of the head-up image.
Clean the head-up display lens in the instrument panel with a soft cloth
sprayed with glass cleaner. Wipe the
lens gently, then dry it.
System limitations Head-up display may not operate
properly when:
● The lens in the instrument panel is covered by objects or
windscreen and lens are not
clean.
● Display brightness is too dim or bright.
● Image is not adjusted to the proper height.
● The driver wears polarised sunglasses.
If the head-up image is not correct for other reasons, contact a workshop.
The windscreen is part of the head-up display system.Windscreen replacement 3 41.
Page 124 of 315
122Instruments and controlsVehicle messagesMessages are indicated in the Driver
Information Centre, in some cases
together with a warning chime.
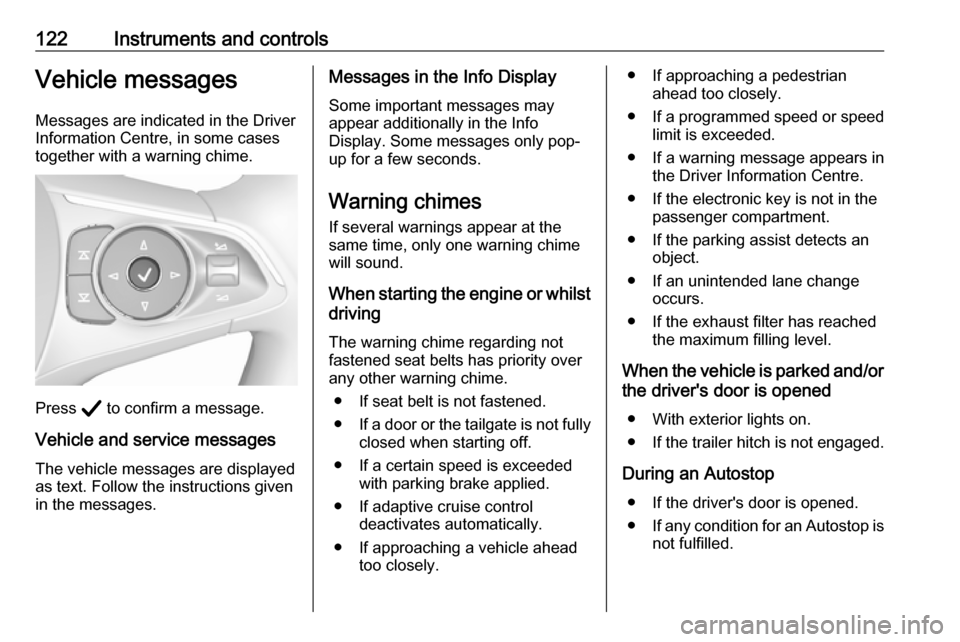
Press Å to confirm a message.
Vehicle and service messages The vehicle messages are displayed
as text. Follow the instructions given
in the messages.
Messages in the Info Display
Some important messages may
appear additionally in the Info
Display. Some messages only pop-
up for a few seconds.
Warning chimes If several warnings appear at the
same time, only one warning chime will sound.
When starting the engine or whilst driving
The warning chime regarding not
fastened seat belts has priority over
any other warning chime.
● If seat belt is not fastened.
● If a door or the tailgate is not fully
closed when starting off.
● If a certain speed is exceeded with parking brake applied.
● If adaptive cruise control deactivates automatically.
● If approaching a vehicle ahead too closely.● If approaching a pedestrianahead too closely.
● If a programmed speed or speed
limit is exceeded.
● If a warning message appears in the Driver Information Centre.
● If the electronic key is not in the passenger compartment.
● If the parking assist detects an object.
● If an unintended lane change occurs.
● If the exhaust filter has reached the maximum filling level.
When the vehicle is parked and/or the driver's door is opened
● With exterior lights on.
● If the trailer hitch is not engaged.
During an Autostop ● If the driver's door is opened.
● If any condition for an Autostop is
not fulfilled.
Page 125 of 315
Instruments and controls123Vehicle personalisation
The vehicle's behaviour can be
personalised by changing the settings in the Info Display.
Some of the personal settings for
different drivers can be memorised
individually for each vehicle key.
Memorised settings 3 26.
Depending on vehicle equipment and
country-specific regulations some of
the functions described below may
not be available.
Some functions are only displayed or
active when the engine is running.
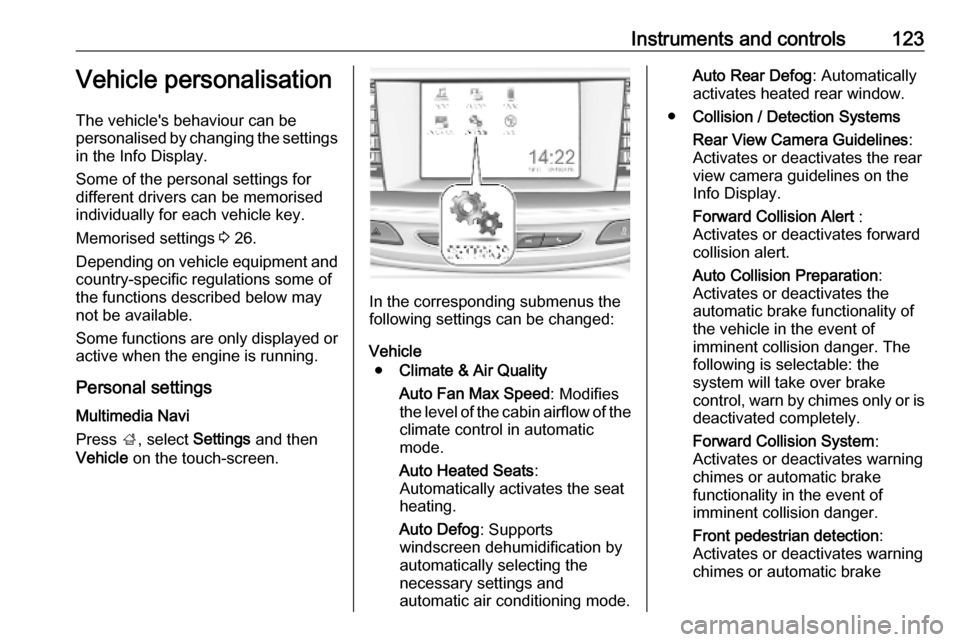
Personal settings Multimedia Navi
Press ;, select Settings and then
Vehicle on the touch-screen.
In the corresponding submenus the
following settings can be changed:
Vehicle ● Climate & Air Quality
Auto Fan Max Speed : Modifies
the level of the cabin airflow of the climate control in automatic
mode.
Auto Heated Seats :
Automatically activates the seat
heating.
Auto Defog : Supports
windscreen dehumidification by
automatically selecting the
necessary settings and
automatic air conditioning mode.
Auto Rear Defog : Automatically
activates heated rear window.
● Collision / Detection Systems
Rear View Camera Guidelines :
Activates or deactivates the rear
view camera guidelines on the
Info Display.
Forward Collision Alert :
Activates or deactivates forward collision alert.
Auto Collision Preparation :
Activates or deactivates the
automatic brake functionality of
the vehicle in the event of
imminent collision danger. The
following is selectable: the
system will take over brake
control, warn by chimes only or is
deactivated completely.
Forward Collision System :
Activates or deactivates warning
chimes or automatic brake
functionality in the event of
imminent collision danger.
Front pedestrian detection :
Activates or deactivates warning
chimes or automatic brake
Page 127 of 315
Instruments and controls125Remote Door Unlock: Changes
the configuration to unlock only
the driver's door or the whole
vehicle whilst unlocking.
Relock Remotely Unlocked
Doors : Activates or deactivates
the automatic relock function
after unlocking without opening
the vehicle.
Remote Window Operation :
Activates or deactivates the
operation of power windows with electronic key.
Passive Door Unlock : Changes
the configuration to unlock only
the driver's door or the whole
vehicle whilst unlocking.
Passive Door Lock : Activates or
deactivates the passive locking
function. This feature locks the
vehicle automatically after
several seconds if all doors have been closed and an electronic
key has been removed from the
vehicle.
Remote Left in Vehicle Alert :
Activates or deactivates the
warning chime when theelectronic key remains in the
vehicle.
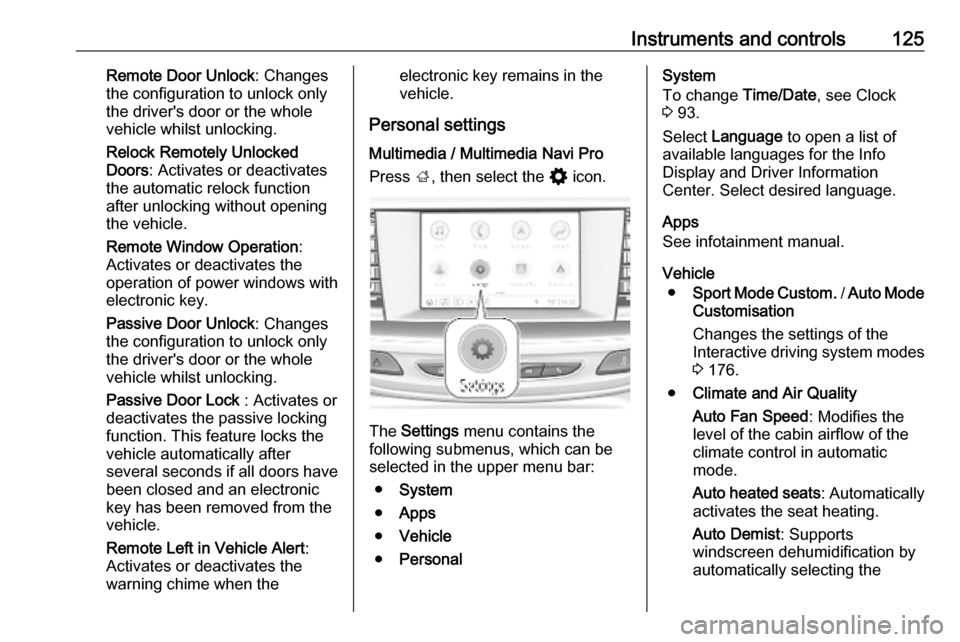
Personal settings Multimedia / Multimedia Navi Pro
Press ;, then select the % icon.
The Settings menu contains the
following submenus, which can be selected in the upper menu bar:
● System
● Apps
● Vehicle
● Personal
System
To change Time/Date, see Clock
3 93.
Select Language to open a list of
available languages for the Info
Display and Driver Information
Center. Select desired language.
Apps
See infotainment manual.
Vehicle ● Sport Mode Custom. / Auto Mode
Customisation
Changes the settings of the
Interactive driving system modes 3 176.
● Climate and Air Quality
Auto Fan Speed : Modifies the
level of the cabin airflow of the
climate control in automatic
mode.
Auto heated seats : Automatically
activates the seat heating.
Auto Demist : Supports
windscreen dehumidification by
automatically selecting the
Page 134 of 315
132LightingHeadlight flash
To activate the headlight flash, pull
lever.
Pulling lever deactivates high beam.
LED headlights 3 133.
Headlight range adjustment Manual headlight range
adjustment
Headlight range can be adjusted
manually if vehicle is equipped with
halogen headlights. LED headlights
are adjusted automatically.
Dynamic automatic headlight
levelling 3 133.
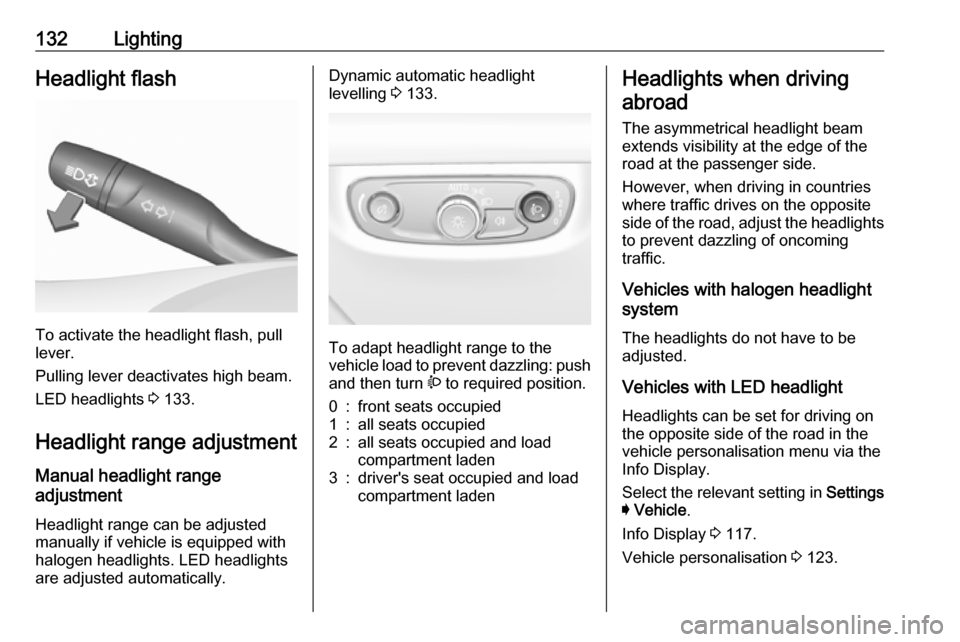
To adapt headlight range to the
vehicle load to prevent dazzling: push
and then turn ? to required position.
0:front seats occupied1:all seats occupied2:all seats occupied and load
compartment laden3:driver's seat occupied and load
compartment ladenHeadlights when driving
abroad
The asymmetrical headlight beam
extends visibility at the edge of the
road at the passenger side.
However, when driving in countries
where traffic drives on the opposite
side of the road, adjust the headlights to prevent dazzling of oncoming
traffic.
Vehicles with halogen headlight
system
The headlights do not have to be
adjusted.
Vehicles with LED headlightHeadlights can be set for driving on
the opposite side of the road in the
vehicle personalisation menu via the
Info Display.
Select the relevant setting in Settings
I Vehicle .
Info Display 3 117.
Vehicle personalisation 3 123.