Peugeot 208 2015 Owner's Manual - RHD (UK, Australia)
Manufacturer: PEUGEOT, Model Year: 2015, Model line: 208, Model: Peugeot 208 2015Pages: 341, PDF Size: 38.75 MB
Page 161 of 341
159
208_en_Chap06_Feux-Signalisations_ed01-2015
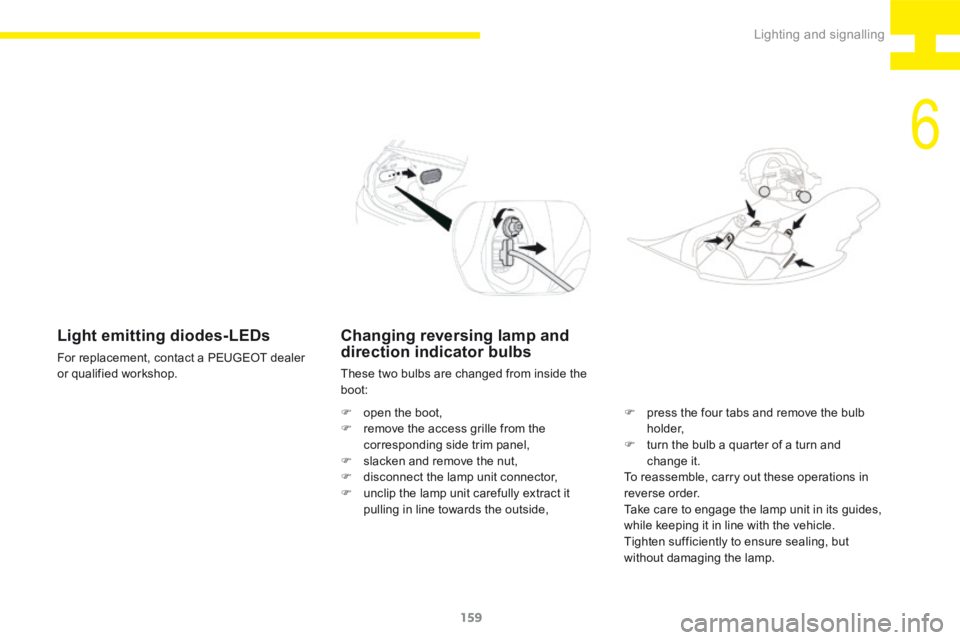
Changing reversing lamp and
direction indicator bulbs
These two bulbs are changed from inside the
boot:
F open the boot,
F remove the access grille from the
corresponding side trim panel,
F slacken and remove the nut,
F disconnect the lamp unit connector,
F unclip the lamp unit carefully extract it
pulling in line towards the outside, F
press the four tabs and remove the bulb
h o l d e r,
F turn the bulb a quarter of a turn and
change it.
To reassemble, carry out these operations in
reverse order.
Take care to engage the lamp unit in its guides,
while keeping it in line with the vehicle.
Tighten sufficiently to ensure sealing, but
without damaging the lamp.
Light emitting diodes-LEDs
For replacement, contact a PEUGEOT dealer
or qualified workshop.
6
Lighting and signalling
Page 162 of 341
160
208_en_Chap06_Feux-Signalisations_ed01-2015
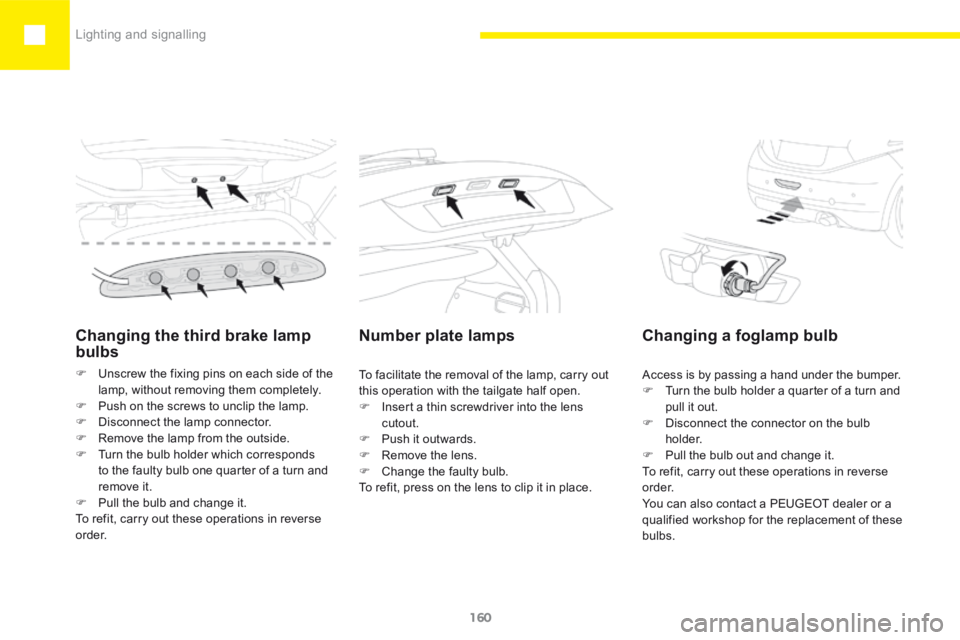
Changing the third brake lamp
bulbs
F Unscrew the fixing pins on each side of the
lamp, without removing them completely.
F Push on the screws to unclip the lamp.
F Disconnect the lamp connector.
F Remove the lamp from the outside.
F Turn the bulb holder which corresponds
to the faulty bulb one quarter of a turn and
remove it.
F Pull the bulb and change it.
To refit, carry out these operations in reverse
o r d e r.
Number plate lamps
To facilitate the removal of the lamp, carry out
this operation with the tailgate half open.
F Insert a thin screwdriver into the lens
cutout.
F Push it outwards.
F Remove the lens.
F Change the faulty bulb.
To refit, press on the lens to clip it in place. Access is by passing a hand under the bumper.
F
Turn the bulb holder a quarter of a turn and
pull it out.
F Disconnect the connector on the bulb
h o l d e r.
F Pull the bulb out and change it.
To refit, carry out these operations in reverse
o r d e r.
You can also contact a PEUGEOT dealer or a
qualified workshop for the replacement of these
bulbs.
Changing a foglamp bulb
Lighting and signalling
Page 163 of 341
161
208_en_Chap07_ Amenagements_ed01-2015
Fittings
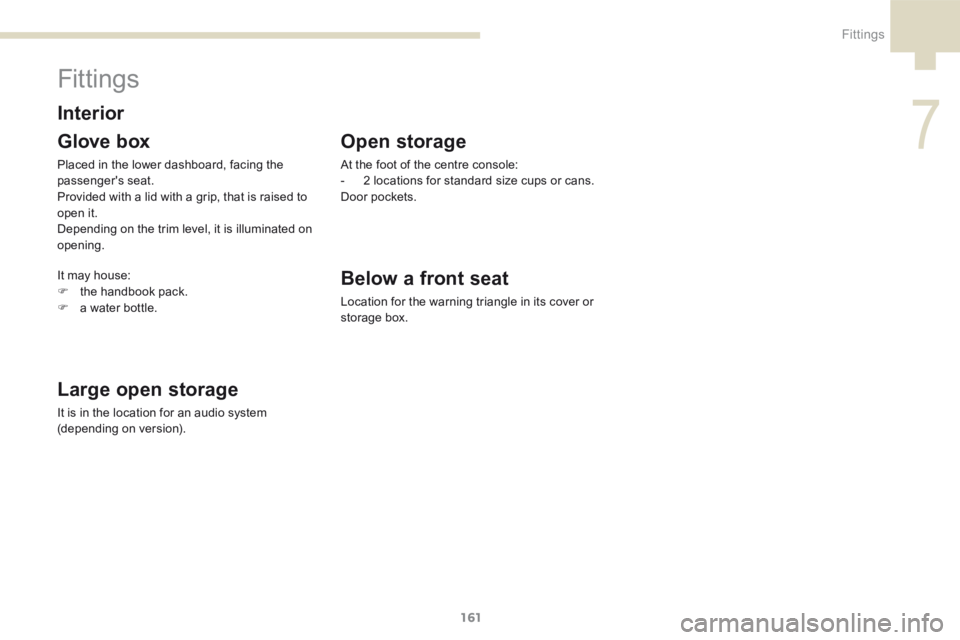
Glove box
Placed in the lower dashboard, facing the
passenger's seat.
Provided with a lid with a grip, that is raised to
open it.
Depending on the trim level, it is illuminated on
opening.
Large open storage
It is in the location for an audio system
(depending on version).
InteriorBelow a front seat
Location for the warning triangle in its cover or
storage box.
Open storage
At the foot of the centre console:
- 2 locations for standard size cups or cans.
Door pockets.
It may house:
F the handbook pack.
F a water bottle.
7
Fittings
Page 164 of 341
162
208_en_Chap07_ Amenagements_ed01-2015
Mats
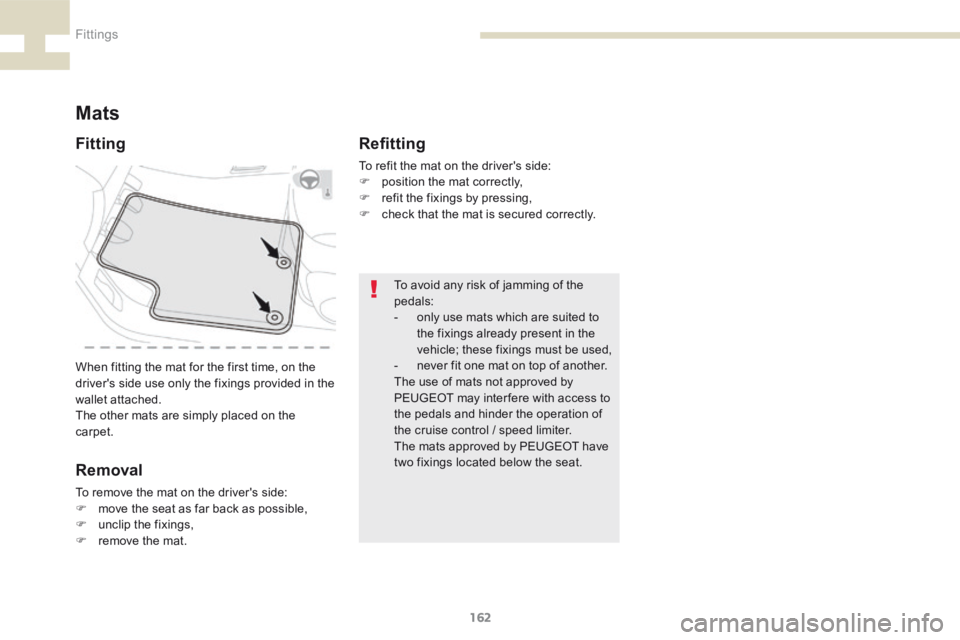
When fitting the mat for the first time, on the
driver's side use only the fixings provided in the
wallet attached.
The other mats are simply placed on the
carpet.
Fitting
Removal
To remove the mat on the driver's side:
F move the seat as far back as possible,
F unclip the fixings,
F remove the mat.
Refitting
To refit the mat on the driver's side:
F position the mat correctly,
F refit the fixings by pressing,
F check that the mat is secured correctly.
To avoid any risk of jamming of the
pedals:
- only use mats which are suited to
the fixings already present in the
vehicle; these fixings must be used,
- never fit one mat on top of another.
The use of mats not approved by
PEUGEOT may inter fere with access to
the pedals and hinder the operation of
the cruise control / speed limiter.
The mats approved by PEUGEOT have
two fixings located below the seat.
Fittings
Page 165 of 341
163
208_en_Chap07_ Amenagements_ed01-2015
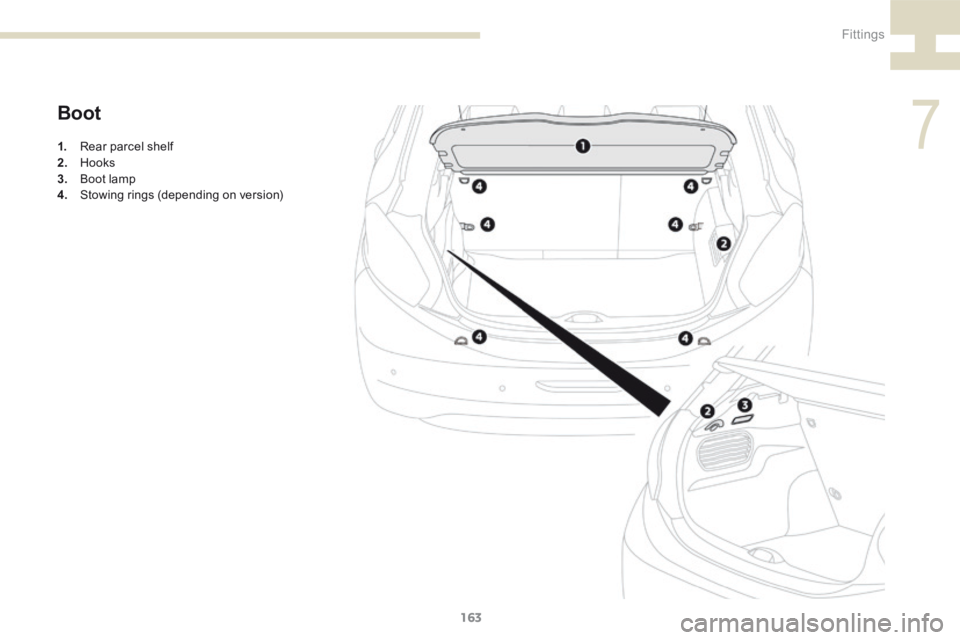
Boot
1. Rear parcel shelf
2. Hooks
3. Boot lamp
4. Stowing rings (depending on version)
7
Fittings
Page 166 of 341
164
208_en_Chap07_ Amenagements_ed01-2015
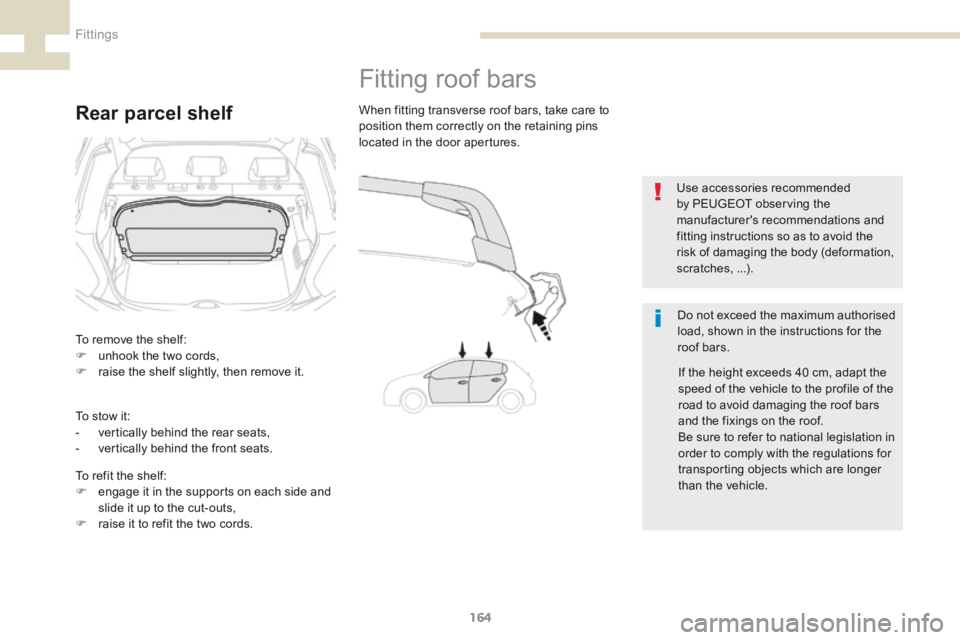
Rear parcel shelf
Fitting roof bars
Do not exceed the maximum authorised
load, shown in the instructions for the
roof bars.
When fitting transverse roof bars, take care to
position them correctly on the retaining pins
located in the door apertures.
Use accessories recommended
by PEUGEOT observing the
manufacturer's recommendations and
fitting instructions so as to avoid the
risk of damaging the body (deformation,
scratches, ...).
If the height exceeds 40 cm, adapt the
speed of the vehicle to the profile of the
road to avoid damaging the roof bars
and the fixings on the roof.
Be sure to refer to national legislation in
order to comply with the regulations for
transporting objects which are longer
than the vehicle.
To remove the shelf:
F
unhook the two cords,
F raise the shelf slightly, then remove it.
To refit the shelf:
F engage it in the supports on each side and
slide it up to the cut-outs,
F raise it to refit the two cords.
To stow it:
-
vertically behind the rear seats,
- vertically behind the front seats.
Fittings
Page 167 of 341
165
208_en_Chap07_ Amenagements_ed01-2015
Towing a trailer
We recommend the use of genuine
PEUGEOT towbars and their harnesses
that have been tested and approved
from the design stage of your vehicle,
and that the fitting of the towbar is
entrusted to a PEUGEOT dealer or a
qualified workshop.
If the towbar is not fitted by a
PEUGEOT dealer, it must still be
fitted in accordance with the vehicle
manufacturer's instructions.
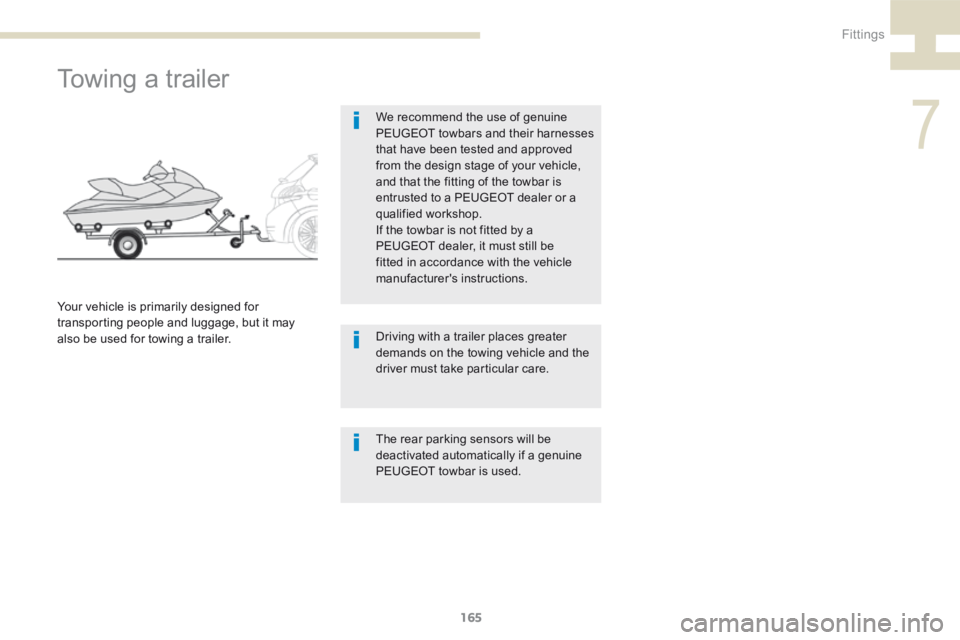
Your vehicle is primarily designed for
transporting people and luggage, but it may
also be used for towing a trailer. Driving with a trailer places greater
demands on the towing vehicle and the
driver must take particular care.
The rear parking sensors will be
deactivated automatically if a genuine
PEUGEOT towbar is used.
7
Fittings
Page 168 of 341
166
208_en_Chap07_ Amenagements_ed01-2015
Driving advice
Distribution of loads
F Distribute the load in the trailer so that the
heaviest items are as close as possible to
the axle and the nose weight approaches
the maximum permitted without
exceeding it.
Air density decreases with altitude, thus
reducing engine performance. Above
1 000 metres, the maximum towed load must
be reduced by 10 % for every 1 000 metres of
altitude.
Side wind
F Take into account the increased sensitivity
to side wind.
Cooling
Towing a trailer on a slope increases the
temperature of the coolant.
As the fan is electrically controlled, its cooling
capacity is not dependent on the engine speed.
F To lower the engine speed, reduce your
speed.
The maximum towed load on a long incline
depends on the gradient and the ambient
temperature.
In all cases, keep a check on the coolant
temperature.
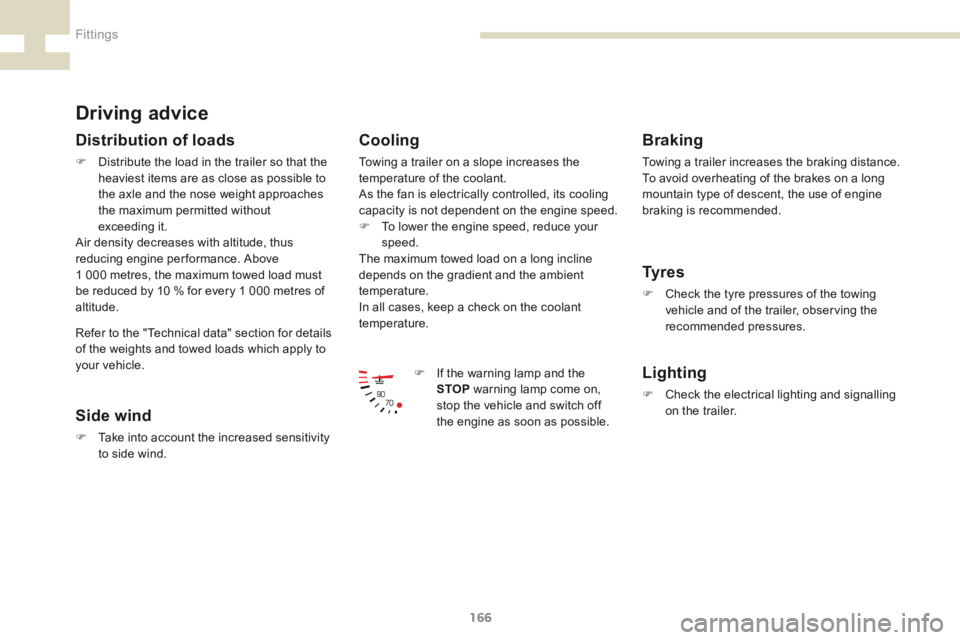
F If the warning lamp and the
STOP warning lamp come on,
stop the vehicle and switch off
the engine as soon as possible.
Braking
Towing a trailer increases the braking distance.
To avoid overheating of the brakes on a long
mountain type of descent, the use of engine
braking is recommended.
Ty r e s
F Check the tyre pressures of the towing
vehicle and of the trailer, observing the
recommended pressures.
Lighting
F Check the electrical lighting and signalling
on the trailer.
Refer to the "Technical data" section for details
of the weights and towed loads which apply to
your vehicle.
Fittings
Page 169 of 341
167
208_en_Chap07_ Amenagements_ed01-2015
To w i n g
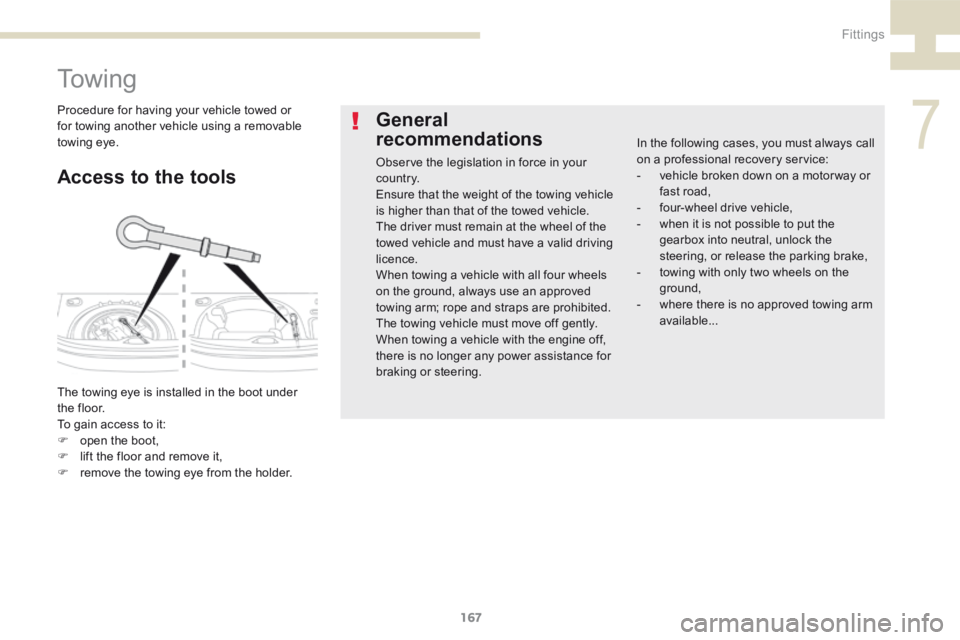
Access to the tools
The towing eye is installed in the boot under
t h e f l o o r.
To gain access to it:
F open the boot,
F lift the floor and remove it,
F remove the towing eye from the holder.
General
recommendations
Observe the legislation in force in your
c o unt r y.
Ensure that the weight of the towing vehicle
is higher than that of the towed vehicle.
The driver must remain at the wheel of the
towed vehicle and must have a valid driving
licence.
When towing a vehicle with all four wheels
on the ground, always use an approved
towing arm; rope and straps are prohibited.
The towing vehicle must move off gently.
When towing a vehicle with the engine off,
there is no longer any power assistance for
braking or steering. In the following cases, you must always call
on a professional recovery service:
-
vehicle broken down on a motor way or
fast road,
- four-wheel drive vehicle,
- when it is not possible to put the
gearbox into neutral, unlock the
steering, or release the parking brake,
- towing with only two wheels on the
ground,
- where there is no approved towing arm
available...
Procedure for having your vehicle towed or
for towing another vehicle using a removable
towing eye.
7
Fittings
Page 170 of 341
168
208_en_Chap07_ Amenagements_ed01-2015
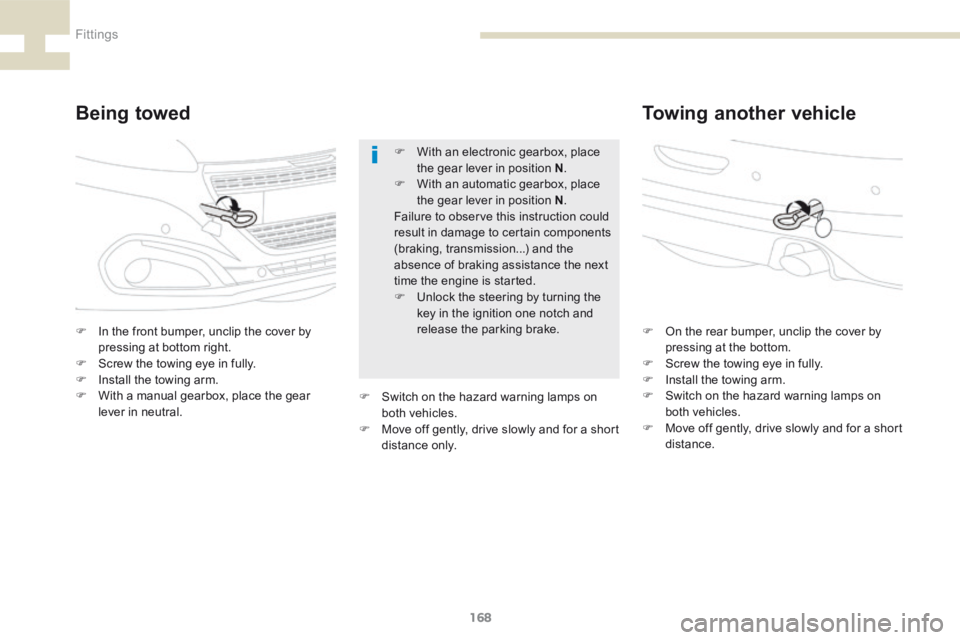
Being towedTowing another vehicle
F In the front bumper, unclip the cover by
pressing at bottom right.
F Screw the towing eye in fully.
F Install the towing arm.
F With a manual gearbox, place the gear
lever in neutral. F
On the rear bumper, unclip the cover by
pressing at the bottom.
F Screw the towing eye in fully.
F Install the towing arm.
F Switch on the hazard warning lamps on
both vehicles.
F Move off gently, drive slowly and for a short
distance.
F
With an electronic gearbox, place
the gear lever in position N .
F With an automatic gearbox, place
the gear lever in position N .
Failure to observe this instruction could
result in damage to certain components
(braking, transmission...) and the
absence of braking assistance the next
time the engine is started.
F Unlock the steering by turning the
key in the ignition one notch and
release the parking brake.
F Switch on the hazard warning lamps on
both vehicles.
F Move off gently, drive slowly and for a short
distance only.
Fittings