keyless Peugeot 308 2014 User Guide
[x] Cancel search | Manufacturer: PEUGEOT, Model Year: 2014, Model line: 308, Model: Peugeot 308 2014Pages: 400, PDF Size: 10.05 MB
Page 65 of 400
63
2
Access
308_EN_CHAP02_OUVERTURES_ED02-2013
Lost keys, remote control, electronic key
Visit a PEUGEOT dealer with the vehicle's V5 registration document and your personal identification documents. The PEUGEOT dealer will be able to retrieve the key code and the transponder code required to order a replacement.
Remote control
The high frequency remote control is a sensitive system; do not operate it while it is in your pocket as there is a possibility that it may unlock the vehicle, without you being aware of it. Do not repeatedly press the buttons of your remote control out of range and out of sight of your vehicle. You run the risk of stopping it from
working and the remote control would have to be reinitialised. The remote control does not operate when the key is in the ignition, even when the ignition is switched off.
Locking the vehicle
Driving with the doors locked may make access to the passenger compartment by the emergency services more difficult in an emergency. As a safety precaution (with children on board), remove the key from the ignition or take the electronic key when you leave the vehicle, even for a short time.
Electrical interference
The Keyless Entry and Starting electronic key may not operate if close to certain electronic devices: telephone, laptop computer, strong magnetic fields, ...
Anti-theft protection
Do not make any modifications to the electronic engine immobiliser system; this could cause malfunctions. Don't forget to turn the steering to engage the steering lock.
When purchasing a second-hand vehicle
Have the key codes memorised by a PEUGEOT dealer, to ensure that the keys in your possession are the only ones which can start the vehicle.
Page 68 of 400
66
Access
308_EN_CHAP02_OUVERTURES_ED02-2013
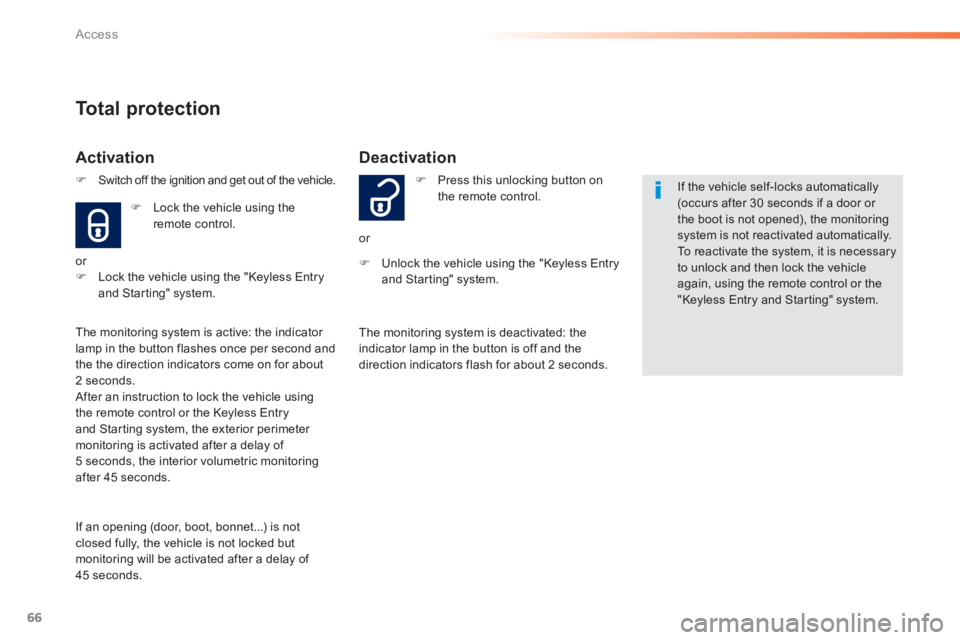
Deactivation
Press this unlocking button on the remote control.
or
Unlock the vehicle using the "Keyless Entry and Starting" system.
If the vehicle self-locks automatically (occurs after 30 seconds if a door or the boot is not opened), the monitoring system is not reactivated automatically. To reactivate the system, it is necessary to unlock and then lock the vehicle again, using the remote control or the "Keyless Entry and Starting" system.
The monitoring system is deactivated: the indicator lamp in the button is off and the direction indicators flash for about 2 seconds.
Total protection
Activation
Lock the vehicle using the
remote control.
or Lock the vehicle using the "Keyless Entry and Starting" system.
The monitoring system is active: the indicator lamp in the button flashes once per second and the the direction indicators come on for about 2 seconds. After an instruction to lock the vehicle using the remote control or the Keyless Entry and Starting system, the exterior perimeter monitoring is activated after a delay of 5 seconds, the interior volumetric monitoring after 45 seconds.
If an opening (door, boot, bonnet...) is not closed fully, the vehicle is not locked but monitoring will be activated after a delay of 45 seconds.
Switch off the ignition and get out of the vehicle.
Page 69 of 400
67
2
Access
308_EN_CHAP02_OUVERTURES_ED02-2013
Protection - exterior
perimeter monitoring only
Volumetric monitoring
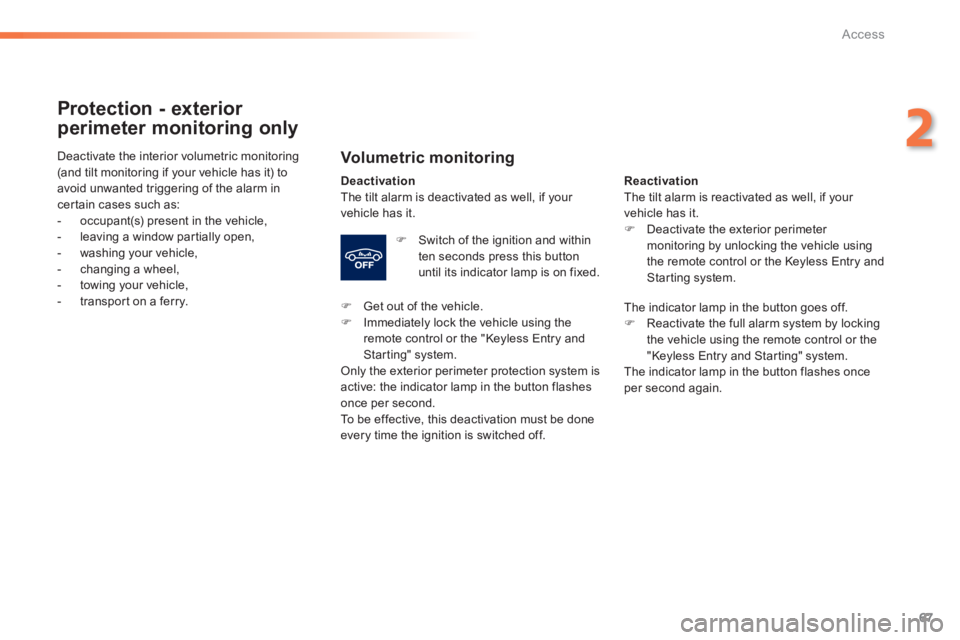
Deactivation The tilt alarm is deactivated as well, if your vehicle has it.
Switch of the ignition and within ten seconds press this button until its indicator lamp is on fixed.
Get out of the vehicle. Immediately lock the vehicle using the remote control or the "Keyless Entry and Starting" system. Only the exterior perimeter protection system is active: the indicator lamp in the button flashes once per second. To be effective, this deactivation must be done every time the ignition is switched off.
Deactivate the interior volumetric monitoring (and tilt monitoring if your vehicle has it) to avoid unwanted triggering of the alarm in certain cases such as: - occupant(s) present in the vehicle,
- leaving a window partially open, - washing your vehicle, - changing a wheel, - towing your vehicle, - transport on a ferry.
Reactivation The tilt alarm is reactivated as well, if your vehicle has it. Deactivate the exterior perimeter monitoring by unlocking the vehicle using the remote control or the Keyless Entry and Starting system.
The indicator lamp in the button goes off. Reactivate the full alarm system by locking the vehicle using the remote control or the "Keyless Entry and Starting" system. The indicator lamp in the button flashes once per second again.
Page 70 of 400
68
Access
308_EN_CHAP02_OUVERTURES_ED02-2013
Triggering of the alarm
This is indicated by sounding of the siren and flashing of the direction indicators for thirty seconds. The monitoring functions remain active until the alarm has been triggered eleven times in succession.
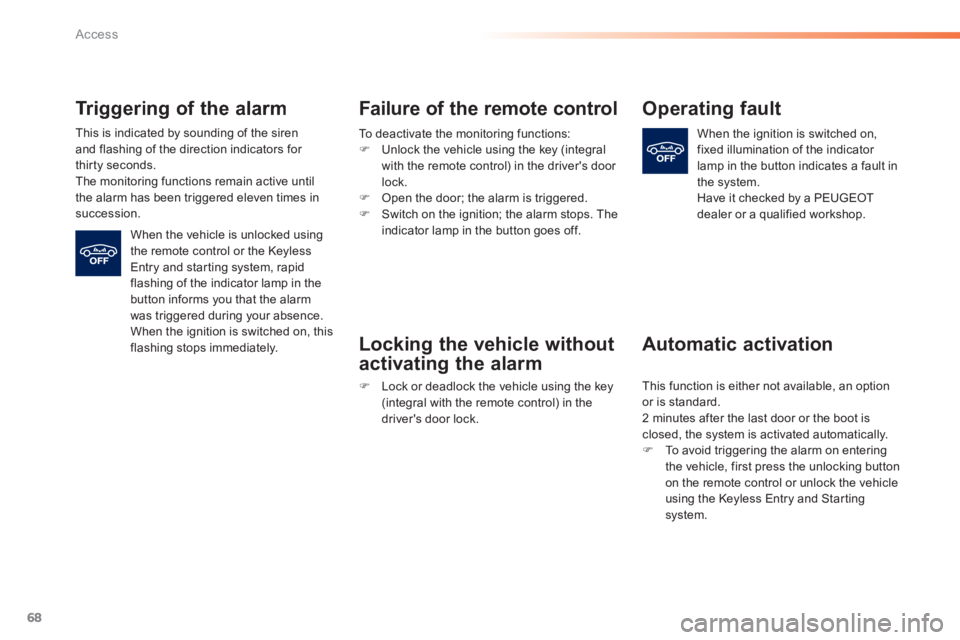
When the vehicle is unlocked using the remote control or the Keyless Entry and starting system, rapid flashing of the indicator lamp in the button informs you that the alarm was triggered during your absence. When the ignition is switched on, this flashing stops immediately.
Failure of the remote control
To deactivate the monitoring functions: Unlock the vehicle using the key (integral with the remote control) in the driver's door lock. Open the door; the alarm is triggered. Switch on the ignition; the alarm stops. The
indicator lamp in the button goes off.
Locking the vehicle without
activating the alarm
Lock or deadlock the vehicle using the key (integral with the remote control) in the driver's door lock.
Operating fault
When the ignition is switched on, fixed illumination of the indicator lamp in the button indicates a fault in the system. Have it checked by a PEUGEOT dealer or a qualified workshop.
Automatic activation
This function is either not available, an option or is standard. 2 minutes after the last door or the boot is closed, the system is activated automatically. To avoid triggering the alarm on entering the vehicle, first press the unlocking button on the remote control or unlock the vehicle using the Keyless Entry and Starting system.
Page 74 of 400
72
Access
308_EN_CHAP02_OUVERTURES_ED02-2013
Fuel tank
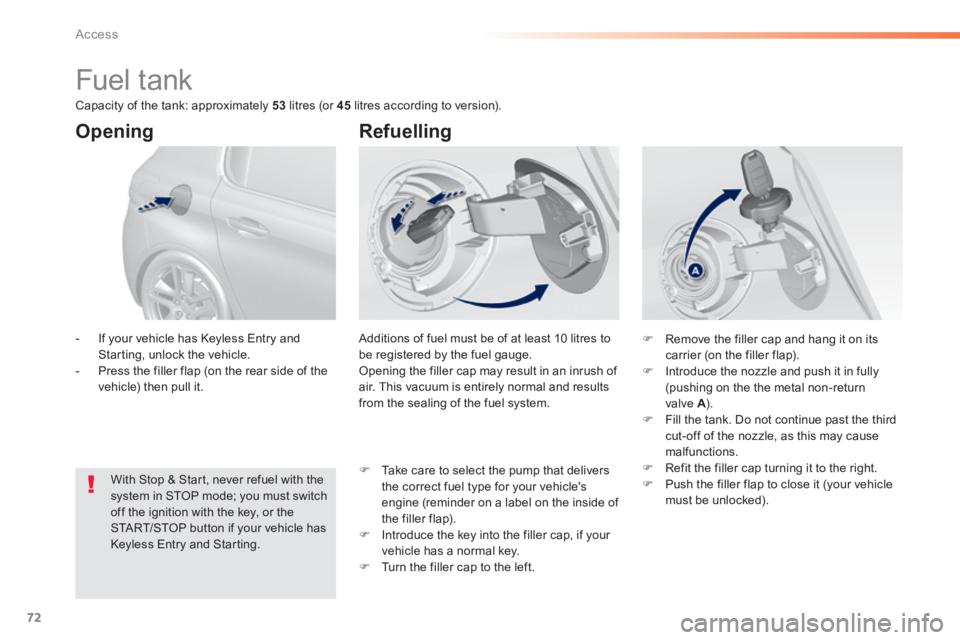
Additions of fuel must be of at least 10 litres to be registered by the fuel gauge. Opening the filler cap may result in an inrush of air. This vacuum is entirely normal and results from the sealing of the fuel system.
Opening
With Stop & Start, never refuel with the system in STOP mode; you must switch off the ignition with the key, or the START/STOP button if your vehicle has
Keyless Entry and Starting.
- If your vehicle has Keyless Entry and Starting, unlock the vehicle. - Press the filler flap (on the rear side of the vehicle) then pull it.
Refuelling
Remove the filler cap and hang it on its carrier (on the filler flap). Introduce the nozzle and push it in fully (pushing on the the metal non-return valve A ). A ). A Fill the tank. Do not continue past the third cut-off of the nozzle, as this may cause malfunctions. Refit the filler cap turning it to the right. Push the filler flap to close it (your vehicle must be unlocked).
Take care to select the pump that delivers the correct fuel type for your vehicle's engine (reminder on a label on the inside of the filler flap). Introduce the key into the filler cap, if your vehicle has a normal key. Turn the filler cap to the left.
Capacity of the tank: approximately 53 litres (or 45 litres according to version).
Page 111 of 400
109
4
Driving
308_EN_CHAP04_CONDUITE_ED02-2013
For Diesel vehicles , in sub-zero temperatures the engine will not start until the pre-heater warning lamp has gone off.
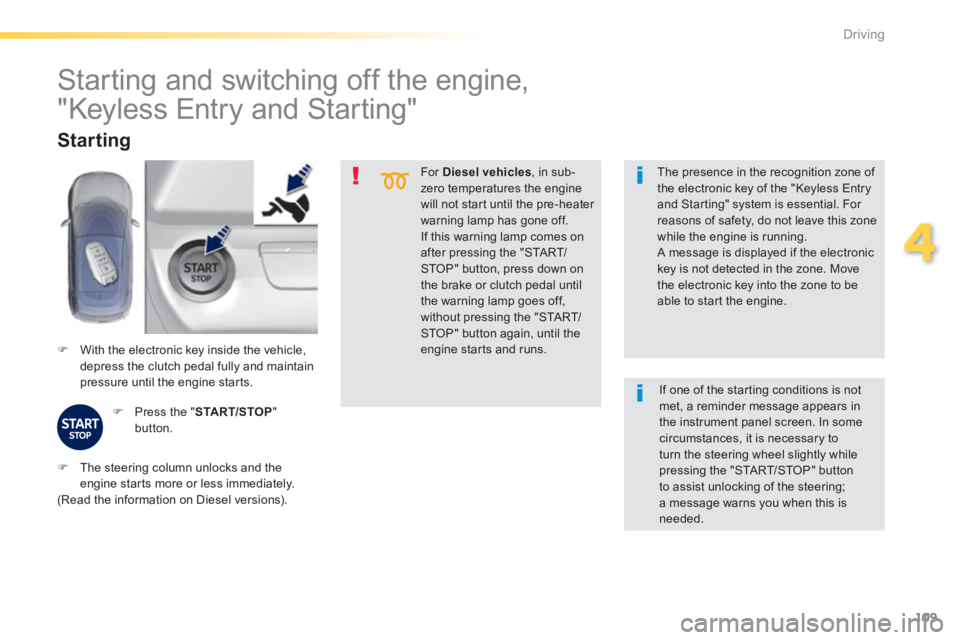
If this warning lamp comes on after pressing the "START/STOP" button, press down on the brake or clutch pedal until the warning lamp goes off, without pressing the "START/STOP" button again, until the engine starts and runs. With the electronic key inside the vehicle, depress the clutch pedal fully and maintain pressure until the engine starts.
Starting
Press the " START/STOP " button.
The presence in the recognition zone of the electronic key of the "Keyless Entry and Starting" system is essential. For reasons of safety, do not leave this zone
while the engine is running. A message is displayed if the electronic key is not detected in the zone. Move the electronic key into the zone to be able to start the engine.
Starting and switching off the engine,
"Keyless Entry and Starting"
The steering column unlocks and the engine starts more or less immediately. (Read the information on Diesel versions).
If one of the starting conditions is not met, a reminder message appears in the instrument panel screen. In some circumstances, it is necessary to turn the steering wheel slightly while pressing the "START/STOP" button to assist unlocking of the steering; a message warns you when this is needed.
Page 173 of 400
171
5
Visibility
308_EN_CHAP05_VISIBILITE_ED02-2013
The folding and unfolding of the door mirrors using the remote control can be deactivated by a PEUGEOT dealer or a qualified workshop.
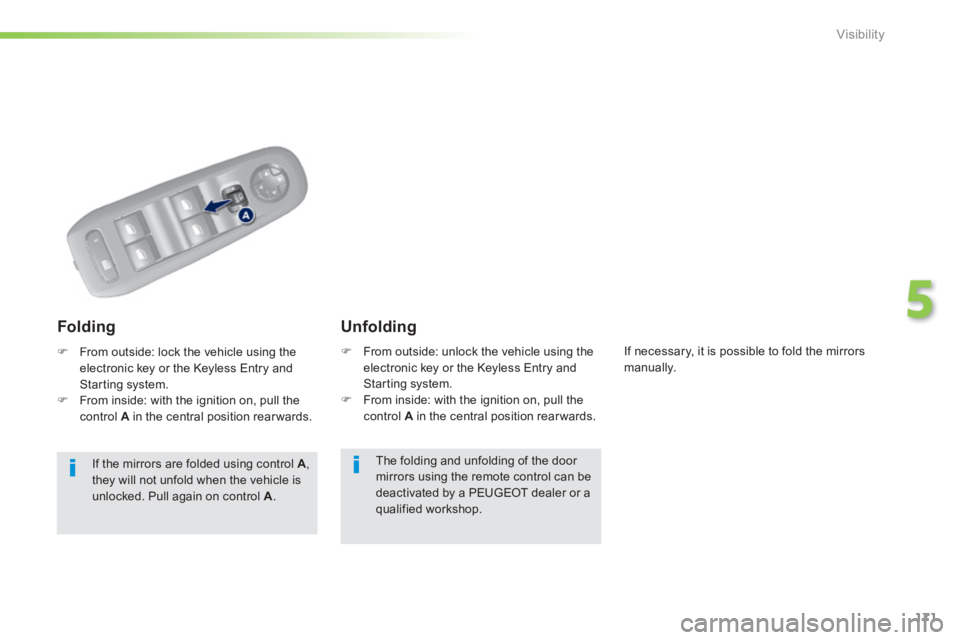
From outside: unlock the vehicle using the electronic key or the Keyless Entry and Starting system. From inside: with the ignition on, pull the control A in the central position rear wards.
Unfolding Folding
From outside: lock the vehicle using the electronic key or the Keyless Entry and Starting system. From inside: with the ignition on, pull the control A in the central position rear wards.
If the mirrors are folded using control A , they will not unfold when the vehicle is unlocked. Pull again on control A .
If necessary, it is possible to fold the mirrors manually.
Page 181 of 400
179
5
Visibility
308_EN_CHAP05_VISIBILITE_ED02-2013
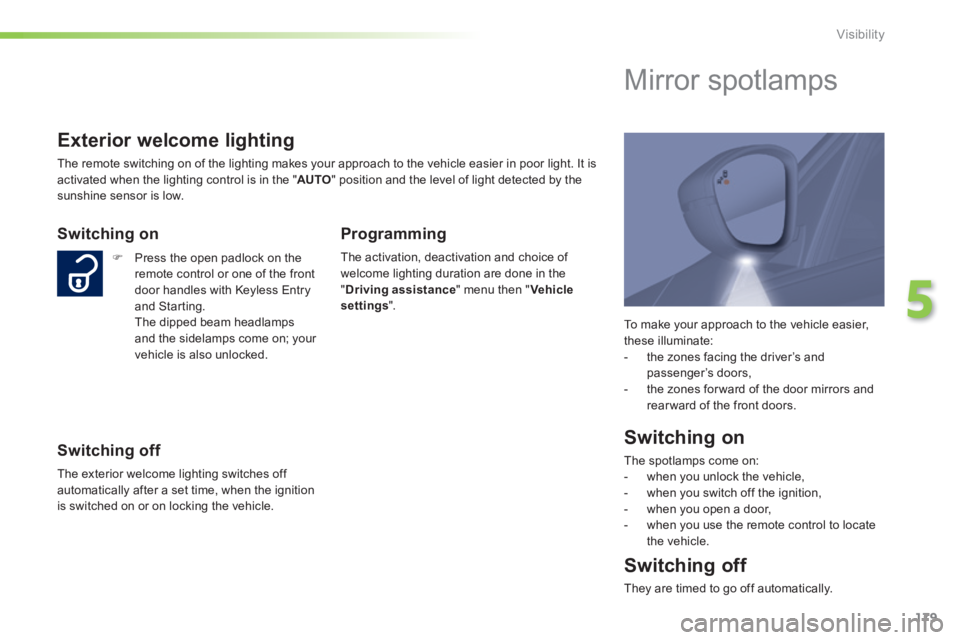
To make your approach to the vehicle easier, these illuminate: - the zones facing the driver’s and passenger’s doors, - the zones for ward of the door mirrors and rear ward of the front doors.
Mirror spotlamps
Switching on
The spotlamps come on: - when you unlock the vehicle, - when you switch off the ignition, - when you open a door, - when you use the remote control to locate the vehicle.
Switching off
They are timed to go off automatically.
Exterior welcome lighting
The remote switching on of the lighting makes your approach to the vehicle easier in poor light. It is activated when the lighting control is in the " AUTO " position and the level of light detected by the sunshine sensor is low.
Switching on
Press the open padlock on the remote control or one of the front door handles with Keyless Entry and Starting. The dipped beam headlamps and the sidelamps come on; your vehicle is also unlocked.
Switching off
The exterior welcome lighting switches off automatically after a set time, when the ignition is switched on or on locking the vehicle.
Programming
The activation, deactivation and choice of welcome lighting duration are done in the " Driving assistance " menu then " Vehicle settings ".
Page 280 of 400
278
Checks
308_EN_CHAP08_VERIFICATIONS_ED02-2013
Never dispose of AdBlue ® additive ® additive ®
bottles in the household waste. Place them in a special container provided this purpose or take them to your dealer.
Important: if your vehicle's AdBlue ®
tank is completely empty - which is
confirmed by the alert messages and the impossibility of starting the engine - you must add at least 3.8 litres, so two 1.89 litre bottles.
After emptying the bottle, wipe away any spillage around the tank filler using a damp cloth.
If any additive is split or splashed, wash immediately with cold water or wipe with a damp cloth. If the additive has crystallised, clean it off using a sponge and hot water.
Refit the blue cap to the tank and turn it a 6 th of a turn clockwise, to its stop. Refit the black cap and turn it a quarter of a turn clockwise without pressing. Ensure that the indicator on the cap lines up with
the indicator on the support. Lower the boot floor and close the tailgate.
Important: when topping-up after running out of additive , signalled by the message "Top up emissions additive: Starting prevented", you must wait for about 5 minutes before switching on the ignition, without opening the driver's door, unlocking the vehicle, introducing the key into the ignition switch, or placing the key of the "Keyless Entr y and Star ting" system inside the vehicle. Switch on the ignition, then wait for 10 seconds before starting the engine.
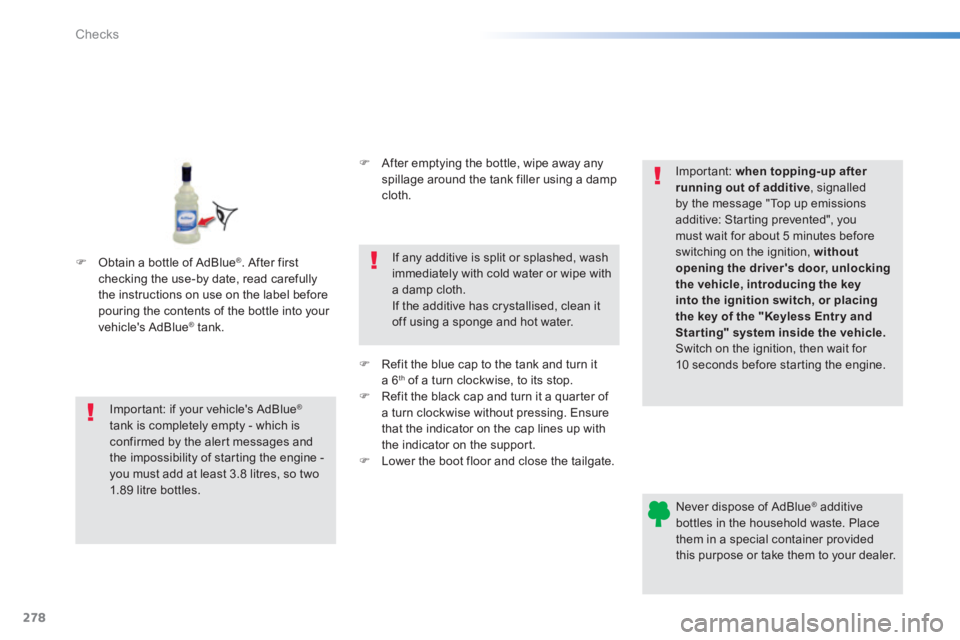
Obtain a bottle of AdBlue ® . After first checking the use-by date, read carefully the instructions on use on the label before pouring the contents of the bottle into your vehicle's AdBlue ® tank. ® tank. ®
Page 391 of 400
389
.
Alphabetical index
308_EN_CHAP11_INDEX ALPHA _ED02-2013
JACK socket ..............84, 87, 310, 314, 374, 376Jukebox (playing) ..........................................315
Keeping children safe .....................................198, 200, 204-220Key ....................................................46, 63, 112Key, electronic .........................46, 53 -56, 61, 63Key in ignition warning ..................................108Keyless Entry and Starting ..............................55 -57, 63, 109, 112Key with remote control ........46 -50, 56, 63, 112
Labels, identification .....................................287Lamps, warning and indicator ..................Lamps, warning and indicator ..................Lamps, warning and indicator13 -25LED daytime running lamps .........................17 7LEDs - light-emitting diodes .........235, 240, 242Level, AdBlue® additive® additive® .................................271Level, brake fluid ...........................................281Level, headlamp wash ..........................183, 282Levels and checks ................268, 269, 280-282Light-emitting diodes - LEDs ..........................235, 236, 238, 240, 242Lighting ..........................................................173Lighting bulbs (replacement) ................235 -244Lighting control stalk .....................................173Lighting dimmer ..............................................Lighting dimmer ..............................................Lighting dimmer31Lighting, guide-me home ......................17 7, 178Lighting, interior ....................................Lighting, interior ....................................Lighting, interior185, 18 6Lighting on reminder .....................................Lighting on reminder .....................................Lighting on reminder176Loading ...................................................10, 262Load reduction mode ....................................255
Load space cover ............................................Load space cover ............................................Load space cover92Locating your vehicle ................................50, 54Locking the boot..............................................60Locking the doors .....................................48, 56Long objects, transporting ..............................89Lumbar adjustment ...................................76, 80K
L
Main beam ............................173, 235, 237, 239Maintenance ...................................................10Map reading lamps .......................................185Markings, identification .................................287Massage function ...........................................80Mat ..................................................................85Memorising a speed .....................................132Menu ...................................298, 300, 302, 316, 318, 320, 336, 348, 350Menu, main ...................................................368Menus (Touch screen) ..................................294Mini fuel level ............................................22, 72Mirror, rear view ............................................172Mirrors, door..........................................15 6 , 170Mountings for ISOFIX seats .................213, 214MP3 CD .................................................310, 371
Number plate lamps ......................................244
Radio ....................................................304, 369RDS .......................................................307, 369Rear foglamp.........................240, 241, 243, 244Rear screen (demisting) ................................107
Oil filter ..........................................................Oil filter ..........................................................Oil filter283Oil level....................................................29, 280Opening the bonnet ......................................267Opening the boot ..........................46, 53 -55, 58Opening the doors ........................46, 47, 53, 55Operation indicator lamps ........................13 -25
M
N
R
O
Paint colour code ..........................................287Panoramic glass sunroof ................................Panoramic glass sunroof ................................Panoramic glass sunroof71Park Assist ....................................................162Parking brake, electric ............20, 114, 119, 284Parking brake, manual ....................15, 113, 284Parking sensors, front ...................................160Parking sensors, rear....................................159Particle emission filter ...........................Particle emission filter ...........................Particle emission filter281-283Passenger compartment filter ......................Passenger compartment filter ......................Passenger compartment filter283PEUGEOT CONNECT APPS .......................3 47PEUGEOT Connect Assistance ...................290PEUGEOT Connect SOS .............................290PEUGEOT Connect Sound (RD5) ..........................................................365Player, CD MP3 .....................................310, 371Port, USB ..................84, 87, 310, 314, 374, 376Priming the fuel system ................................270Protecting children ................198, 200, 204-220Puncture ........................................................221
P