tow Peugeot 308 2015 User Guide
[x] Cancel search | Manufacturer: PEUGEOT, Model Year: 2015, Model line: 308, Model: Peugeot 308 2015Pages: 416, PDF Size: 11.81 MB
Page 102 of 416
100
308_en_Chap03_confort_ed01-2015
In order for these systems to be fully effective, follow the operation and maintenance
guidelines below:
F t
o o
btain an even air distribution, take care not to obstruct the exterior air intake grilles
located at the base of the windscreen, the nozzles, the vents and the air outlets, as well
as the air extractor located in the boot.
F
D
o not cover the sunshine sensor, located on the dashboard; this is used for regulation
of the air conditioning system.
F
O
perate the air conditioning system for at least 5 to 10 minutes, once or twice a month
to keep it in per fect working order.
F
e
n
sure that the passenger compartment filter is in good condition and have the filter
elements replaced regularly.
W
e recommend the use of a combined passenger compartment filter. t
h
anks to its
special active additive, it contributes to the purification of the air breathed by the
occupants and the cleanliness of the passenger compartment (reduction of allergic
symptoms, bad odours and greasy deposits).
F
t
o e
nsure correct operation of the air conditioning system, you are also advised to have
it checked regularly as recommended in the warranty and maintenance record.
F
I
f the system does not produce cold air, switch it off and contact a P
e
uge
Ot
dealer or
a qualified workshop.
Recommendations for ventilation and air conditioning
If after an extended stop in sunshine,
the interior temperature is very high, first
ventilate the passenger compartment for
a few moments.
Put the air flow control at a setting high
enough to quickly change the air in the
passenger compartment.
th
e air conditioning system does not
contain chlorine and does not present
any danger to the ozone layer.
th
e condensation created by the air
conditioning results in a discharge
of water under the vehicle which is
perfectly normal.
When towing the maximum load on a steep gradient in high temperatures, switching off the
air conditioning increases the available engine power and so improves the towing ability.
Stop & Start
the heating and air conditioning
systems only work when the engine
is running. t
o m
aintain a comfortable
temperature in the passenger
compartment, you can temporarily
deactivate the Stop & Start system (see
the corresponding section).
Comfort
Page 112 of 416
110
308_en_Chap03_confort_ed01-2015
Front demist - defrost
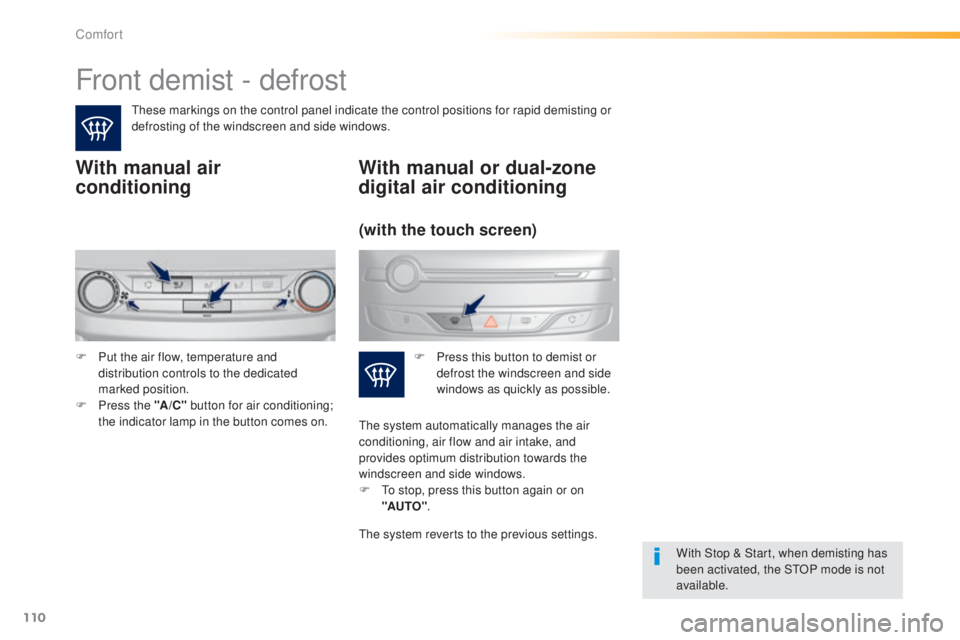
these markings on the control panel indicate the control positions for rapid demisting or
defrosting of the windscreen and side windows.
With manual air
conditioning
With Stop & Start, when demisting has
been activated, the StOP mode is not
available.
With manual or dual-zone
digital air conditioning
F Put the air flow, temperature and distribution controls to the dedicated
marked position.
F
P
ress the "A /C " button for air conditioning;
the indicator lamp in the button comes on. F
P ress this button to demist or
defrost the windscreen and side
windows as quickly as possible.
(with the touch screen)
the system automatically manages the air
conditioning, air flow and air intake, and
provides optimum distribution towards the
windscreen and side windows.
F
t
o s
top, press this button again or on
"AUTO" .
the
system reverts to the previous settings.
Comfort
Page 117 of 416
115
308_en_Chap04_conduite_ed01-2015
Avoid attaching heavy objects to the
key, which would weigh down on its
blade in the ignition switch and could
cause a malfunction.
Switching off the engine leads to a loss
of braking assistance.
Key left in the "Ignition on"
position
If the key has been left in the ignition switch
at position 2 (Ignition on)
, the ignition will
be switched off automatically after one hour.
to s
witch the ignition back on, turn the key
to position 1 (Stop) , then back to position 2
(Ignition on) .
Never leave the engine running in
an enclosed area without adequate
ventilation: internal combustion
engines emit toxic exhaust gases,
such as carbon monoxide. Danger of
intoxication and death.
In very severe wintry conditions
(temperatures below -23°C), to ensure
the correct operation and the durability
of the mechanical components of your
vehicle, the engine and gearbox, it is
necessary to leave the engine running
for 4 minutes before moving off. F
Imm obilise the vehicle.
F tu rn the key fully towards you to position 1
(Stop) .
F
R
emove the key from the ignition switch.
F
t
o l
ock the steering column, turn the
steering wheel until it locks.
Switching off using the key
to facilitate unlocking of the steering
wheel, it is recommended that you
place the wheels in the straight ahead
position before switching off the engine.
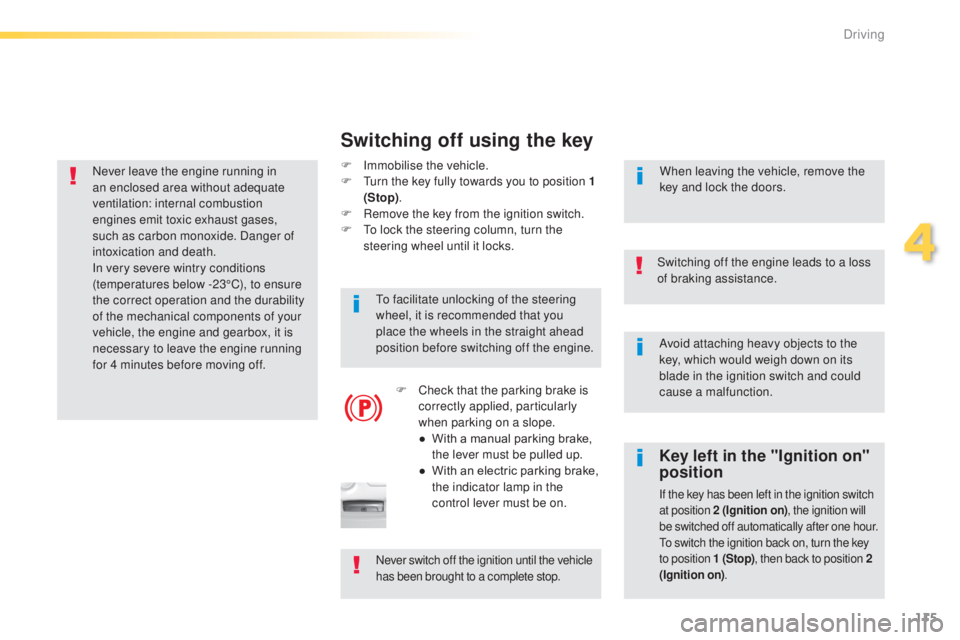
F
C
heck that the parking brake is
correctly applied, particularly
when parking on a slope.
●
W
ith a manual parking brake,
the lever must be pulled up.
●
W
ith an electric parking brake,
the indicator lamp in the
control lever must be on. When leaving the vehicle, remove the
key and lock the doors.
Never switch off the ignition until the vehicle
has been brought to a complete stop.
4
Driving
Page 123 of 416
121
308_en_Chap04_conduite_ed01-2015
electric parking brake
Never leave a child alone inside the
vehicle with the ignition on, as they
could release the parking brake.
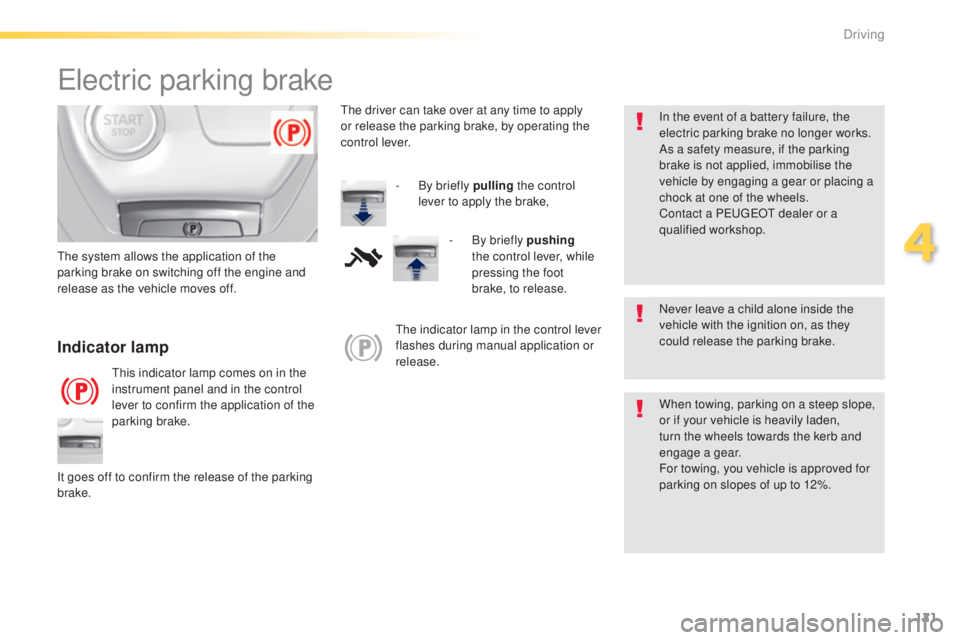
Indicator lamp
this indicator lamp comes on in the
instrument panel and in the control
lever to confirm the application of the
parking brake.
th
e system allows the application of the
parking brake on switching off the engine and
release as the vehicle moves off.
When towing, parking on a steep slope,
or if your vehicle is heavily laden,
turn the wheels towards the kerb and
engage a gear.
For towing, you vehicle is approved for
parking on slopes of up to 12%.
It goes off to confirm the release of the parking
brake.
th
e indicator lamp in the control lever
flashes during manual application or
release. In the event of a battery failure, the
electric parking brake no longer works.
As a safety measure, if the parking
brake is not applied, immobilise the
vehicle by engaging a gear or placing a
chock at one of the wheels.
Contact a P
e
uge
Ot
dealer or a
qualified workshop.
th
e driver can take over at any time to apply
or release the parking brake, by operating the
control lever.
-
B
y briefly pulling
the control
lever to apply the brake,
-
B
y briefly pushing
the control lever, while
pressing the foot
brake, to release.
4
Driving
Page 127 of 416
125
308_en_Chap04_conduite_ed01-2015
Emergency braking
In the event of a failure of the main service
brake or in an exceptional situation (e.g. driver
taken ill, under instruction, etc) a continuous
pull on the control lever will brake the vehicle.
Braking takes place while the control lever is
being pulled. It is interrupted if the control lever
is released.
th
e ABS and DSC systems provide stability of
the vehicle during emergency braking.
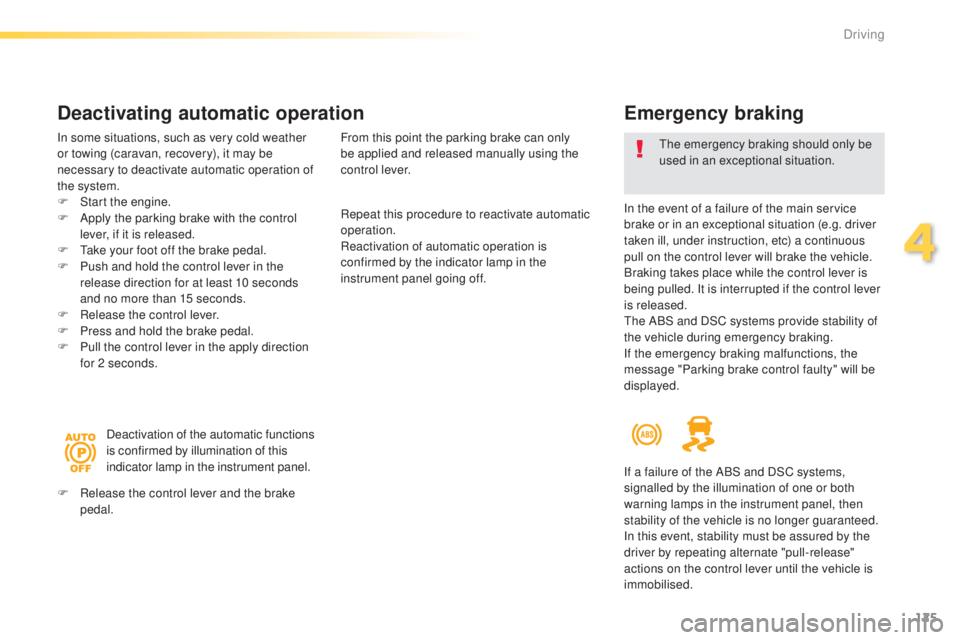
If the emergency braking malfunctions, the
message "Parking brake control faulty" will be
displayed.
the
emergency braking should only be
used in an exceptional situation.
Repeat this procedure to reactivate automatic
operation.
Reactivation of automatic operation is
confirmed by the indicator lamp in the
instrument panel going off.
Deactivating automatic operation
In some situations, such as very cold weather
or towing (caravan, recovery), it may be
necessary to deactivate automatic operation of
the system.
F
S
tart the engine.
F
A
pply the parking brake with the control
lever, if it is released.
F
t
a
ke your foot off the brake pedal.
F
P
ush and hold the control lever in the
release direction for at least 10 seconds
and no more than 15 seconds.
F
R
elease the control lever.
F
P
ress and hold the brake pedal.
F
P
ull the control lever in the apply direction
for 2 seconds.
Deactivation of the automatic functions
is confirmed by illumination of this
indicator lamp in the instrument panel.
F
R
elease the control lever and the brake
pedal. From this point the parking brake can only
be applied and released manually using the
control lever.
If a failure of the ABS and DSC systems,
signalled by the illumination of one or both
warning lamps in the instrument panel, then
stability of the vehicle is no longer guaranteed.
In this event, stability must be assured by the
driver by repeating alternate "pull-release"
actions on the control lever until the vehicle is
immobilised.
4
Driving
Page 136 of 416
134
308_en_Chap04_conduite_ed01-2015
F Select position M for sequential changing
of the six gears.
F
P
ull the lever towards the + sign to change
up a gear.
F
P
ush the lever towards the - sign to change
down a gear.
It is only possible to change from one gear to
another if the vehicle speed and engine speed
permit; otherwise, the gearbox will operate
temporarily in automatic mode.
D disappears and the gears
engaged appear in succession in the
instrument panel.
If the engine speed is too low or too high, the
gear selected flashes for a few seconds, then
the actual gear engaged is displayed.
It is possible to change from position D
(automatic) to position M (manual) at any time.
When the vehicle is stationary or moving
very slowly, the gearbox selects gear M1
automatically.
th
e sport and snow programmes do not
operate in manual mode.
Manual operation
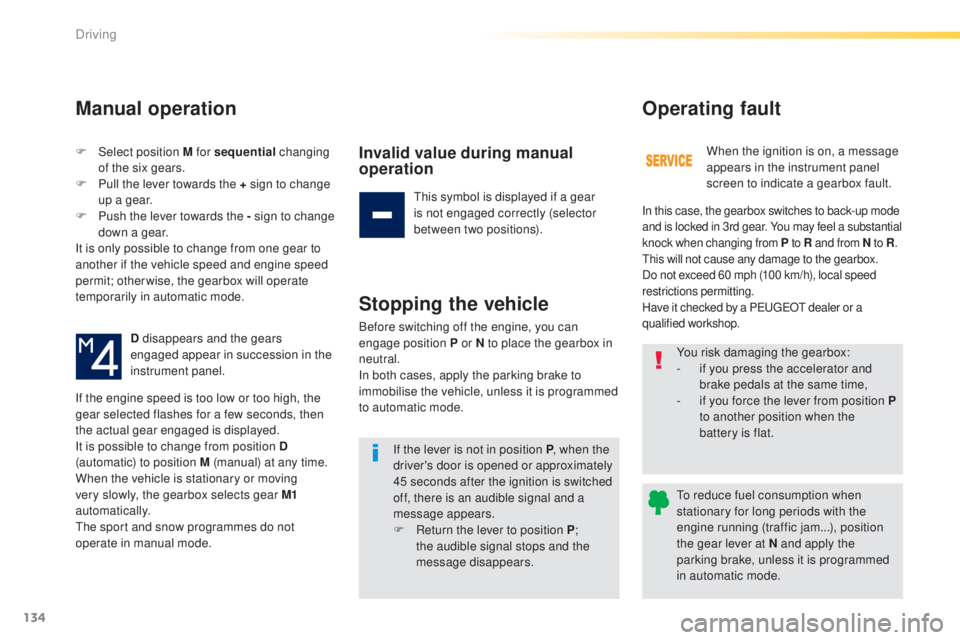
Invalid value during manual
operation
this symbol is displayed if a gear
is not engaged correctly (selector
between two positions).
Stopping the vehicle
Before switching off the engine, you can
engage position P or N to place the gearbox in
neutral.
In both cases, apply the parking brake to
immobilise the vehicle, unless it is programmed
to automatic mode.
If the lever is not in position P , when the
driver's door is opened or approximately
45 seconds after the ignition is switched
off, there is an audible signal and a
message appears.
F
R
eturn the lever to position P ;
the audible signal stops and the
message disappears. When the ignition is on, a message
appears in the instrument panel
screen to indicate a gearbox fault.
Operating fault
In this case, the gearbox switches to back-up mode
and is locked in 3rd gear. You may feel a substantial
knock when changing from P
to R and from N to R.
th
is will not cause any damage to the gearbox.
Do not exceed 60 mph (100 km/h), local speed
restrictions permitting.
Have it checked by a P
e
uge
Ot
dealer or a
qualified workshop.
You risk damaging the gearbox:
- i f you press the accelerator and
brake pedals at the same time,
-
i
f you force the lever from position P
to another position when the
battery is flat.
to r
educe fuel consumption when
stationary for long periods with the
engine running (traffic jam...), position
the gear lever at N and apply the
parking brake, unless it is programmed
in automatic mode.
Driving
Page 147 of 416
145
308_en_Chap04_conduite_ed01-2015
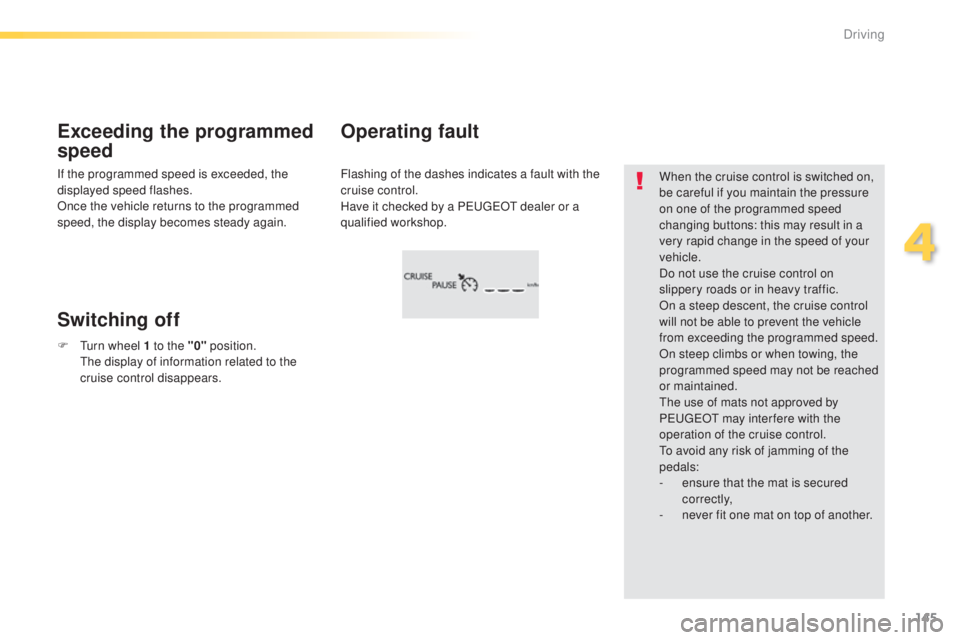
Flashing of the dashes indicates a fault with the
cruise control.
Have it checked by a P
e
uge
Ot
dealer or a
qualified workshop.
Operating fault
Exceeding the programmed
speed
Switching off
When the cruise control is switched on,
be careful if you maintain the pressure
on one of the programmed speed
changing buttons: this may result in a
very rapid change in the speed of your
vehicle.
Do not use the cruise control on
slippery roads or in heavy traffic.
On a steep descent, the cruise control
will not be able to prevent the vehicle
from exceeding the programmed speed.
On steep climbs or when towing, the
programmed speed may not be reached
or maintained.
th
e use of mats not approved by
P
e
uge
Ot
may inter fere with the
operation of the cruise control.
to a
void any risk of jamming of the
pedals:
-
e
nsure that the mat is secured
c o r r e c t l y,
-
n
ever fit one mat on top of another.
If the programmed speed is exceeded, the
displayed speed flashes.
Once the vehicle returns to the programmed
speed, the display becomes steady again.
F
t
u
rn wheel 1 to the "0" position.
t
h
e display of information related to the
cruise control disappears.
4
Driving
Page 155 of 416
153
308_en_Chap04_conduite_ed01-2015
In the event of a fault with the active cruise
control, you are alerted by an audible signal
and display of the message message "Driving
aid functions fault".
Have the system checked by a P
e
uge
Ot
dealer or a qualified workshop. When the cruise control is working, take
care if making a maintained press on
one of the cruise control programmed
speed modification buttons: this can
lead to a very quick change in the
speed of your vehicle.
Do not use the active cruise control on
slippery sur faces or in heavy traffic.
When descending a steep hill, the
cruise control may not be able to
prevent the vehicle from exceeding the
programmed speed.
When ascending a steep hill or when
towing, it might not be possible to attain
or maintain the programmed speed.
Operating fault
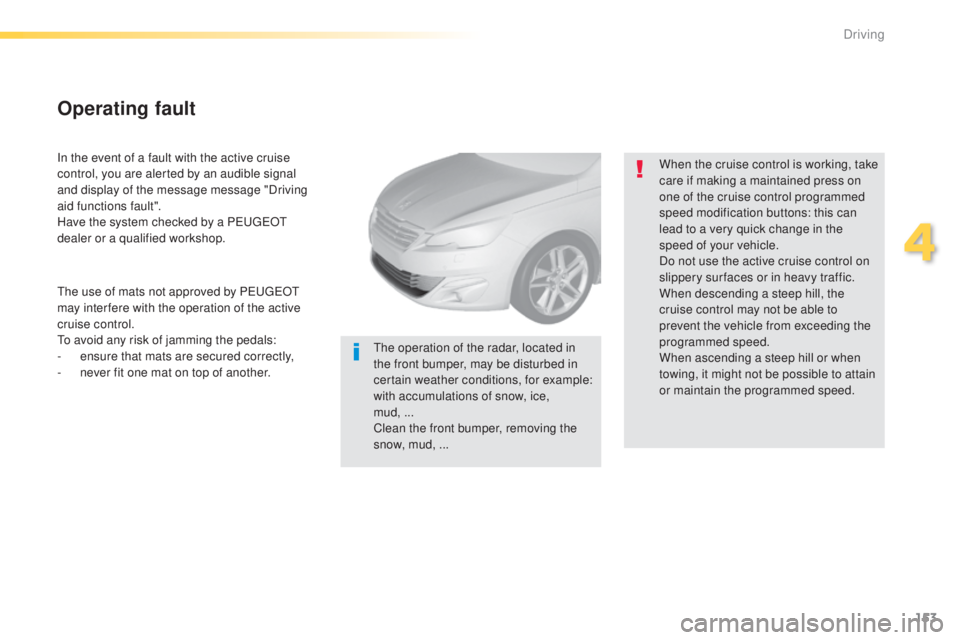
the operation of the radar, located in
the front bumper, may be disturbed in
certain weather conditions, for example:
with accumulations of snow, ice,
mud,
...
Clean the front bumper, removing the
snow, mud, ...
th
e use of mats not approved by P
e
uge
Ot
may inter fere with the operation of the active
cruise control.to a
void any risk of jamming the pedals:
-
e
nsure that mats are secured correctly,
-
n
ever fit one mat on top of another.
4
Driving
Page 167 of 416
165
308_en_Chap04_conduite_ed01-2015
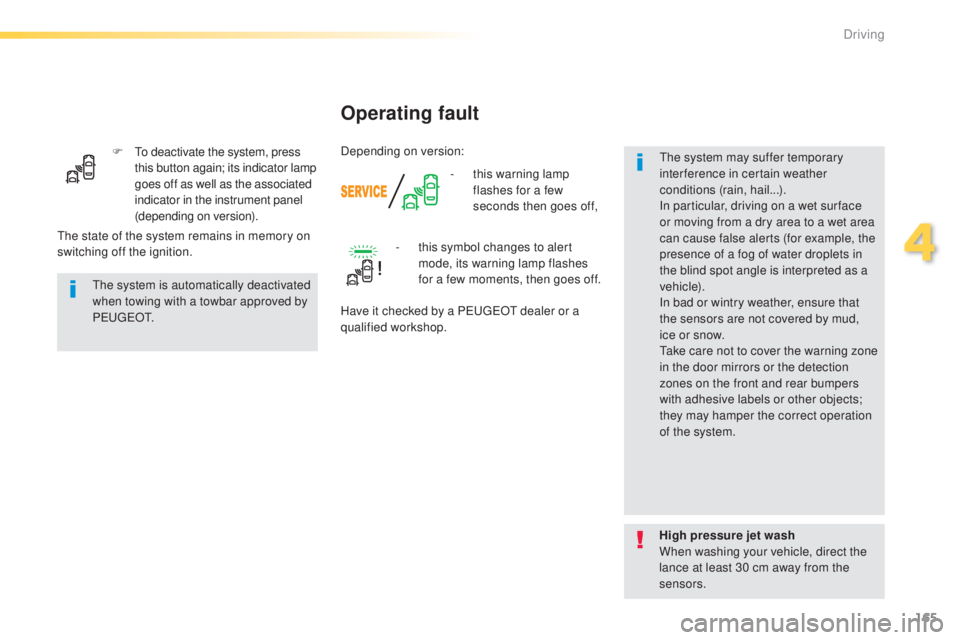
F to deactivate the system, press this button again; its indicator lamp
goes off as well as the associated
indicator in the instrument panel
(depending on version). -
t
his warning lamp
flashes for a few
seconds then goes off,
Operating fault
the system is automatically deactivated
when towing with a towbar approved by
P
e
u g e
Ot
.
High pressure jet wash
When washing your vehicle, direct the
lance at least 30 cm away from the
sensors.
th
e state of the system remains in memory on
switching off the ignition. -
t
his symbol changes to alert
mode, its warning lamp flashes
for a few moments, then goes off.
Have it checked by a P
e
uge
Ot
dealer or a
qualified workshop.
th
e system may suffer temporary
interference in certain weather
conditions (rain, hail...).
In particular, driving on a wet sur face
or moving from a dry area to a wet area
can cause false alerts (for example, the
presence of a fog of water droplets in
the blind spot angle is interpreted as a
vehicle).
In bad or wintry weather, ensure that
the sensors are not covered by mud,
ice or snow.
ta
ke care not to cover the warning zone
in the door mirrors or the detection
zones on the front and rear bumpers
with adhesive labels or other objects;
they may hamper the correct operation
of the system.
Depending on version:
4
Driving
Page 169 of 416
167
308_en_Chap04_conduite_ed01-2015
Front parking sensors
the sound from the speakers (front or
rear) indicates whether the obstacle is
in front or behind.
th
e system will be deactivated
automatically if a trailer is being
towed or a bicycle carrier is fitted on
a towbar (vehicle fitted with a towbar
installed in line with the manufacturer's
recommendations).
In addition to the rear parking sensors, the
front parking sensors are triggered when an
obstacle is detected in front and the speed of
the vehicle is still below 6 mph (10 km/h).
th
e front parking sensors are interrupted if
the vehicle stops for more than three seconds
in for ward gear, if no further obstacles are
detected or when the speed of the vehicle
exceeds 6 mph (10 km/h).
Deactivation / Activation of the
front and rear parking sensors
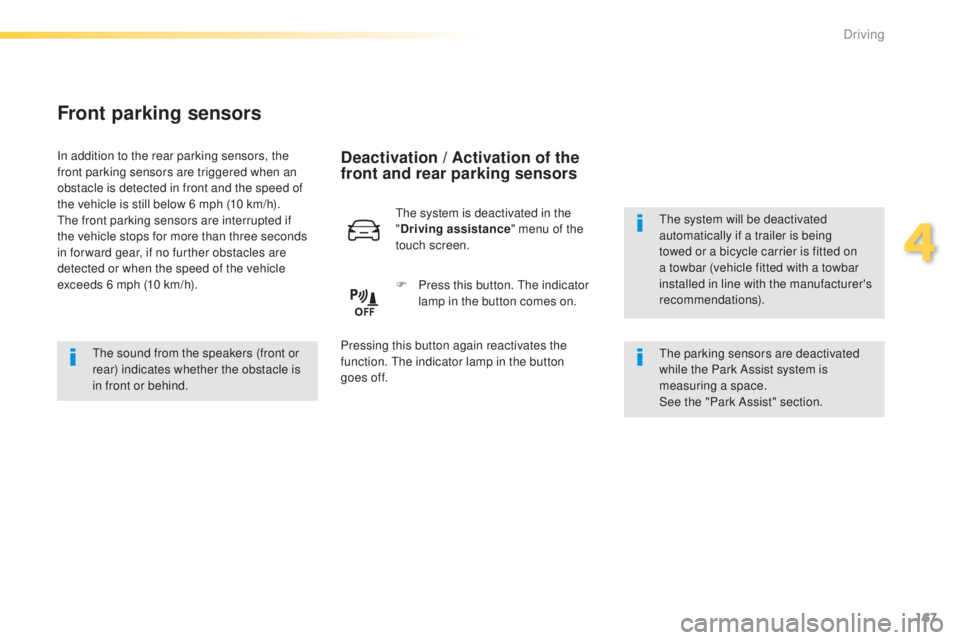
the system is deactivated in the
" Driving assistance " menu of the
touch screen.
F
P
ress this button. t
h
e indicator
lamp in the button comes on.
Pressing this button again reactivates the
function.
t
h
e indicator lamp in the button
goes
off.
the
parking sensors are deactivated
while the Park Assist system is
measuring a space.
See the "Park Assist" section.
4
Driving