window Peugeot 406 C 2003 Owner's Manual
[x] Cancel search | Manufacturer: PEUGEOT, Model Year: 2003, Model line: 406 C, Model: Peugeot 406 C 2003Pages: 141, PDF Size: 1.99 MB
Page 3 of 141
24-03-2003
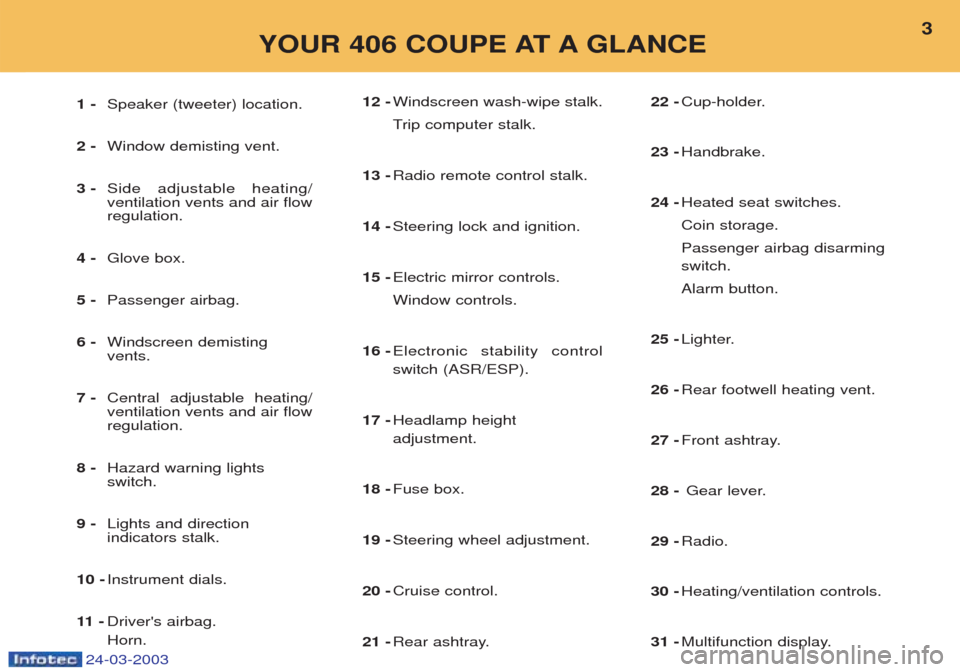
12 -Windscreen wash-wipe stalk. Trip computer stalk.
13 - Radio remote control stalk.
14 - Steering lock and ignition.
15 - Electric mirror controls.Window controls.
16 - Electronic stability control switch (ASR/ESP).
17 - Headlamp height adjustment.
18 - Fuse box.
19 - Steering wheel adjustment.
20 - Cruise control.
21 - Rear ashtray. 22 -
Cup-holder.
23 - Handbrake.
24 - Heated seat switches. Coin storage.Passenger airbag disarming switch. Alarm button.
25 - Lighter.
26 - Rear footwell heating vent.
27 - Front ashtray.
28 - Gear lever.
29 - Radio.
30 - Heating/ventilation controls.
31 - Multifunction display.
YOUR 406 COUPE AT A GLANCE
3
1 - Speaker (tweeter) location.
2 - Window demisting vent.
3 - Side adjustable heating/ ventilation vents and air flowregulation.
4 - Glove box.
5 - Passenger airbag.
6 - Windscreen demistingvents.
7 - Central adjustable heating/ventilation vents and air flowregulation.
8 - Hazard warning lightsswitch.
9 - Lights and direction indicators stalk.
10 - Instrument dials.
11 - Driver's airbag. Horn.
Page 10 of 141
24-03-2003
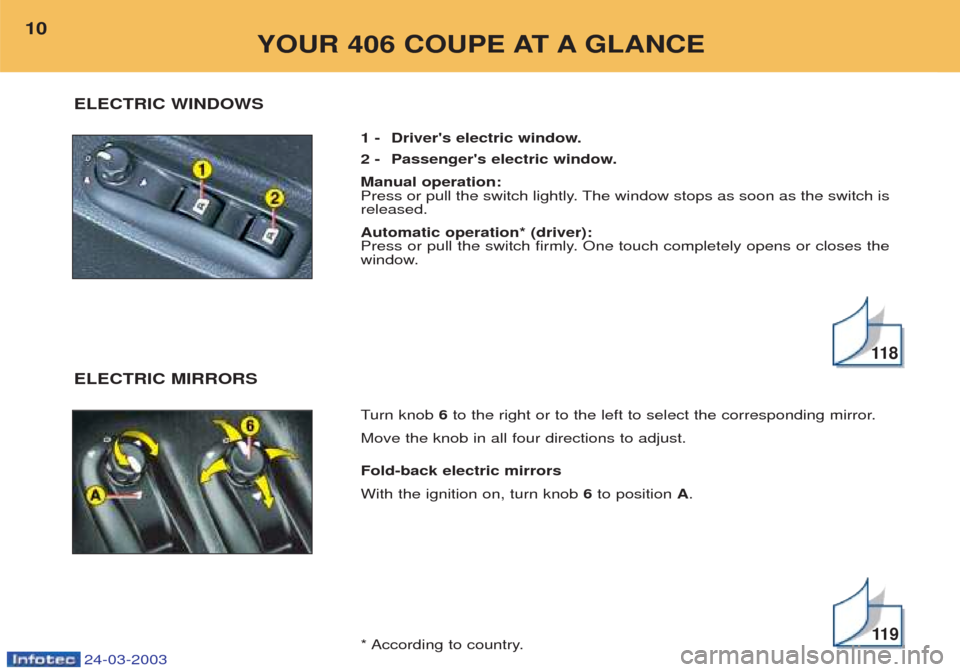
1 - Driver's electric window.
2 - Passenger's electric window. Manual operation:
Press or pull the switch lightly. The window stops as soon as the switch isreleased. Automatic operation* (driver):
Press or pull the switch firmly. One touch completely opens or closes the
window. Turn knob 6to the right or to the left to select the corresponding mirror.
Move the knob in all four directions to adjust. Fold-back electric mirrors With the ignition on, turn knob 6to position A.
* According to country.
YOUR 406 COUPE AT A GLANCE
10
11 8
11 9
ELECTRIC WINDOWS ELECTRIC MIRRORS
Page 69 of 141
24-03-2003
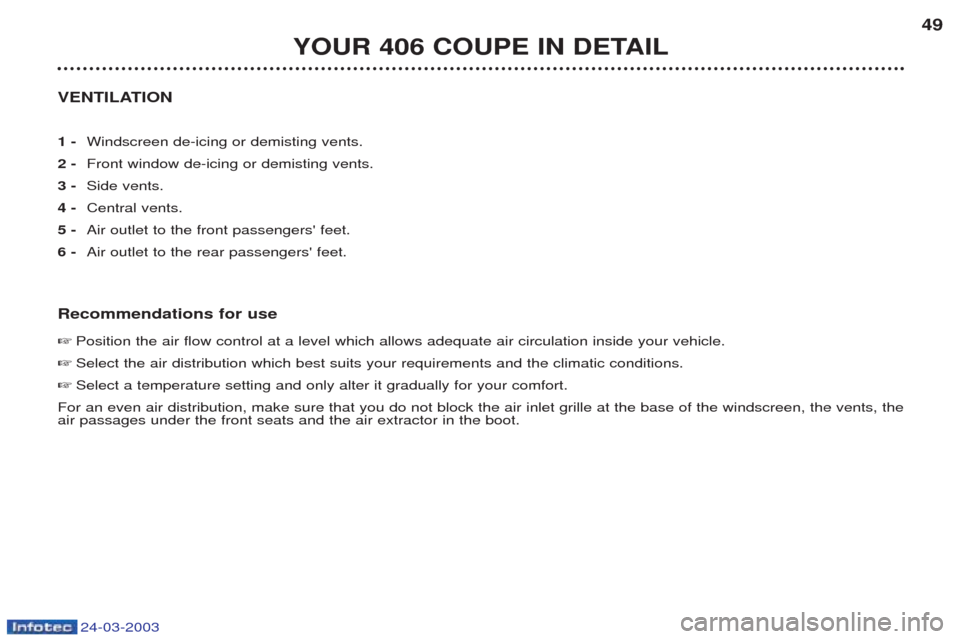
VENTILATION 1 -Windscreen de-icing or demisting vents.
2 - Front window de-icing or demisting vents.
3 - Side vents.
4 - Central vents.
5 - Air outlet to the front passengers' feet.
6 - Air outlet to the rear passengers' feet.
Recommendations for use ☞ Position the air flow control at a level which allows adequate air circulation inside your vehicle.
☞ Select the air distribution which best suits your requirements and the climatic conditions.
☞ Select a temperature setting and only alter it gradually for your comfort.
For an even air distribution, make sure that you do not block the air inlet grille at the base of the windscreen, the vents, th e
air passages under the front seats and the air extractor in the boot.
YOUR 406 COUPE IN DETAIL 49
Page 70 of 141

24-03-2003
Automatic operation1 - Temperature adjustment The value requested is displayed (from 15 to 30: comfortable tempera- ture = 22).Press the up and down arrows to adjust. 2 - Automatic
comfort programme
Press the " AUTO" button. The sys-
tem automatically adjusts the tem-perature to that selected, by starting
the air conditioning if necessary. It also manages the air flow and
intake, to ensure sufficient air circu-lation inside the vehicle. Adjustment of the air distribution must be carried out manually whenyou require it.
3 - Automatic visibility programme
In certain cases, the automatic com-fort programme can prove inade-quate to de-ice or demist the win-
dows (humidity, many passengers,ice). In such cases, select the auto-
matic visibility programme to
rapidly clear the windows. The system automatically manages the air conditioning, the air flow andthe air intake, distributing the air tothe windscreen and side windows.
AUTOMATIC AIR CONDITIONING
YOUR 406 COUPE IN DETAIL
50
Page 71 of 141

24-03-2003
4 - Setting the air distribution
Successive presses on the top or bottom part of thisbutton allow the air to bedirected to:
- the windscreen (de-icing or demist-ing),
- the windscreen and footwells,
- the central and side vents,
- the central and side vents andfootwells,
- the footwells.
Press the top or bottom part of thebutton to select the previous or nextsetting from the above list. Manual operation Y
ou may, if you wish, make a differ-
ent choice from that offered by the system, by changing one of the set-tings. Press the " AUTO" button to return to
automatic operation.
5 - Air conditioning
Pressing this button stops the air condi-
tioning. Pressing again returns theair conditioning to automatic opera-
tion. The symbol " A/C" is displayed.
6 - Air flow
The air flow may beincreased or reducedby pressing the '' + ''
or '' –'' button respectively. 7 - Air intake
This button ispressed for recircula-
tion of the interior air.
Recirculation, shown on the display,prevents the entry of unpleasantodours or fumes into the passengercompartment from outside. A void prolonged operation of the
recirculation of interior air. A second press returns the system to automat-
ic intake of air. Used in humid conditions, recircula- tion risks misting up the windows.
8 - Demisting therear screen
With the engine run-ning, pressing the
switch demists the rear screen andthe mirrors.
It switches off automatically after approximately fifteen minutes. Press again to resume demisting. It is possible to stop the demisting
operation before it goes off automat-
ically, by pressing the switch again. Note: The condensation created by
air conditioning causes a normal flow of water under the vehicle when
stationary.
YOUR 406 COUPE IN DETAIL 51
Page 79 of 141
24-03-2003
Never leave one or more children alone and unsuper-vised in a vehicle. Never leave a child or an ani-
mal in a vehicle which is exposed to the sun and has the windows closed.
To protect your young children from
the sun, fit blinds on the rear win- dows. Never leave the keys within reach of
children inside the car. Disarm the passenger air bag when installing a "rearwards facing" childseat on the front passenger seat.Otherwise, the child would risk beingkilled or seriously injured were the airbag to inflate. Observe strictly the recommenda- tions for assembling and securing thechild seat as shown in the child seatinstructions.
To prevent the doors from opening
accidentally, use the child lock*.Also, do not open the rear windows more than a third*.
* According to model.
YOUR 406 COUPE IN DETAIL 99
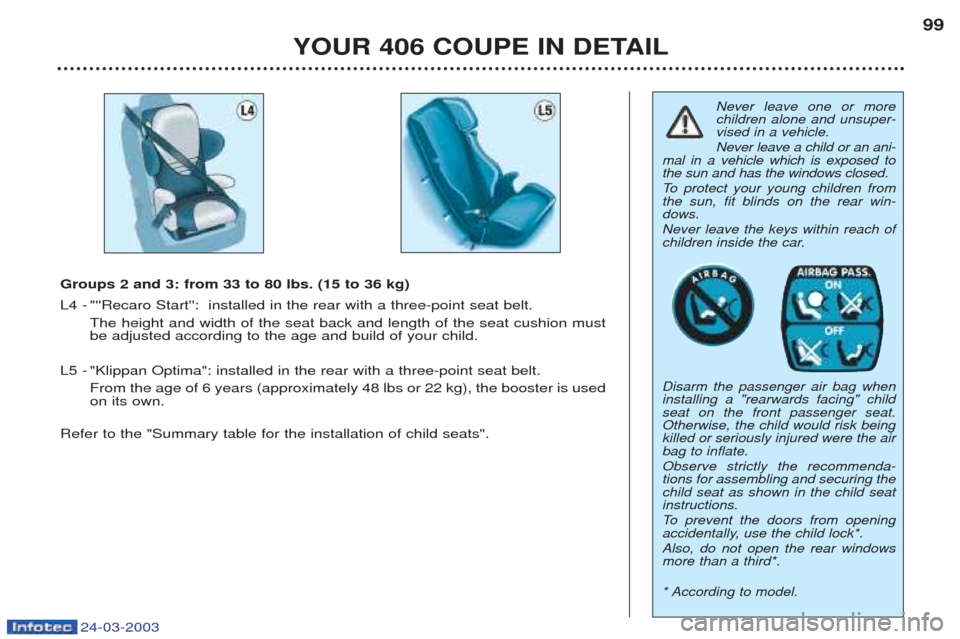
Groups 2 and 3: from 33 to 80 lbs. (15 to 36 kg)
L4 - "''Recaro Start'': installed in the rear with a three-point seat belt.
The height and width of the seat back and length of the seat cushion must be adjusted according to the age and build of your child.
L5 - "Klippan Optima": installed in the rear with a three-point seat belt. From the age of 6 years (approximately 48 lbs or 22 kg), the booster is usedon its own.
Refer to the "Summary table for the installation of child seats".
Page 85 of 141
24-03-2003
YOUR 406 COUPE IN DETAIL87
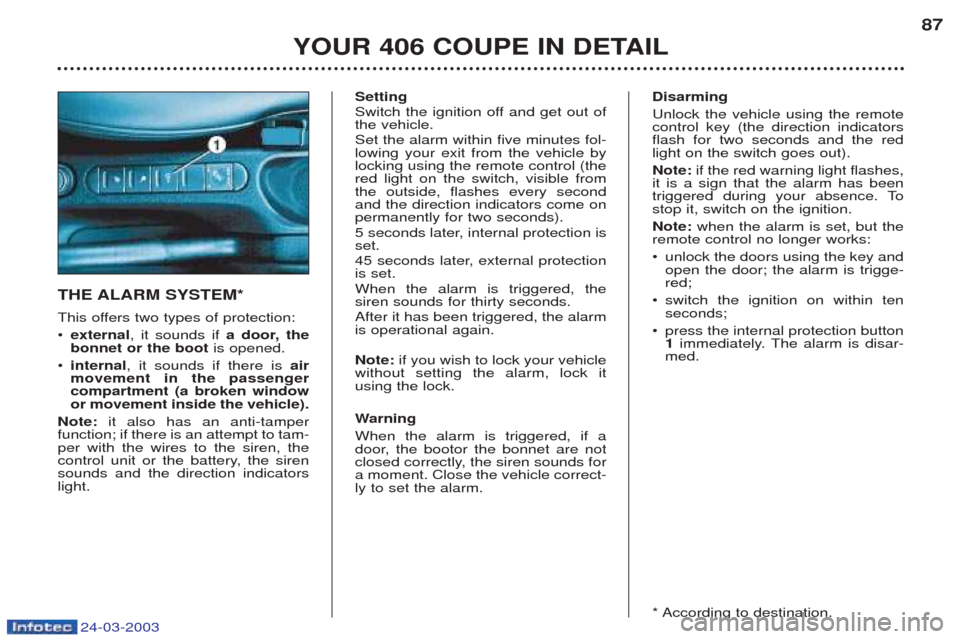
THE ALARM SYSTEM*
This offers two types of protection: ¥
external , it sounds if a door, the
bonnet or the boot is opened.
¥ internal , it sounds if there is air
movement in the passenger compartment (a broken windowor movement inside the vehicle).
Note: it also has an anti-tamper
function; if there is an attempt to tam-per with the wires to the siren, the
control unit or the battery, the sirensounds and the direction indicatorslight. Setting
Switch the ignition off and get out of the vehicle. Set the alarm within five minutes fol- lowing your exit from the vehicle bylocking using the remote control (thered light on the switch, visible fromthe outside, flashes every secondand the direction indicators come onpermanently for two seconds).
5 seconds later, internal protection is set.
45 seconds later, external protection is set. When the alarm is triggered, the siren sounds for thirty seconds. After it has been triggered, the alarm is operational again. Note:
if you wish to lock your vehicle
without setting the alarm, lock it using the lock. W arning
When the alarm is triggered, if a
door, the bootor the bonnet are not
closed correctly, the siren sounds fora moment. Close the vehicle correct-ly to set the alarm. Disarming Unlock the vehicle using the remote control key (the direction indicatorsflash for two seconds and the redlight on the switch goes out). Note:
if the red warning light flashes,
it is a sign that the alarm has been
triggered during your absence. Tostop it, switch on the ignition. Note: when the alarm is set, but the
remote control no longer works:¥ unlock the doors using the key and open the door; the alarm is trigge-red;
¥ switch the ignition on within tenseconds;
¥ press the internal protection button1 immediately. The alarm is disar-
med.
* According to destination.
Page 86 of 141
24-03-2003
YOUR 406 COUPE IN DETAIL
88
Do not make any modifi- cations to the alarm sys-tem, this could causefaults.
To
set the alarm to external
protection only If you want to leave a window par- tially open, or a pet inside thevehicle, you need to select externalprotection only: ¥ Switch off the ignition.
¥W ithin the next ten seconds, press
the internal protection button 1
until the light comes on.
¥ Get out of the vehicle.
¥ Press the locking button on the remote control.
¥ The doors lock.
¥ The direction indicators light fortwo seconds.
¥ The red light on the switch flashesonce a second. To
disarm external type
protection only ¥ see "Disarming" section.
Note: if you wish to charge or repla-
ce the battery:¥T urn on the ignition.
¥Y ou have 10 seconds after turning
on the ignition to press the internal protection switch 1and hold it
down for two seconds.
¥ The warning light flashes rapidlyfor three seconds.
¥ Disconnect the battery.
¥ After reconnecting the battery,lock, then unlock the vehicle usingthe remote control.
Page 87 of 141
24-03-2003
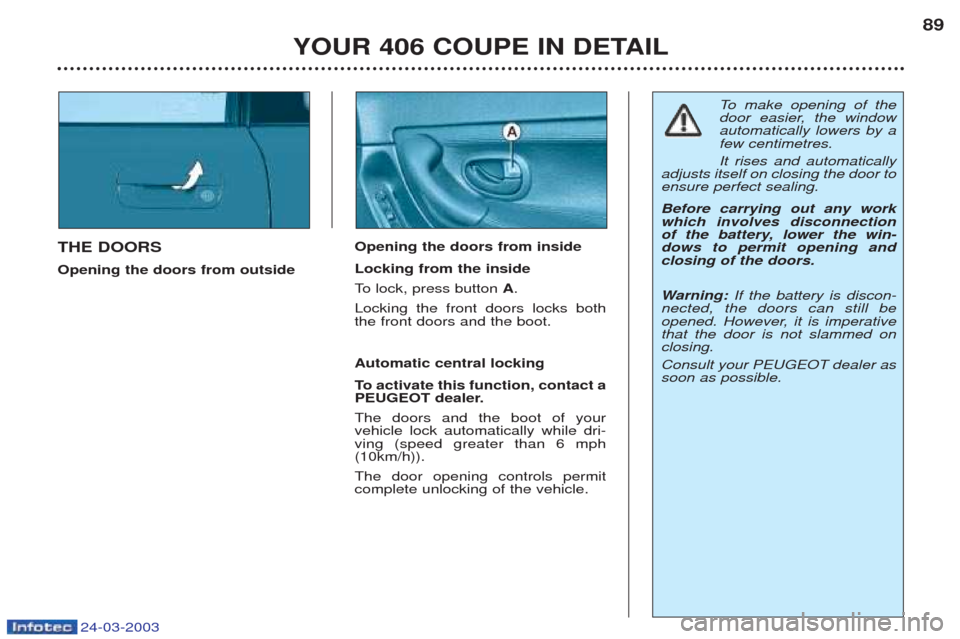
THE DOORS Opening the doors from outsideOpening the doors from insideLocking from the inside
To
lock, press button A.
Locking the front doors locks both the front doors and the boot. Automatic central locking
To activate this function, contact a
PEUGEOT dealer. The doors and the boot of your vehicle lock automatically while dri-ving (speed greater than 6 mph(10km/h)). The door opening controls permit complete unlocking of the vehicle.
YOUR 406 COUPE IN DETAIL 89
To
make opening of the
door easier, the window automatically lowers by afew centimetres. It rises and automatically
adjusts itself on closing the door to ensure perfect sealing. Before carrying out any work which involves disconnection
of the battery, lower the win-dows to permit opening andclosing of the doors. W arning: If the battery is discon-
nected, the doors can still be
opened. However, it is imperativethat the door is not slammed onclosing. Consult your PEUGEOT dealer as soon as possible.
Page 95 of 141

Always remove the key from the ignition whenleaving the vehicle, evenfor a short time.
In the event of contact when ope-rating the windows, you mustreverse the movement of the win-
dow. To do this, press the switchconcerned. When the driver operates the passenger window switches, hemust ensure that no one is pre-venting correct closing of the win-
dow. The driver must ensure that pas- sengers use the electric windows
correctly. Be aware of children when opera- ting the windows.
ELECTRIC WINDOWS
1 - Driver's electric window switch
Y ou have two options:
- Manual operation: Press or pull switch 1gently. The
windows stops as soon as the swit- ch is released.
- Automatic operation*: Press or pull switch 1fully. The
window opens or closes complete- ly when the switch is released.Pressing the switch again stops
the movement of the window.
Note: In the case of unwanted opening of the window on closing (for examplein the case of frost), if the window willnot rise, lower it completely and raise
it again immediately, by pulling theswitch until the window closes com-
pletely. Continue to press the switch for approximately one second after clo-sing. Following reconnection of the batte-
ry, in the event of a malfunction, youmust reinitialise the driver's electricwindow: -
it is essential to close the doors,
- open the window completely, then close it, it will rise in stages of a fewcentimetres with each press,repeat the operation until the win-dow is completely closed,
- continue to press the switch for atleast one second after reachingthis position.
2 - Passenger's electric window switch
YOUR 406 COUPE IN DETAIL
118
* According to country24-03-2003