roof Peugeot 807 2013 Owner's Manual
[x] Cancel search | Manufacturer: PEUGEOT, Model Year: 2013, Model line: 807, Model: Peugeot 807 2013Pages: 234, PDF Size: 9.8 MB
Page 4 of 234
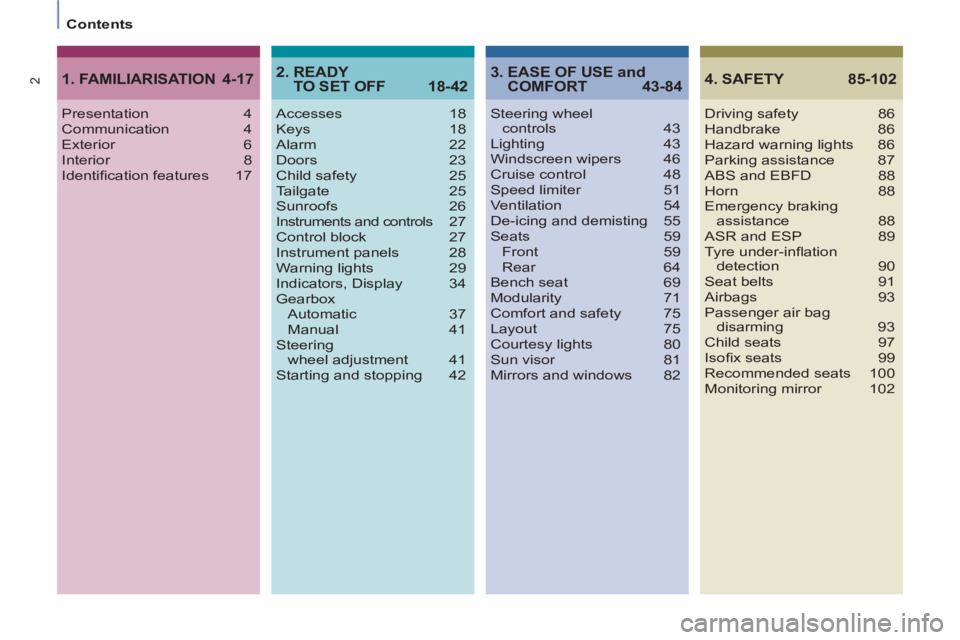
2
Contents
4. SAFETY 85-102
Driving safety 86
Handbrake 86
Hazard warning lights 86
Parking assistance 87
ABS and EBFD 88
Horn 88
Emergency braking
assistance 88
ASR and ESP 89
Tyre under-infl ation
detection 90
Seat belts 91
Airbags 93
Passenger air bag
disarming 93
Child seats 97
Isofi x seats 99
Recommended seats 100
Monitoring mirror 102 Steering wheel
controls 43
Lighting 43
Windscreen wipers 46
Cruise control 48
Speed limiter 51
Ventilation 54
De-icing and demisting 55
Seats 59
Front 59
Rear 64
Bench seat 69
Modularity 71
Comfort and safety 75
Layout 75
Courtesy lights 80
Sun visor 81
Mirrors and windows 82
3. EASE OF USE and
COMFORT 43-84
Presentation 4
Communication 4
Exterior 6
Interior 8
Identifi cation features 17
1. FAMILIARISATION 4-17
Accesses 18
Keys 18
Alarm 22
Doors 23
Child safety 25
Tailgate 25
Sunroofs 26
Instruments and controls 27
Control block 27
Instrument panels 28
Warning lights 29
Indicators, Display 34
Gearbox
Automatic 37
Manual 41
Steering
wheel adjustment 41
Starting and stopping 42
2. READY
TO SET OFF 18-42
Page 5 of 234
CONTENT
S
3
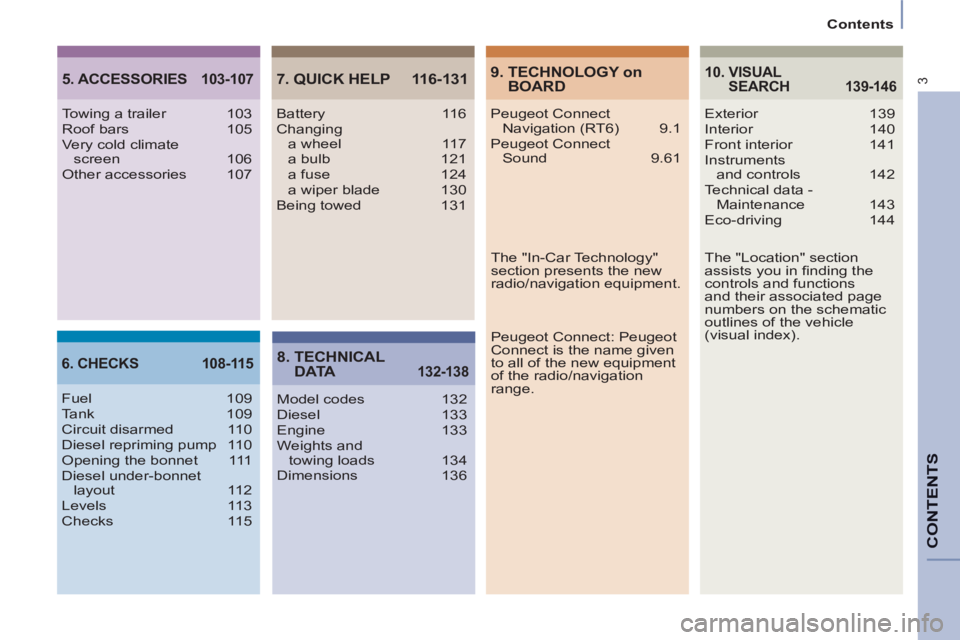
Contents
5. ACCESSORIES 103-1077. QUICK HELP 116-131
8. TECHNICAL
D ATA
132-1386. CHECKS 108-11510. VISUAL
SEARCH
139-146
Towing a trailer 103
Roof bars 105
Very cold climate
screen 106
Other accessories 107
Fuel 109
Tank 109
Circuit disarmed 110
Diesel repriming pump 110
Opening the bonnet 111
Diesel under-bonnet
layout 112
Levels 113
Checks 115Battery 116
Changing
a wheel 117
a bulb 121
a fuse 124
a wiper blade 130
Being towed 131
Model codes 132
Diesel 133
Engine 133
Weights and
towing loads 134
Dimensions 136Exterior 139
Interior 140
Front interior 141
Instruments
and controls 142
Technical data -
Maintenance 143
Eco-driving 144
9. TECHNOLOGY on
BOARD
Peugeot Connect
Navigation (RT6) 9.1
Peugeot Connect
Sound 9.61
Peugeot Connect: Peugeot
Connect is the name given
to all of the new equipment
of the radio/navigation
range.
The "Location" section
assists you in fi nding the
controls and functions
and their associated page
numbers on the schematic
outlines of the vehicle
(visual index). The "In-Car Technology"
section presents the new
radio/navigation equipment.
Page 9 of 234
4
7a
7b7b 2
4
7a5
5
2
7
1
FAMILIARISATIO
N
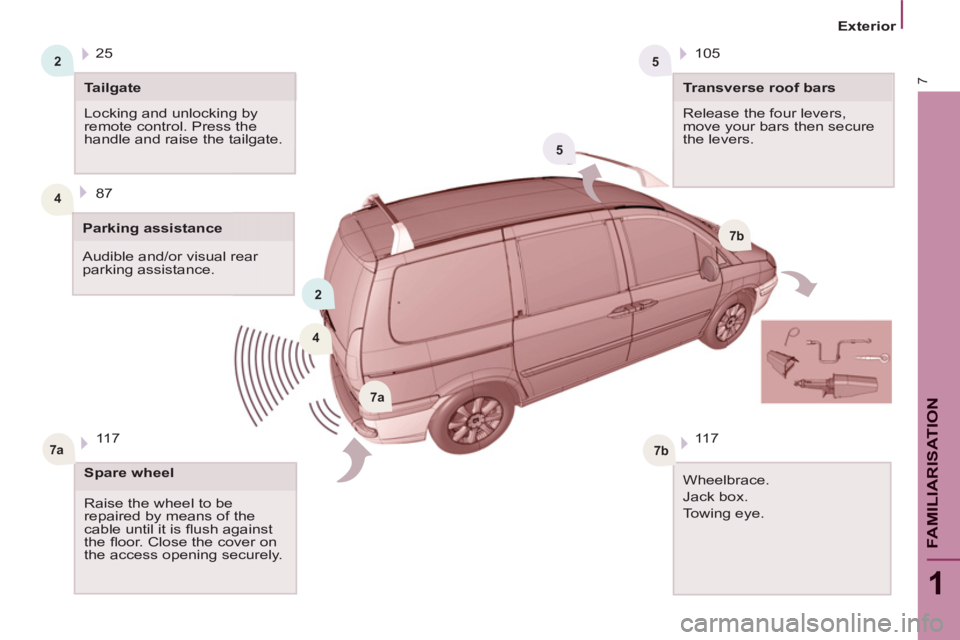
Exterior
Audible and/or visual rear
parking assistance. 87
Tailgate
Locking and unlocking by
remote control. Press the
handle and raise the tailgate.
Parking assistance 25
Transverse roof bars
Release the four levers,
move your bars then secure
the levers. 105
Spare wheel
Raise the wheel to be
repaired by means of the
cable until it is fl ush against
the fl oor. Close the cover on
the access opening securely. 117
Wheelbrace.
Jack box.
Towing eye.
11 7
Page 21 of 234
Access
READY TO SET OFF
2
19
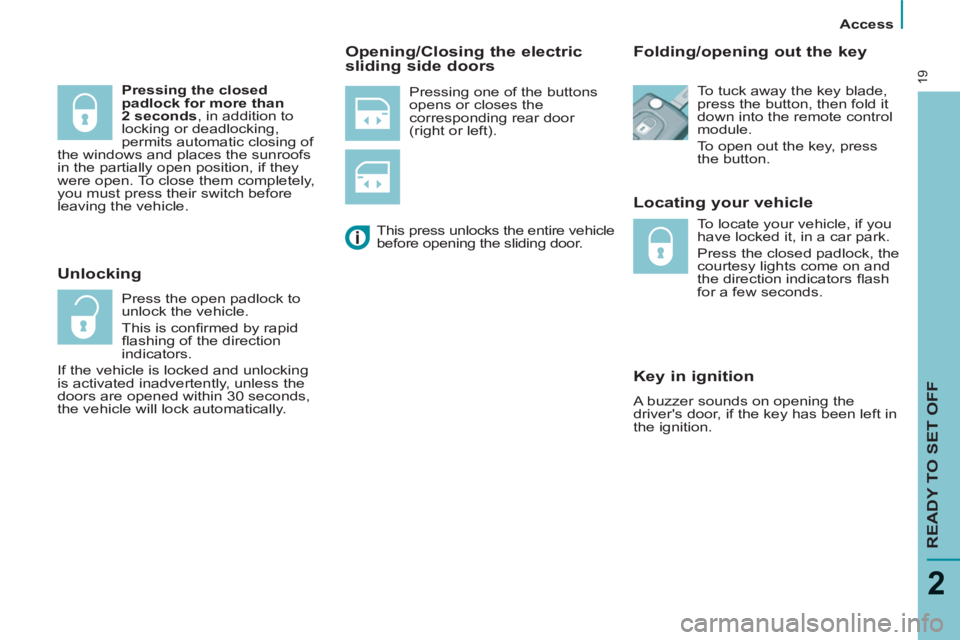
Pressing one of the buttons
opens or closes the
corresponding rear door
(right or left).
Locating your vehicle
Key in ignition
A buzzer sounds on opening the
driver's door, if the key has been left in
the ignition.
Folding/opening out the key
Unlocking
Press the open padlock to
unlock the vehicle.
This is confi rmed by rapid
fl ashing of the direction
indicators.
If the vehicle is locked and unlocking
is activated inadvertently, unless the
doors are opened within 30 seconds,
the vehicle will lock automatically. This press unlocks the entire vehicle
before opening the sliding door.
Opening/Closing the electric
sliding side doors
To tuck away the key blade,
press the button, then fold it
down into the remote control
module.
To open out the key, press
the button.
To locate your vehicle, if you
have locked it, in a car park.
Press the closed padlock, the
courtesy lights come on and
the direction indicators fl ash
for a few seconds.
Pressing the closed
padlock for more than
2 seconds
, in addition to
locking or deadlocking,
permits automatic closing of
the windows and places the sunroofs
in the partially open position, if they
were open. To close them completely,
you must press their switch before
leaving the vehicle.
Page 24 of 234
Access
22
ALARM
If fi tted on your vehicle, this provides
two types of protection:
- exterior protection: it sounds if a
door, the tailgate or the bonnet is
opened.
- interior protection: it sounds if
the volume inside the passenger
compartment changes (breaking of
a window or a movement inside the
vehicle).
A red indicator light, located in the
centre of the fascia, indicates the
information detailed below. To lock your vehicle without setting
the alarm, insert the key in the
lock then lock the vehicle (e.g. for
washing).
When the alarm is triggered, the siren
sounds and the direction indicator
lights fl ash for thirty seconds.
Warning - alarm triggered: the red indicator
light fl ashes rapidly, insert the key and
switch on the ignition to switch it off.
When the alarm has been triggered ten
times in succession (on the eleventh time)
the alarm is deactivated. Repeat the rules
for setting the alarm.
- Close the sunroofs,
- Switch off the ignition,
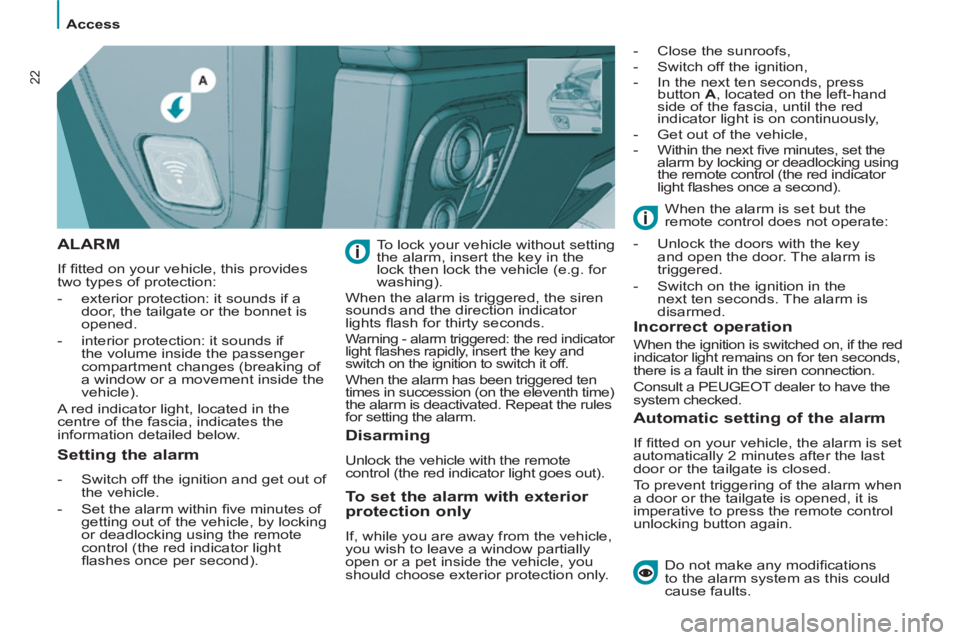
- In the next ten seconds, press
button A
, located on the left-hand
side of the fascia, until the red
indicator light is on continuously,
- Get out of the vehicle,
- Within the next fi ve minutes, set the
alarm by locking or deadlocking using
the remote control (the red indicator
light fl ashes once a second).
Do not make any modifi cations
to the alarm system as this could
cause faults.
Setting the alarm
- Switch off the ignition and get out of
the vehicle.
- Set the alarm within fi ve minutes of
getting out of the vehicle, by locking
or deadlocking using the remote
control (the red indicator light
fl ashes once per second).
Disarming
Unlock the vehicle with the remote
control (the red indicator light goes out).
To set the alarm with exterior
protection only
If, while you are away from the vehicle,
you wish to leave a window partially
open or a pet inside the vehicle, you
should choose exterior protection only.
Incorrect operation
When the ignition is switched on, if the red
indicator light remains on for ten seconds,
there is a fault in the siren connection.
Consult a PEUGEOT dealer to have the
system checked.
Automatic setting of the alarm
If fi tted on your vehicle, the alarm is set
automatically 2 minutes after the last
door or the tailgate is closed.
To prevent triggering of the alarm when
a door or the tailgate is opened, it is
imperative to press the remote control
unlocking button again. When the alarm is set but the
remote control does not operate:
- Unlock the doors with the key
and open the door. The alarm is
triggered.
- Switch on the ignition in the
next ten seconds. The alarm is
disarmed.
Page 27 of 234
Access
READY TO SET OFF
2
25
ELECTRIC CHILD SAFETY
Simultaneous locking or
unlocking of the tailgate and the
doors
The tailgate is locked or unlocked by
the remote control or the driver’s door
or passenger door lock.
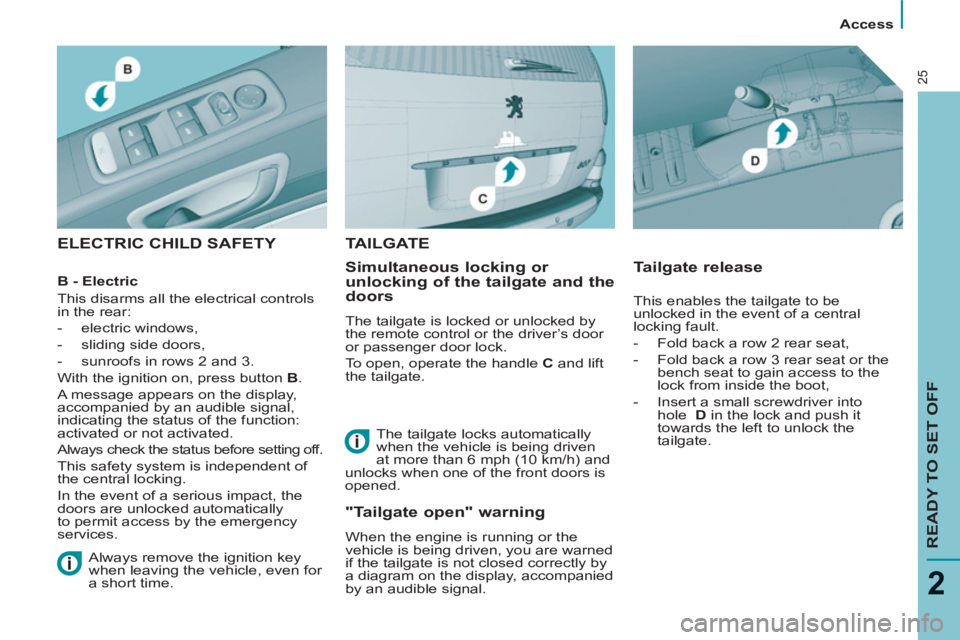
To open, operate the handle C
and lift
the tailgate.
Tailgate release
The tailgate locks automatically
when the vehicle is being driven
at more than 6 mph (10 km/h) and
unlocks when one of the front doors is
opened.
TAILGATE
"Tailgate open" warning
When the engine is running or the
vehicle is being driven, you are warned
if the tailgate is not closed correctly by
a diagram on the display, accompanied
by an audible signal. This enables the tailgate to be
unlocked in the event of a central
locking fault.
- Fold back a row 2 rear seat,
- Fold back a row 3 rear seat or the
bench seat to gain access to the
lock from inside the boot,
- Insert a small screwdriver into
hole D
in the lock and push it
towards the left to unlock the
tailgate.
B - Electric
This disarms all the electrical controls
in the rear:
- electric windows,
- sliding side doors,
- sunroofs in rows 2 and 3.
With the ignition on, press button B
.
A message appears on the display,
accompanied by an audible signal,
indicating the status of the function:
activated or not activated.
Always check the status before setting off.
This safety system is independent of
the central locking.
In the event of a serious impact, the
doors are unlocked automatically
to permit access by the emergency
services.
Always remove the ignition key
when leaving the vehicle, even for
a short time.
Page 28 of 234

Access
26
SUNROOFS
You have three sunroofs each with an
independent control.
However, the front passenger’s control
can also operate the two rear sunroofs
simultaneously.
To partially open the roof:
press and
hold part A
of the control.
To open the roof completely:
press
part A
of the control briefl y.
To close it completely:
press part B
of the control briefl y to slide it, then
press the control again continuously to
close it completely.
Malfunction
In the event of a malfunction, unwanted
opening of the roof on closing (for
example, in the presence of ice),
following reconnection of the battery or
if the sunroof does not close:
- press A
until the roof is fully open,
- press B
within one second to close
the roof,
- if the roof does not close, press B
several times until the roof is fully
closed,
- release then continue to press
the control B
for approximately
fi ve seconds after closing of the
roof.
The safety auto-reverse function is
not active during these operations.
Disarming of the row 2 and
3 controls
Press the rear electrical functions
disarming switch.
The sunroof shutter is manual.
To open it, lift the handle and slide
it rearwards.
To close it, slide it forwards until the
handle locks.
Good practice
Do not open the sunroofs
immediately after a shower or
immediately after washing the car.
Always ensure that the sunroofs are
closed correctly before leaving the
vehicle.
In the event of contact during operation
of the roof, you must reverse the
movement of the roof. To do this, press
the switch concerned.
When the driver operates the roof
switch, he must ensure that no one is
preventing correct closing of the roof.
Be aware of children when operating
the roof.
The driver must ensure that the
passengers use the sunroof correctly.
Safety auto-reverse
When the sunroof is sliding closed
and meets an obstacle, it stops then
partially opens again.
Page 85 of 234
EASE OF USE and COMFORT
3
83
Mirrors and windows
ELECTRIC WINDOWS
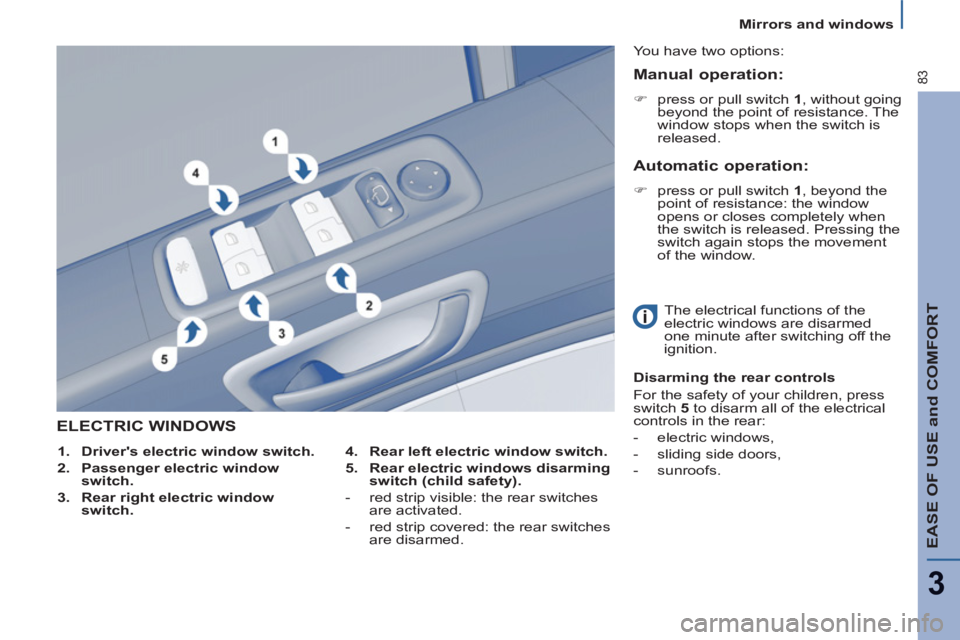
4.
Rear left electric window switch.
5.
Rear electric windows disarming
switch (child safety).
- red strip visible: the rear switches
are activated.
- red strip covered: the rear switches
are disarmed. You have two options:
The electrical functions of the
electric windows are disarmed
one minute after switching off the
ignition.
Disarming the rear controls
For the safety of your children, press
switch 5
to disarm all of the electrical
controls in the rear:
- electric windows,
- sliding side doors,
- sunroofs.
1.
Driver's electric window switch.
2.
Passenger electric window
switch.
3.
Rear right electric window
switch.
Manual operation:
�)
press or pull switch 1
, without going
beyond the point of resistance. The
window stops when the switch is
released.
Automatic operation:
�)
press or pull switch 1
, beyond the
point of resistance: the window
opens or closes completely when
the switch is released. Pressing the
switch again stops the movement
of the window.
Page 96 of 234
94
Airbags
Good practice
If your vehicle is fi tted with a front
passenger air bag, side air bags or
curtain air bags, observe this good
practice.
Sit in a normal upright position.
Wear a correctly adjusted seat belt.
Do not leave anything between the
occupants and the air bags (a child,
pet, object...). This could hamper the
operation of the air bags or injure the
occupants.
After an accident or if the vehicle has
been stolen or broken into, have the air
bag systems checked.
All work on the air bag system is strictly
forbidden unless it is carried out by
qualifi ed personnel of the PEUGEOT
network.
Front air bags
Do not drive holding the steering wheel
by its spokes or resting your hands on
the centre part of the wheel.
Passengers must not place their feet
on the fascia.
Smoke as little as possible as
deployment of the air bags can cause
burns or the risk of injury from a
cigarette or pipe.
Never remove or pierce the steering
wheel or hit it violently.
Side air bags
Only put approved covers on the seats.
These will not hinder infl ation of the
side air bags. Consult a PEUGEOT
dealer.
Do not fi x or glue anything to the seat
backs. This could cause injury to the
chest or arms when the side air bag
infl ates.
Do not sit with the upper part of the
body any nearer to the door than
necessary.
Curtain air bags
Do not fi x or glue anything to the roof.
This could cause injury to the head
when the curtain air bag infl ates.
Do not remove the grab handles
installed on the roof, they play a part in
securing the curtain air bags.
Even if all of the precautions
mentioned are observed, a risk of
injury or of minor burns to the head,
chest or arms when an air bag is
triggered cannot be ruled out. In fact,
the bag infl ates almost instantly (within
a few milliseconds) then defl ates within
the same time discharging the hot gas
via openings provided for this purpose.
Page 104 of 234
102
Child safety
ADVICE ON CHILD SEATS
The incorrect installation of a child seat
in a vehicle compromises the child's
protection in the event of an accident.
Remember to fasten the seat belts or
the child seat harnesses keeping the
slack
in relation to the child's body to a
minimum
, even for short journeys.
To protect young children from the
rays of the sun, fi t side blinds to
the rear windows.
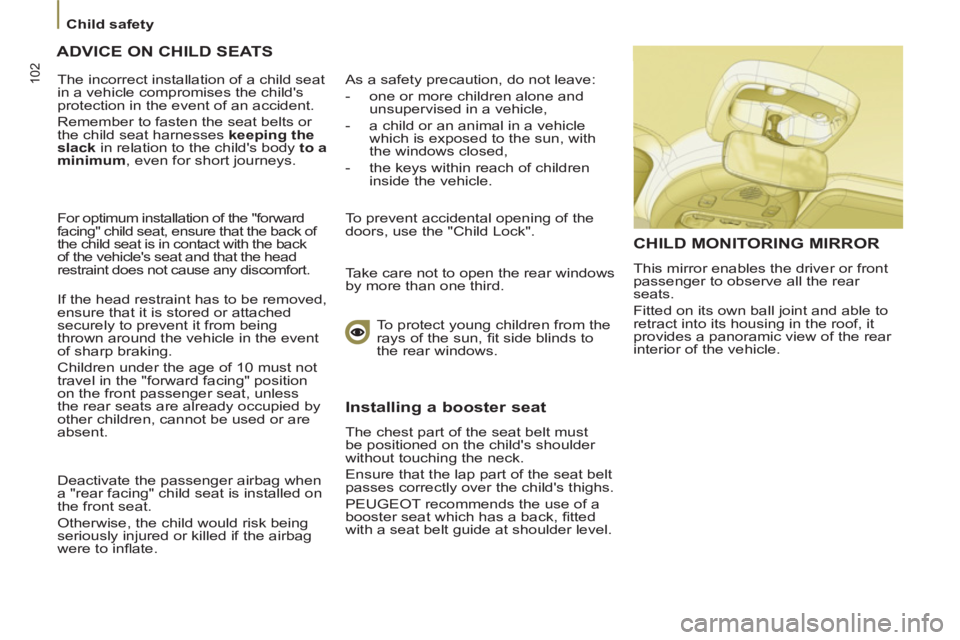
CHILD MONITORING MIRROR
This mirror enables the driver or front
passenger to observe all the rear
seats.
Fitted on its own ball joint and able to
retract into its housing in the roof, it
provides a panoramic view of the rear
interior of the vehicle. For optimum installation of the "forward
facing" child seat, ensure that the back of
the child seat is in contact with the back
of the vehicle's seat and that the head
restraint does not cause any discomfort.
If the head restraint has to be removed,
ensure that it is stored or attached
securely to prevent it from being
thrown around the vehicle in the event
of sharp braking.
Children under the age of 10 must not
travel in the "forward facing" position
on the front passenger seat, unless
the rear seats are already occupied by
other children, cannot be used or are
absent.
Deactivate the passenger airbag when
a "rear facing" child seat is installed on
the front seat.
Otherwise, the child would risk being
seriously injured or killed if the airbag
were to infl ate.
As a safety precaution, do not leave:
- one or more children alone and
unsupervised in a vehicle,
- a child or an animal in a vehicle
which is exposed to the sun, with
the windows closed,
- the keys within reach of children
inside the vehicle.
To prevent accidental opening of the
doors, use the "Child Lock".
Take care not to open the rear windows
by more than one third.
Installing a booster seat
The chest part of the seat belt must
be positioned on the child's shoulder
without touching the neck.
Ensure that the lap part of the seat belt
passes correctly over the child's thighs.
PEUGEOT recommends the use of a
booster seat which has a back, fi tted
with a seat belt guide at shoulder level.