Menu Peugeot Boxer 2018 Owner's Guide
[x] Cancel search | Manufacturer: PEUGEOT, Model Year: 2018, Model line: Boxer, Model: Peugeot Boxer 2018Pages: 232, PDF Size: 9.09 MB
Page 190 of 232
4
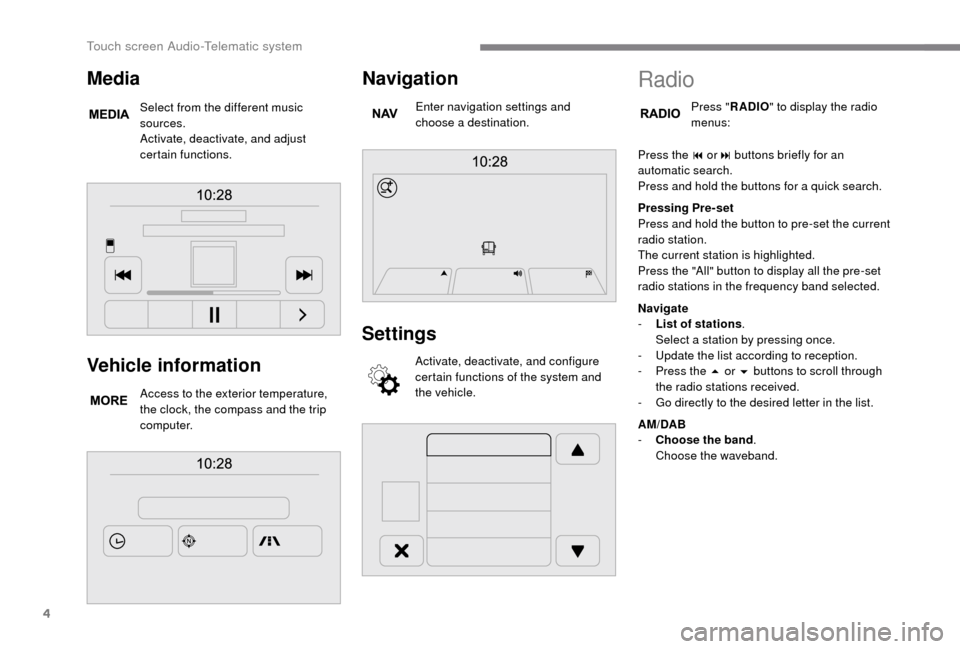
Vehicle information
Access to the exterior temperature,
the clock, the compass and the trip
computer.
Navigation
Enter navigation settings and
choose a destination.
Settings
Activate, deactivate, and configure
certain functions of the system and
the vehicle.
Media
Select from the different music
sources.
Activate, deactivate, and adjust
certain functions.
Radio
Press "RADIO " to display the radio
menus:
Press the 9
or: buttons briefly for an
automatic search.
Press and hold the buttons for a
quick search.
Pressing Pre-set
Press and hold the button to pre-set the current
radio station.
The current station is highlighted.
Press the "All" button to display all the pre-set
radio stations in the frequency band selected.
Navigate
-
L
ist of stations .
Select a
station by pressing once.
-
U
pdate the list according to reception.
-
P
ress the 5 or 6 buttons to scroll through
the radio stations received.
-
G
o directly to the desired letter in the list.
AM/DAB
-
C
hoose the band .
Choose the waveband.
Touch screen Audio-Telematic system
Page 192 of 232
6
Media
Press "MEDIA" to display the media
menus:
Press the 9
or: buttons to play the previous/
next track.
Press and hold the buttons for fast for ward or
rewind in the track selected.
Navigate
-
N
avigate by: Playing currently, Ar tists,
Albums, Genres, Tracks, Playlists, Audio
books, Podcasts .
Navigate and select tracks on the active
device.
The selection options depend on the device
connected or type of CD inserted.
Source
-
C
D, AUX, USB .
Select the desired audio source from those
available or insert a
device intended for
this purpose; the system starts playing the
source automatically.
-
Bl
uetooth
®.
Pair a
Bluetooth® audio device.
Info
-
I
nformation .
Display information on the track playing. Random
Press the button to play tracks on the CD, USB,
iPod or Bluetooth
® device in random order.
Repeat
Press the button to activate this function.
Audio
-
E
qualiser .
Adjust the bass, mid-range and treble.
-
B
alance/Fade .
Adjust the balance of the speakers, front
and rear, left and right.
Press the button in the middle of the arrows
to balance the adjustments.
-
V
olume/Speed .
Select the desired setting, the option is
highlighted.
-
L
oudness .
Optimise audio quality at low volume.
-
A
utomatic radio .
Adjust the radio on startup or restore the
active state the last time the ignition was
switched to STOP.
-
R
adio off delay .
Adjust the setting.
-
A
UX vol. adjustment .
Adjust the settings.
USB port
Insert a USB memory stick or connect
a peripheral device to the USB port in
the central storage space , provided for
transferring data to the system, using a
suitable
cable (not supplied).
To protect the system, do not use a
USB
hub.
The system builds playlists (in temporary
memory), an operation which can take from
a
few seconds to several minutes at the first
connection.
Reduce the number of non-music files and the
number of folders to reduce the waiting time.
The playlists are updated every time the
ignition is switched off or a
USB memory stick
is connected. The lists are stored: if they are
not modified, the subsequent loading time will
b e s h o r t e r.
Touch screen Audio-Telematic system
Page 195 of 232
9
The classifications available are those of
the portable device connected (artists/
albums/genres/tracks/playlists/audio
books/podcasts).
The default classification used is by
artists. To modify the classification used,
return to the first level of the menu then
select the desired classification (playlists,
for example) and confirm to go down
through the menu to the desired track.
The version of software in the audio
system may not be compatible with the
generation of your Apple
® p l aye r.
Navigation
Press N AV then in the centre or at
the bottom of the screen to display
the settings and navigation menus:
Go to…
Select "Go to", to define the destination in many
ways and not just by entering an address.
Display map
Display the map for the route for a
preview
using the map navigator. Plan a
route
Use the navigation system to plan a route
in advance, selecting the start point and the
destination.
Services
Use the traffic information to minimise the
impact on your journey from traffic delays.
Settings
Modify the appearance and operation of the
navigation system.
Most of the system settings are accessible by
pressing "Settings" in the main menu.
Help
Access information on assistance ser vices or
other specialised services.
End
Confirm the settings.
Limit
Speed limit (if known).
To see the difference between the desired time
of arrival and estimated time of arrival.
Switch between 3D and 2D maps.
Go to…, Display map, Plan a
route,
Services, Settings, Help, End.
When the navigation system starts for the
first time, the "Driving mode" and detailed
information on the current position are
displayed. Details
The route over view gives a
preview of the
route, the remaining distance to the destination
and an estimate of the remaining travelling
time.
With RDS-TMC data, the route over view also
shows traffic information related to delays on
the route.
Modify route
The navigation system helps you to reach
your destination in the fastest possible time by
displaying an alternative route when available.
End
Confirm the settings.
Instructions
Navigation instructions for the next section
of the route and the distance until the next
instruction. If the second instruction is less
than 150 metres from the first, it is displayed
immediately instead of the distance.
Touch this part of the status bar to repeat the
last voice instruction. Touch the middle of the screen to open the
main menu.
.
Touch screen Audio-Telematic system
Page 196 of 232
10
Map update
Proceed as follows to update a map:
- L atest Map Guarantee: if a new map
becomes available within ninety days
of using the system for the first time,
you can download it once free of
charge.
-
M
ap updating: you can purchase a new
version of the map in your system.
Follow these four steps to install an updated
map in your system:
-
P
repare a USB device.
-
Install To m To m H O M E and create
a
M yTo mTo m account.
-
D
ownload the map.
-
I
nstall the new map. Use a
USB device, not a mass storage
device (telephone or media player).
To protect the system, do not use a
USB
hub.
Prepare a USB device
The USB device must be prepared with
the engine running and the vehicle
stationary.
You must have a
USB device meeting the
conditions below to update the map:
-
T
he USB device must be empty.
-
T
he USB device has 16 Gb of space
available.
-
U
se only USB devices in FAT32 format (File
Allocation Table).
-
D
o not lock the USB device and check that
it can save files.
Proceed as follows to prepare the USB device:
F
M
ake sure that the map you wish to update
is active in your navigation system.
If the navigation system has several maps
and you wish to update a
map that is not
currently activated, start by activating it.
F
Sel
ect " Change map " in the "Settings "
menu of the navigation application.
F
Sel
ect " Navigation updates " in the
" Settings " menu.
F
Y
ou should indicate whether you wish to
prepare a
USB device to download updates. The system starts to prepare the USB device.
-
I
f the system continues to ask you to
insert a
USB device, make sure that
your USB device meets the conditions
above and try again.
-
I
f you connect several USB devices,
the system asks you to remove the
devices so that only the device being
prepared is connected.
-
I
f there is not enough space on the
USB device, the system asks you to
use another USB device.
-
I
f you connect a USB device already
containing files, the system warns you
that these files may be deleted.
The following message appears when the USB
device is ready:
" Navigation updates "
The USB device is now prepared and
you can safely remove it. F
Sel
ect "
Ye s".
F
I
nsert the USB device into the USB port in
the central storage space , provided for
transferring data.
Touch screen Audio-Telematic system
Page 198 of 232
12
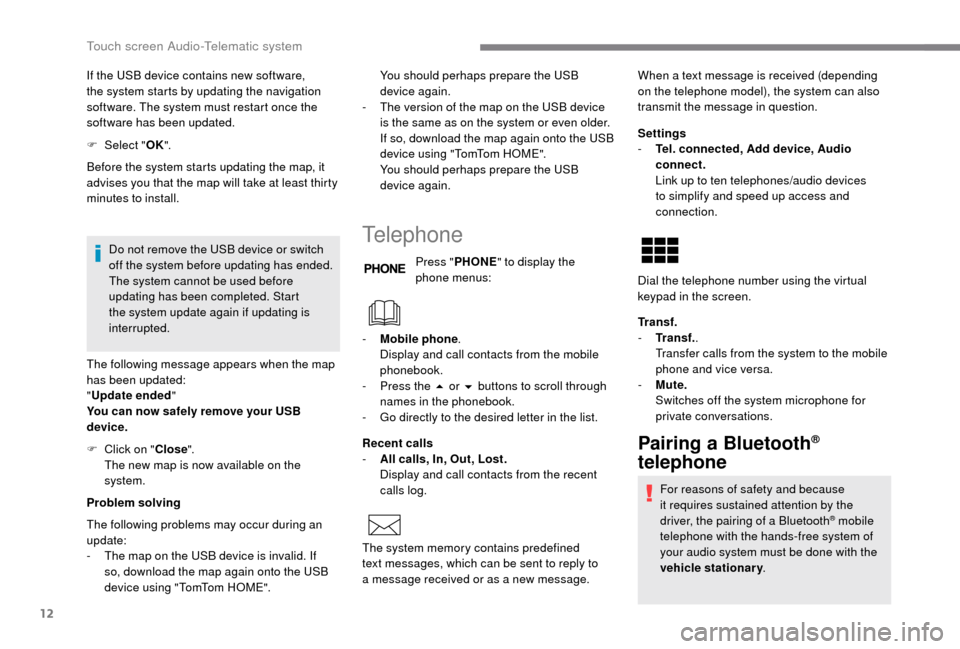
If the USB device contains new software,
the system starts by updating the navigation
software. The system must restart once the
software has been updated.
F
Sel
ect "OK".
Before the system starts updating the map, it
advises you that the map will take at least thirty
minutes to install.
Do not remove the USB device or switch
off the system before updating has ended.
The system cannot be used before
updating has been completed. Start
the system update again if updating is
interrupted.
The following message appears when the map
has been updated:
" Update ended "
You can now safely remove your USB
device.
Problem solving Y ou should perhaps prepare the USB
device again.
-
T
he version of the map on the USB device
is the same as on the system or even older.
If so, download the map again onto the USB
device using "TomTom HOME".
You should perhaps prepare the USB
device again.
Telephone
Press " PHONE " to display the
phone menus:
Recent calls
-
A
ll calls, In, Out, Lost.
D
isplay and call contacts from the recent
calls log. Settings
-
T
el. connected, Add device, Audio
connect.
L
ink up to ten telephones/audio devices
to simplify and speed up access and
connection.
Transf.
-
T
ransf..
Transfer calls from the system to the mobile
phone and vice versa.
-
M
ute.
S
witches off the system microphone for
private conversations.
Pairing a Bluetooth®
telephone
For reasons of safety and because
it requires sustained attention by the
driver, the pairing of a
Bluetooth
® mobile
telephone with the hands-free system of
your audio system must be done with the
vehicle stationary .
The following problems may occur during an
update:
-
T
he map on the USB device is invalid. If
so, download the map again onto the USB
device using "TomTom HOME". -
M
obile phone
.
Display and call contacts from the mobile
phonebook.
-
P
ress the 5
or 6
buttons to scroll through
names in the phonebook.
-
G
o directly to the desired letter in the list.
The system memory contains predefined
text messages, which can be sent to reply to
a
message received or as a
new message. When a
text message is received (depending
on the telephone model), the system can also
transmit the message in question.
Dial the telephone number using the virtual
keypad in the screen.
F
C
lick on "
Close".
The new map is now available on the
system.
Touch screen Audio-Telematic system
Page 200 of 232
14
Select "Connected " or "Disconnected ",
" Delete device " or "Add device", " Save
Favourites ", "Text messages on ",
" Download " in the list of options offered.
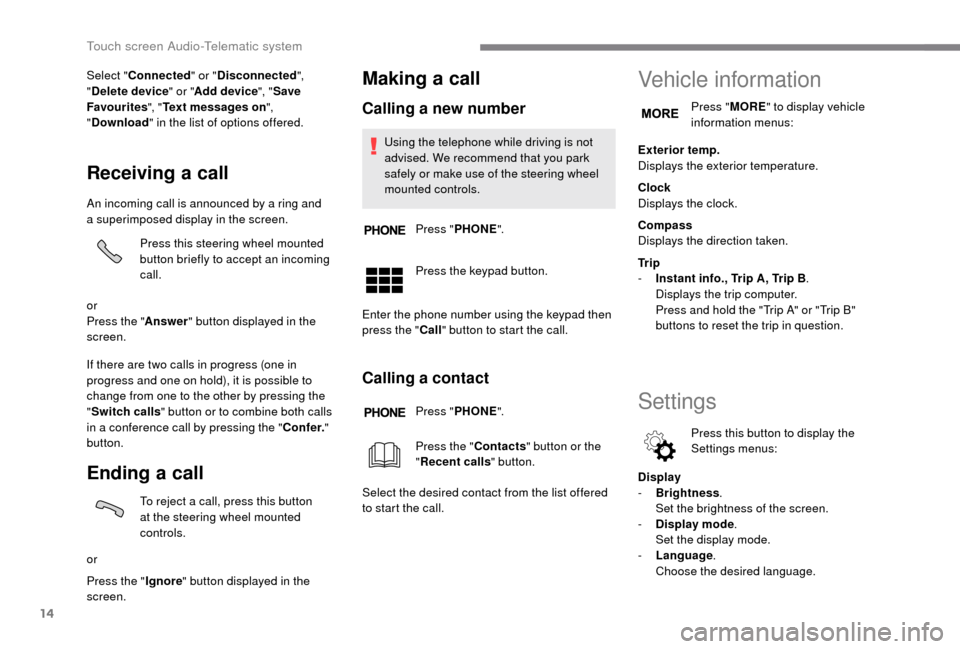
Receiving a call
An incoming call is announced by a ring and
a superimposed display in the screen.
Press this steering wheel mounted
button briefly to accept an incoming
call.
or
Press the " Answer" button displayed in the
screen.
If there are two calls in progress (one in
progress and one on hold), it is possible to
change from one to the other by pressing the
" Switch calls " button or to combine both calls
in a
conference call by pressing the " Co nf e r."
button.
Ending a call
To reject a call, press this button
a t the steering wheel mounted
controls.
or
Press the " Ignore" button displayed in the
screen.
Making a call
Calling a new number
Using the telephone while driving is not
advised. We recommend that you park
safely or make use of the steering wheel
mounted controls.
Press " PHONE ".
Press the keypad button.
Enter the phone number using the keypad then
press the " Call" button to start the call.
Calling a contact
Press "PHONE ".
Press the " Contacts" button or the
" Recent calls " button.
Select the desired contact from the list offered
to start the call.
Vehicle information
Press " MORE" to display vehicle
information menus:
Exterior temp.
Displays the exterior temperature.
Clock
Displays the clock.
Compass
Displays the direction taken.
Tr i p
-
I
nstant info., Trip A, Trip B .
Displays the trip computer.
Press and hold the "Trip A" or "Trip B"
buttons to reset the trip in question.
Settings
Press this button to display the
Settings menus:
Display
-
B
rightness .
S
et the brightness of the screen.
-
Di
splay mode .
Set the display mode.
-
L
anguage .
Choose the desired language.
Touch screen Audio-Telematic system
Page 211 of 232
1
Audio system
Multimedia audio system –
Bluetooth® telephone
Contents
First steps
1
S
teering wheel mounted controls
2
R
adio
2
M
edia
4
T
elephone
5
S
ettings
6
V
oice commands
6T
he system is protected in such a way that
it will only operate in your vehicle.
For safety reasons, the vehicle must
always be stationary for the driver to
perform operations that require close
attention.
When the engine is switched off and to
prevent discharging of the battery, the
system switches off after activation of
energy economy mode.
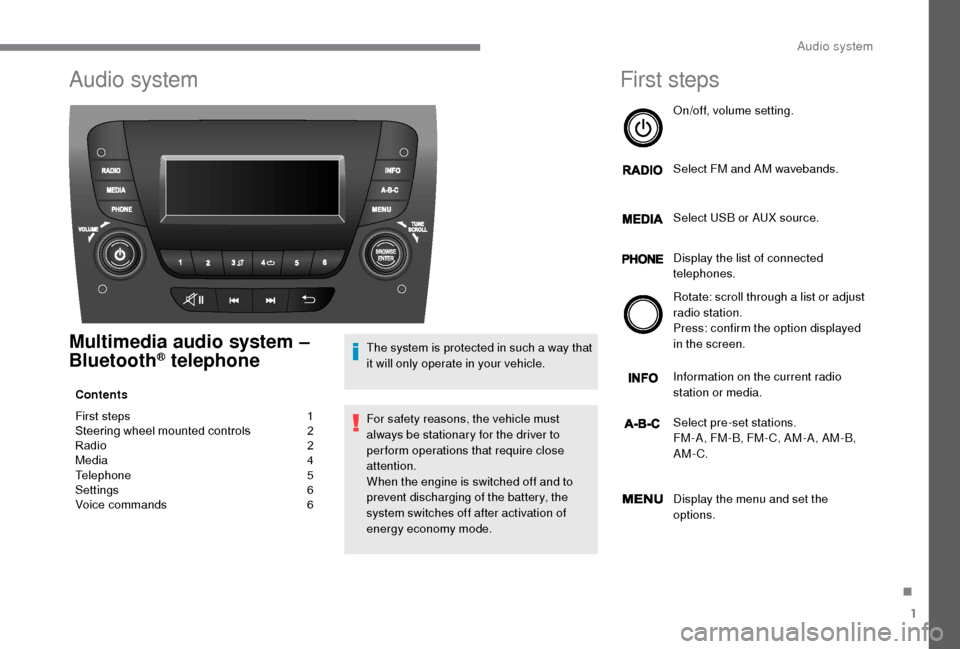
First steps
On/off, volume setting.
Select FM and AM wavebands.
Select USB or AUX source.
Display the list of connected
telephones.
Rotate: scroll through a
list or adjust
radio station.
Press: confirm the option displayed
in the screen.
Information on the current radio
station or media.
Select pre-set stations.
FM-A, FM-B, FM- C, AM-A, AM-B,
AM-C.
Display the menu and set the
options.
.
Audio system
Page 212 of 232
2
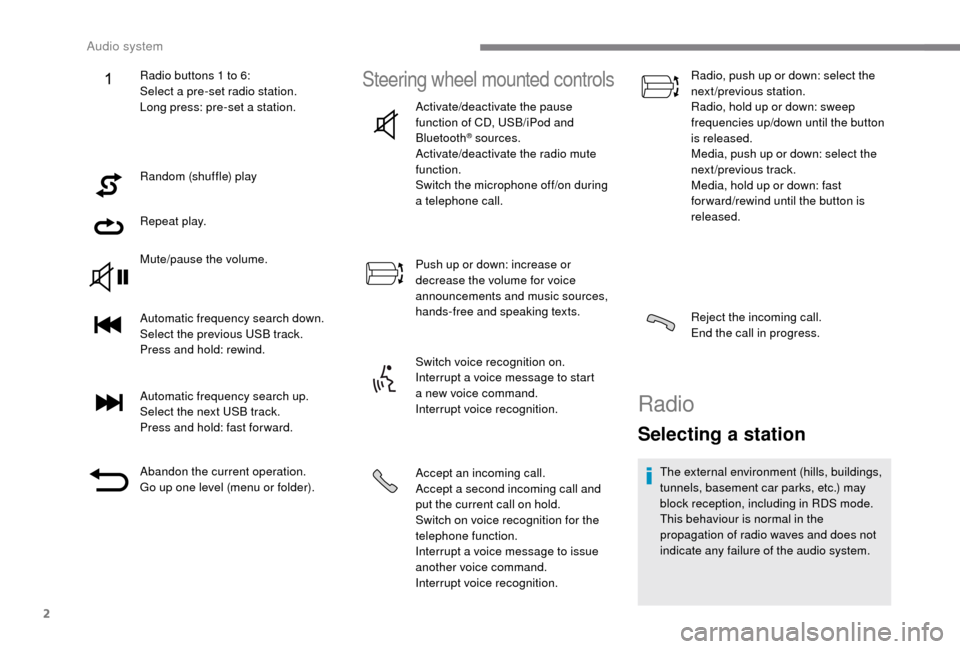
Random (shuffle) play
Repeat play.
Mute/pause the volume.
Automatic frequency search down.
Select the previous USB track.
Press and hold: rewind.
Automatic frequency search up.
Select the next USB track.
Press and hold: fast for ward.
Abandon the current operation.
Go up one level (menu or folder).
Steering wheel mounted controls
Activate/deactivate the pause
function of CD, USB/iPod and
Bluetooth
® sources.
Activate/deactivate the radio mute
function.
Switch the microphone off/on during
a
telephone call.
Push up or down: increase or
decrease the volume for voice
announcements and music sources,
hands-free and speaking texts.
Switch voice recognition on.
Interrupt a
voice message to start
a
new voice command.
Interrupt voice recognition.
Accept an incoming call.
Accept a
second incoming call and
put the current call on hold.
Switch on voice recognition for the
telephone function.
Interrupt a
voice message to issue
another voice command.
Interrupt voice recognition. Radio, push up or down: select the
next/previous station.
Radio, hold up or down: sweep
frequencies up/down until the button
is released.
Media, push up or down: select the
next/previous track.
Media, hold up or down: fast
for ward/rewind until the button is
released.
Reject the incoming call.
End the call in progress.
Radio
Selecting a station
The external environment (hills, buildings,
tunnels, basement car parks, etc.) may
block reception, including in RDS mode.
This behaviour is normal in the
propagation of radio waves and does not
indicate any failure of the audio system.
Radio buttons 1
to 6:
Select a
pre-set radio station.
Long press: pre-set a
station.
Audio system
Page 213 of 232
3
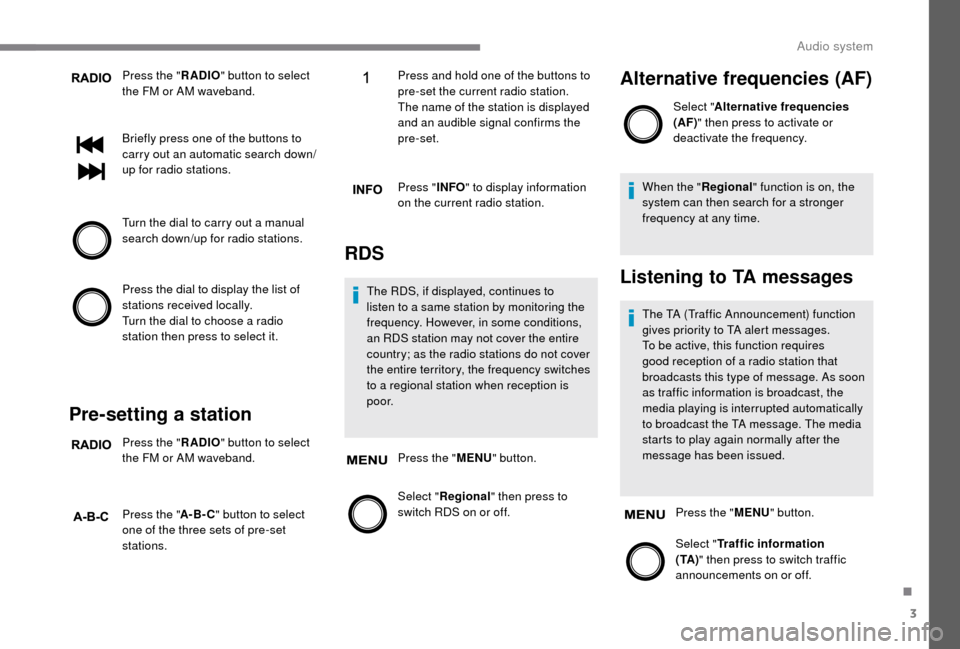
Press the "RADIO" button to select
the FM or AM waveband.
Briefly press one of the buttons to
carry out an automatic search down/
up for radio stations.
Turn the dial to carry out a
manual
search down/up for radio stations.
Press the dial to display the list of
stations received locally.
Turn the dial to choose a
radio
station then press to select it.
Pre-setting a station
Press the " RADIO" button to select
the FM or AM waveband.
Press the " A-B-C" button to select
one of the three sets of pre-set
stations. Press and hold one of the buttons to
pre-set the current radio station.
The name of the station is displayed
and an audible signal confirms the
pre-set.
Press "
INFO" to display information
on the current radio station.
RDS
The RDS, if displayed, continues to
listen to a same station by monitoring the
frequency. However, in some conditions,
an RDS station may not cover the entire
country; as the radio stations do not cover
the entire territory, the frequency switches
to a
regional station when reception is
p o o r.
Press the " MENU" button.
Select " Regional" then press to
switch RDS on or off.
Alternative frequencies (AF)
Select " Alternative frequencies
(AF)" then press to activate or
deactivate the frequency.
When the " Regional" function is on, the
system can then search for a
stronger
frequency at any time.
Listening to TA messages
The TA (Traffic Announcement) function
gives priority to TA alert messages.
To be active, this function requires
good reception of a
radio station that
broadcasts this type of message. As soon
as traffic information is broadcast, the
media playing is interrupted automatically
to broadcast the TA message. The media
starts to play again normally after the
message has been issued.
Press the " MENU" button.
Select " Traffic information
( TA ) " then press to switch traffic
announcements on or off.
.
Audio system
Page 215 of 232
5
To protect the system, do not use a USB
hub .
The system does not support the simultaneous
connection of two identical devices (two
memory sticks or two Apple
® players) but it is
possible to connect one memory stick and one
Apple
® player at the same time.
It is recommended that you use genuine
Apple® USB cables for correct operation.
Connecting Apple® players
Control is via the audio system. The classifications available are those of
the portable device connected (artists/
albums/genres/tracks/playlists/audio
books/podcasts).
The default classification used is by
artists. To modify the classification used,
return to the first level of the menu then
select the desired classification (playlists,
for example) and confirm to go down
through the menu to the desired track.
The version of software in the audio
system may not be compatible with the
generation of your Apple
® p l aye r.
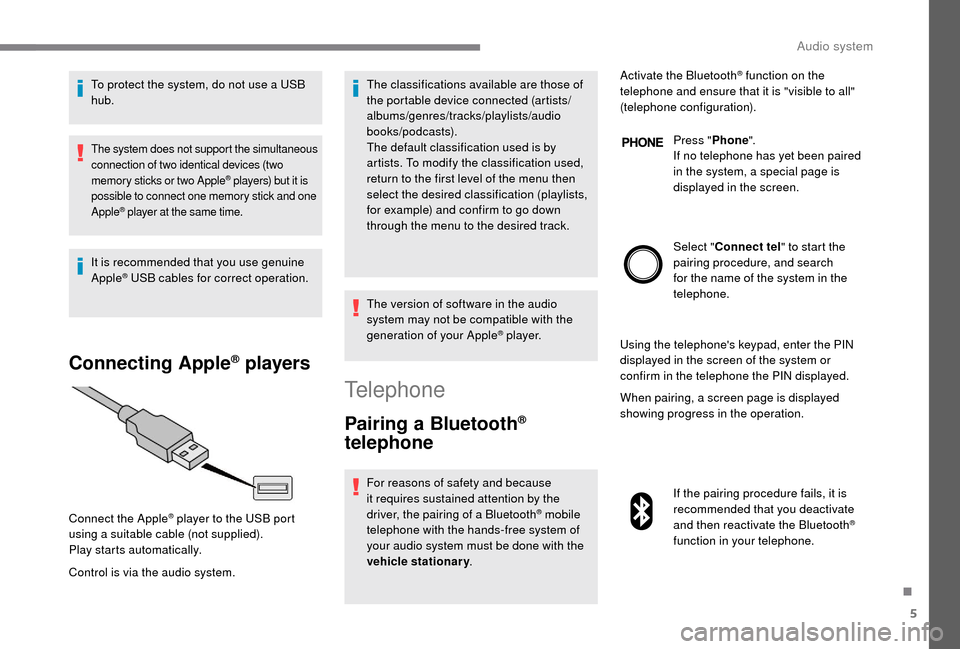
Connect the Apple
® player to the USB port
using a
suitable cable (not supplied).
Play starts automatically.
Telephone
Pairing a Bluetooth®
telephone
For reasons of safety and because
it requires sustained attention by the
driver, the pairing of a
Bluetooth
® mobile
telephone with the hands-free system of
your audio system must be done with the
vehicle stationary . Activate the Bluetooth
® function on the
telephone and ensure that it is "visible to all"
(telephone configuration).
Press "Phone".
If no telephone has yet been paired
in the system, a special page is
displayed in the screen.
Select " Connect tel " to start the
pairing procedure, and search
for the name of the system in the
telephone.
Using the telephone's keypad, enter the PIN
displayed in the screen of the system or
confirm in the telephone the PIN displayed.
When pairing, a screen page is displayed
showing progress in the operation.
If the pairing procedure fails, it is
recommended that you deactivate
and then reactivate the Bluetooth
®
function in your telephone.
.
Audio system