tow Peugeot Boxer 2020 User Guide
[x] Cancel search | Manufacturer: PEUGEOT, Model Year: 2020, Model line: Boxer, Model: Peugeot Boxer 2020Pages: 196, PDF Size: 5.1 MB
Page 37 of 196
35
Ease of use and comfort
3Additional pre-heater or programmable additional
heating
This is an additional, programmable and
independent system that heats the hot water
loop of the Diesel engine to facilitate starting.
It improves the performance of the defrosting
and demisting and, if fitted to the vehicle, that of
the heated seats.
The passenger compartment’s temperature rises
more quickly.
This system must be programmed to be started
before entering the vehicle.
Automatic additional heating
This is an additional system that starts
automatically when the ignition is switched on. Its
activation depends on the outside temperature
and the temperature inside the vehicle.
It switches off automatically as soon as the
heating is manually switched on.
Supplementary heating
On 2-3 seat versions, it is located under the
driver's seat with air diffusion directed towards
the front.
On 5-9 seat versions, it is located at the rear. Depending
on the version of the model, the
air diffusion is either direct from
the rear, or comes from the rail
located under each of the two
rows of seats.
► Press this control to activate/deactivate the heating. The LED lights up
if heating is activated.
When quickly defrosting and demisting, turn off
the control.
Rear heating and/or air
conditioning
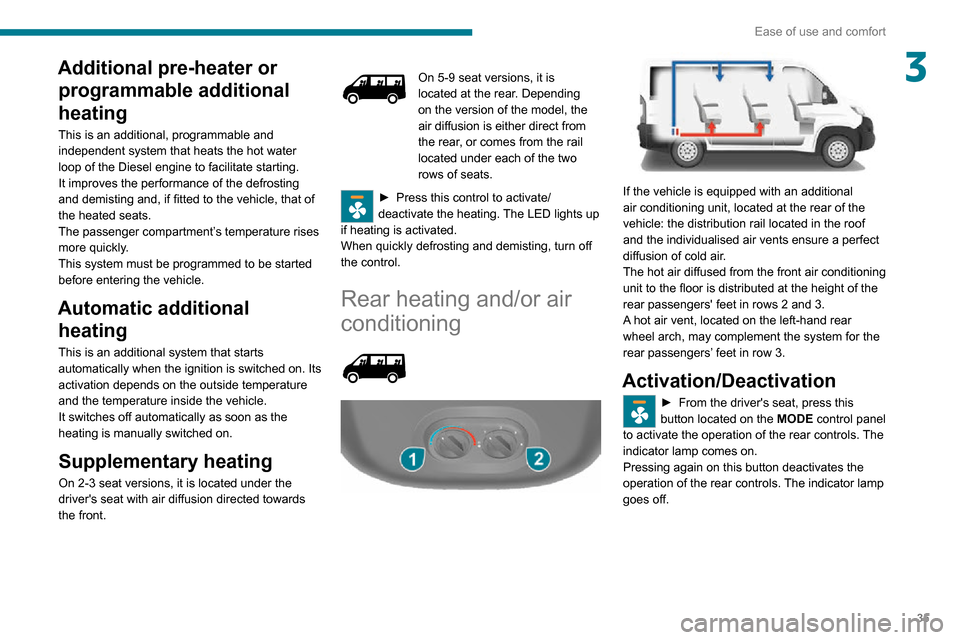
If the vehicle is equipped with an additional
air conditioning unit, located at the rear of the
vehicle: the distribution rail located in the roof
and the individualised air vents ensure a perfect
diffusion of cold air.
The hot air diffused from the front air conditioning
unit to the floor is distributed at the height of the
rear passengers' feet in rows 2 and 3.
A hot air vent, located on the left-hand rear
wheel arch, may complement the system for the
rear passengers’ feet in row 3.
Activation/Deactivation
► From the driver's seat, press this button located on the MODE control panel
to activate the operation of the rear controls. The
indicator lamp comes on.
Pressing again on this button deactivates the
operation of the rear controls. The indicator lamp
goes off.
Page 41 of 196
39
Ease of use and comfort
3Open storage space is located below the central
console panel.
It provides access to auxiliary sockets (Jack and
USB) dedicated to transferring data to the audio
system.
Depending on equipment, it is also equipped
with a double cup holder and/or a smartphone
holder.
Front seat storage
compartments
A fixed storage tray is located under the driver's
seat.
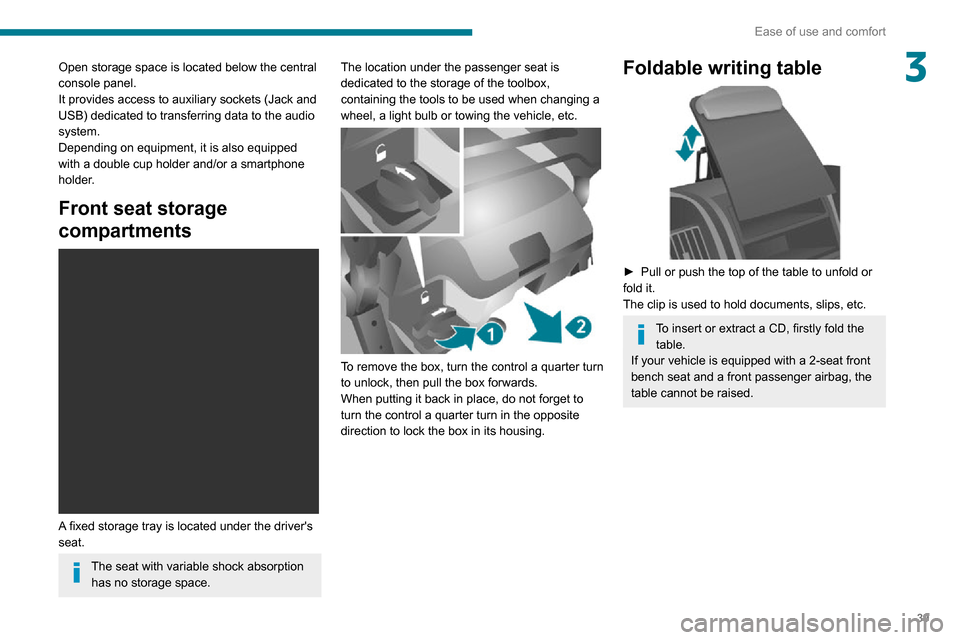
The seat with variable shock absorption has no storage space. The location under the passenger seat is
dedicated to the storage of the toolbox,
containing the tools to be used when changing a
wheel, a light bulb or towing the vehicle, etc.
To remove the box, turn the control a quarter turn
to unlock, then pull the box forwards.
When putting it back in place, do not forget to
turn the control a quarter turn in the opposite
direction to lock the box in its housing.
Foldable writing table
► Pull or push the top of the table to unfold or fold it.
The clip is used to hold documents, slips, etc.
To insert or extract a CD, firstly fold the
table.
If your vehicle is equipped with a 2-seat front
bench seat and a front passenger airbag, the
table cannot be raised.
Page 44 of 196
42
Ease of use and comfort
Support for stowing rail
Supports for securing a stowing rail are available
above the trims, on each side of the vehicle.
Maximum load: 200 kg.
Side trim
The interior sections of the side walls are fitted
with loading protection trims.
12 volt socket
Maximum power: 180 W.
Reading lamps
They are controlled by the switches.
The driver's switch controls both lamps together.
The passenger's switch controls either the
driver's lamp or the passenger's lamp.
Controls, located at the bottom of the dashboard on the driver's side, allow the driver to activate/deactivate the passenger's
lamp.
Courtesy lamp
It can be activated by:– the switches located on the courtesy lamp, with the ignition on - MAR - ON position,– the opening or closing of one of the front doors,– the locking/unlocking of the vehicle.It turns off automatically:– if the switch is not pressed to the right or to the left,– in any case after 15 minutes, if the doors remain open,– or when the ignition is switched on.
Rear fittings
Stowing rings
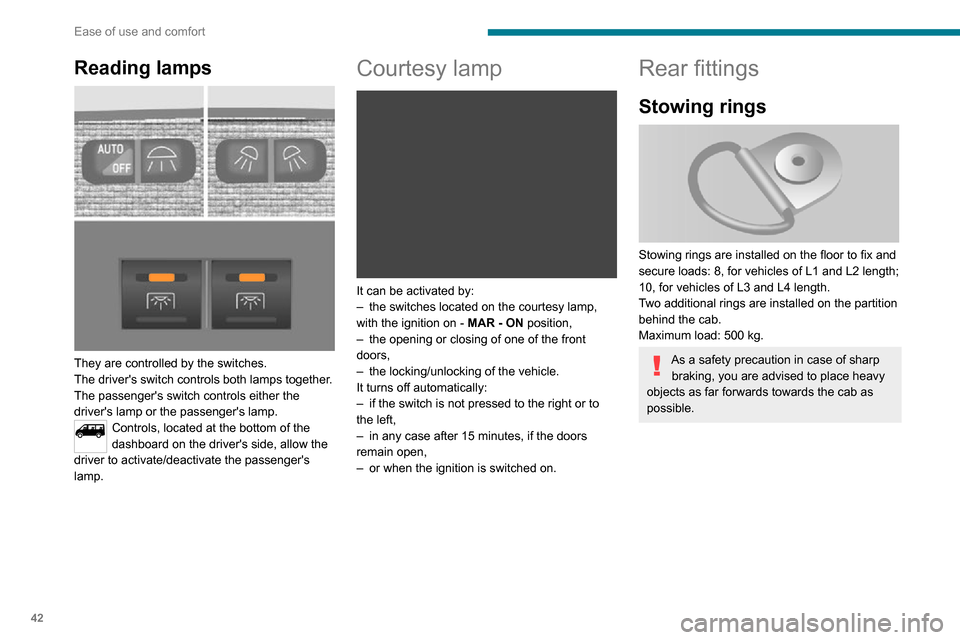
Stowing rings are installed on the floor to fix and
secure loads: 8, for vehicles of L1 and L2 length;
10, for vehicles of L3 and L4 length.
Two additional rings are installed on the partition
behind the cab.
Maximum load: 500 kg.
As a safety precaution in case of sharp braking, you are advised to place heavy
objects as far forwards towards the cab as
possible.
Page 45 of 196
43
Ease of use and comfort
3Support for stowing rail
Supports for securing a stowing rail are available
above the trims, on each side of the vehicle.
Maximum load: 200 kg.
Side trim
The interior sections of the side walls are fitted
with loading protection trims.
12 volt socket
Maximum power: 180 W.
The connection of an electrical device not approved by PEUGEOT, such as a
USB charger, may adversely affect the
operation of vehicle electrical systems,
causing faults such as poor radio reception or
interference with displays in the screens.
Cigarette lighter
► Press and wait a few moments for automatic triggering.
Courtesy lamps
If fitted to the vehicle, one or two courtesy lamps
are located above the rear and side doors.
They can be activated by:
– tilting the courtesy lamp (to the left or to the right),– opening or closing the rear or side doors.This lighting will turn off automatically after a few
minutes if the doors remain open.
Reading lamps
They are located above each row of seats.
Interior roof rack
This is a storage device located in the loading
area above the cab. Its capacity is variable
according to the height of the van (H2 or H3
type).
For safety reasons, do not install heavy
objects in the interior rack.
Page 47 of 196
45
Ease of use and comfort
3Exterior fittings
Protective grille
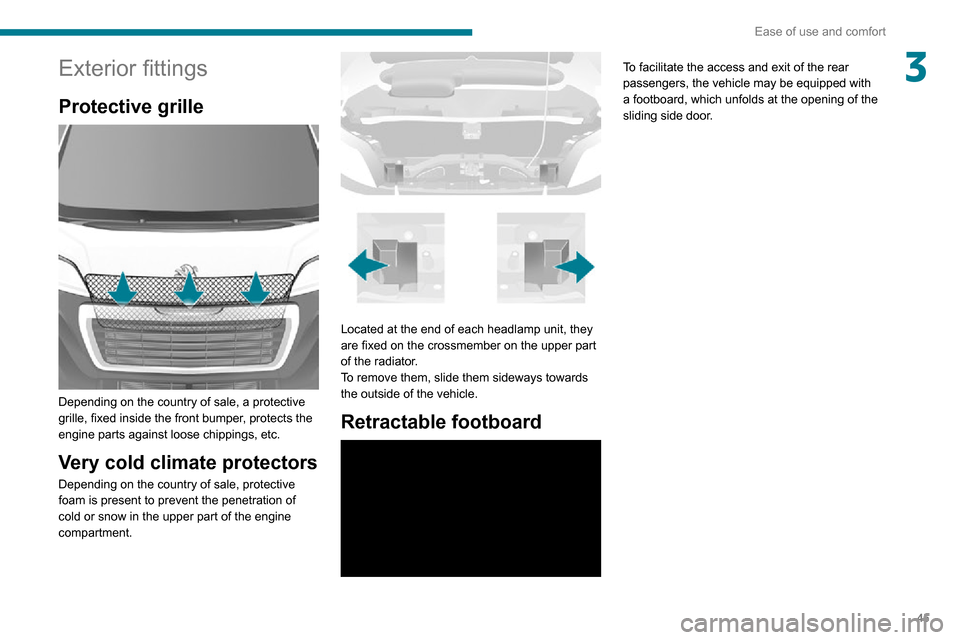
Depending on the country of sale, a protective
grille, fixed inside the front bumper, protects the
engine parts against loose chippings, etc.
Very cold climate protectors
Depending on the country of sale, protective
foam is present to prevent the penetration of
cold or snow in the upper part of the engine
compartment.
Located at the end of each headlamp unit, they
are fixed on the crossmember on the upper part
of the radiator.
To remove them, slide them sideways towards
the outside of the vehicle.
Retractable footboard
To facilitate the access and exit of the rear
passengers, the vehicle may be equipped with
a footboard, which unfolds at the opening of the
sliding side door.
Page 48 of 196
46
Lighting and visibility
Lighting control stalk
In some weather conditions (e.g. low
temperature or humidity), the presence
of misting on the internal surface of the glass
of the headlamps and rear lamps is normal; it
disappears after the lamps have been on for a
few minutes.
Travelling abroad
If using your vehicle in a country that
drives on the other side of the road, the
headlamps must be adjusted to avoid
dazzling on-coming drivers.
Contact a PEUGEOT dealer or a qualified
workshop.
Selection of main lighting
mode
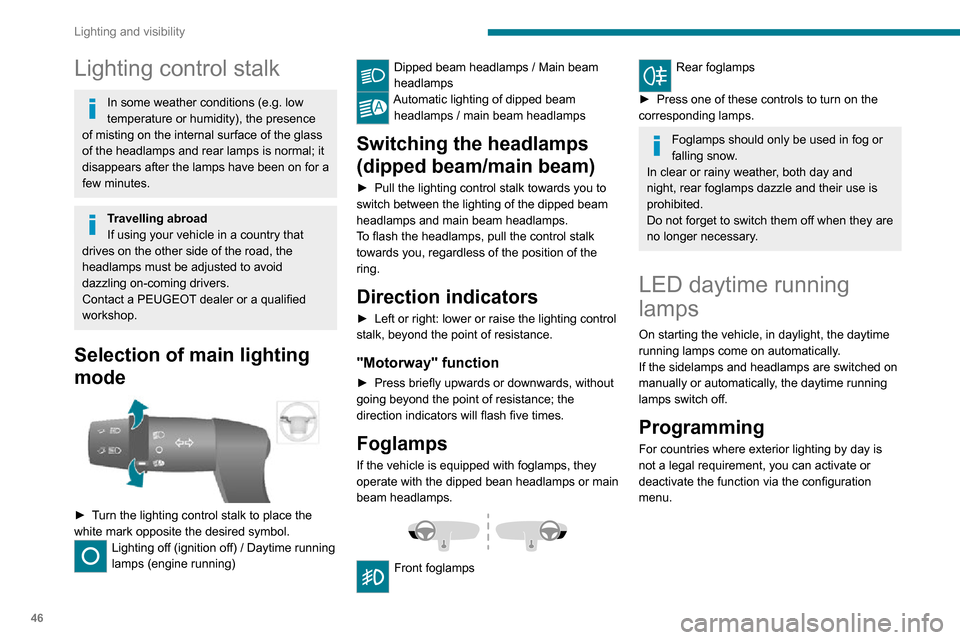
► Turn the lighting control stalk to place the white mark opposite the desired symbol.Lighting off (ignition off) / Daytime running
lamps (engine running)
Dipped beam headlamps / Main beam
headlamps
Automatic lighting of dipped beam headlamps / main beam headlamps
Switching the headlamps
(dipped beam/main beam)
► Pull the lighting control stalk towards you to switch between the lighting of the dipped beam
headlamps and main beam headlamps.
To flash the headlamps, pull the control stalk
towards you, regardless of the position of the
ring.
Direction indicators
► Left or right: lower or raise the lighting control stalk, beyond the point of resistance.
"Motorway" function
► Press briefly upwards or downwards, without going beyond the point of resistance; the
direction indicators will flash five times.
Foglamps
If the vehicle is equipped with foglamps, they
operate with the dipped bean headlamps or main
beam headlamps.
Front foglamps
Rear foglamps
► Press one of these controls to turn on the corresponding lamps.
Foglamps should only be used in fog or
falling snow.
In clear or rainy weather, both day and
night, rear foglamps dazzle and their use is
prohibited.
Do not forget to switch them off when they are
no longer necessary.
LED daytime running
lamps
On starting the vehicle, in daylight, the daytime
running lamps come on automatically.
If the sidelamps and headlamps are switched on
manually or automatically, the daytime running
lamps switch off.
Programming
For countries where exterior lighting by day is
not a legal requirement, you can activate or
deactivate the function via the configuration
menu.
Automatic illumination of
headlamps
If your vehicle is fitted with this function, the
dipped beam headlamps are switched on
automatically if the light is poor.
In fog or snow, the sunshine sensor may
detect sufficient light. In this case, the
lighting will not come on automatically. If
necessary, you must switch on the dipped
beam headlamps manually.
They are switched off when the light returns
to a sufficient level.
Do not cover the sunshine sensor at the top
centre of the windscreen.
You can adjust the sensitivity of the sunshine sensor.
For more information on Vehicle
configuration , refer to the corresponding
section.
Activation
► Turn the ring to this position.
The lamps go out automatically when the ignition
is switched off.
Page 49 of 196
47
Lighting and visibility
4Automatic illumination of headlamps
If your vehicle is fitted with this function, the
dipped beam headlamps are switched on
automatically if the light is poor.
In fog or snow, the sunshine sensor may
detect sufficient light. In this case, the
lighting will not come on automatically. If
necessary, you must switch on the dipped
beam headlamps manually.
They are switched off when the light returns
to a sufficient level.
Do not cover the sunshine sensor at the top
centre of the windscreen.
You can adjust the sensitivity of the sunshine sensor.
For more information on Vehicle
configuration , refer to the corresponding
section.
Activation
► Turn the ring to this position.
The lamps go out automatically when the ignition
is switched off.
Guide-me-home lighting
If your vehicle is equipped: when you leave your
vehicle, the dipped beam headlamps remain on
for the selected period of time (e.g. leaving a car
park).
With the ignition off or the
key in the STOP position
► Within 2 minutes of switching off the engine, turn the ignition key to the STOP position or
remove the key.
► Pull the lighting control stalk towards the steering wheel.This indicator lamp lights up on the
dashboard.
Each action on the lighting control stalk, pulled
towards the steering wheel, extends the
guide-me-home lighting by 30 seconds up to
approximately 3 minutes. Once this time has
elapsed, the lamps go out automatically.
Deactivate this control by holding the control
stalk pulled towards the steering wheel for more
than 2 seconds.
Automatic headlamp dip
System which automatically changes to main
beam according to the ambient light level and
the driving conditions, using a camera located at
the top of the windscreen.
This system is a driving aid. The driver remains responsible for
the vehicle's lighting, its correct use for the
prevailing conditions of light, visibility and
traffic, and observation of driving regulations.
Activation
► Turn the lighting control stalk ring to this position.► Set the function by pressing the MODE button: select "ON" in the
"Automatic main beam" menu.
For more information on Vehicle
configuration , refer to the corresponding
section.
► Flash the headlamps (going beyond the point of resistance) to activate the function.
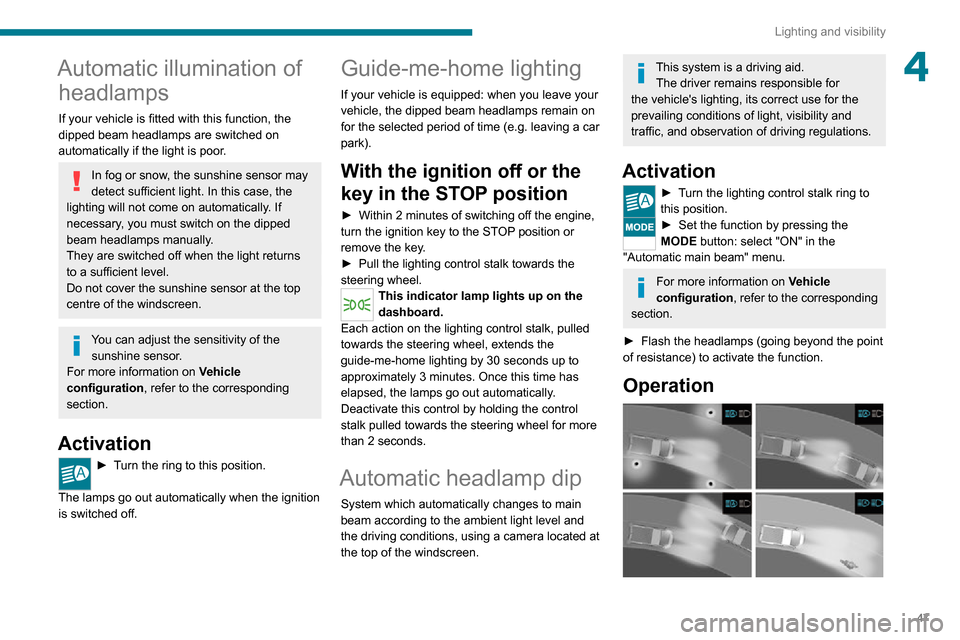
Operation
Page 51 of 196
49
Lighting and visibility
4
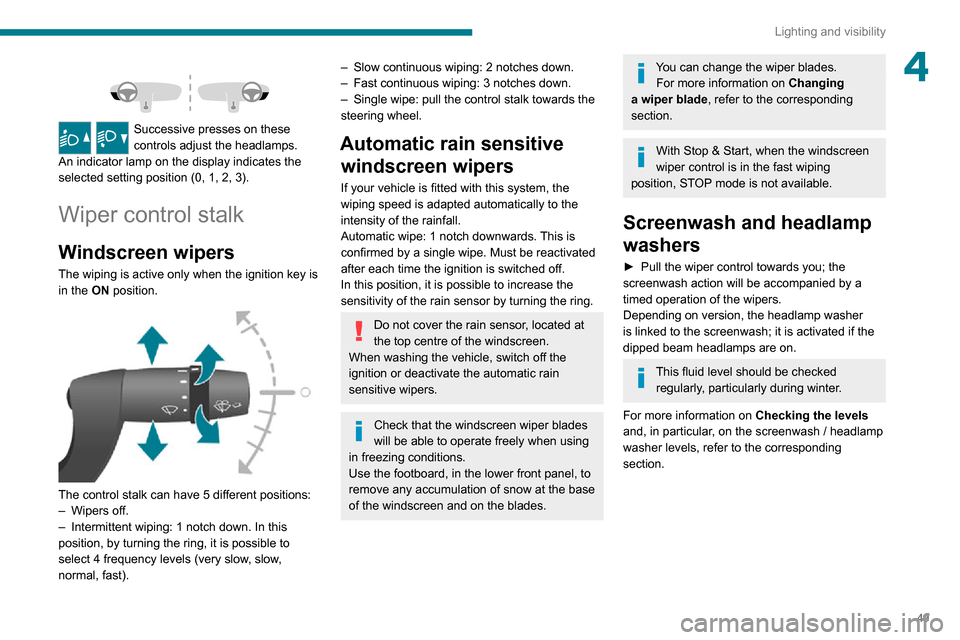
Successive presses on these
controls adjust the headlamps.
An indicator lamp on the display indicates the
selected setting position (0, 1, 2, 3).
Wiper control stalk
Windscreen wipers
The wiping is active only when the ignition key is
in the ON position.
The control stalk can have 5 different positions:– Wipers off.– Intermittent wiping: 1 notch down. In this
position, by turning the ring, it is possible to
select 4 frequency levels (very slow, slow,
normal, fast).
– Slow continuous wiping: 2 notches down.– Fast continuous wiping: 3 notches down.– Single wipe: pull the control stalk towards the steering wheel.
Automatic rain sensitive windscreen wipers
If your vehicle is fitted with this system, the
wiping speed is adapted automatically to the
intensity of the rainfall.
Automatic wipe: 1 notch downwards. This is
confirmed by a single wipe. Must be reactivated
after each time the ignition is switched off.
In this position, it is possible to increase the
sensitivity of the rain sensor by turning the ring.
Do not cover the rain sensor, located at
the top centre of the windscreen.
When washing the vehicle, switch off the
ignition or deactivate the automatic rain
sensitive wipers.
Check that the windscreen wiper blades
will be able to operate freely when using
in freezing conditions.
Use the footboard, in the lower front panel, to
remove any accumulation of snow at the base of the windscreen and on the blades.
You can change the wiper blades. For more information on Changing
a wiper blade , refer to the corresponding
section.
With Stop & Start, when the windscreen
wiper control is in the fast wiping
position, STOP mode is not available.
Screenwash and headlamp
washers
► Pull the wiper control towards you; the screenwash action will be accompanied by a
timed operation of the wipers.
Depending on version, the headlamp washer
is linked to the screenwash; it is activated if the
dipped beam headlamps are on.
This fluid level should be checked regularly, particularly during winter.
For more information on Checking the levels
and, in particular, on the screenwash / headlamp
washer levels, refer to the corresponding
section.
Page 54 of 196
52
Safety
Dynamic stability control
(DSC)
Switching on
The DSC system is activated automatically every
time the vehicle is started.
It comes into operation in the event of a grip or
trajectory problem.
This is indicated by the flashing of this warning lamp on the instrument panel.
Deactivation
This system cannot be deactivated by the driver.
Malfunction
The lighting of this warning lamp, accompanied by an audible signal and
confirmed by a message on the instrument panel
display, indicates a malfunction of the DSC
system.
Have the system checked by a PEUGEOT
dealer or a qualified workshop.
Anti-slip regulation (ASR)
Deactivation / Reactivation
The ASR system is activated automatically every
time the vehicle is started.
In exceptional conditions (starting a vehicle
which is bogged down, stuck in snow, on soft
ground, etc.), it may be advisable to deactivate
Electronic stability control
(ESC)
Electronic stability control (ESC: Electronic
Stability Control) integrating the following
systems:
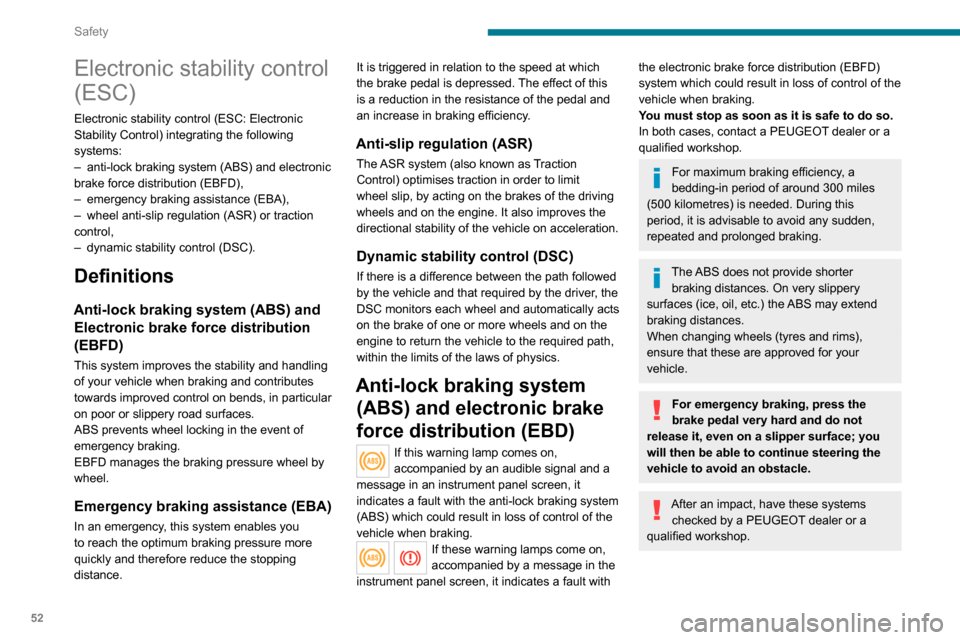
– anti-lock braking system (ABS) and electronic brake force distribution (EBFD),– emergency braking assistance (EBA),– wheel anti-slip regulation (ASR) or traction control,– dynamic stability control (DSC).
Definitions
Anti-lock braking system (ABS) and Electronic brake force distribution
(EBFD)
This system improves the stability and handling
of your vehicle when braking and contributes
towards improved control on bends, in particular
on poor or slippery road surfaces.
ABS prevents wheel locking in the event of
emergency braking.
EBFD manages the braking pressure wheel by
wheel.
Emergency braking assistance (EBA)
In an emergency, this system enables you
to reach the optimum braking pressure more
quickly and therefore reduce the stopping
distance. It is triggered in relation to the speed at which
the brake pedal is depressed. The effect of this
is a reduction in the resistance of the pedal and
an increase in braking efficiency.
Anti-slip regulation (ASR)
The ASR system (also known as Traction
Control) optimises traction in order to limit
wheel slip, by acting on the brakes of the driving
wheels and on the engine. It also improves the
directional stability of the vehicle on acceleration.
Dynamic stability control (DSC)
If there is a difference between the path followed
by the vehicle and that required by the driver, the
DSC monitors each wheel and automatically acts
on the brake of one or more wheels and on the
engine to return the vehicle to the required path,
within the limits of the laws of physics.
Anti-lock braking system
(ABS) and electronic brake
force distribution (EBD)
If this warning lamp comes on,
accompanied by an audible signal and a
message in an instrument panel screen, it
indicates a fault with the anti-lock braking system
(ABS) which could result in loss of control of the
vehicle when braking.
If these warning lamps come on,
accompanied by a message in the
instrument panel screen, it indicates a fault with
the electronic brake force distribution (EBFD)
system which could result in loss of control of the
vehicle when braking.
You must stop as soon as it is safe to do so.
In both cases, contact a PEUGEOT dealer or a
qualified workshop.
For maximum braking efficiency, a
bedding-in period of around 300 miles
(500 kilometres) is needed. During this
period, it is advisable to avoid any sudden,
repeated and prolonged braking.
The ABS does not provide shorter braking distances. On very slippery
surfaces (ice, oil, etc.) the ABS may extend
braking distances.
When changing wheels (tyres and rims),
ensure that these are approved for your
vehicle.
For emergency braking, press the
brake pedal very hard and do not
release it, even on a slipper surface; you
will then be able to continue steering the
vehicle to avoid an obstacle.
After an impact, have these systems checked by a PEUGEOT dealer or a
qualified workshop.
Page 58 of 196
56
Safety
Airbags
The airbags have been designed to optimise the
safety of the occupants in the event of a serious
collision; they work in conjunction with the force
limiting seat belts.
In the event of a serious collision, electronic
detectors record and analyse any abrupt
deceleration of the vehicle:
– if there is a violent impact, the airbags deploy instantly and help better protect occupants of the
vehicle; immediately after the impact, the airbags
deflate rapidly in order not to hinder the visibility
or the possible exit of the occupants.
– in the case of a minor or rear impact or in certain rollover conditions, the airbags are not
deployed; the seat belt alone contributes towards
ensuring your protection in these situations.
The airbags do not operate when the
engine is not running.
This equipment will only deploy once. If a
second impact occurs (during the same or a
subsequent accident), the airbag will not be
deployed again.
return and slide the whole thing, then release to
lock.
The belt associated with the central seat is not
height adjustable.
If the driver's seat belt is unfastened,
START mode of Stop & Start will not be
invoked. The engine can then only be
restarted using the key.
Rear seat belts
The rear seats / bench seats are fitted with
three-point inertia reel seat belts.
The central seat has a guide and an inertia reel,
which are attached to the backrest.
Each side seat is provided with a support to
hang the belt buckle when not in use.
Fastening
► Pull the strap, then insert the tongue in the buckle.► Check that the seat belt is fastened correctly by pulling the strap.
Unlocking
► Press the red button on the buckle.► Guide the seat belt as it is reeled in.
Advice
The driver must ensure that passengers use the seat belts correctly and that they
are all fastened before setting off.
Wherever seated in the vehicle, you must
always fasten the seat belt, even for short
journeys.
Do not interchange the seat belt buckles, as
they will not fulfil their role fully.
Before and after use, ensure that the seat belt
is reeled in correctly.
After folding or moving a seat or rear bench
seat, ensure that the seat belt is positioned
and reeled in correctly.
Installation
The lower part of the strap must be
positioned as low as possible on the pelvis.
The upper part must be positioned in the
hollow of the shoulder.
In order to be effective, a seat belt:
– must be tightened as close to the body as
possible;– must be pulled in front of you with a smooth movement, ensuring that it is not twisted;– must only be used to secure one person;– must not show signs of tearing or fraying;– must not be changed or modified, in order to avoid affecting its performance.
Recommendations for children
Use a suitable child seat if the passenger
is less than 12 years old or shorter than one
and a half metres.
Never use the same seat belt to secure more
than one child.
Never carry a child on your lap.
For more information on Child seats, refer to
the corresponding section.
Maintenance
In accordance with current safety
regulations, for all repairs on your vehicle's
seat belts, go to a qualified workshop with
the skills and equipment needed, which a
PEUGEOT dealer is able to provide.
Have the seat belts checked regularly by a
PEUGEOT dealer or a qualified workshop,
particularly if the straps show signs of
damage.
Clean the seat belt straps with soapy water or
a textile cleaning product, sold by PEUGEOT
dealers.