Peugeot Expert Tepee 2014 Manual Online
Manufacturer: PEUGEOT, Model Year: 2014, Model line: Expert Tepee, Model: Peugeot Expert Tepee 2014Pages: 260, PDF Size: 13.44 MB
Page 81 of 260
79
Seats
EASE OF USE and COMFORT
3
Precautions
Following the various handling operations:
- do not remove a head restraint without storing it and fix it to a support,
- check that the seat belts are always accessible to the passenger and easy to
fasten,
- a passenger must not take his seat without adjusting his seat's head
restraint correctly and adjusting and
fastening his seat belt.
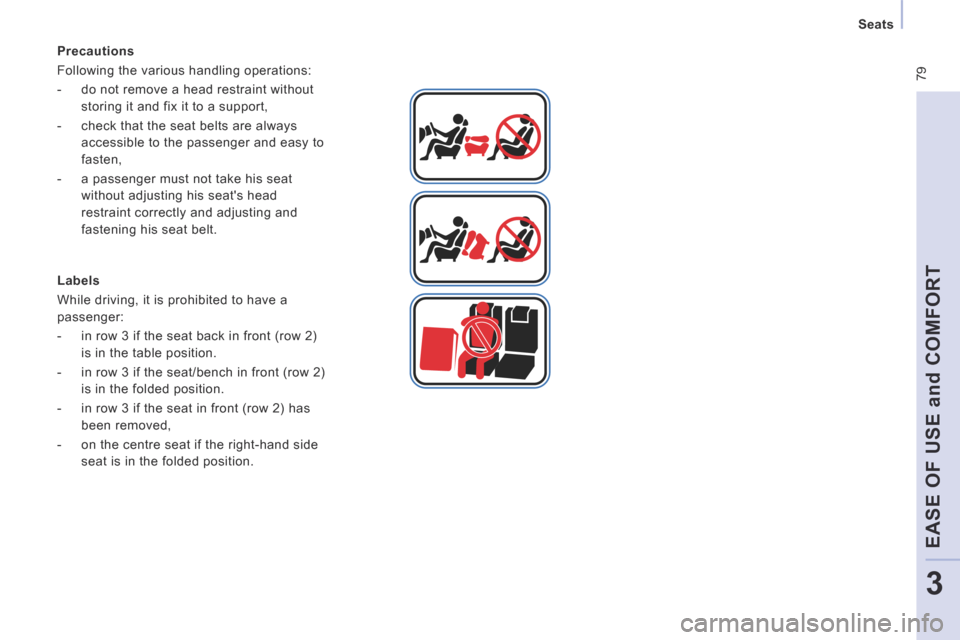
Labels
While driving, it is prohibited to have a
passenger:
- in row 3 if the seat back in front (row 2) is in the table position.
- in row 3 if the seat/bench in front (row 2) is in the folded position.
- in row 3 if the seat in front (row 2) has been removed,
- on the centre seat if the right-hand side seat is in the folded position.
Page 82 of 260
80
Seats
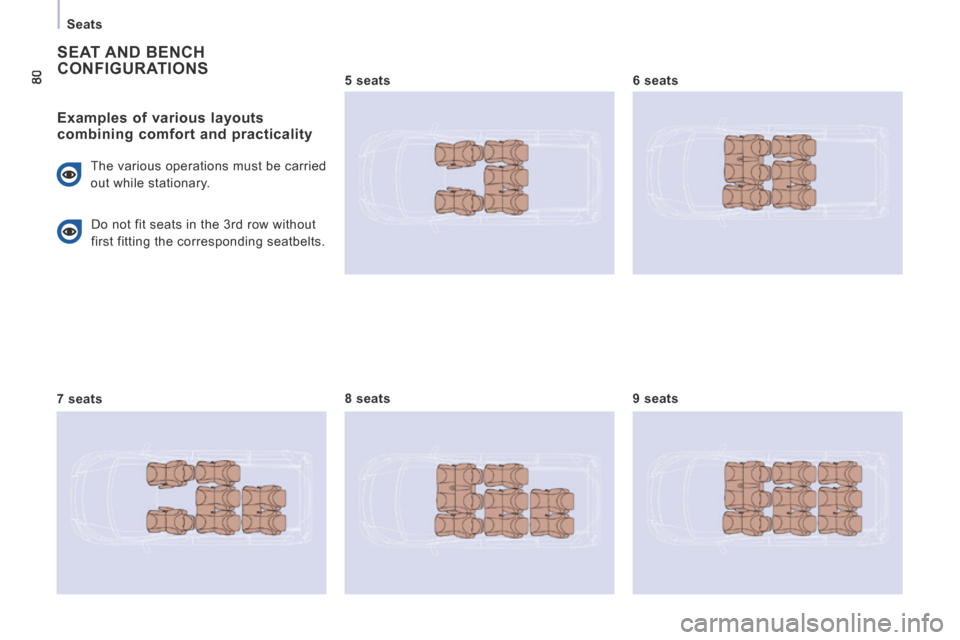
SEAT AND BENCH CONFIGURATIONS
Examples of various layouts combining comfort and practicality
The various operations must be carried
out while stationary.
7 seats 8 seats
9 seats
5 seats
6 seats
Do not fit seats in the 3rd row without
first fitting the corresponding seatbelts.
Page 83 of 260
81
Practical information
EASE OF USE and COMFORT
3
CAB FITTINGS
Depending on the vehicle's equipment, the
various fittings below enhance your cab.
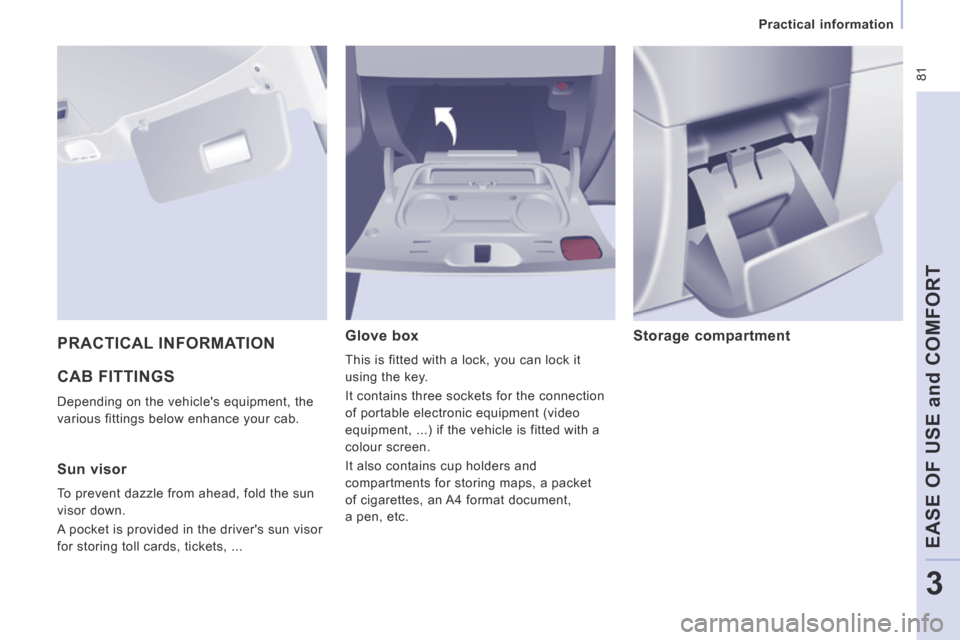
Glove box
This is fitted with a lock, you can lock it
using the key.
It contains three sockets for the connection
of portable electronic equipment (video
equipment, ...) if the vehicle is fitted with a
colour screen.
It also contains cup holders and
compartments for storing maps, a packet
of cigarettes, an A4 format document,
a pen, etc.
Storage compartment PRACTICAL INFORMATION
Sun visor
To prevent dazzle from ahead, fold the sun
visor down.
A pocket is provided in the driver's sun visor
for storing toll cards, tickets, ...
Page 84 of 260
82
Practical information
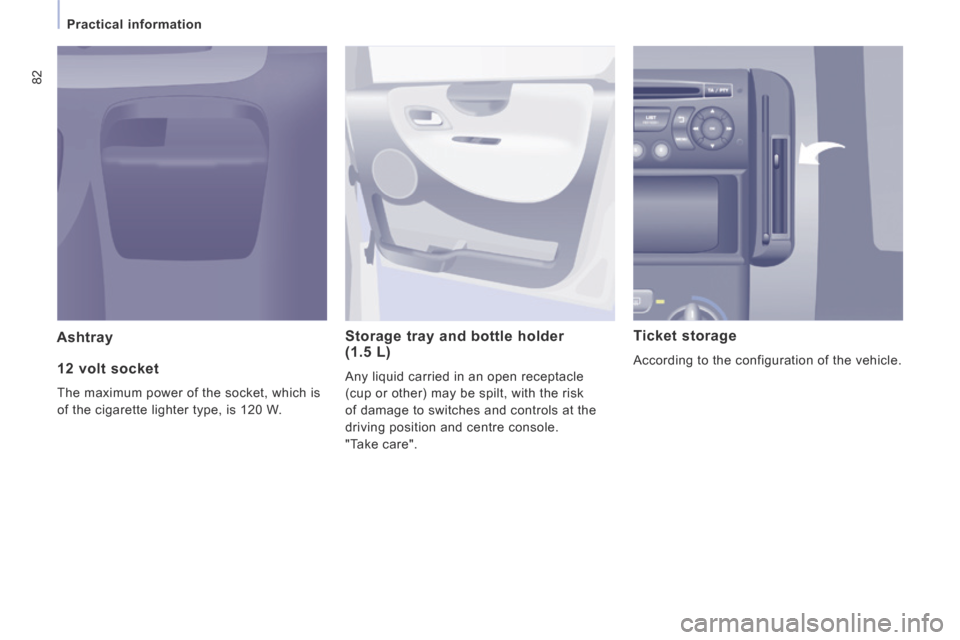
Ashtray Storage tray and bottle holder (1.5 L)
Any liquid carried in an open receptacle
(cup or other) may be spilt, with the risk
of damage to switches and controls at the
driving position and centre console.
"Take care".
Ticket storage
According to the configuration of the vehicle. 12 volt socket
The maximum power of the socket, which is
of the cigarette lighter type, is 120 W.
Page 85 of 260
83
Practical information
EASE OF USE and COMFORT
3
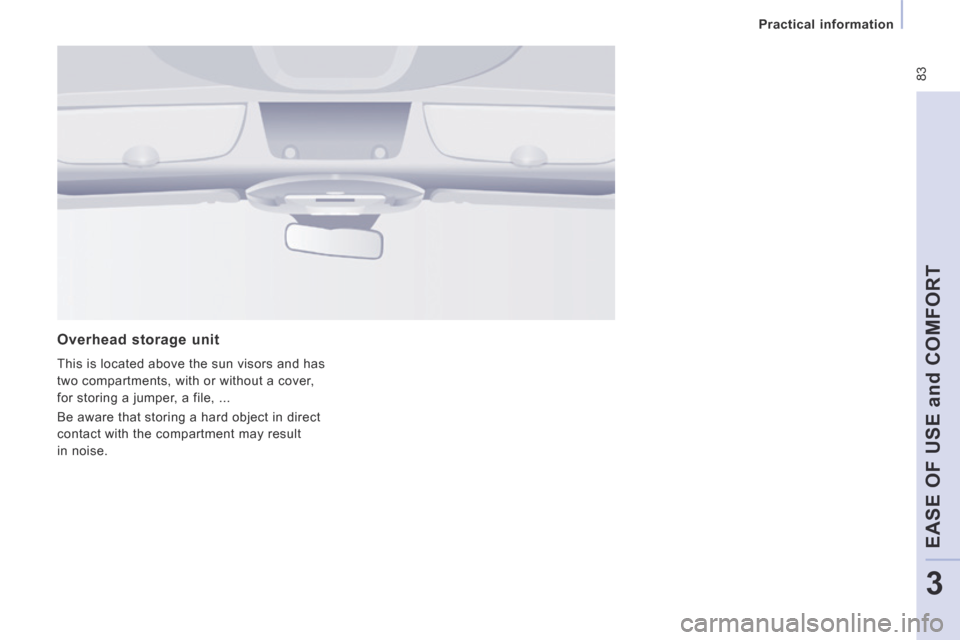
Overhead storage unit
This is located above the sun visors and has
two compartments, with or without a cover,
for storing a jumper, a file, ...
Be aware that storing a hard object in direct
contact with the compartment may result
in noise.
Page 86 of 260
84
Practical information
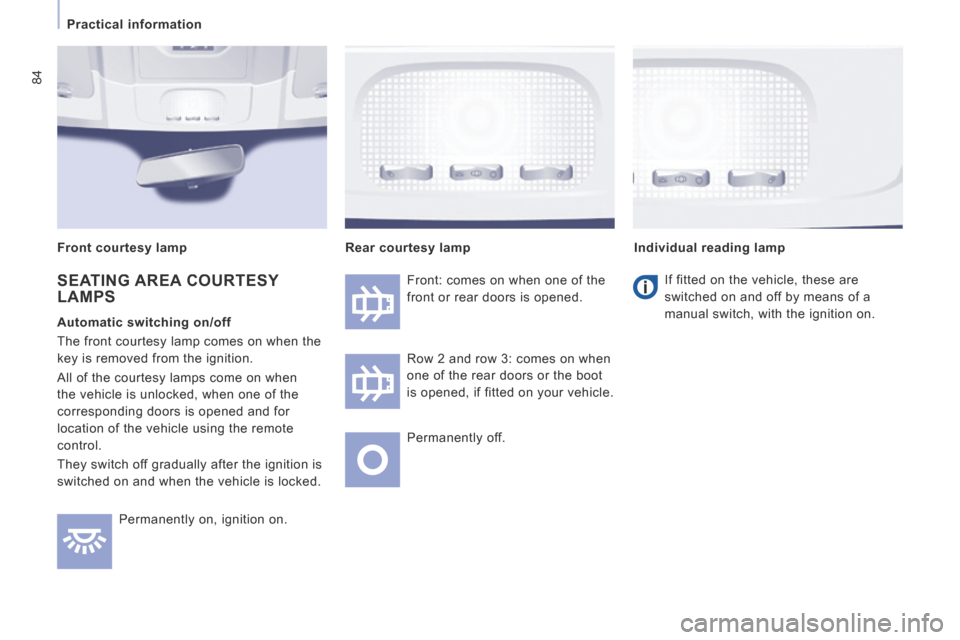
Permanently on, ignition on. Front: comes on when one of the
front or rear doors is opened.
Row 2 and row 3: comes on when
one of the rear doors or the boot
is opened, if fitted on your vehicle.
Permanently off.
Individual reading lamp
Rear courtesy lamp
If fitted on the vehicle, these are
switched on and off by means of a
manual switch, with the ignition on.
SEATING AREA COURTESY LAMPS
Automatic switching on/off
The front courtesy lamp comes on when the
key is removed from the ignition.
All of the courtesy lamps come on when
the vehicle is unlocked, when one of the
corresponding doors is opened and for
location of the vehicle using the remote
control.
They switch off gradually after the ignition is
switched on and when the vehicle is locked. Front courtesy lamp
Page 87 of 260
85
Practical information
EASE OF USE and COMFORT
3
Mat fitting / removal
When removing the front mat, push the
seats as far back as possible and remove
the fixings.
When refitting, position the mat correctly on
the pins and clip the fixings. Check that the
mat is secured correctly.
Areas for toll cards / car park tickets
The athermic windscreen has two non-
reflective zones located either side of the
base of the interior mirror.
They are intended for affixing toll cards and/
or car park tickets.
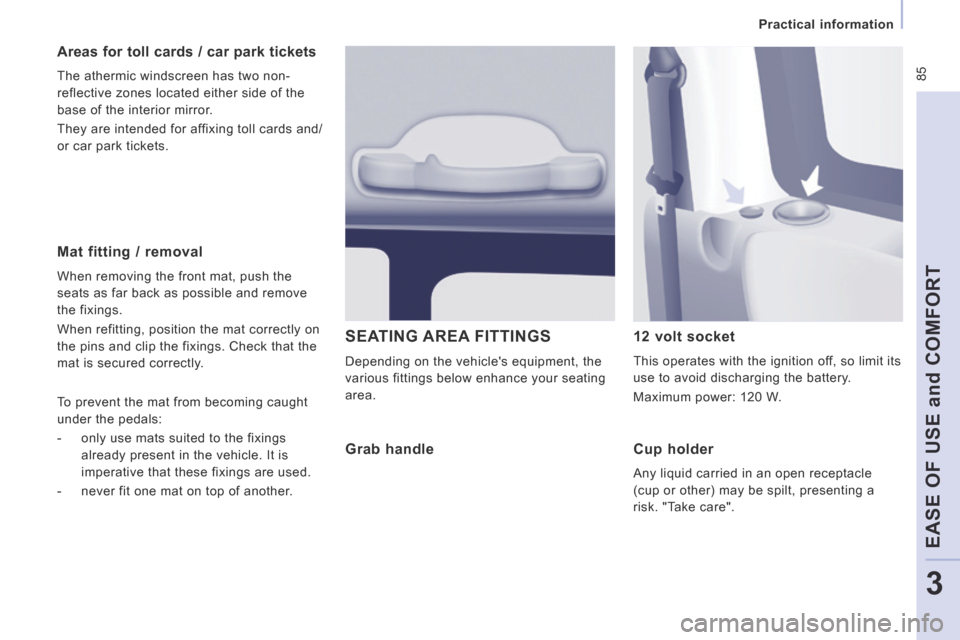
SEATING AREA FITTINGS
Depending on the vehicle's equipment, the
various fittings below enhance your seating
area.
12 volt socket
This operates with the ignition off, so limit its
use to avoid discharging the battery.
Maximum power: 120 W.
To prevent the mat from becoming caught
under the pedals:
- only use mats suited to the fixings
already present in the vehicle. It is
imperative that these fixings are used.
- never fit one mat on top of another.
Grab handle Cup holder
Any liquid carried in an open receptacle
(cup or other) may be spilt, presenting a
risk. "Take care".
Page 88 of 260
86
Practical information
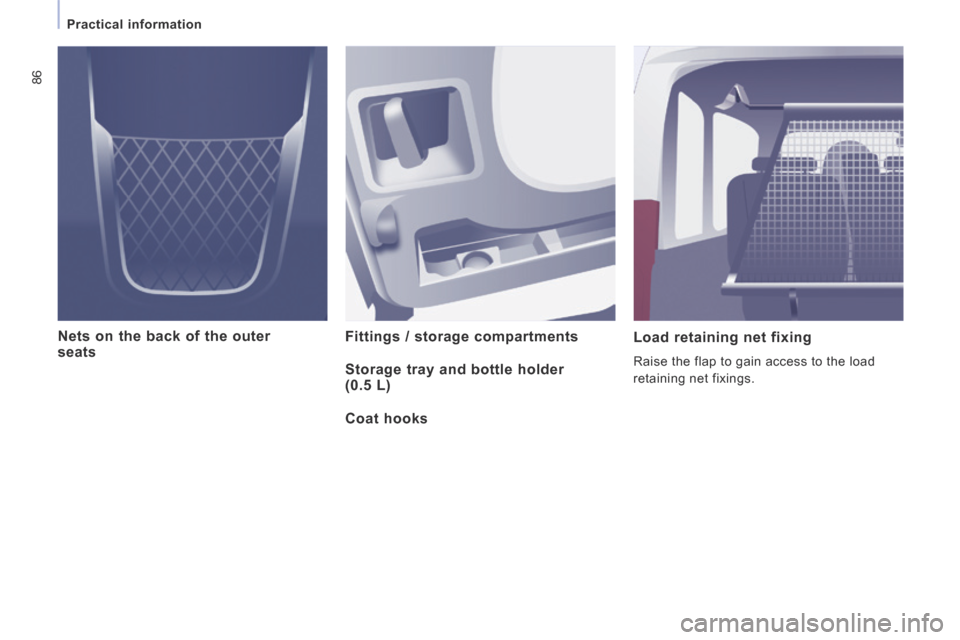
Nets on the back of the outer seats Fittings / storage compartments Load retaining net fixing
Raise the flap to gain access to the load
retaining net fixings. Storage tray and bottle holder (0.5 L)
Coat hooks
Page 89 of 260
87
Practical information
EASE OF USE and COMFORT
3
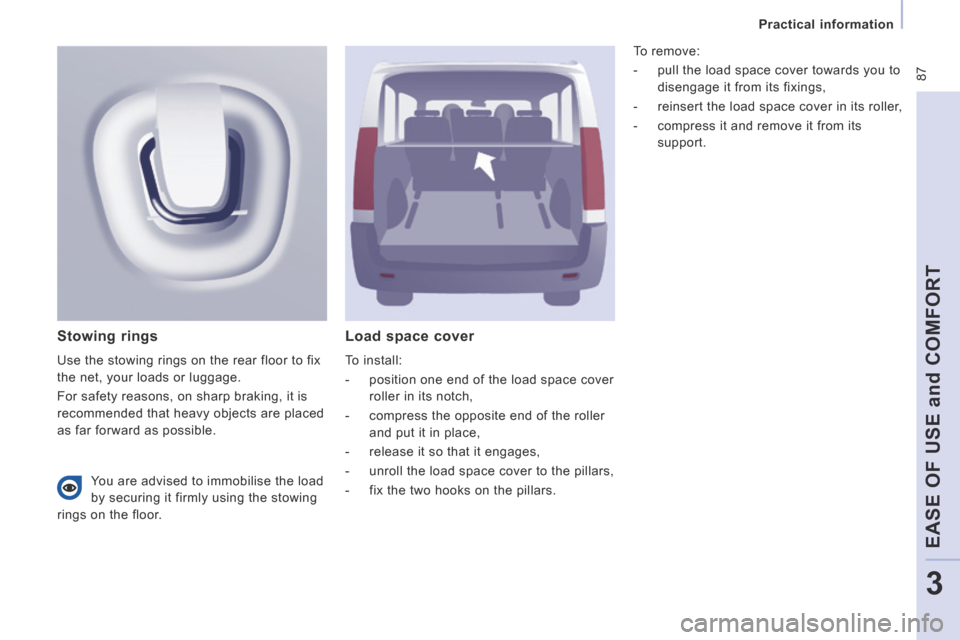
Load space cover
To install:
- position one end of the load space cover roller in its notch,
- compress the opposite end of the roller and put it in place,
- release it so that it engages,
- unroll the load space cover to the pillars,
- fix the two hooks on the pillars.
Stowing rings
Use the stowing rings on the rear floor to fix
the net, your loads or luggage.
For safety reasons, on sharp braking, it is
recommended that heavy objects are placed
as far forward as possible. To remove:
- pull the load space cover towards you to
disengage it from its fixings,
- reinsert the load space cover in its roller,
- compress it and remove it from its support.
You are advised to immobilise the load
by securing it firmly using the stowing
rings on the floor.
Page 90 of 260
88
Rear suspension
Metal suspension
This equipment adopts long movement limiters
which make it possible to guarantee stable
behaviour both when loaded and when empty.
No action on your part is required except to
ensure that maintenance is carried out and that
the authorised loads are complied with. the limit of the authorised values. On board,
the increasing or lightening of the load on
the vehicle's platform is detected by two
height sensors. When all of the doors are
closed, the sensors trigger the automatic
height correction and determine the optimum
height of the sill for the vehicle's driving
conditions.
Deactivation of automatic height correction
The control which permits deactivation of
automatic regulation is located on the right-
hand side, at the rear of the vehicle.
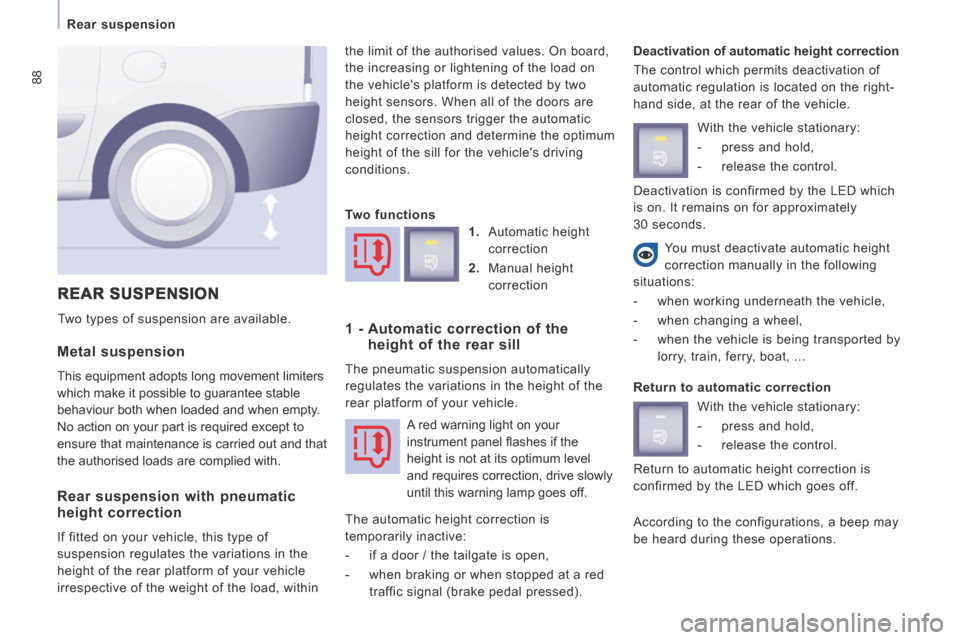
REAR SUSPENSION
Two types of suspension are available.
You must deactivate automatic height
correction manually in the following
situations:
- when working underneath the vehicle,
- when changing a wheel,
- when the vehicle is being transported by lorry, train, ferry, boat, ...
Rear suspension with pneumatic height correction
If fitted on your vehicle, this type of
suspension regulates the variations in the
height of the rear platform of your vehicle
irrespective of the weight of the load, within Two functions
1. Automatic height correction
2. Manual height correction
1 - Automatic correction of the height of the rear sill
The pneumatic suspension automatically
regulates the variations in the height of the
rear platform of your vehicle.
The automatic height correction is
temporarily inactive:
- if a door / the tailgate is open,
- when braking or when stopped at a red traffic signal (brake pedal pressed). With the vehicle stationary:
- press and hold,
- release the control.
Return to automatic correction With the vehicle stationary:
- press and hold,
- release the control.
According to the configurations, a beep may
be heard during these operations.
A red warning light on your
instrument panel fl ashes if the
height is not at its optimum level
and requires correction, drive slowly
until this warning lamp goes off.
Return to automatic height correction is
confirmed by the LED which goes off. Deactivation is confirmed by the LED which
is on. It remains on for approximately
30 seconds.