snow chains PEUGEOT LANDTREK 2023 Owners Manual
[x] Cancel search | Manufacturer: PEUGEOT, Model Year: 2023, Model line: LANDTREK, Model: PEUGEOT LANDTREK 2023Pages: 164, PDF Size: 6.1 MB
Page 4 of 164
2
Contents
■
Overview
■
Eco-driving
1Dashboard instrumentsInstrument panels 8
Warning and indicator lamps 9
Total distance recorder 16
Lighting dimmer 16
Trip computer 16
Monochrome screen 17
Touch screen 18
2AccessElectronic key with remote control function
and built-in key 20
Keyless Entry and Start 22
Central locking 23
Back-up procedures 24
Doors 25
Tailgate 26
Alarm 27
Electric windows 28
3Ease of use and comfortFront seats 30
2-seat front bench seat 31
Steering wheel adjustment 32
Mirrors 33
Rear bench seat 34
Heating and Ventilation 36
Heating 37
Manual air conditioning 37
Dual-zone automatic air conditioning 38
Front demisting/defrosting 40
Rear screen demisting/defrosting 40
Front fittings 40
Courtesy lamps 42
Rear fittings 43
Tipper body fittings 44
4Lighting and visibilityExterior lighting control stalk 47
Cornering lighting 48
Direction indicators 49
Headlamp beam height adjustment 49
Automatic illumination of headlamps 49
Guide-me-home and welcome lighting 50
Wiper control stalk 50
Changing a wiper blade 51
Automatic wipers 52
5SafetyGeneral safety recommendations 53
Hazard warning lamps 53
Horn 54
Electronic stability control (ESC) 54
Hill Assist Descent Control 56
Seat belts 57
Airbags 59
Child seats 62
Deactivating the front passenger airbag 63
ISOFIX child seats 64
Child lock 65
6DrivingDriving recommendations 66
Starting / Switching off the engine with the key 68
Starting/Switching off the engine
with Keyless Entry and Start
70
Manual parking brake 72
Locking the rear differential 72
4-wheel drive transmission selector 73
6-speed manual gearbox 74
6-speed automatic gearbox 75
Driving mode 77
Hill start assist 77
Gear shift indicator 78
Tyre under-inflation detection 78
Driving and manoeuvring aids -
General recommendations
80
Speed limiter 81
Overspeed alert at 75 mph (120
km/h) 82
Cruise control - Specific recommendations 82
Cruise control 82
Lane departure warning 84
Parking sensors 86
Reversing camera 87
"Off-Road" camera 88
360° camera 89
7Practical informationRecommended fuel 94
Refuelling 94
Towing device 95
Snow chains 95
Roof bars 96
Bonnet 96
Engine compartment 97
Checking levels 98 CarM an uals 2 .c o m
Page 84 of 164
82
Driving
► Press and hold button 2 or 3 to change the
value in steps of + or - 5 mph (or 5 km/h).
Exceeding the speed setting
► Fully depress the accelerator pedal.
The speed limiter is deactivated and the
displayed speed setting flashes.
►
Release the accelerator pedal to return to
below the programmed speed.
On a steep descent or in the event of
sharp acceleration, the speed limiter will
not be able to prevent the vehicle from
exceeding the speed setting.
If necessary, use the brakes to control the
speed of your vehicle.
Switching off
► Press button 1 (OFF): speed limiter
information is no longer displayed.
Overspeed alert at 75
mph (120 km/h)
(Depending on country of sale)
The overspeed alert system triggers an alert as
soon as it detects that the speed is greater than
75 mph (120 km/h).
This warning lamp flashes on the
instrument panel accompanied by an
audible signal.
The alert is maintained as long as the speed of
the vehicle is above 75 mph (120 km/h).
The overspeed alert system cannot be deactivated.
Cruise control - Specific
recommendations
The cruise control function does not guarantee compliance with the maximum
authorised speed and the safety distance
between vehicles, the driver remains
responsible for their driving.
In the interest of public safety, only use cruise
control if the traffic conditions enable vehicles
to drive at a steady speed and maintain an
adequate safety distance.
Remain vigilant while cruise control is
activated. If you press and hold one of the
speed setting modification buttons, your
vehicle may change speed very abruptly.
When descending a steep hill , the cruise
control system cannot prevent the vehicle
from exceeding the set speed. Brake if
necessary to control the vehicle speed.
On steep climbs or when towing, the set
speed may not be reached or maintained.
Exceeding the programmed speed
setting
You can temporarily exceed the speed
setting by pressing the accelerator pedal (the
programmed speed flashes).
To return to the speed setting, release the
accelerator pedal (when the set speed is
reached again, the displayed speed stops
flashing).
Operating limits
Never use the system in the following
situations:
–
In an urban area with the risk of
pedestrians crossing the road.
–
In heavy traffic.
–
On winding or steep roads.
–
On slippery or flooded roads.
–
In poor weather conditions.
–
In the event of restricted visibility for the
driver
.
–
Driving on a speed circuit.
–
Driving on a rolling road.
–
When using a non-standard spare wheel.
–
When using snow chains, non-slip covers
or studded tyres.
Cruise control
For more information, refer to the
General recommendations on the use
of driving and manoeuvring aids and the CarM an uals 2 .c o m
Page 97 of 164
95
Practical information
7► Take care to select the pump that delivers the
correct fuel type for your vehicle's engine (see a
reminder label on the inside of the filler flap).
►
T
urn the filler cap to the left, remove it and
place it on its support (on the filler
flap).
►
Insert the filler nozzle and push it in as far as
possible before starting to refuel (to minimise the
risk of splashing).
Do not continue after the nozzle’
s third cut-
out. Doing so may cause malfunctions.
►
Put the filler cap back in place and turn it to
the right.
►
Close the fuel filler flap.
If you have put in the wrong fuel for the
vehicle, you must have the fuel tank
drained and filled with the correct fuel before
starting the engine.
Depending on version, the vehicle is fitted with
a catalytic converter, which helps to reduce the
level of harmful emissions in the exhaust gases.
For petrol engines, you must use unleaded
fuel.
The filler neck is narrower, admitting unleaded
petrol nozzles only.
Towing device
Load distribution
► Distribute the load in the trailer so that the
heaviest items are as close as possible to the
axle, and the nose weight approaches the
maximum permitted without exceeding it.
Air density decreases with altitude, thus reducing
engine performance. The maximum towable load
must be reduced by 10% per 1,000
metres of
altitude.
Use genuine towing devices and wiring
harnesses approved by PEUGEOT. We
recommend having them fitted by a
PEUGEOT dealer or a qualified workshop.
If not fitted by a PEUGEOT dealer, they must
still be fitted in accordance with the vehicle
manufacturer's instructions.
Certain driving or manoeuvring aid functions
are automatically deactivated while an
approved towing system is in use.
For more information about driving with a
towing device fitted to a trailer and associated
with the Trailer stability assist, refer to the
corresponding section.
Comply with the maximum authorised
towable weight, as indicated on your
vehicle's registration certificate, on the
manufacturer's label and in the Technical
data section of this guide.
If using accessories attached to the
towing device (e.g. bicycle carriers, tow
boxes):
–
Comply with the maximum authorised nose
weight.
–
Do not transport more than 4 conventional
bicycles or 2 electric bicycles.
When loading bicycles onto a bicycle carrier
on a towball, be sure to place the heaviest
bicycles as close as possible to the vehicle.
Observe the legislation in force in the
country where you are driving.
Snow chains
In wintry conditions, snow chains improve
traction as well as the behaviour of the vehicle
when braking.
Snow chains must be fitted only to
driving wheels.
Observe the legislation in force in your
country relating to the use of snow
chains and maximum authorised speeds.
Only use chains designed for the vehicle's wheel
type:
Tyre size Link size
245/70 R16 13 to 16
mm
265/65 R17 13 to 16
mm
265/60 R18 13 to 16
mm
It is also possible to use snow socks.
For more information on snow chains, contact a
PEUGEOT dealer or a qualified workshop. CarM an uals 2 .c o m
Page 98 of 164
96
Practical information
Installation tips
► To fit the snow chains during a journey, stop
the vehicle on a flat surface at the side of the
road.
►
Apply the parking brake and position any
wheel chocks under the wheels to prevent
movement of the vehicle.
►
Fit the snow chains following the instructions
provided by the manufacturer
.
►
Move off gently and drive for a few moments,
without exceeding 19
mph (30 km/h) for metal
snow chains or 31 mph (50 km/h) for plastic
snow chains.
►
Stop the vehicle and check that the snow
chains are correctly tightened.
It is strongly recommended that you
practise fitting the snow chains on a level
and dry surface before setting off.
Avoid driving with snow chains on roads that have been cleared of snow to avoid
damaging the vehicle's tyres and the road
surface. If the vehicle is fitted with alloy
wheels, check that no part of the chain or its
fixings is in contact with the wheel rim.
Use snow chains that are appropriate for
the size of your tyres and ensure they
are correctly fitted. Chains that are the wrong
size or incorrectly fitted can damage the
braking system, suspension, bodywork and
wheels.
Never exceed the maximum speed limit
stated in the snow chains user guide.
Roof bars
As a safety measure and to avoid damaging the roof, it is essential to use
transverse roof bars approved for your
vehicle.
Observe the instructions on fitting and use
contained in the guide supplied with the roof
bars.
Maximum load distributed over the roof
bars, for a loading height not exceeding
40 cm: 100
kg.
As this value may change, please verify the
maximum load quoted in the guide supplied
with the roof bars.
If the height exceeds 40 cm, adapt the speed
of the vehicle to the profile of the road to
avoid damaging the roof bars and the fixings
on the vehicle.
Be sure to refer to national legislation in order
to comply with the regulations for transporting
objects that are longer than the vehicle.
Recommendations
Distribute the load uniformly, taking care
to avoid overloading one of the sides.
Arrange the heaviest part of the load as close
as possible to the roof.
Secure the load firmly.
Drive gently: the vehicle will be more
susceptible to the effects of side winds and its
stability may be affected.
Regularly check the security and tight
fastening of the roof bars, at least before each
trip.
Remove the roof bars once they are no longer
needed.
Bonnet
When the engine is hot, handle the
exterior safety catch and the bonnet stay
with care (risk of burns), using the protected
area.
When the bonnet is open, take care not to
damage the safety catch.
Do not open the bonnet under very windy
conditions.
Cooling of the engine when stopped
The engine cooling fan may start after
the engine has been switched off.
Take care with objects or clothing that
could be caught in the blades of the fan! CarM an uals 2 .c o m
Page 157 of 164
155
Alphabetical index
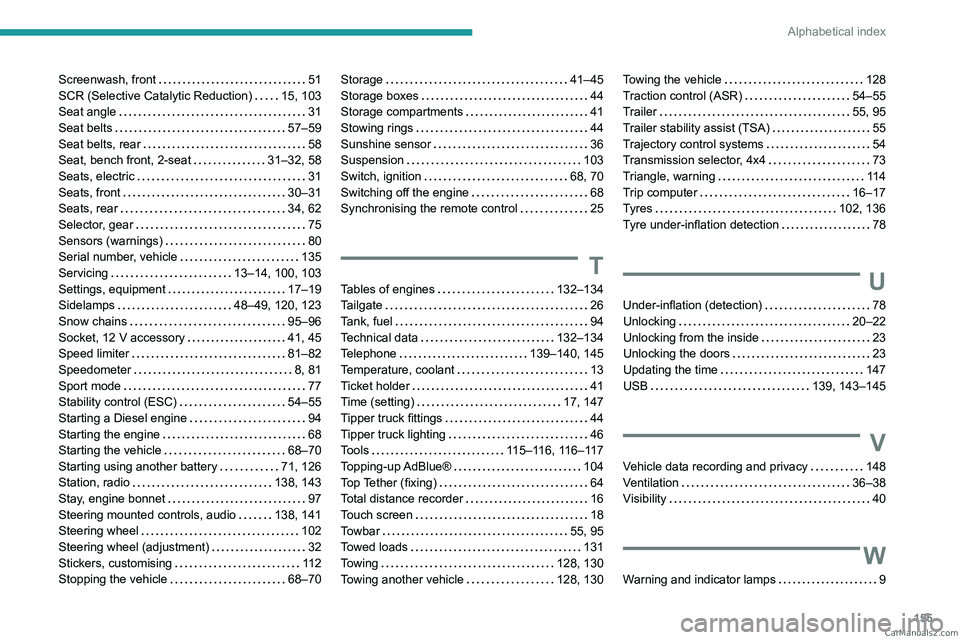
Screenwash, front 51
SCR (Selective Catalytic Reduction)
15, 103
Seat angle
31
Seat belts
57–59
Seat belts, rear
58
Seat, bench front, 2-seat
31–32, 58
Seats, electric
31
Seats, front
30–31
Seats, rear
34, 62
Selector, gear
75
Sensors (warnings)
80
Serial number, vehicle
135
Servicing
13–14, 100, 103
Settings, equipment
17–19
Sidelamps
48–49, 120, 123
Snow chains
95–96
Socket, 12 V accessory
41, 45
Speed limiter
81–82
Speedometer
8, 81
Sport mode
77
Stability control (ESC)
54–55
Starting a Diesel engine
94
Starting the engine
68
Starting the vehicle
68–70
Starting using another battery
71, 126
Station, radio
138, 143
Stay, engine bonnet
97
Steering mounted controls, audio
138, 141
Steering wheel
102
Steering wheel (adjustment)
32
Stickers, customising
11 2
Stopping the vehicle
68–70Storage 41–45
Storage boxes
44
Storage compartments
41
Stowing rings
44
Sunshine sensor
36
Suspension
103
Switch, ignition
68, 70
Switching off the engine
68
Synchronising the remote control
25
T
Tables of engines 132–134
Tailgate
26
Tank, fuel
94
Technical data
132–134
Telephone
139–140, 145
Temperature, coolant
13
Ticket holder
41
Time (setting)
17, 147
Tipper truck fittings
44
Tipper truck lighting
46
Tools
115–116, 116–117
Topping-up AdBlue®
104
Top Tether (fixing)
64
Total distance recorder
16
Touch screen
18
Towbar
55, 95
Towed loads
131
Towing
128, 130
Towing another vehicle
128, 130
Towing the vehicle 128
Traction control (ASR)
54–55
Trailer
55, 95
Trailer stability assist (TSA)
55
Trajectory control systems
54
Transmission selector, 4x4
73
Triangle, warning
11 4
Trip computer
16–17
Tyres
102, 136
Tyre under-inflation detection
78
U
Under-inflation (detection) 78
Unlocking
20–22
Unlocking from the inside
23
Unlocking the doors
23
Updating the time
147
USB
139, 143–145
V
Vehicle data recording and privacy 148
Ventilation
36–38
Visibility
40
W
Warning and indicator lamps 9 CarM an uals 2 .c o m