roof Peugeot Partner 2011 Owner's Manual - RHD (UK, Australia)
[x] Cancel search | Manufacturer: PEUGEOT, Model Year: 2011, Model line: Partner, Model: Peugeot Partner 2011Pages: 200, PDF Size: 7.41 MB
Page 4 of 200
2
Contents
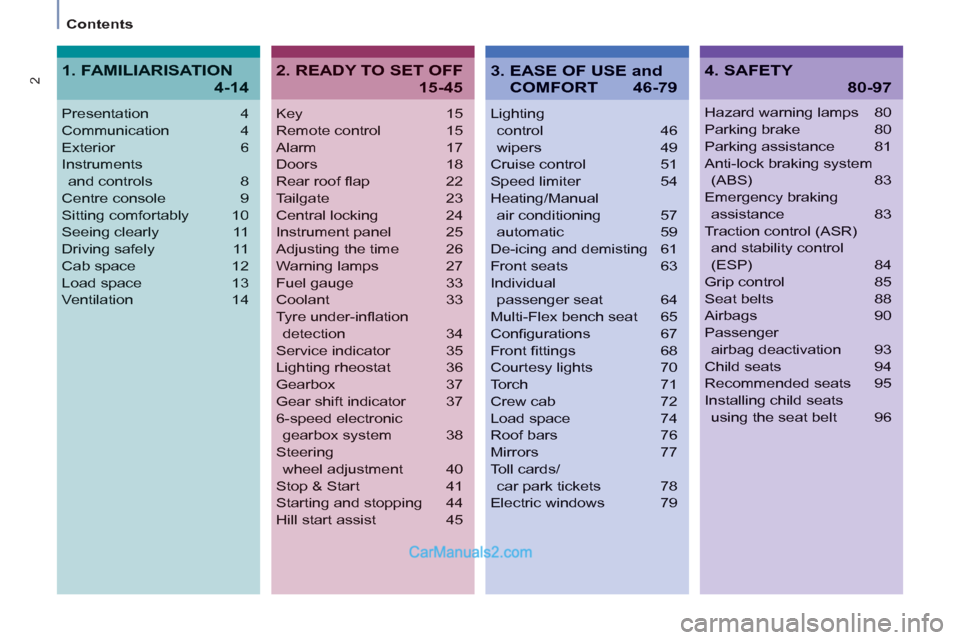
Key 15
Remote control 15
Alarm 17
Doors 18
Rear roof fl ap 22
Tailgate 23
Central locking 24
Instrument panel 25
Adjusting the time 26
Warning lamps 27
Fuel gauge 33
Coolant 33
Tyre under-infl ation
detection 34
Service indicator 35
Lighting rheostat 36
Gearbox 37
Gear shift indicator 37
6-speed electronic
gearbox system 38
Steering
wheel adjustment 40
Stop & Start 41
Starting and stopping 44
Hill start assist 45
Lighting
control 46
wipers 49
Cruise control 51
Speed limiter 54
Heating/Manual
air conditioning 57
automatic 59
De-icing and demisting 61
Front seats 63
Individual
passenger seat 64
Multi-Flex bench seat 65
Confi gurations 67
Front fi ttings 68
Courtesy lights 70
Torch 71
Crew cab 72
Load space 74
Roof bars 76
Mirrors 77
Toll cards/
car park tickets 78
Electric windows 79
Presentation4
Communication4
Exterior 6
Instruments
and controls8
Centre console9
Sitting comfortably 10
Seeing clearly 11
Driving safely 11
Cab space 12
Load space 13
Ventilation 14
Hazard warning lamps 80
Parking brake 80
Parking assistance 81
Anti-lock braking system
(ABS) 83
Emergency braking
assistance 83
Traction control (ASR)
and stability control
(ESP) 84
Grip control 85
Seat belts 88
Airbags 90
Passenger
airbag deactivation 93
Child seats 94
Recommended seats 95
Installing child seats
using the seat belt 96
2. READY TO SET OFF
15-45
4. SAFETY
80-97
1. FAMILIARISATION
4-14
3. EASE OF USE and
COMFORT 46-79
Page 9 of 200

4
2c
2e
7b
7a
2d8
2e
7b
2c
7a4
2d
8
7
1
FAMILIARISATION
20
22
Rear roof fl ap
The rear roof fl ap is only
compatible with the hinged doors.
Changing bulbs
11 7 11 2
Spare wheel
Hinged rear doors
Tailgate and rear screen
The tools are located under
the right-hand seat.
Raise the carrier with the
wheel fl ush against the fl oor.
23 Asymmetrical (2/3 - 1/3).
This lock makes it possible
to keep the large door closed
and drive with the small door
open.
This control permits opening
to approximately 180°.
Useable dimensions
128
Parking sensors
81
Exterior
Page 15 of 200

3
3
3
3
13
1
FAMILIARISATION
Interior
LOAD SPACE
We recommend that the load is
properly secured using the stowing
rings on the fl oor and that heavy
objects are placed at the front (towards
the cab). Fitted in the wall, this illuminates
the boot and can be removed when
changing a wheel, ...
74 71 75
Maximum loads
Overhead storage compartment: 5 kg.
Folding seat, in the seat back folded
onto seat cushion position: 50 kg.
Transverse roof bars: 75 kg.
Roof rack: 120 kg.
Rear roof fl ap: 100 kg vertically.
Partitions
Torch
Stowing rings
Removable fl ap
This can be removed for the loading of
long objects.
75
Page 22 of 200

Access
Practice
It is possible to drive with the right-hand
door open to make the transportation of
long loads easier. The left-hand door is
kept closed by the distinctive "yellow"
lock, positioned at the base of the door.
This closed door must not be used as a
load retainer.
Driving with the right-hand door open
is a special dispensation. Comply with
the usual safety indications to attract
the attention of other drivers.
HINGED REAR DOORS
From outside
Pull the lever to open the right-hand
door.
To close, start with the right-hand door
then close the left-hand door.
To open, pull the handle towards you. The hinged rear doors are
asymmetrical (2/3 - 1/3), with the
smaller door on the right.
They are fi tted with a central lock.
With the roof rear fl ap, the rear
bumper has been strengthened to
serve as a footrest on accessing
the vehicle.
Page 24 of 200

22
Access
REAR ROOF FLAP
This rear roof fl ap is only compatible
with the hinged doors.
To open the rear roof fl ap:
- raise the black paddle of the toggle,
- relieve the toggle by pressing the
rear roof fl ap (downwards) then
release the hook,
- lift the rear roof fl ap,
- pass the point of resistance to
secure the rear roof fl ap using the
support struts.
Support bar
A support bar is provided for
transporting long loads, after opening
the rear roof fl ap.
Fold back the support bar by lifting
the lever.
Support it to the door pillar.
Support the long loads to be
transported, lift them and reposition
the support bar with one hand.
Ensure that it is secured correctly by
pressing the handle downwards past
the point of resistance and secure the
loads fi rmly. The rear bumper has been
strengthened to serve as a
footrest on entering the vehicle.
Never drive without the support
bar in place.
The rear doors only lock when the
support bar is installed.
When the rear roof fl ap is open, take
care when driving where height is
restricted.
Never rest loads directly on the rear
doors.
Comply with the usual indications,
to attract the attention of other drivers. The side supports can be used as
hooking points.
- lower the black paddle to secure
the rear roof fl ap.
Securing the rear roof fl ap places it
on the seal correctly and guarantees
sealing without noise.
To close the rear roof fl ap:
- check that the support bar is
secured correctly,
- lower the rear roof fl ap,
- while pressing the rear roof fl ap
(downwards), take hold of the
two loops of the spring then place
the hook in its housing,
Page 78 of 200
76
Practical information
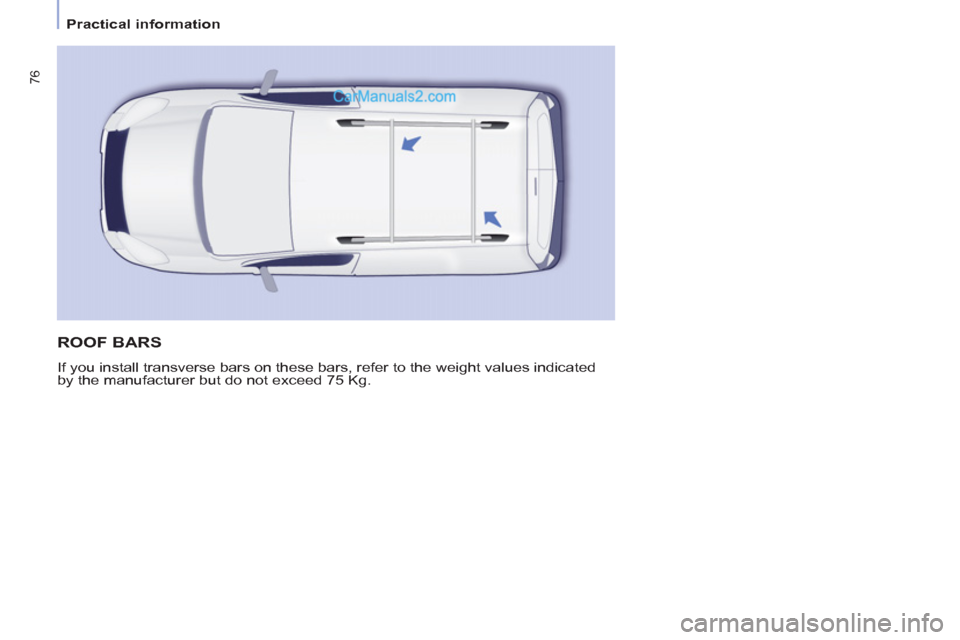
ROOF BARS
If you install transverse bars on these bars, refer to the weight values indicated
by the manufacturer but do not exceed 75 Kg.
Page 102 of 200
100
Equipment
Anti-theft alarm, window
etching, fi rst aid kit, high
visibility vest, front and rear
parking sensors, warning
triangle, security bolts for alloy
wheels
Front seat covers compatible
with airbags, bench, rubber
mats, carpet mats, snow chains,
blind, tailgate bicycle carrier, ...
Audio equipment, hands-free
kit, speakers, CD changer,
satellite navigation system,
USB Box, Video kit, ... To prevent the mat from becoming
caught under the pedals:
- ensure that the mat and its fi xings
are positioned correctly,
- never fi t one mat on top of another.
Regardless of the audio and telematic
equipment offered on the market,
the technical constraints associated
with the fi tting of equipment of these
families of products mean that the
special features of the equipment and
its compatibility with the capacities of
the your vehicle's standard equipment
must be taken into account. Please
contact a PEUGEOT dealer for
more information before fi tting such
equipment.
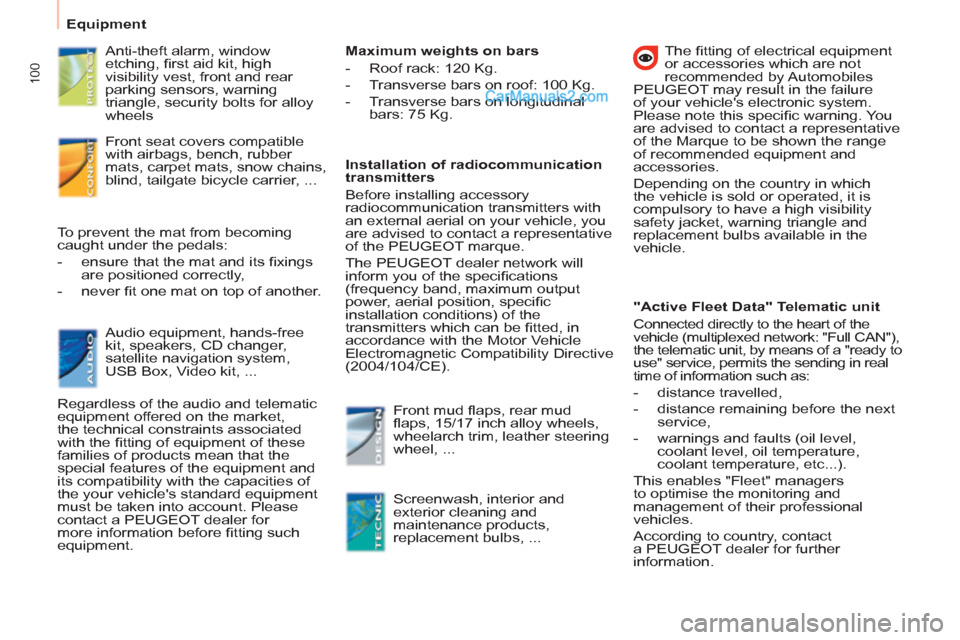
Maximum weights on bars
- Roof rack: 120 Kg.
- Transverse bars on roof: 100 Kg.
- Transverse bars on longitudinal
bars: 75 Kg.
Installation of radiocommunication
transmitters
Before installing accessory
radiocommunication transmitters with
an external aerial on your vehicle, you
are advised to contact a representative
of the PEUGEOT marque.
The PEUGEOT dealer network will
inform you of the specifi cations
(frequency band, maximum output
power, aerial position, specifi c
installation conditions) of the
transmitters which can be fi tted, in
accordance with the Motor Vehicle
Electromagnetic Compatibility Directive
(2004/104/CE).
Front mud fl aps, rear mud
fl aps, 15/17 inch alloy wheels,
wheelarch trim, leather steering
wheel, ...
Screenwash, interior and
exterior cleaning and
maintenance products,
replacement bulbs, ...
The fi tting of electrical equipment
or accessories which are not
recommended by Automobiles
PEUGEOT may result in the failure
of your vehicle's electronic system.
Please note this specifi c warning. You
are advised to contact a representative
of the Marque to be shown the range
of recommended equipment and
accessories.
Depending on the country in which
the vehicle is sold or operated, it is
compulsory to have a high visibility
safety jacket, warning triangle and
replacement bulbs available in the
vehicle.
"Active Fleet Data" Telematic unit
Connected directly to the heart of the
vehicle (multiplexed network: "Full CAN"),
the telematic unit, by means of a "ready to
use" service, permits the sending in real
time of information such as:
- distance travelled,
- distance remaining before the next
service,
- warnings and faults (oil level,
coolant level, oil temperature,
coolant temperature, etc...).
This enables "Fleet" managers
to optimise the monitoring and
management of their professional
vehicles.
According to country, contact
a PEUGEOT dealer for further
information.
Page 125 of 200
123
QUICK HEL
P
7
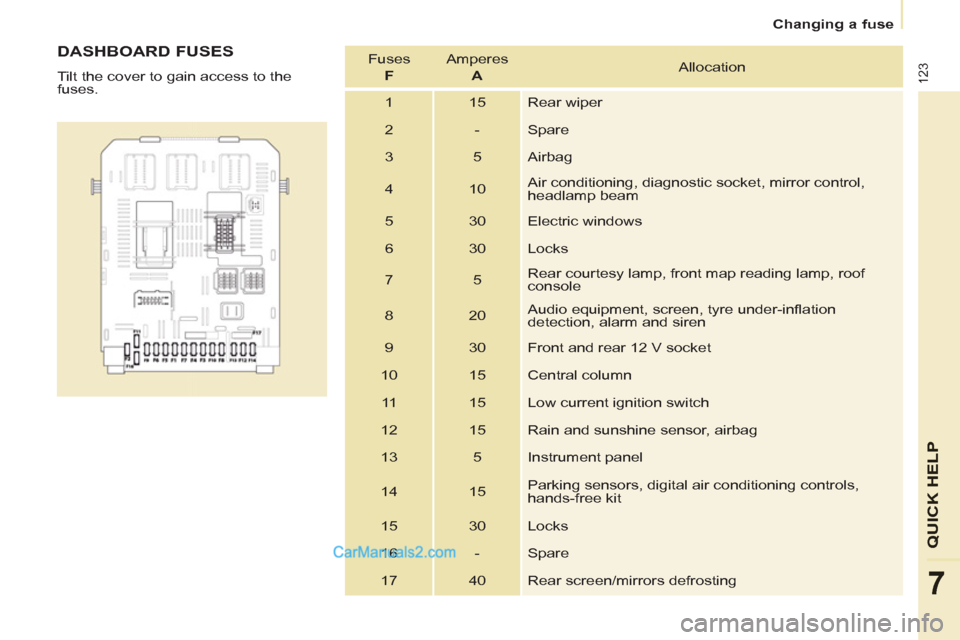
DASHBOARD FUSES
Tilt the cover to gain access to the
fuses. Fuses
F
Amperes
A
Allocation
1 15 Rear wiper
2 - Spare
3 5 Airbag
4 10 Air conditioning, diagnostic socket, mirror control,
headlamp beam
5 30 Electric windows
6 30 Locks
7 5 Rear courtesy lamp, front map reading lamp, roof
console
8 20 Audio equipment, screen, tyre under-infl ation
detection, alarm and siren
9 30 Front and rear 12 V socket
10 15 Central column
11 15 Low current ignition switch
12 15 Rain and sunshine sensor, airbag
13 5 Instrument panel
14 15 Parking sensors, digital air conditioning controls,
hands-free kit
15 30 Locks
16 - Spare
17 40 Rear screen/mirrors defrosting
Changing a fuse
Page 193 of 200

135
Exterior
VISUAL SEARCH
10
EXTERIOR
Remote control 15-16
Changing the battery,
reinitialisation 16
Key 15
Starting 44
Hill start assist 45
Central locking/unlocking 15, 24
Locking/unlocking
the load space 15, 24
Filler cap, fuel tank 109
Fuel cut-off, Diesel priming 110
Wiper blade 126
Door mirrors 77
Side repeater 119
Front lamps, foglamps,
direction indicators 46-47, 118
Headlamp beam height
adjustment 48
Changing front bulbs 117-119
Headlamp wash 50, 106
Snow cover 116
Front doors 18
Sliding side door 19
Key 15
Opening the bonnet 102
Infl ation, pressure 134
Towing, lifting 98-99, 127
Towbar 98-99
Rear parking sensors 81-82
Number plate lamp 121
Spare wheel, jack,
changing a wheel, tools 112-116
Rear lamps, direction
indicators 46-47, 120
3rd brake lamp 121
Changing rear bulbs 120-121
Load space, opening 15, 24
Doors, tailgate 20-23
Accessories 100
Roof bars 76
Rear roof fl ap 22
Emergency control 23
Dimensions 128-132
Floor cab dimensions 132
Brakes, pads 80, 107
Emergency braking 83
ABS, EBFD 83
ASR, ESP 84
"Grip control" 85
Tyre, pressures 134
Tyre under-infl ation detection 34