connect nav Peugeot Partner 2019 Owner's Manual
[x] Cancel search | Manufacturer: PEUGEOT, Model Year: 2019, Model line: Partner, Model: Peugeot Partner 2019Pages: 312, PDF Size: 9.56 MB
Page 5 of 312
3
bit.ly/helpPSA
.
.
Driving recommendations 115
Starting/switching off the engine 1 16
Anti-theft protection
1
20
Manual parking brake
1
21
Automatic electronic parking brake
1
21
Hill start assist
1
24
5-speed manual gearbox
1
25
6-speed manual gearbox
1
26
Automatic gearbox
1
26
Gear efficiency indicator
1
30
Stop & Start
1
30
Speed Limit recognition and
recommendation
133
Speed limiter
1
37
Programmable cruise control
1
39
Dynamic cruise control
1
42
Memorising speeds
1
49
Active Safety Brake with Distance Alert
and Intelligent emergency braking
assistance
150
Active Lane Departure Warning System
1
53
Blind Spot Detection
1
57
Fatigue detection system
1
59
Parking sensors
1
60
Reversing camera
1
63
Surround Rear Vision
1
64
Under-inflation detection
1
67Compatibility of fuels 1
70
Fuel tank 1 71
Diesel misfuel prevention
1
72
Snow chains
1
73
Towing device
1
73
Overload indicator
1
75
Energy economy mode
1
76
Roof bars/Roof rack
1
77
B o n n et
17 7
Engines
1
78
Checking levels
1
79
Checks
181
AdBlue
® (BlueHDi) 1 83
Advice on care 1 86
Running out of fuel (Diesel)
1
87
Tool kit
1
87
Temporary puncture repair kit
1
89
Spare wheel
1
91
Changing a bulb
1
95
Changing a fuse
2
01
12
V battery
2
03
To w i n g
2 0 6Dimensions
208
Engine technical data and towed loads
2
10
Identification markings
2
17
Driving
Practical information
In the event of a breakdown Technical data
Access to additional videos
Alphabetical index
Audio equipment and telematics
Bluetooth audio system
PEUGEOT Connect Radio
PEUGEOT Connect Nav
.
Contents
Page 7 of 312
5
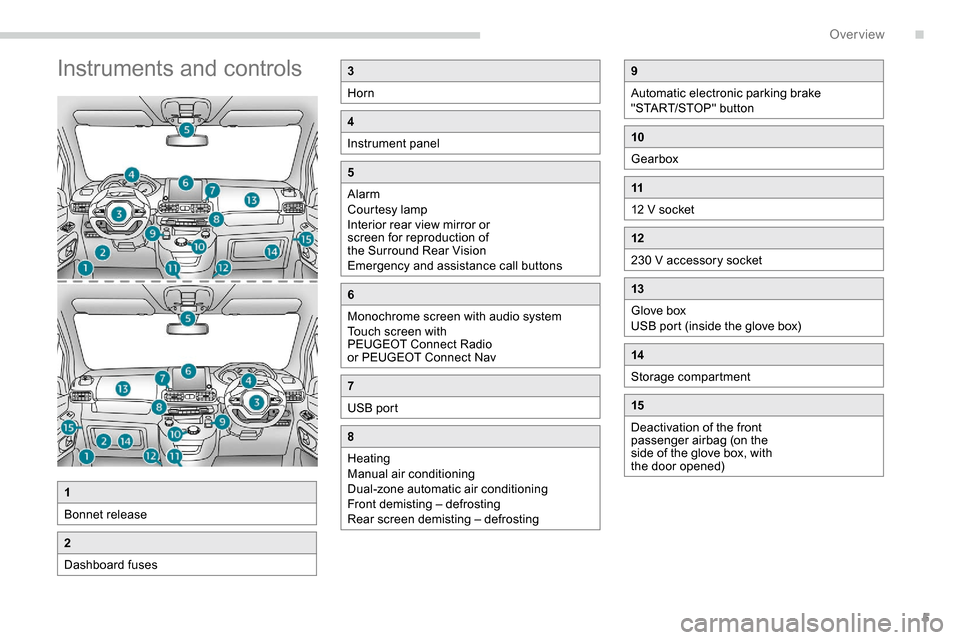
Instruments and controls3
Horn
4
Instrument panel
5
Alarm
Courtesy lamp
Interior rear view mirror or
screen for reproduction of
the Surround Rear Vision
Emergency and assistance call buttons
6
Monochrome screen with audio system
Touch screen with
PEUGEOT Connect Radio
or PEUGEOT Connect Nav
7
USB port
8
Heating
Manual air conditioning
Dual-zone automatic air conditioning
Front demisting – defrosting
Rear screen demisting – defrosting
1
Bonnet release
2
Dashboard fuses
9
Automatic electronic parking brake
"START/STOP" button
10
Gearbox
11
12 V socket
12
230 V accessory socket
13
Glove box
USB port (inside the glove box)
14
Storage compartment
15
Deactivation of the front
passenger airbag (on the
side of the glove box, with
the door opened)
.
Over view
Page 12 of 312
10
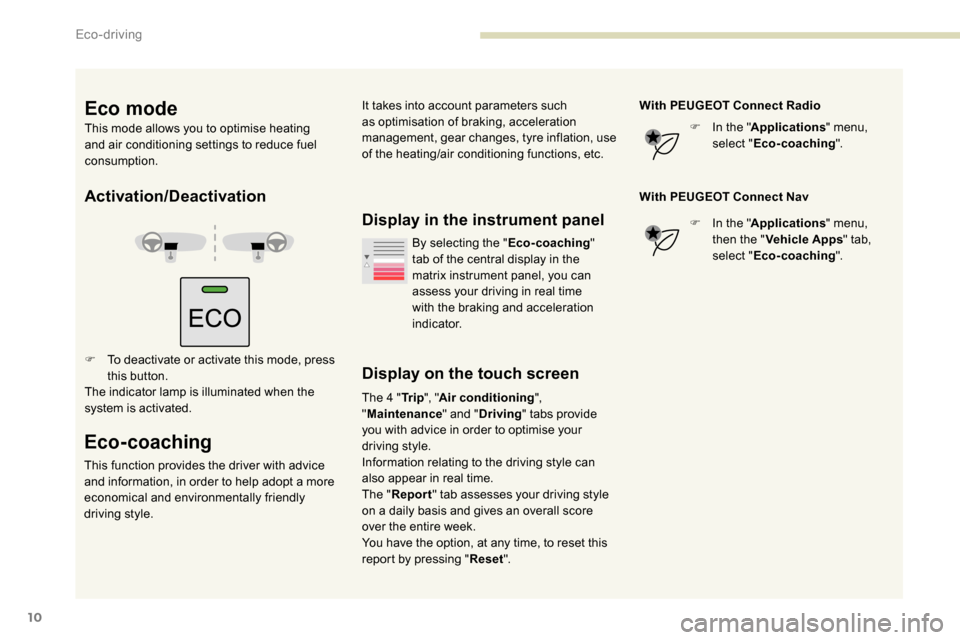
Activation/Deactivation
F To deactivate or activate this mode, press this button.
The indicator lamp is illuminated when the
system is activated.
Eco-coaching
This function provides the driver with advice
and information, in order to help adopt a more
economical and environmentally friendly
driving style.
Display in the instrument panel
Display on the touch screen
The 4 " Tr i p", "Air conditioning ",
" Maintenance " and "Driving " tabs provide
you with advice in order to optimise your
driving style.
Information relating to the driving style can
also appear in real time.
The " Report " tab assesses your driving style
on a daily basis and gives an overall score
over the entire week.
You have the option, at any time, to reset this
report by pressing " Reset". With PEUGEOT Connect Radio
F
I
n the "
Applications " menu,
select " Eco-coaching ".
With PEUGEOT Connect Nav F
I
n the "
Applications " menu,
then the " Vehicle Apps " tab,
select " Eco-coaching ".
By selecting the "
Eco-coaching"
tab of the central display in the
matrix instrument panel, you can
assess your driving in real time
with the braking and acceleration
i n d i c a t o r.
Eco mode
This mode allows you to optimise heating
and air conditioning settings to reduce fuel
consumption. It takes into account parameters such
as optimisation of braking, acceleration
management, gear changes, tyre inflation, use
of the heating/air conditioning functions, etc.
Eco-driving
Page 37 of 312
35
Distance travelled
(miles or km)Calculated since the last trip
computer reset.
Stop & Start time counter
(minutes/seconds or hours/minutes)
If your vehicle is fitted with Stop & Start, a time
counter calculates the time spent in STOP mode
during a journey.
It resets to zero every time the ignition is switched on.
Setting the time and date
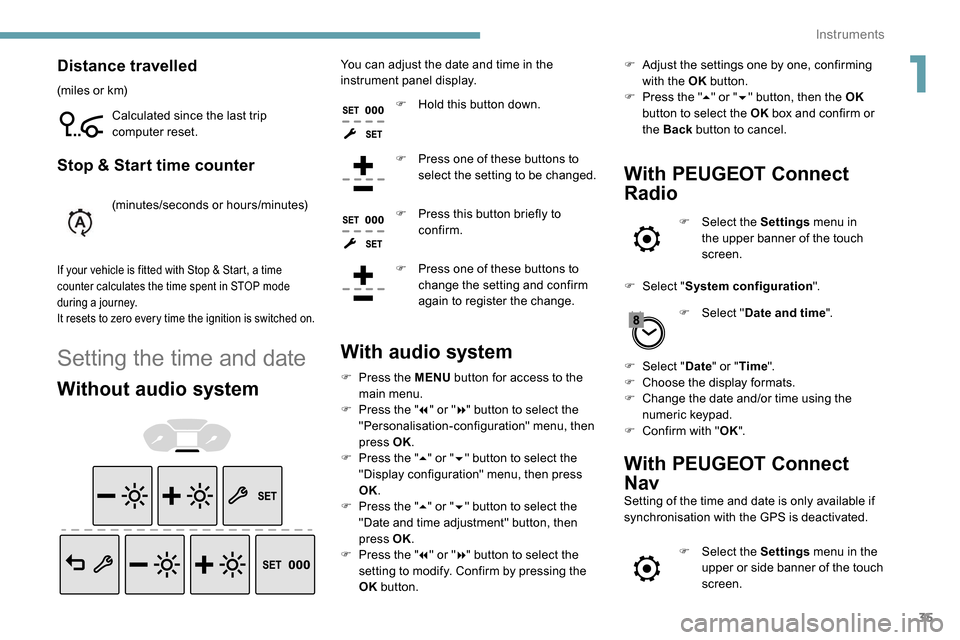
Without audio system
You can adjust the date and time in the
instrument panel display.F
H
old this button down.
F
P
ress one of these buttons to
select the setting to be changed.
F
P
ress this button briefly to
confirm.
F
P
ress one of these buttons to
change the setting and confirm
again to register the change.
With audio system
F Press the MENU button for access to the
main menu.
F
P
ress the " 7" or " 8" button to select the
"Personalisation-configuration" menu, then
press OK.
F
P
ress the " 5" or " 6" button to select the
"Display configuration" menu, then press
OK.
F
P
ress the " 5" or " 6" button to select the
"Date and time adjustment" button, then
press OK.
F
P
ress the " 7" or " 8" button to select the
setting to modify. Confirm by pressing the
OK button. F
A
djust the settings one by one, confirming
with the OK button.
F
P
ress the "
5" or " 6" button, then the OK
button to select the OK box and confirm or
the Back button to cancel.
With PEUGEOT Connect
Radio
F Select the Settings menu in
the upper banner of the touch
screen.
F
Sel
ect " System configuration ".
F
Sel
ect "Date and time ".
F
Sel
ect " Date " or "Time ".
F
C
hoose the display formats.
F
C
hange the date and/or time using the
numeric keypad.
F
C
onfirm with " OK".
With PEUGEOT Connect
Nav
Setting of the time and date is only available if
synchronisation with the GPS is deactivated.
F
Sel
ect the Settings menu in the
upper or side banner of the touch
screen.
1
Instruments
Page 82 of 312
80
12:13
1 12:00 AM12:00 AM
2
23 °C
12:13
23 °C
OFF
OK
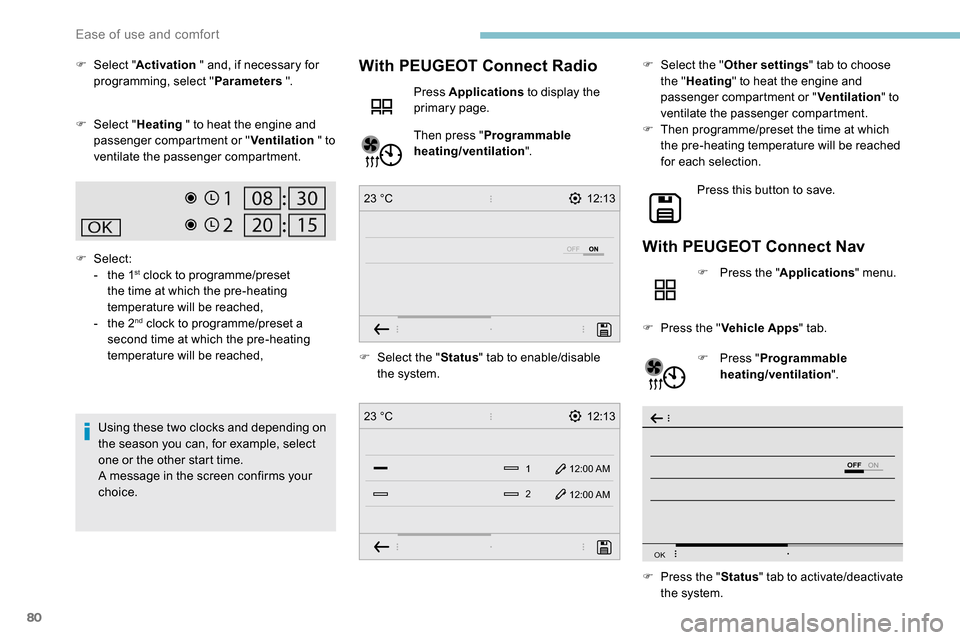
F Select " Activation " and, if necessary for
programming, select " Parameters ".
F
Sel
ect "Heating " to heat the engine and
passenger compartment or " Ventilation " to
ventilate the passenger compartment.
F
Select:
-
t
he 1
st clock to programme/preset
the time at which the pre-heating
temperature will be reached,
-
t
he 2
nd clock to programme/preset a
second time at which the pre-heating
temperature will be reached,
Using these two clocks and depending on
the season you can, for example, select
one or the other start time.
A message in the screen confirms your
choice. F
Sel
ect the "Status" tab to enable/disable
the system.
With PEUGEOT Connect Radio
Press Applications to display the
primary page.
Then press " Programmable
heating/ventilation ". F
Sel
ect the "
Other settings " tab to choose
the " Heating " to heat the engine and
passenger compartment or " Ventilation" to
ventilate the passenger compartment.
F
T
hen programme/preset the time at which
the pre-heating temperature will be reached
for each selection.
Press this button to save.
With PEUGEOT Connect Nav
F Press the " Applications" menu.
F
P
ress the " Vehicle Apps " tab.
F
P
ress " Programmable
heating/ventilation ".
F
P
ress the " Status" tab to activate/deactivate
the system.
Ease of use and comfort
Page 135 of 312
133
Speed Limit recognition
and recommendation
This function is a driving aid that cannot,
in any circumstances, replace the driver’s
own vigilance nor compliance with the
highway code.
The actual signs always take priority over
those suggested by the system.
The signs must comply with the Vienna
Convention on road signs.
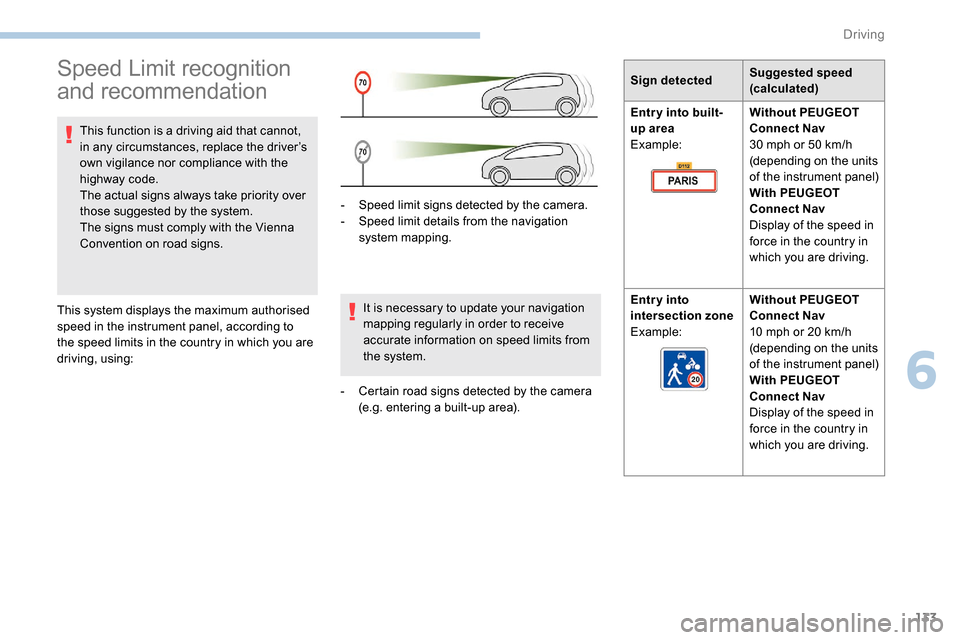
This system displays the maximum authorised
speed in the instrument panel, according to
the speed limits in the country in which you are
driving, using: -
S
peed limit signs detected by the camera.
-
S
peed limit details from the navigation
system mapping.
It is necessary to update your navigation
mapping regularly in order to receive
accurate information on speed limits from
the system.
-
C
ertain road signs detected by the camera
(e.g. entering a built-up area). Sign detected
Suggested speed
(calculated)
Entry into built-
up area
Example: Without PEUGEOT
Connect Nav
30
mph or 50 km/h
(depending on the units
of the instrument panel)
With PEUGEOT
Connect Nav
Display of the speed in
force in the country in
which you are driving.
Entry into
intersection zone
Example: Without PEUGEOT
Connect Nav
10
mph or 20 km/h
(depending on the units
of the instrument panel)
With PEUGEOT
Connect Nav
Display of the speed in
force in the country in
which you are driving.
6
Driving
Page 228 of 312
8
- Repeat: the tracks played are only those
from the current album or folder.
Press this button to display the
contextual menu for the Media
function.
Press this button to select the
chosen play mode.
Press this button to confirm.
The choice made is displayed at the top of the
screen.
Choosing a track to play
Press one of these buttons to go to
the previous/next track.
Press one of these buttons to go to
the previous/next folder.
File classification
Make a long press on this button to
display the different classifications. Select by "
Folder"/ "Artist "/ "Genre "/
" Playlist ".
Depending on availability and type
of device used.
Press OK to select the desired
classification, then press OK again
to confirm.
Playing files
Make a short press on this button to
display the chosen classification.
Navigate in the list using the left /
right and up/down buttons.
Confirm the selection by pressing
OK.
Press one of these buttons to go to
the previous/next track in the list.
Press and hold one of these buttons
for fast for ward or rewind.
Press one of these buttons to go to
the previous/next " Folder"/ "Artist "/
" Genre "/ "Playlist "* in the list.
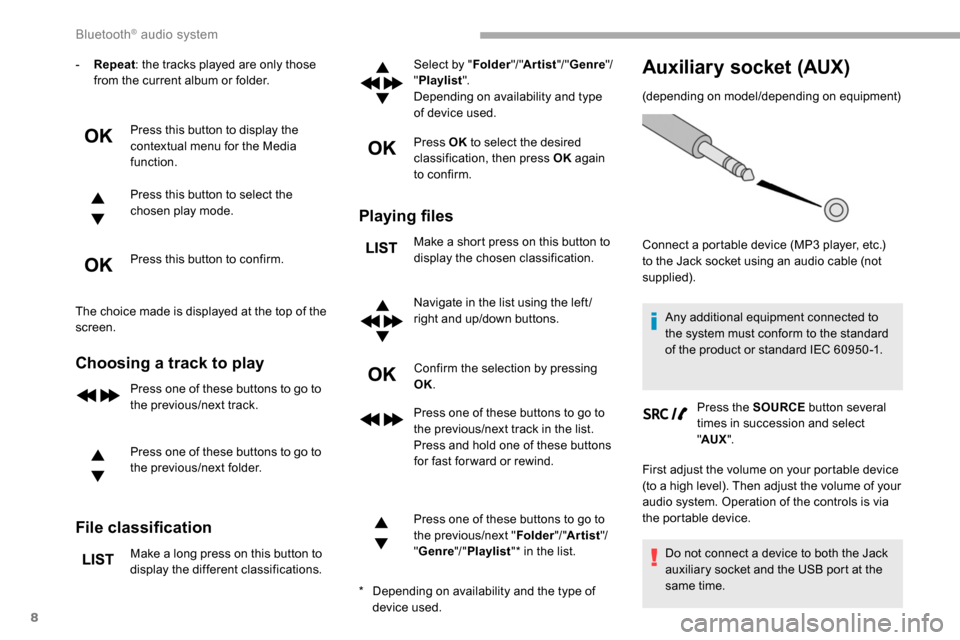
Auxiliary socket (AUX)
(depending on model/depending on equipment)
*
D
epending on availability and the type of
device used. Connect a portable device (MP3 player, etc.)
to the Jack socket using an audio cable (not
supplied).
Any additional equipment connected to
the system must conform to the standard
of the product or standard IEC 60950 -1.
Press the SOURCE button several
times in succession and select
" AUX ".
First adjust the volume on your portable device
(to a high level). Then adjust the volume of your
audio system. Operation of the controls is via
the portable device.
Do not connect a device to both the Jack
auxiliary socket and the USB port at the
same time.
Bluetooth® audio system
Page 232 of 312
12
Indicates connection of the audio
steaming profile.
Indicates the hands-free telephone
profile.
Select a telephone.
Confirm with OK.
Then select and confirm:
- "Connect telephone "/
" Disconnect telephone ":
to connect/disconnect the
telephone or the hands-free kit
o n l y.
-
"Connect media player "/
" Disconnect media player ":
to connect/disconnect streaming
o n l y.
-
"Connect telephone + media
player "/ "Disconnect telephone
+ media player ":
to connect/disconnect the
telephone (hands-free kit and
streaming).
-
"Delete connection ": to delete
the pairing. When you delete a pairing in the system,
remember to delete it from your telephone
as well.
Confirm with OK.
Receiving a call
An incoming call is announced by a ring and a
superimposed display in the screen.
Select the " YES" tab in the screen
using the buttons.
Confirm with OK.
Press this button at the steering
mounted controls to accept the call.
Making a call
In the " Telephone " menu.
Select " Call".
Select " Dial".
Or
Select " Directory ". Or
Select "
Calls list ".
Confirm with OK.
Press this button for more than
two seconds for access to your
directory, then navigate using the
thumb wheel.
Ending a call
In the " Telephone " menu.
Select " End call".
Confirm with OK to end the call.
During a call, press one of these
buttons for more than two seconds.
The system accesses the telephone's contacts
directory, depending on its compatibility, and
while it is connected via Bluetooth.
Bluetooth® audio system
Page 233 of 312
13
With certain telephones connected by
Bluetooth you can send a contact to the
directory of the audio system.
Contacts imported in this way are saved
in a permanent directory visible to all,
whatever the telephone connected.
The menu for the directory is not
accessible if it is empty.
Managing calls
During a call, press OK to display
the contextual menu.
End call
In the contextual menu, select
" Hang up " to end the call.
Confirm with OK.
Microphone off
(so that the caller cannot hear) In the contextual menu:
-
s
elect "
Micro OFF " to switch off
the microphone.
-
d
eselect "
Micro OFF " to switch
the microphone on.
Confirm with OK.
Telephone mode
In the contextual menu:
- s elect " Telephone mode " to
transfer the call to the telephone
(for example, to leave the vehicle
while continuing a conversation).
-
d
eselect " Telephone mode " to
transfer the call to the vehicle.
Confirm with OK.
If the contact has been cut off, when you
reconnect on returning to the vehicle,
the Bluetooth connection will be restored
automatically and sound returned to the
system (depending on the compatibility of the
telephone).
In some cases, the Telephone mode must be
activated from the telephone.
Interactive voice response
From the contextual menu, select
" DTMF tones " and confirm to use
the digital keypad to navigate in the
interactive voice response menu.
Confirm with OK.
Call waiting
From the contextual menu, select
" Switch " and confirm to return to a
call left on hold.
Confirm with OK.
Directory
To access the directory, press and
hold SRC/TEL .
Select " Directory " to see the list of
contacts.
Confirm with OK.
.
Bluetooth® audio system
Page 243 of 312
5
21,518,5
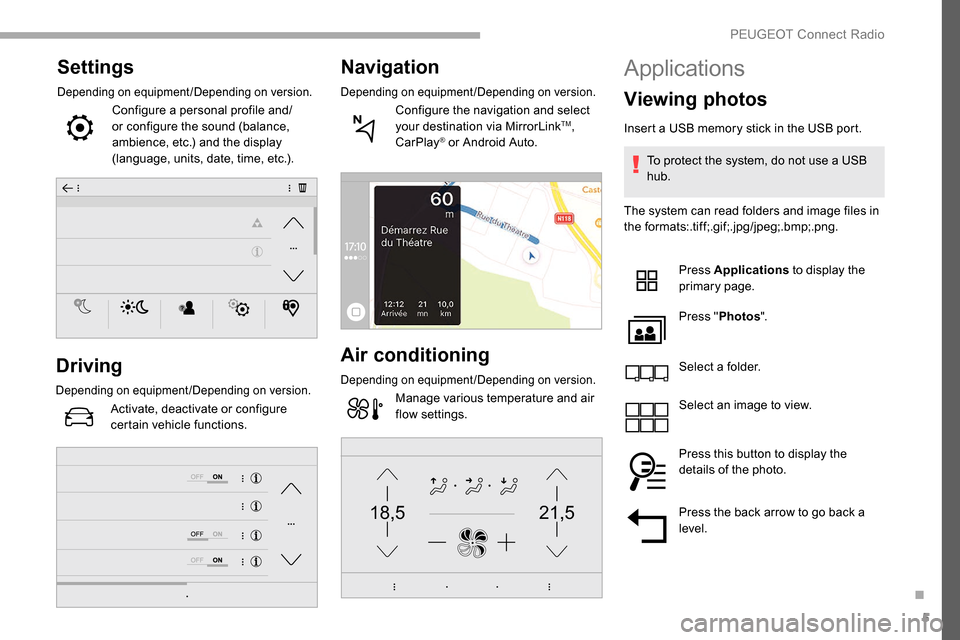
Settings
Depending on equipment/Depending on version.
Configure a personal profile and/
or configure the sound (balance,
ambience, etc.) and the display
(language, units, date, time, etc.).
Driving
Depending on equipment/Depending on version.
Activate, deactivate or configure
certain vehicle functions.
Navigation
Depending on equipment/Depending on version.
Configure the navigation and select
your destination via MirrorLinkTM,
CarPlay® or Android Auto.
Air conditioning
Depending on equipment/Depending on version.
Manage various temperature and air
flow settings.
Applications
Viewing photos
Insert a USB memory stick in the USB port.
To protect the system, do not use a USB
hub.
The system can read folders and image files in
the formats:.tif f;.gif;.jpg/jpeg;.bmp;.png.
Press Applications to display the
primary page.
Press " Photos ".
Select a folder.
Select an image to view.
Press this button to display the
details of the photo.
Press the back arrow to go back a
level.
.
PEUGEOT Connect Radio