service indicator PONTIAC G6 2005 Owners Manual
[x] Cancel search | Manufacturer: PONTIAC, Model Year: 2005, Model line: G6, Model: PONTIAC G6 2005Pages: 354, PDF Size: 2.27 MB
Page 1 of 354

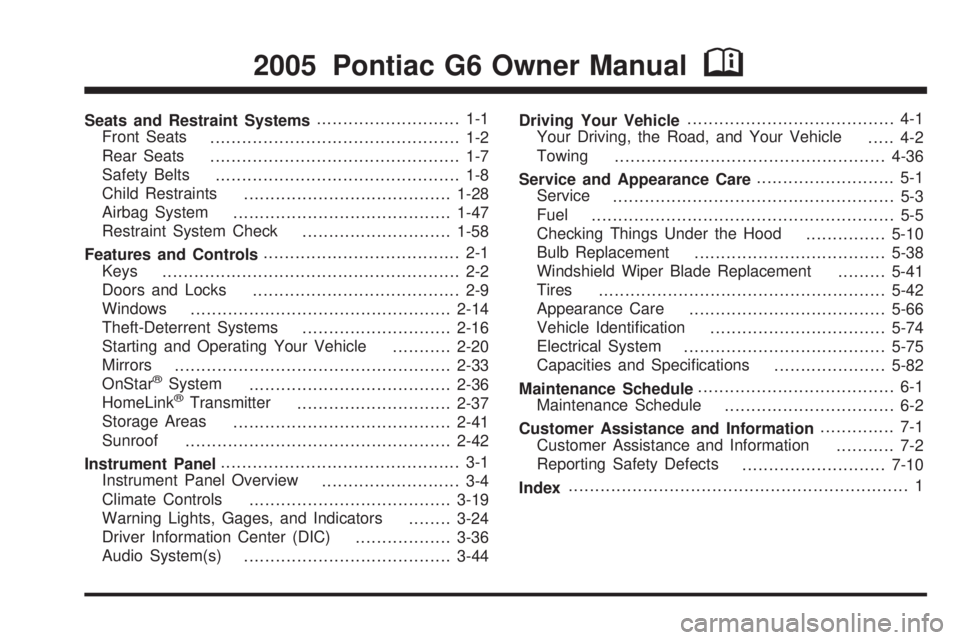
Seats and Restraint Systems........................... 1-1
Front Seats
............................................... 1-2
Rear Seats
............................................... 1-7
Safety Belts
.............................................. 1-8
Child Restraints
.......................................1-28
Airbag System
.........................................1-47
Restraint System Check
............................1-58
Features and Controls..................................... 2-1
Keys
........................................................ 2-2
Doors and Locks
....................................... 2-9
Windows
.................................................2-14
Theft-Deterrent Systems
............................2-16
Starting and Operating Your Vehicle
...........2-20
Mirrors
....................................................2-33
OnStar
®System
......................................2-36
HomeLink®Transmitter
.............................2-37
Storage Areas
.........................................2-41
Sunroof
..................................................2-42
Instrument Panel............................................. 3-1
Instrument Panel Overview
.......................... 3-4
Climate Controls
......................................3-19
Warning Lights, Gages, and Indicators
........3-24
Driver Information Center (DIC)
..................3-36
Audio System(s)
.......................................3-44Driving Your Vehicle....................................... 4-1
Your Driving, the Road, and Your Vehicle
..... 4-2
Towing
...................................................4-36
Service and Appearance Care.......................... 5-1
Service
..................................................... 5-3
Fuel
......................................................... 5-5
Checking Things Under the Hood
...............5-10
Bulb Replacement
....................................5-38
Windshield Wiper Blade Replacement
.........5-41
Tires
......................................................5-42
Appearance Care
.....................................5-66
Vehicle Identi�cation
.................................5-74
Electrical System
......................................5-75
Capacities and Speci�cations
.....................5-82
Maintenance Schedule..................................... 6-1
Maintenance Schedule
................................ 6-2
Customer Assistance and Information.............. 7-1
Customer Assistance and Information
........... 7-2
Reporting Safety Defects
...........................7-10
Index................................................................ 1
2005 Pontiac G6 Owner ManualM
Page 99 of 354

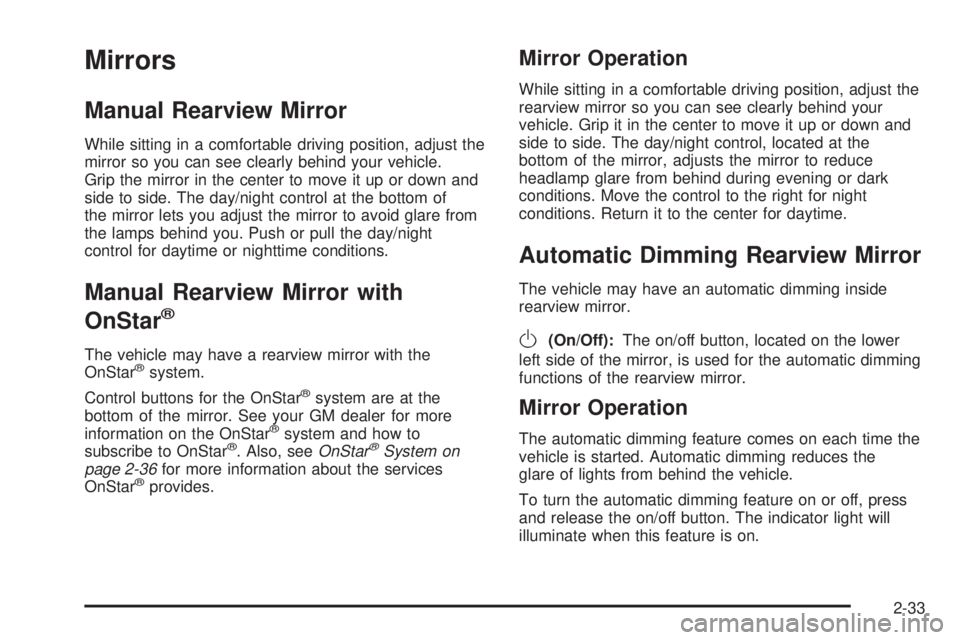
Mirrors
Manual Rearview Mirror
While sitting in a comfortable driving position, adjust the
mirror so you can see clearly behind your vehicle.
Grip the mirror in the center to move it up or down and
side to side. The day/night control at the bottom of
the mirror lets you adjust the mirror to avoid glare from
the lamps behind you. Push or pull the day/night
control for daytime or nighttime conditions.
Manual Rearview Mirror with
OnStar
®
The vehicle may have a rearview mirror with the
OnStar®system.
Control buttons for the OnStar
®system are at the
bottom of the mirror. See your GM dealer for more
information on the OnStar
®system and how to
subscribe to OnStar®. Also, seeOnStar®System on
page 2-36for more information about the services
OnStar
®provides.
Mirror Operation
While sitting in a comfortable driving position, adjust the
rearview mirror so you can see clearly behind your
vehicle. Grip it in the center to move it up or down and
side to side. The day/night control, located at the
bottom of the mirror, adjusts the mirror to reduce
headlamp glare from behind during evening or dark
conditions. Move the control to the right for night
conditions. Return it to the center for daytime.
Automatic Dimming Rearview Mirror
The vehicle may have an automatic dimming inside
rearview mirror.
O(On/Off):The on/off button, located on the lower
left side of the mirror, is used for the automatic dimming
functions of the rearview mirror.
Mirror Operation
The automatic dimming feature comes on each time the
vehicle is started. Automatic dimming reduces the
glare of lights from behind the vehicle.
To turn the automatic dimming feature on or off, press
and release the on/off button. The indicator light will
illuminate when this feature is on.
2-33
Page 111 of 354

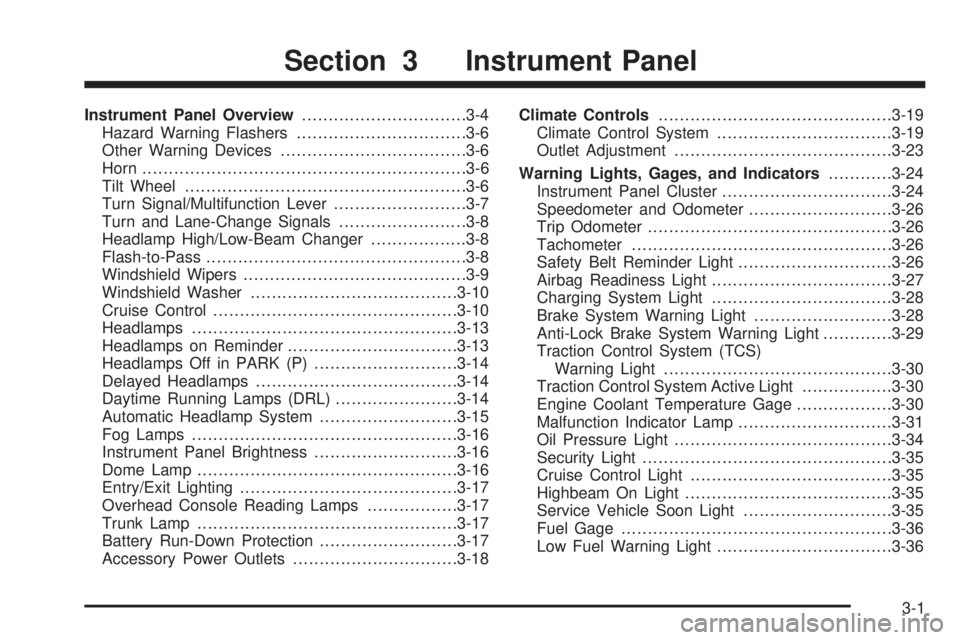
Instrument Panel Overview...............................3-4
Hazard Warning Flashers................................3-6
Other Warning Devices...................................3-6
Horn.............................................................3-6
Tilt Wheel.....................................................3-6
Turn Signal/Multifunction Lever.........................3-7
Turn and Lane-Change Signals........................3-8
Headlamp High/Low-Beam Changer..................3-8
Flash-to-Pass.................................................3-8
Windshield Wipers..........................................3-9
Windshield Washer.......................................3-10
Cruise Control..............................................3-10
Headlamps..................................................3-13
Headlamps on Reminder................................3-13
Headlamps Off in PARK (P)...........................3-14
Delayed Headlamps......................................3-14
Daytime Running Lamps (DRL).......................3-14
Automatic Headlamp System..........................3-15
Fog Lamps..................................................3-16
Instrument Panel Brightness...........................3-16
Dome Lamp.................................................3-16
Entry/Exit Lighting.........................................3-17
Overhead Console Reading Lamps.................3-17
Trunk Lamp.................................................3-17
Battery Run-Down Protection..........................3-17
Accessory Power Outlets...............................3-18Climate Controls............................................3-19
Climate Control System.................................3-19
Outlet Adjustment.........................................3-23
Warning Lights, Gages, and Indicators............3-24
Instrument Panel Cluster................................3-24
Speedometer and Odometer...........................3-26
Trip Odometer..............................................3-26
Tachometer.................................................3-26
Safety Belt Reminder Light.............................3-26
Airbag Readiness Light..................................3-27
Charging System Light..................................3-28
Brake System Warning Light..........................3-28
Anti-Lock Brake System Warning Light.............3-29
Traction Control System (TCS)
Warning Light...........................................3-30
Traction Control System Active Light.................3-30
Engine Coolant Temperature Gage..................3-30
Malfunction Indicator Lamp.............................3-31
Oil Pressure Light.........................................3-34
Security Light...............................................3-35
Cruise Control Light......................................3-35
Highbeam On Light.......................................3-35
Service Vehicle Soon Light............................3-35
Fuel Gage...................................................3-36
Low Fuel Warning Light.................................3-36
Section 3 Instrument Panel
3-1
Page 141 of 354

Malfunction Indicator Lamp
Check Engine Light
Your vehicle is equipped
with a computer which
monitors operation of the
fuel, ignition, and emission
control systems.
This system is called OBD II (On-Board Diagnostics-
Second Generation) and is intended to assure that
emissions are at acceptable levels for the life of
the vehicle, helping to produce a cleaner environment.
The check engine light comes on to indicate that there
is a problem and service is required. Malfunctions often
will be indicated by the system before any problem is
apparent. This may prevent more serious damage
to your vehicle. This system is also designed to assist
your service technician in correctly diagnosing any
malfunction.
Notice:If you keep driving your vehicle with this
light on, after awhile, your emission controls
may not work as well, your fuel economy may not
be as good, and your engine may not run as
smoothly. This could lead to costly repairs that
may not be covered by your warranty.Notice:Modi�cations made to the engine,
transaxle, exhaust, intake, or fuel system of your
vehicle or the replacement of the original tires with
other than those of the same Tire Performance
Criteria (TPC) can affect your vehicle’s emission
controls and may cause this light to come on.
Modi�cations to these systems could lead to costly
repairs not covered by your warranty. This may
also result in a failure to pass a required Emission
Inspection/Maintenance test.
This light should come on, as a check to show you it is
working, when the ignition is on and the engine is
not running. If the light does not come on, have it
repaired. This light will also come on during a
malfunction in one of two ways:
Light Flashing— A mis�re condition has been
detected. A mis�re increases vehicle emissions
and may damage the emission control system on
your vehicle. Diagnosis and service may be
required.
Light On Steady— An emission control system
malfunction has been detected on your vehicle.
Diagnosis and service may be required.
3-31
Page 145 of 354

Security Light
For information
regarding this light,
seeTheft-Deterrent
Systems on page 2-16.
Cruise Control Light
This light comes on
whenever you set your
cruise control.
The light will go out when the cruise control is turned
off. SeeCruise Control on page 3-10for more
information.
Highbeam On Light
This light will come on
when the high-beam
headlamps are in use.
SeeHeadlamp High/Low-Beam Changer on page 3-8.
Service Vehicle Soon Light
This light will come on
and a chime will sound
if it detects a problem
on the vehicle.
The Driver Information Center (DIC) may display a
message such as Low Coolant, Power Steering, Engine
Reduced Power, etc. These messages may help you
determine why the service vehicle soon indicator is on.
SeeDIC Warnings and Messages on page 3-40.
If this happens, see your GM dealer for necessary
repairs to maintain top vehicle performance.
3-35
Page 239 of 354

Gasolines containing oxygenates, such as ethers and
ethanol, and reformulated gasolines may be available in
your area to contribute to clean air. General Motors
recommends that you use these gasolines, particularly if
they comply with the speci�cations described earlier.
Notice:Your vehicle was not designed for fuel that
contains methanol. Do not use fuel containing
methanol. It can corrode metal parts in your fuel
system and also damage the plastic and rubber
parts. That damage would not be covered under
your warranty.
Some gasolines that are not reformulated for
low emissions may contain an octane-enhancing
additive called methylcyclopentadienyl manganese
tricarbonyl (MMT); ask the attendant where you
buy gasoline whether the fuel contains MMT. General
Motors does not recommend the use of such gasolines.
Fuels containing MMT can reduce the life of spark
plugs and the performance of the emission control
system may be affected. The malfunction indicator lamp
may turn on. If this occurs, return to your authorized
GM dealer for service.Fuels in Foreign Countries
If you plan on driving in another country outside the
United States or Canada, the proper fuel may be hard
to �nd. Never use leaded gasoline or any other fuel
not recommended in the previous text on fuel. Costly
repairs caused by use of improper fuel would not
be covered by your warranty.
To check the fuel availability, ask an auto club, or
contact a major oil company that does business in the
country where you will be driving.
5-7
Page 264 of 354

Brake Wear
Your vehicle has four-wheel disc brakes.
Disc brake pads have built-in wear indicators that make
a high-pitched warning sound when the brake pads
are worn and new pads are needed. The sound
may come and go or be heard all the time your vehicle
is moving, except when you are pushing on the
brake pedal �rmly.
{CAUTION:
The brake wear warning sound means that
soon your brakes will not work well. That
could lead to an accident. When you hear
the brake wear warning sound, have your
vehicle serviced.
Notice:Continuing to drive with worn-out brake
pads could result in costly brake repair.Some driving conditions or climates may cause a brake
squeal when the brakes are �rst applied or lightly
applied. This does not mean something is wrong with
your brakes.
Properly torqued wheel nuts are necessary to help
prevent brake pulsation. When tires are rotated, inspect
brake pads for wear and evenly tighten wheel nuts in
the proper sequence to GM torque speci�cations.
Brake linings should always be replaced as complete
axle sets.
Brake Pedal Travel
See your dealer if the brake pedal does not return to
normal height, or if there is a rapid increase in
pedal travel. This could be a sign of brake trouble.
Brake Adjustment
Every time you apply the brakes, with or without the
vehicle moving, your brakes adjust for wear.
5-32
Page 349 of 354

Light (cont.)
Oil Pressure...............................................3-34
Safety Belt Reminder...................................3-26
Security.....................................................3-35
Service Vehicle Soon...................................3-35
TCS Warning Light......................................3-30
Traction Control System Active......................3-30
Traction Control System (TCS) Warning..........3-30
Lighting
Entry/Exit...................................................3-17
Lockout Protection..........................................2-12
Locks
Delayed Locking..........................................2-10
Door........................................................... 2-9
Lockout Protection.......................................2-12
Power Door................................................2-10
Loss of Control...............................................4-15
Low Fuel Warning Light...................................3-36
Lumbar
Manual Controls............................................ 1-3
M
Maintenance Schedule
Additional Required Services........................... 6-6
At Each Fuel Fill........................................... 6-8
At Least Once a Month.................................. 6-9
At Least Once a Year.................................... 6-9
Introduction.................................................. 6-2Maintenance Schedule (cont.)
Maintenance Footnotes.................................. 6-7
Maintenance Record....................................6-14
Maintenance Requirements............................. 6-2
Normal Maintenance Replacement Parts.........6-13
Owner Checks and Services........................... 6-8
Recommended Fluids and Lubricants.............6-12
Scheduled Maintenance................................. 6-4
Using Your................................................... 6-3
Your Vehicle and the Environment................... 6-2
Malfunction Indicator Light................................3-31
Manual Lumbar Controls.................................... 1-3
Manual Seats................................................... 1-2
Message
DIC Warnings and Messages........................3-40
Mirrors
Automatic Dimming Rearview........................2-33
Automatic Dimming Rearview with OnStar
®.....2-34
Manual Rearview Mirror................................2-33
Manual Rearview Mirror with OnStar
®.............2-33
Outside Convex Mirror.................................2-35
Outside Power Mirrors..................................2-35
MyGMLink.com................................................ 7-3
N
New Vehicle Break-In......................................2-20
Normal Maintenance Replacement Parts............6-13
7
Page 354 of 354

Vehicle (cont.)
Vehicle Data Collection and Event Data
Recorders.................................................... 7-9
Vehicle Identi�cation
Number (VIN).............................................5-74
Service Parts Identi�cation Label...................5-74
Vehicle Personalization
DIC ...........................................................3-42
Ventilation Adjustment......................................3-23
Visors...........................................................2-16
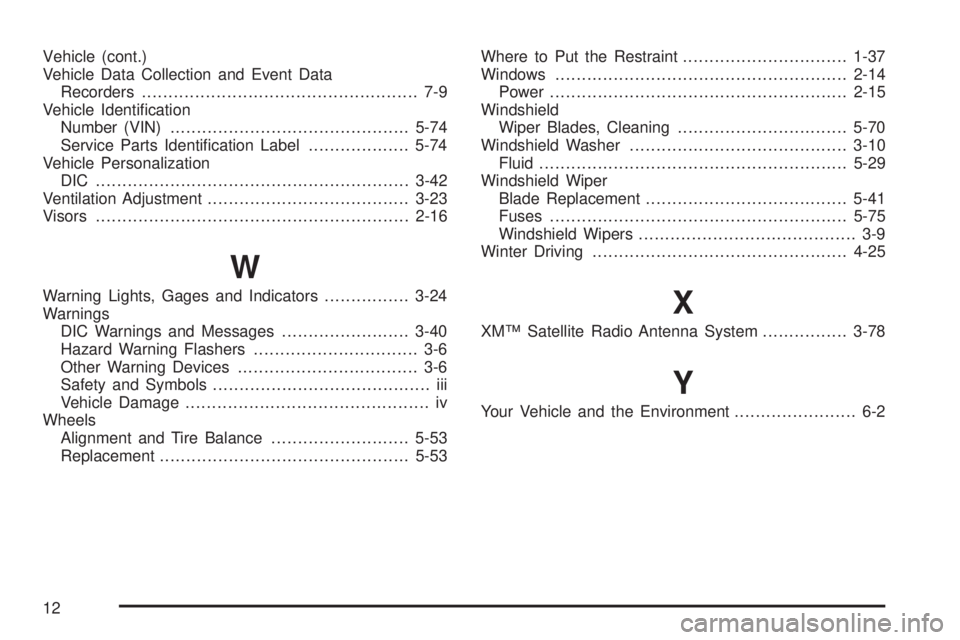
W
Warning Lights, Gages and Indicators................3-24
Warnings
DIC Warnings and Messages........................3-40
Hazard Warning Flashers............................... 3-6
Other Warning Devices.................................. 3-6
Safety and Symbols......................................... iii
Vehicle Damage.............................................. iv
Wheels
Alignment and Tire Balance..........................5-53
Replacement...............................................5-53Where to Put the Restraint...............................1-37
Windows.......................................................2-14
Power........................................................2-15
Windshield
Wiper Blades, Cleaning................................5-70
Windshield Washer.........................................3-10
Fluid..........................................................5-29
Windshield Wiper
Blade Replacement......................................5-41
Fuses........................................................5-75
Windshield Wipers......................................... 3-9
Winter Driving................................................4-25X
XM™ Satellite Radio Antenna System................3-78
Y
Your Vehicle and the Environment....................... 6-2
12