clutch PONTIAC GRAND AM 1998 Owners Manual
[x] Cancel search | Manufacturer: PONTIAC, Model Year: 1998, Model line: GRAND AM, Model: PONTIAC GRAND AM 1998Pages: 370, PDF Size: 16.11 MB
Page 77 of 370
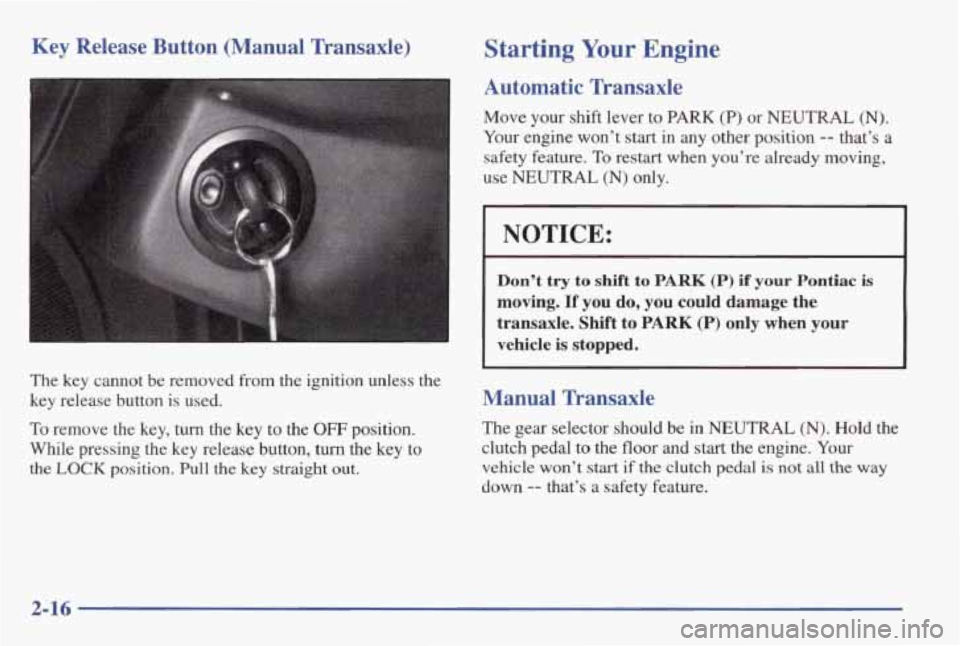
Key Release Button (Manual Transaxle)
The key cannot be removed from the ignition unless the
key release button is used.
To remove the key, turn the key to the OFF position.
While pressing the
key release button, turn the key to
the LOCK position. Pull the key straight out.
Starting Your Engine
Automatic Transaxle
Move your shift lever to PARK (P) or NEUTRAL (N).
Your engine won’t start in any other position -- that’s a
safety feature.
To restart when you’re already moving,
use
NEUTRAL (N) only.
I NOTICE:
Don’t try to shift to PARK (P) if your Pontiac is
moving. If you do, you could damage the
transaxle.
Shift to PARK (P) only when your
vehicle is stopped.
Manual Transaxle
The gear selector should be in NEUTRAL (N). Hold the
clutch pedal to
the floor and start the engine. Your
vehicle won’t
start if the clutch pedal is not all the way
down
-- that’s a safety feature.
2-16
Page 86 of 370
Manual Transaxle Operation
k
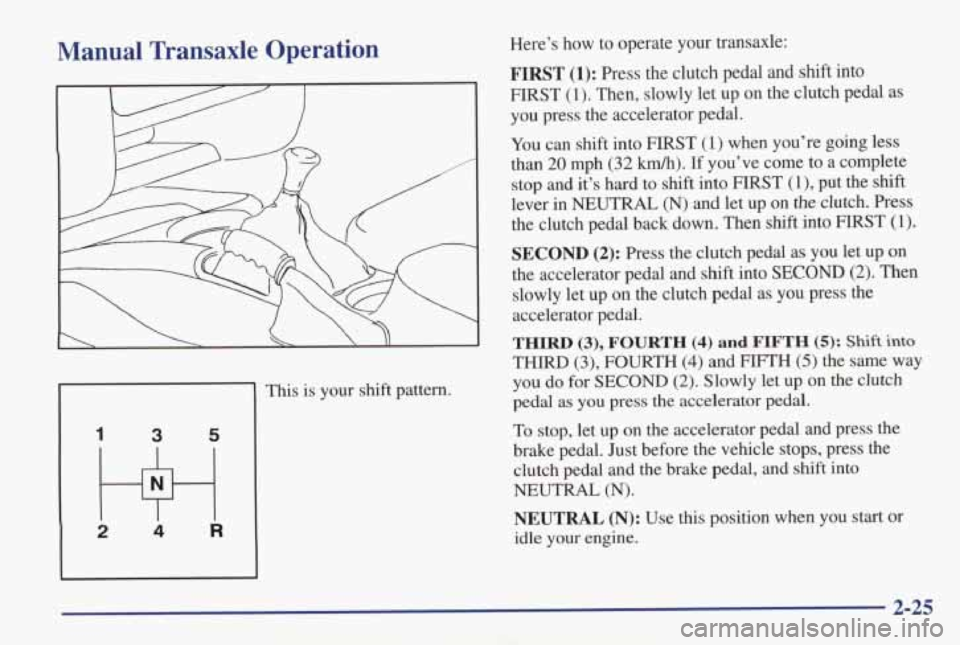
This is your shift pattern.
3 5
2 w 4 R
Here’s how to operate your transaxle:
FIRST (1): Press the clutch pedal and shift into
FIRST
(1). Then, slowly let up on the clutch pedal as
you press the accelerator pedal.
You can shift into FIRST
(1) when you’re going less
than
20 mph (32 kmh). If you’ve come to a complete
stop and it’s hard to shift into FIRST
(l), put the shift
lever in NEUTRAL (N) and let up on the clutch. Press
the clutch pedal back down. Then shift into FPRST
(1).
SECOND (2): Press the clutch pedal as you let up on
the accelerator pedal and shift into
SECOND (2). Then
slowly let up
on the clutch pedal as you press the
accelerator pedal.
THIRD(3),FOURTH(4)andFIFTH(5): Shift into
THIRD (3), FOURTH (4) and FIFTH (5) the same way
you do for
SECOND (2). Slowly let up on the clutch
pedal as you press the accelerator pedal.
To stop, let up on the accelerator pedal and press the
brake pedal. Just before the vehicle stops, press the
clutch pedal and
the brake pedal, and shift into
NEUTRAL
(N).
NEUTRAL (N): Use this position when you start or
idle your engine.
2-25
Page 87 of 370
REVERSE (R): To back up, press down the clutch
pedal and
shift into REVERSE (R). Let up on the clutch
pedal slowly while pressing the accelerator pedal.
NOTICE:
Shift to REVERSE (R) only after your vehicle is
stopped.
Shifting to REVERSE (R) while your
vehicle is moving could damage your transaxle.
Also, use REVERSE (R), along with the parking brake,
for parking your vehicle.
Shift Speeds
A CAUTION:
If you skip more than one gear when you
downshift, you could lose control of your vehicle.
And you could
injure yourself or others. Don’t
shift from FIFTH (5) to SECOND (2) or from
FOURTH (4) to FIRST (1).
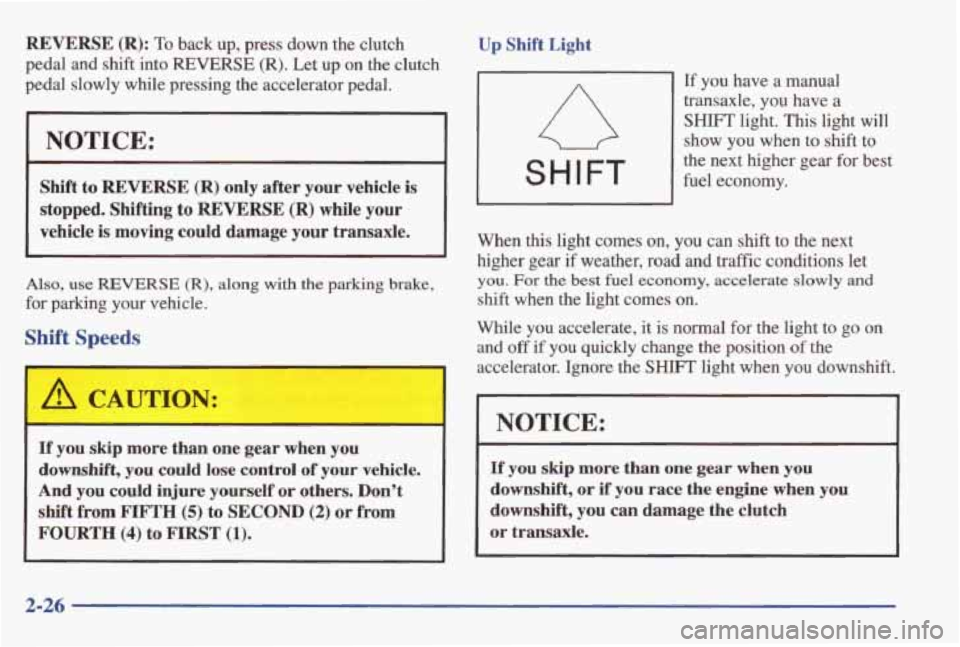
Up Shift Light
SHIFT
If you have a manual
transaxle, you have a
SHIFT light. This light will
show you when to
shift to
the next higher gear for best
fuel economy.
When this light comes on,
you can shift to the next
higher
gear if weather, road and traffic conditions let
you. For the best fuel economy, accelerate slowly and
shift when the light comes on.
While you accelerate, it is normal for the light to go on
and
off if you quickly change the position of the
accelerator. Ignore the
SHIETT light when you downshift.
NOTICE:
If you skip more than one gear when you
downshift, or if you race the engine when you
downshift, you
can damage the clutch
or transaxle.
2-26
Page 99 of 370
Cruise Control (If Equipped)
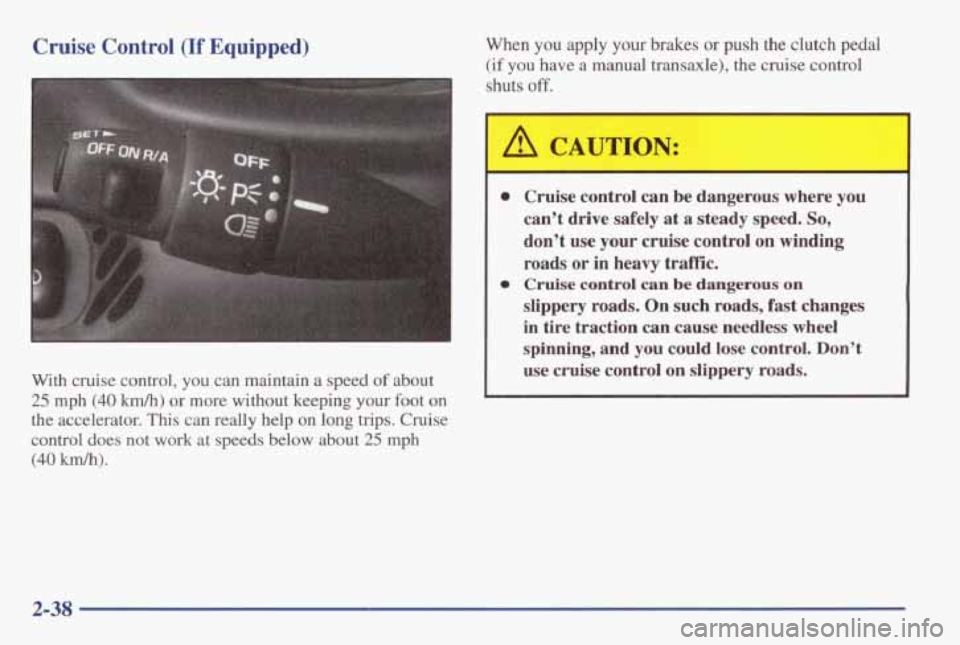
With cruise control, you can maintain a speed of about
25 mph (40 km/h) or more without keeping your foot on
the accelerator. This can really help on long
trips. Cruise
control
does not work at speeds below about 25 mph
(40 km/h).
When you apply your brakes or push the clutch pedal
(if you have a manual transaxle), the cruise control
shuts off.
A CAUTION:
0
0
Cruise control can be dangerous where you
can’t drive safely at a steady speed. So,
don’t use your cruise control on winding
roads or in heavy traffic.
Cruise control can be dangerous on
slippery roads. On such roads, fast changes
in tire traction can cause needless wheel
spinning, and
you could lose control. Don’t
use cruise control on slippery roads.
2-38
Page 101 of 370
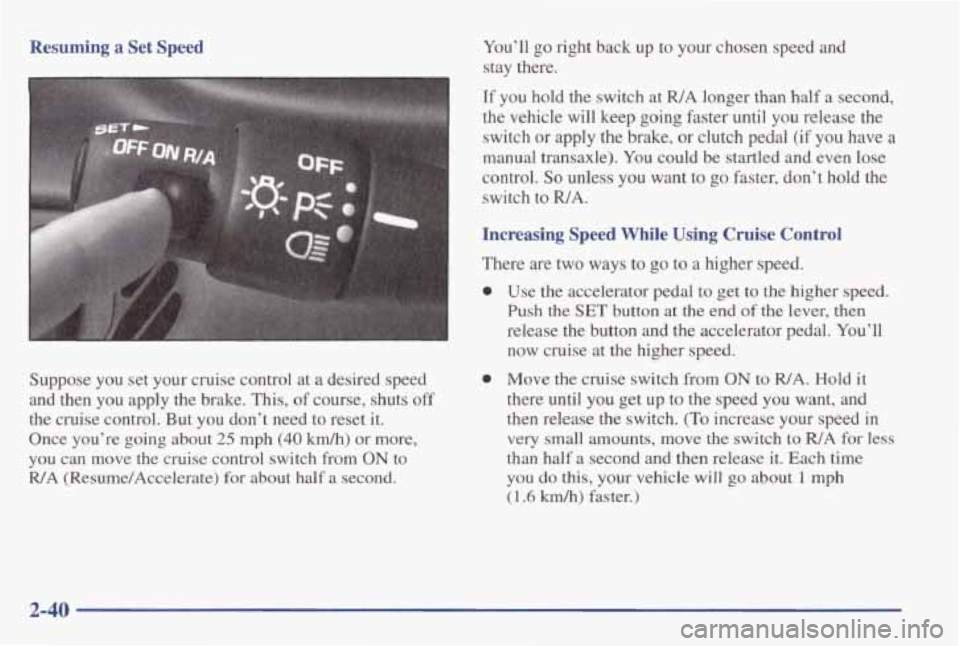
Resuming a Set Speed
Suppose you set your cruise control at a desired speed
and then you apply the brake. This, of course, shuts
off
the cruise control. But you don’t need to reset it.
Once you’re going about
25 mph (40 km/h) or more,
you can move the cruise control switch from ON to
R/A (Resume/Accelerate) for about half a second. You’ll
go right back up to your chosen speed and
stay there.
If you hold the switch at
R/A longer than half a second,
the vehicle will keep going faster until you release the
switch or apply the brake, or clutch pedal (if you have
a
manual transaxle). You could be startled and even lose
control. So unless you want to go faster, don’t hold the
switch to
WA.
Increasing Speed While Using Cruise Control
There are two ways to go to a higher speed.
0 Use the accelerator pedal to get to the higher speed.
Push
the SET button at the end of the lever, then
release the button and the accelerator pedal. You’ll
now cruise at the higher speed.
0 Move the cruise switch from ON to WA. Hold it
there until you get
up to the speed you want, and
then release the switch.
(To increase your speed in
very small amounts, move the switch to RIA for less
than half a second
and then release it. Each time
you do this, your vehicle will go about 1 mph
(1.6 km/h) faster.)
2-40
Page 102 of 370
Reducing Speed While Using Cruise Control
There are two ways to reduce your speed while using
cruise control:
0 Press in the button at the end of the lever until you
reach the lower speed you want, then release it.
To slow down in very small amounts, push the
button for less than half a second. Each time you
do
this, you’ll go 1 mph (1.6 km/h) slower.
Passing Another Vehicle While Using Cruise Control
Use the accelerator pedal to increase your speed. When
you take your foot
off the pedal, your vehicle will slow
down to the cruise control speed you set earlier.
Using Cruise Control on Hills
How well your cruise control will work on hills depends
upon your speed,
load, and the steepness of the hills.
When going up steep hills, you may have to step
on the
accelerator pedal to maintain your speed. When going
downhill, you may have to brake or shift to a lower gear
to keep your speed down.
Of course, applying the brake
takes you out of cruise control. Many drivers find
this to
be too much trouble and don’t use cruise control on
steep hills.
Ending Cruise Control
There are two ways to turn off the cruise control:
0 Step lightly on the brake pedal or push the clutch
pedal, if you have a manual transaxle: or
0 Move the cruise switch to OFF.
Erasing Cruise Speed Memory
When you turn off the cruise control or the ignition,
your cruise control
set speed memory is erased.
2-41
Page 234 of 370
7 Section 6 Service and Appearance Care
Here you will find information about the care of your vehicle. This section begins with service and fuel information,
and then it shows how to check important fluid and lubricant levels. There \
is also technical information about your
vehicle, and a part devoted to its appearance care.
6-2
6-3
6-5
6-5
6-8
6-8
6-13
6-19
6-20
6-23 6-24
6-25
6-29
6-29 6-30
6-31
Service
Fuel
Fuels
in Foreign Countries
Filling
Your Tank
Filling a Portable Fuel Container Checking Things Under the Hood
Engine Oil
Air Cleaner
Automatic Transaxle Fluid
Manual Transaxle Fluid
Hydraulic Clutch
Engine Coolant
Thermostat Power Steering Fluid
Windshield Washer Fluid
Brakes
6-36
6-36
6-42 6-50
6-5
1
6-53
6-54
6-56
6-57
6-58
6-59
6-64
6-65
6-65
6-66 6-66
Battery
Bulb Replacement
Tires
Appearance Care
Cleaning the Inside
of Your Vehicle
Care
of Safety Belts
Cleaning the Outside of Your Vehicle
Finish Damage
Appearance Care Materials Chart
Vehicle Identification Number (VIN)
Electrical System
Replacement Bulbs
Capacities and Specifications Air Conditioning Refrigerants
Normal Maintenance Replacement Parts
Vehicle Dimensions
6-1
Page 244 of 370
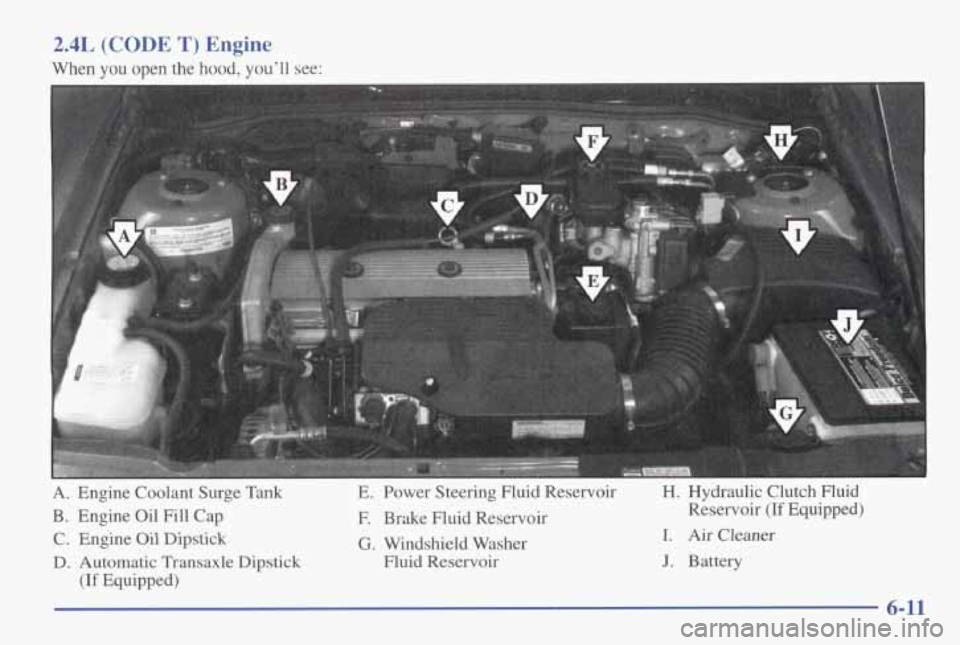
2.4L (CODE T) Engine
When you open the hood, you'll see:
A. Engine Coolant Surge Tank E. Power Steering Fluid Reservoir
H.
Hydraulic Clutch Fluid
B. Engine Oil Fill Cap
F. Brake Fluid Reservoir Reservoir (If Equipped)
C. Engine
Oil Dipstick G. Windshield Washer I. Air Cleaner
D. Automatic Transaxle Dipstick Fluid Reservoir
J. Battery
(If Equipped)
6-11
Page 257 of 370
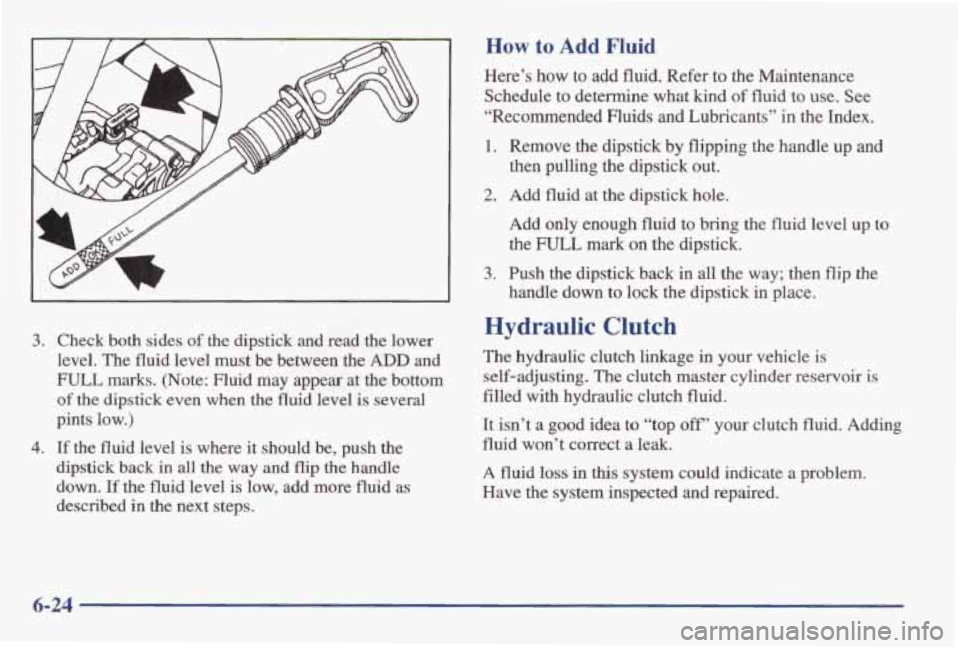
3. Check both sides of the dipstick and read the lower
level. The fluid level must be between the ADD and
FULL marks. (Note: Fluid may appear at the bottom
of the dipstick even when the fluid level is several
pints low.)
4. If the fluid level is where it should be, push the
dipstick back in all the way and flip the handle
down.
If the fluid level is low, add more fluid as
described in the next steps.
How to Add Fluid
Here’s how to add fluid. Refer to the Maintenance
Schedule to determine what kind
of fluid to use. See
“Recommended Fluids and Lubricants” in the Index.
1. Remove the dipstick by flipping the handle up and
then pulling the dipstick out.
2. Add fluid at the dipstick hole.
Add
only enough fluid to bring the fluid level up to
the FULL mark on the dipstick.
handle down to lock the dipstick in place.
3. Push the dipstick back in all the way; then flip the
Hydraulic Clutch
The hydraulic clutch linkage in your vehicle is
self-adjusting. The clutch master cylinder reservoir
is
filled with hydraulic clutch fluid.
It isn’t
a good idea to “top off’ your clutch fluid. Adding
fluid won’t correct
a leak.
A fluid
loss in this system could indicate a problem.
Have the system inspected and repaired.
6-24
Page 258 of 370
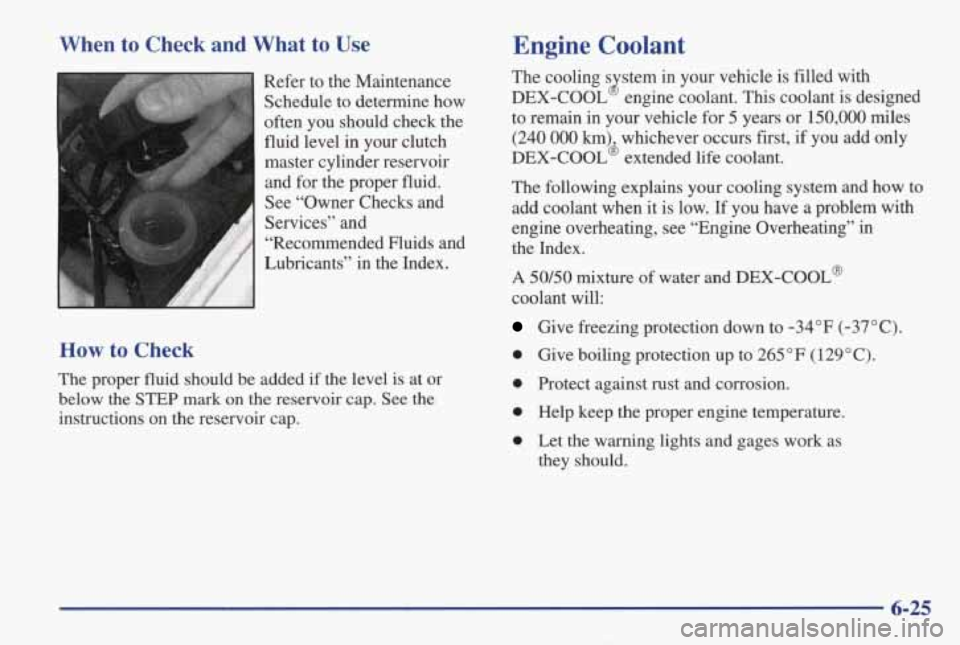
When to Check and What to Use
Refer to the Maintenance Schedule to determine how
often you should check the
fluid level in your clutch
master cylinder reservoir
and for the proper fluid.
See “Owner Checks and
Services” and
“Recommended Fluids and
Lubricants” in the Index.
How to Check
The proper fluid should be added if the level is at or
below the
STEP mark on the reservoir cap. See the
instructions on the reservoir cap.
Engine Coolant
The cooling s stem in your vehicle is filled with
DEX-COOL engine coolant. This coolant is designed
to remain in your vehicle for
5 years or 150,000 miles
(240 000 km) whichever occurs first, if you add only
DEX-COOL’ extended life coolant.
The following explains your cooling system and how to
add coolant when it is low. If you have
a problem with
engine overheating, see “Engine Overheating” in
the Index.
J
A 50/50 mixture of water and DEX-COOL@
coolant will:
Give freezing protection down to -34°F (-37°C).
0 Give boiling protection up to 265 OF (1 29 O C).
0 Protect against rust and corrosion.
0 Help keep the proper engine temperature.
0 Let the warning lights and gages work as
they should.
6-25