PONTIAC GRAND PRIX 2003 Owners Manual
GRAND PRIX 2003
PONTIAC
PONTIAC
https://www.carmanualsonline.info/img/50/40843/w960_40843-0.png
PONTIAC GRAND PRIX 2003 Owners Manual
Trending: buttons, fog light, keyless entry, parking brake, fuel cap, start stop button, heater
Page 281 of 378
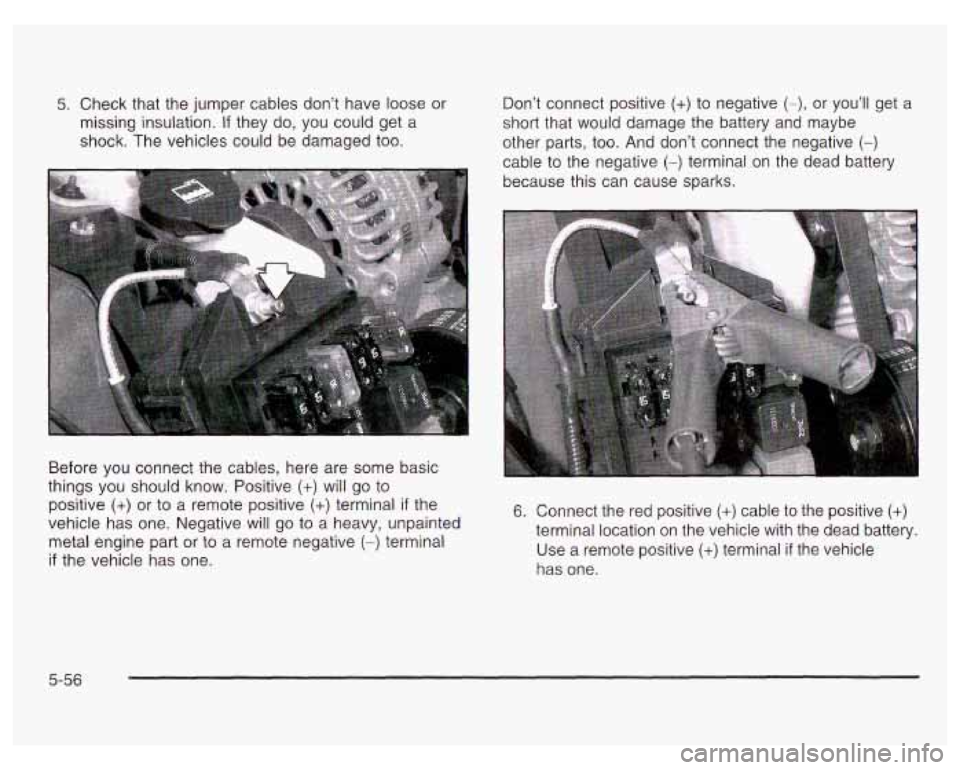
5. Check that the jumper cables don’t have loose or
missing insulation.
If they do, you could get a
shock. The vehicles could be damaged too. Don’t connect positive
(+) to
negative (-), or you’ll get a
short that would damage the battery and maybe
other parts, too. And don’t connect the negative
(-)
cable to the negative (-) terminal on the dead battery
because this can cause sparks.
Before you connect the cables, here are some basic
things you should know. Positive
(+) will go to
positive
(+) or to a remote positive (+) terminal if the
vehicle has one. Negative will go to a heavy, unpainted
metal engine part or to a remote negative
(-) terminal
if the vehicle has one.
6. Connect the red positive (+) cable to the positive (+)
terminal location on the vehicle with the dead battery.
Use a remote positive
(+) terminal if the vehicle
has one.
5-56
Page 282 of 378
7. Don't let the other end
touch metal. Connect it
to the positive
(+)
terminal location on the
vehicle with the good
battery. Use a
remote positive
(+)
terminal if the vehicle
has one.
9. Don't let the other end touch anything until the next
step. The other end
of the negative (-) cable doesn't
go to the dead battery. It goes to a heavy, unpainted
metal part or to
a remote negative (c) terminal on the
vehicle with the dead battery.
8. Now connect the black
negative
(-) cable to
the negative
(-)
terminal location on the vehicle with the good
battery. Use a
remote negative
(-)
terminal if the vehicle
has one. 10. Connect the other end of the negative (-) cable at
least
18 inches (45 cm) away from the dead battery,
but not near engine parts that move. The electrical
connection is just
as good there, and the chance
of sparks getting back to the battery is much less.
5-57
Page 283 of 378
11. Now start the vehicle with the good battery and run
the engine for a while.
12. Try to start the vehicle that had the dead battery.
If
it won’t start after a few tries, it probably needs
service.
Notice: Damage to your vehicle may result from
electrical shorting
if jumper cables are removed
incorrectly. To prevent electrical shorting, take care
that the cables don’t touch each other or any
other metal. The repairs wouldn’t be covered by
your warranty.
I
w
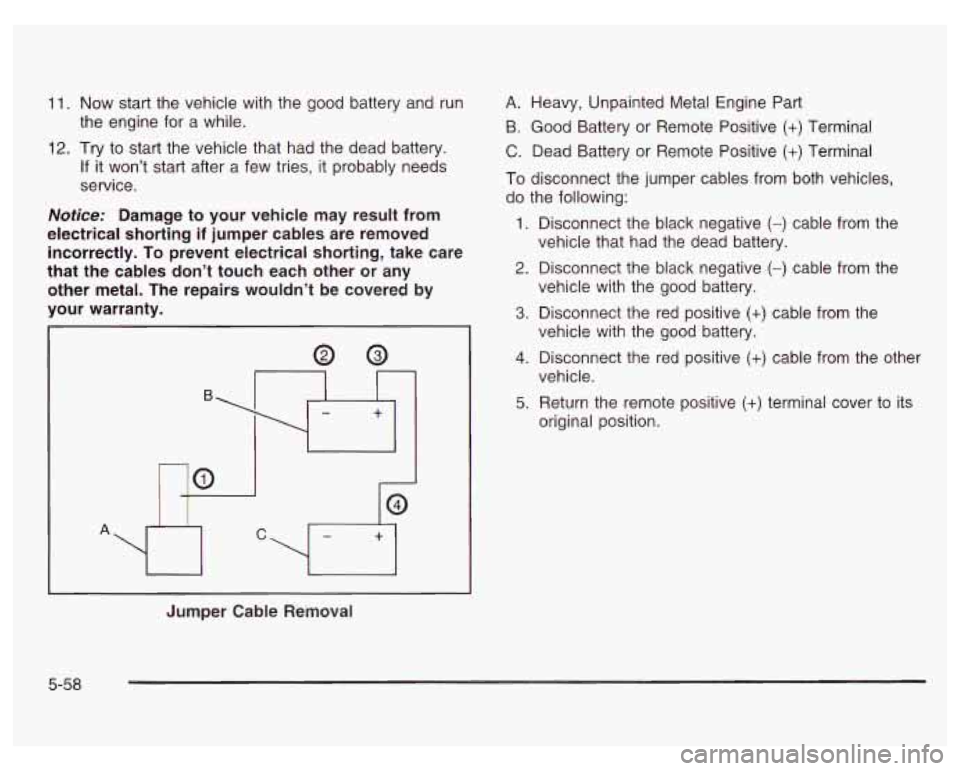
A. Heavy, Unpainted Metal Engine Part
B. Good Battery or Remote Positive
(+) Terminal
C. Dead Battery or Remote Positive (+) Terminal
To disconnect the jumper cables from both vehicles,
do the following:
1. Disconnect the black negative (-) cable from the
vehicle that had the dead battery.
2. Disconnect the black negative (-) cable from the
vehicle with the good battery.
3. Disconnect the red positive (+) cable from the
vehicle with the good battery.
4. Disconnect the red positive (+) cable from the other
vehicle.
5. Return the remote positive (+) terminal cover to its
original position.
Jumper Cable Removal
5-58
Page 284 of 378
Headlamp Aiming
The aim of your vehicle’s headlamps can be adjusted
by using aim tips located on the outer surface of
the
lens. The aim has been pre-set at the factory and
should need
no further adjustment.
If your vehicle is damaged in an accident, the headlamp
aim may be affected. Aim adjustment to the
low beam
may be necessary
if it is difficult to see lane markers
(for horizontal aim), or
if oncoming drivers flash
their high beams at you (for vertical aim). If you believe
your headlamps need to be re-aimed, it
is recommended
that you take your vehicle to the dealer for assistance.
5-59
Page 285 of 378
Bulb Replacement
For the proper type of replacement bulb, see
Replacement
Bulbs on page 5-66.
For any bulb changing procedure not listed in this
section, contact your dealer.
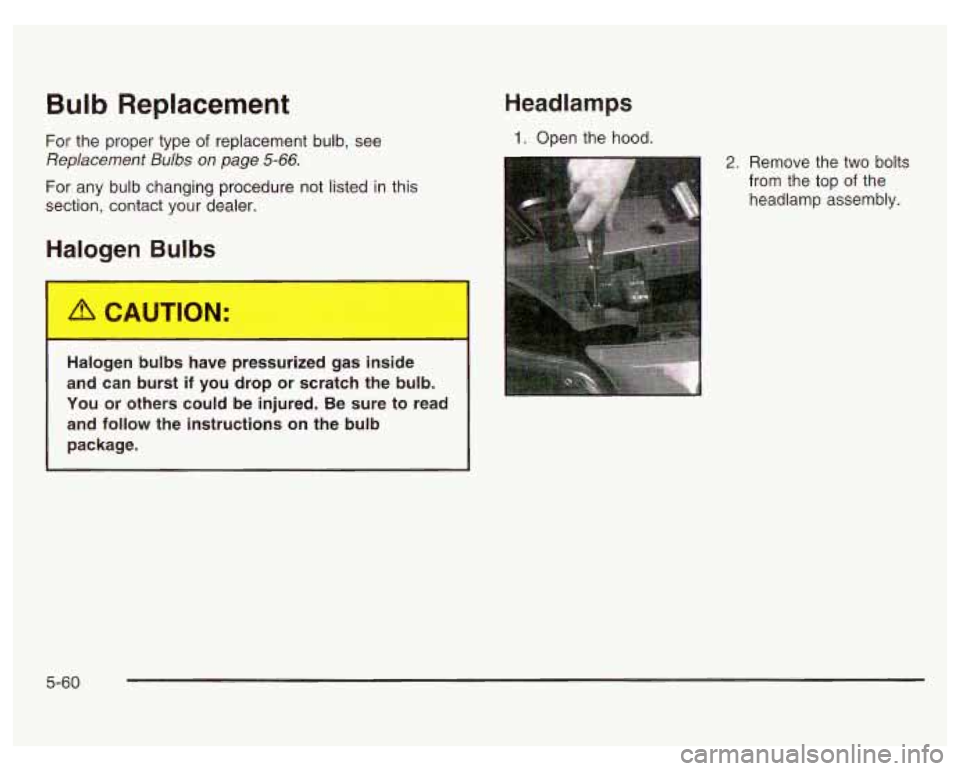
Halogen Bulbs
Headlamps
1. Open the hood.
Halogen bulbs have pressurized gas inside
and can burst
if you drop or scratch the bulb.
You or others could be injured. Be sure to read
and
follow the instructions on the bulb
package.
2. Remove the two bolts from the top
of the
headlamp assembly.
5-60
Page 286 of 378
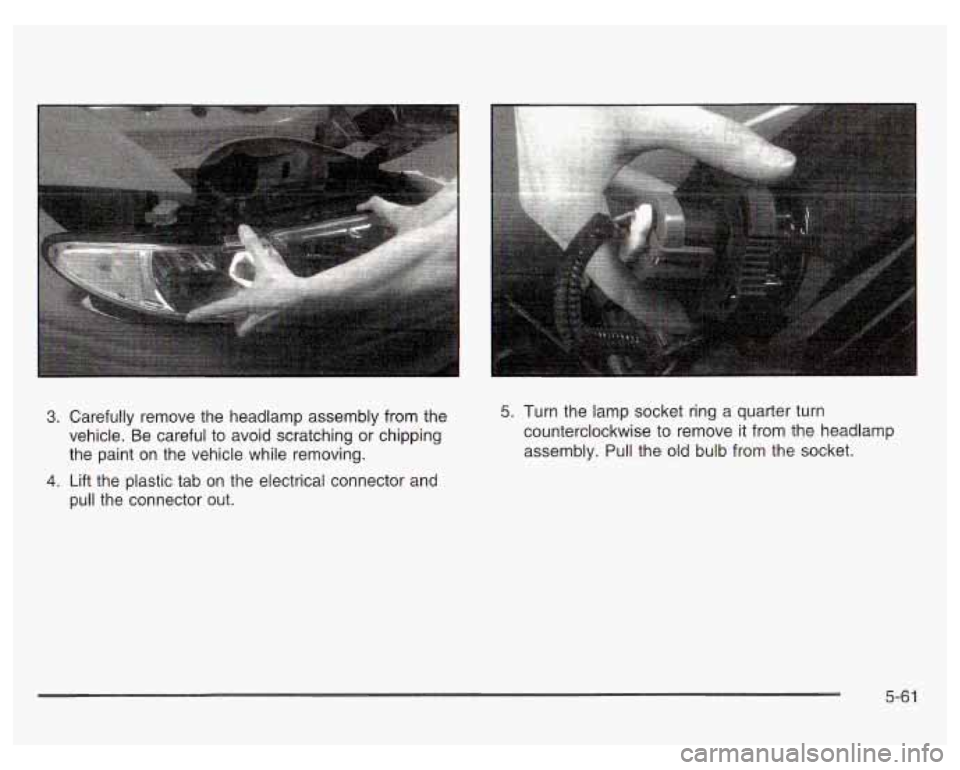
3. Carefully remove the headlamp assembly from the
vehicle. Be careful to avoid scratching or chipping
the paint
on the vehicle while removing.
4. Lift the plastic tab on the electrical connector and
pull the connector out.
5. Turn the lamp socket ring a quarter turn
counterclockwise to remove it from the headlamp
assembly. Pull the old bulb from the socket.
5-61
Page 287 of 378
Front Turn Signal and Sidemarker
6. Place the new bulb into the socket.
7. Turn the bulb socket one-quarter turn clockwise to
reinstall it.
8. Turn the lamp socket ring a quarter turn clockwise
to place it back into the headlamp assembly.
9. Lift the plastic tab on the electrical connector and
reinstall the connector.
10. Carefully reinstall the headlamp assembly. Be
careful to avoid scratching or chipping the paint
on the vehicle while reinstalling the assembly.
11. Reinstall the two bolts on the top of the headlamp
assembly.
Lamps
1. Open the hood.
2. Remove the two bolts from the top of the headlamp
assembly.
3. Remove the headlamp assembly from the vehicle.
Be careful to avoid scratching or chipping the paint
on the vehicle while removing
it.
counterclockwise to remove.
4. Turn the front sidemarker bulb socket a quarter turn
5-62
Page 288 of 378
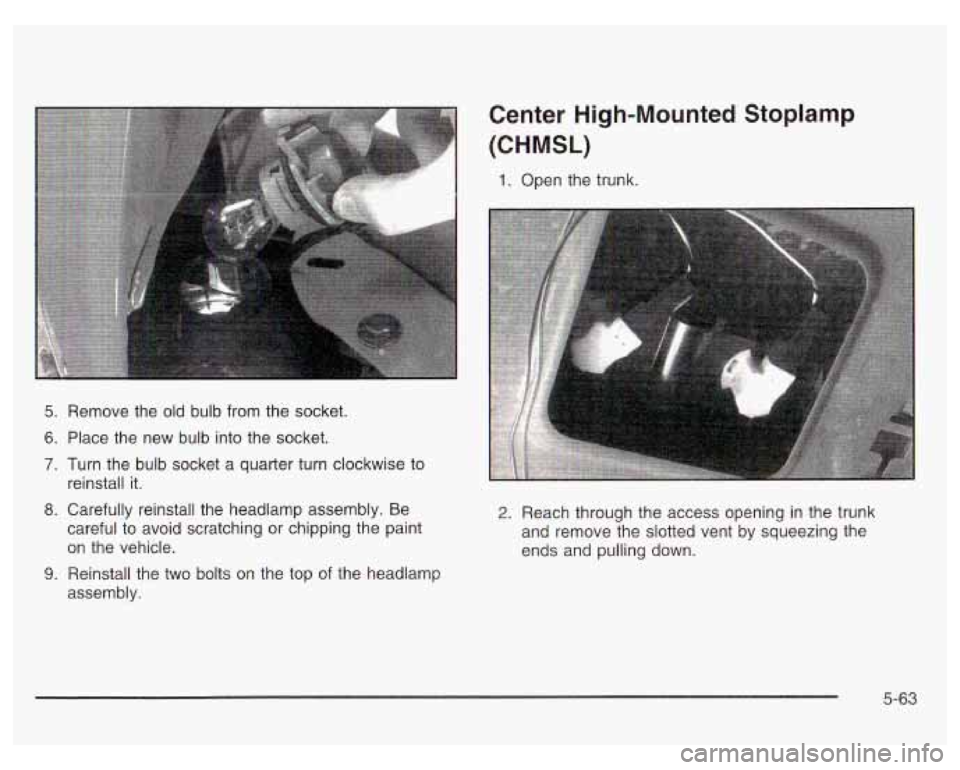
5. Remove the old bulb from the socket.
6. Place the new bulb into the socket.
7. Turn the bulb socket a quarter turn clockwise to
8. Carefully reinstall the headlamp assembly. Be
reinstall
it.
careful to avoid scratching or chipping the paint
on the vehicle.
9. Reinstall the two bolts on the top of the headlamp
assembly.
Center High-Mounted Stoplamp
(CHMSL)
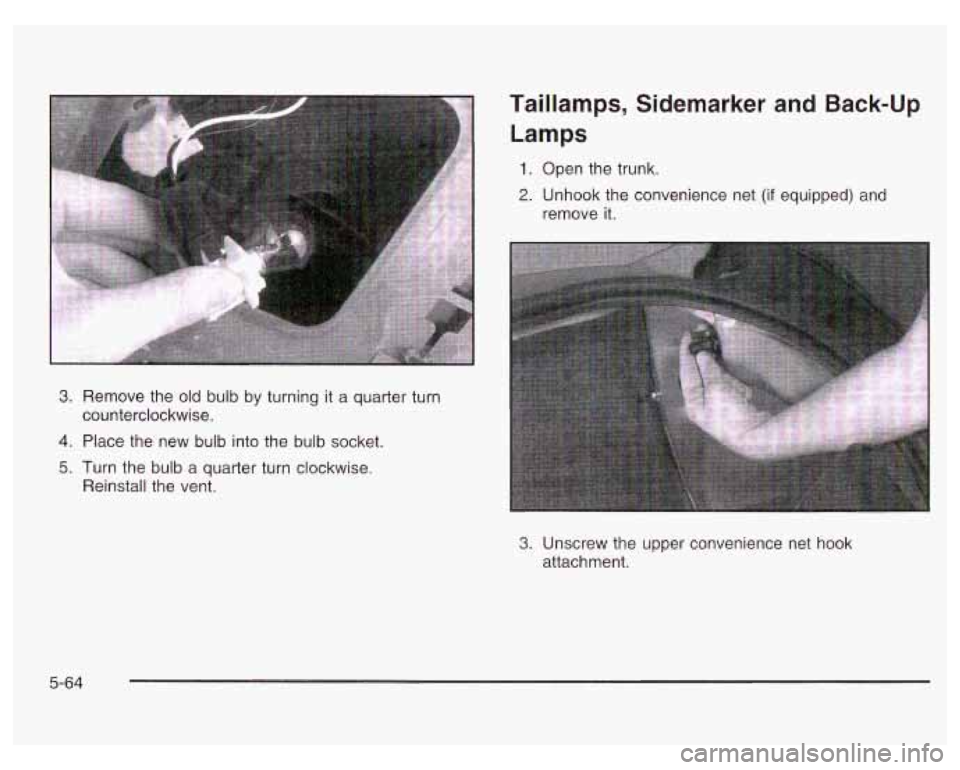
1. Open the trunk.
2. Reach through the access opening in the trunk
and remove the slotted vent by squeezing the
ends and pulling down.
5-63
Page 289 of 378
Taillamps, Sidemarker and Back-up
Lamps
1. Open the trunk.
2. Unhook the convenience net (if equipped) and
3. Remove the old bulb by turning it a quarter turn
counterclockwise.
4. Place the new bulb into the bulb socket.
5. Turn the bulb a quarter turn clockwise.
Reinstall the vent.
3. Unscrew the upper convenience net hook
attachment.
5-64
Page 290 of 378
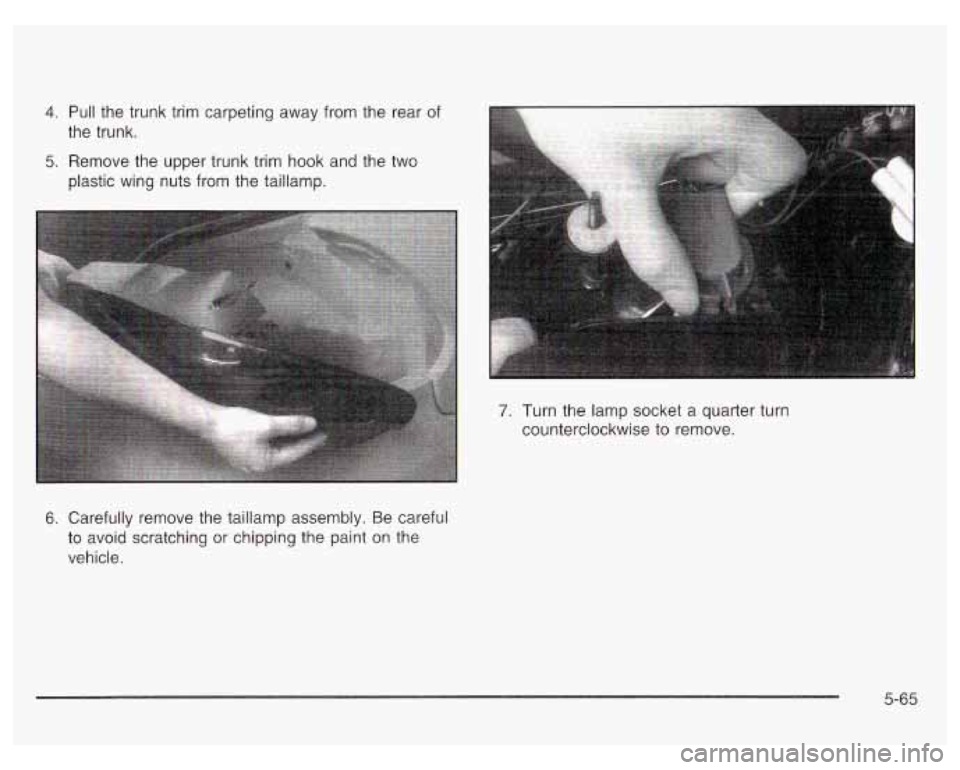
4. Pull the trunk trim carpeting away from the rear of
the trunk.
5. Remove the upper trunk trim hook and the two
plastic wing nuts from the taillamp.
6. Carefully remove the taillamp assembly. Be careful
to avoid scratching or chipping the paint
on the
vehicle.
7. Turn the lamp socket a quarter turn
counterclockwise to remove.
5-65
Trending: brake, four wheel drive, ad blue, change key battery, phone, ECU, start stop button
