power steering PONTIAC GRAND PRIX 2004 Owners Manual
[x] Cancel search | Manufacturer: PONTIAC, Model Year: 2004, Model line: GRAND PRIX, Model: PONTIAC GRAND PRIX 2004Pages: 432, PDF Size: 2.99 MB
Page 83 of 432
Notice:If your key seems stuck in OFF and you
can't turn it, be sure you are using the correct key;
if so, is it all the way in? If it is, then turn the
steering wheel left and right while you turn the key
hard. Turn the key only with your hand. Using a
tool to force it could break the key or the ignition
switch. If none of these works, then your vehicle
needs service.
ACC (ACCESSORY):This position lets you use things
like the radio and windshield wipers while the engine
is off.
R(RUN):This position is where the key returns to
after you start the vehicle. With the engine off, you can
use RUN to display some of the warning and indicator
lights.
/(START):This position starts the engine. Let go of
the key when the engine starts. The key will return
to the RUN position.
A continuous warning chime will sound and a KEY IN
IGNITION warning message will display on the DIC
if the key is in the ignition in the OFF or ACCESSORY
positions and the driver's door is opened.
Retained Accessory Power (RAP)
With Retained Accessory Power (RAP), the power
windows, audio system and sunroof will continue to
work up to 10 minutes after the ignition key is turned
to OFF and none of the doors are opened.
Starting Your Engine
1. Move your shift lever to PARK (P) or NEUTRAL (N).
Your engine won't start in any other position ± that's
a safety feature. To restart while you're already
moving, use NEUTRAL (N) only.
Notice:Don't try to shift to PARK (P) if your vehicle
is moving. If you do, you could damage the transaxle.
Shift to PARK (P) only when your vehicle is stopped.
2. With your foot off the accelerator pedal, turn your
ignition key to START. When the engine starts,
let go of the key. The idle speed will go down as
your engine gets warm.
Notice:Holding your key in START for longer than
15 seconds at a time will cause your battery to
be drained much sooner. And the excessive
heat can damage your starter motor. Wait about
15 seconds between each try to help avoid draining
your battery or damaging your starter.
2-19
Page 89 of 432
FIRST (1):This position gives you even more power
but lower fuel economy than SECOND (2). You can use
it on very steep hills, or in deep snow or mud. If the
shift lever is moved to FIRST (1), the transaxle
won't shift into ®rst gear until the vehicle is going
slowly enough.
Notice:If your front wheels won't turn, don't try
to drive. This might happen if you were stuck
in very deep sand or mud or were up against a
solid object. You could damage your transaxle.
Also, if you stop when going uphill, don't hold
your vehicle there with only the accelerator pedal.
This could overheat and damage the transaxle.
Use your brakes to hold your vehicle in position
on a hill.
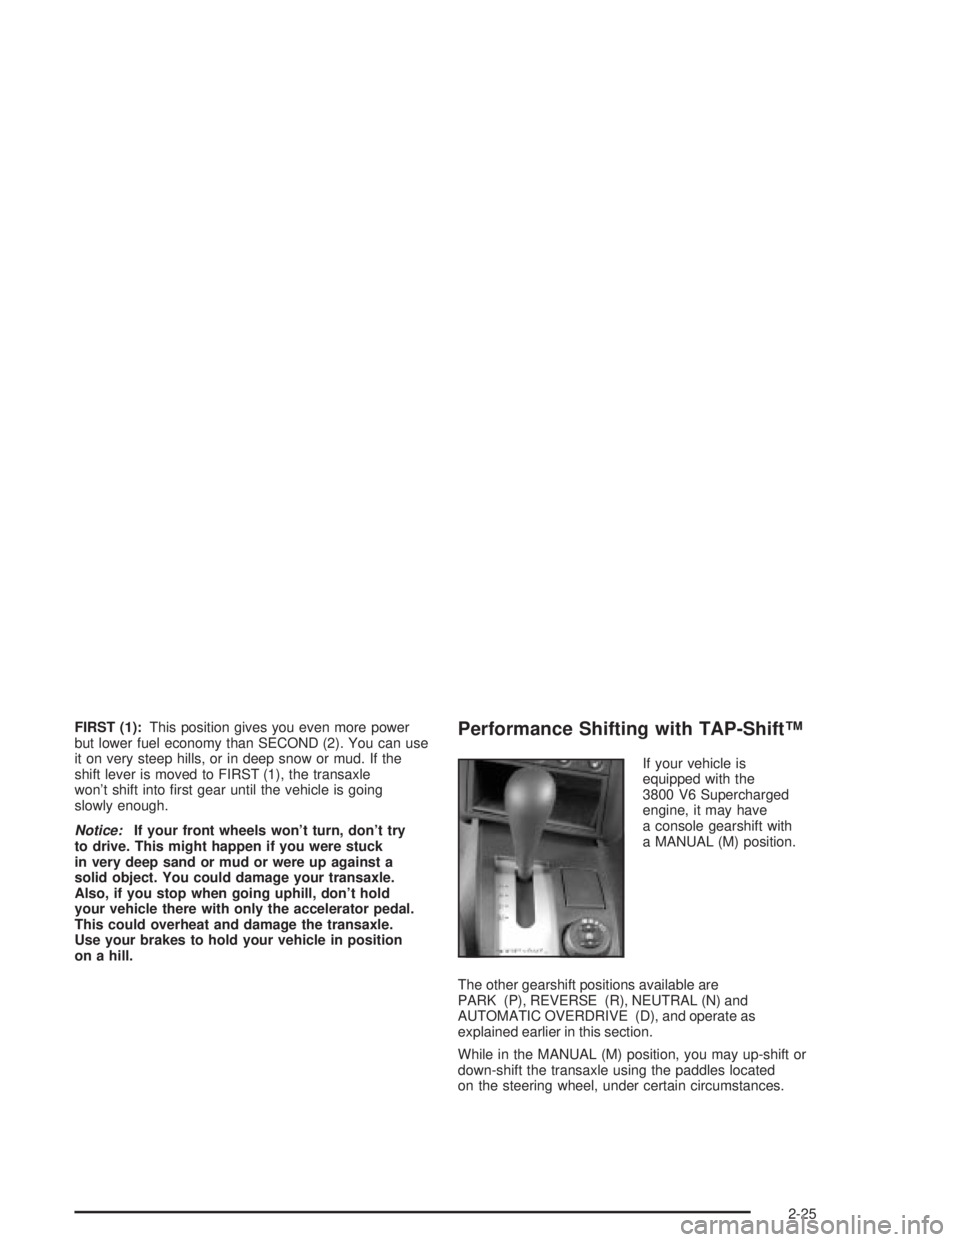
Performance Shifting with TAP-ShiftŸ
If your vehicle is
equipped with the
3800 V6 Supercharged
engine, it may have
a console gearshift with
a MANUAL (M) position.
The other gearshift positions available are
PARK (P), REVERSE (R), NEUTRAL (N) and
AUTOMATIC OVERDRIVE (D), and operate as
explained earlier in this section.
While in the MANUAL (M) position, you may up-shift or
down-shift the transaxle using the paddles located
on the steering wheel, under certain circumstances.
2-25
Page 105 of 432
Instrument Panel Overview...............................3-2
Hazard Warning Flashers................................3-4
Other Warning Devices...................................3-5
Horn.............................................................3-5
Tilt Wheel.....................................................3-5
Windshield Washer Lever................................3-6
Cruise Control Lever.......................................3-8
Exterior Lamps.............................................3-12
Interior Lamps..............................................3-16
Head-Up Display (HUD).................................3-19
Accessory Power Outlets...............................3-23
Ashtrays and Cigarette Lighter........................3-24
Climate Controls............................................3-25
Climate Control System.................................3-25
Outlet Adjustment.........................................3-29
Warning Lights, Gages and Indicators.............3-31
Instrument Panel Cluster................................3-32
Speedometer and Odometer...........................3-33
Tachometer.................................................3-33
Safety Belt Reminder Light.............................3-34
Air Bag Readiness Light................................3-34
Up-Shift Light...............................................3-35
Brake System Warning Light..........................3-36
Anti-Lock Brake System Warning Light.............3-37
Traction Control System (TCS)
Warning Light...........................................3-38Enhanced Traction System Warning Light.........3-38
Engine Coolant Temperature Warning Light......3-39
Engine Coolant Temperature Gage..................3-39
Malfunction Indicator Lamp.............................3-40
Oil Pressure Light.........................................3-43
Fog Lamp Light............................................3-44
High-Beam On Light......................................3-44
Fuel Gage...................................................3-44
Driver Information Center (DIC).......................3-45
DIC Controls and Displays.............................3-45
DIC Warnings and Messages.........................3-65
Audio System(s).............................................3-88
Setting the Time...........................................3-88
Radio with CD..............................................3-89
Radio with Cassette and CD.........................3-100
Radio with Six-Disc CD................................3-114
Theft-Deterrent Feature................................3-128
Audio Steering Wheel Controls......................3-129
Understanding Radio Reception....................3-130
Care of Your Cassette Tape Player...............3-130
Care of Your CDs.......................................3-131
Care of Your CD Player...............................3-131
Backglass Antenna......................................3-132
XMŸ Satellite Radio Antenna System
(United States Only).................................3-132
Section 3 Instrument Panel
3-1
Page 250 of 432
Steering
Power Steering
If you lose power steering assist because the engine
stops or the system is not functioning, you can steer but it
will take much more effort.
Variable Effort Steering
If your vehicle has this steering system, the system
provides less steering effort for parking and when driving
at speeds below 20 mph (32 km/h). Steering effort will
increase at higher speeds for improved road feel.
Steering Tips
Driving on Curves
It's important to take curves at a reasonable speed.
A lot of the ªdriver lost controlº accidents mentioned on
the news happen on curves. Here's why:
Experienced driver or beginner, each of us is subject
to the same laws of physics when driving on curves.
The traction of the tires against the road surface makes it
possible for the vehicle to change its path when you turn
the front wheels. If there's no traction, inertia will keep the
vehicle going in the same direction. If you've ever tried to
steer a vehicle on wet ice, you'll understand this.
The traction you can get in a curve depends on the
condition of your tires and the road surface, the angle at
which the curve is banked, and your speed. While you're
in a curve, speed is the one factor you can control.Suppose you're steering through a sharp curve.
Then you suddenly apply the brakes. Both control
systems Ð steering and braking Ð have to do their
work where the tires meet the road. Unless you have
four-wheel anti-lock brakes, adding the hard braking can
demand too much of those places. You can lose control.
The same thing can happen if you're steering through a
sharp curve and you suddenly accelerate. Those two
control systems Ð steering and acceleration Ð can
overwhelm those places where the tires meet the road
and make you lose control. See
Traction Control System
(TCS) on page 4-10orEnhanced Traction System (ETS)
on page 4-11.
What should you do if this ever happens? Ease up on
the brake or accelerator pedal, steer the vehicle the way
you want it to go, and slow down.
Speed limit signs near curves warn that you should
adjust your speed. Of course, the posted speeds
are based on good weather and road conditions.
Under less favorable conditions you'll want to go slower.
If you need to reduce your speed as you approach a
curve, do it before you enter the curve, while your front
wheels are straight ahead.
Try to adjust your speed so you can ªdriveº through the
curve. Maintain a reasonable, steady speed. Wait to
accelerate until you are out of the curve, and then
accelerate gently into the straightaway.
4-14
Page 281 of 432
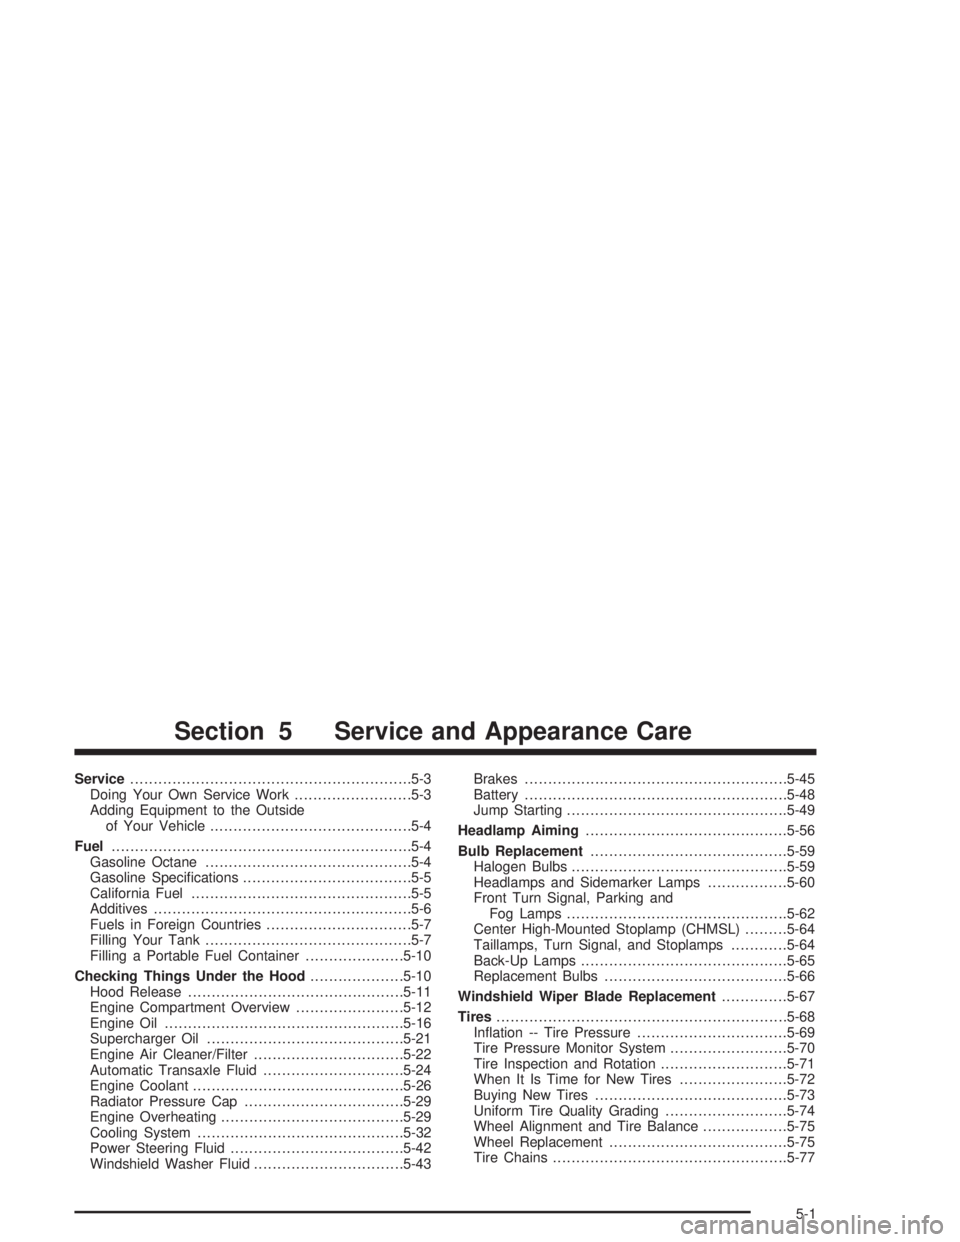
Service............................................................5-3
Doing Your Own Service Work.........................5-3
Adding Equipment to the Outside
of Your Vehicle...........................................5-4
Fuel................................................................5-4
Gasoline Octane............................................5-4
Gasoline Speci®cations....................................5-5
California Fuel...............................................5-5
Additives.......................................................5-6
Fuels in Foreign Countries...............................5-7
Filling Your Tank............................................5-7
Filling a Portable Fuel Container.....................5-10
Checking Things Under the Hood....................5-10
Hood Release..............................................5-11
Engine Compartment Overview.......................5-12
Engine Oil...................................................5-16
Supercharger Oil..........................................5-21
Engine Air Cleaner/Filter................................5-22
Automatic Transaxle Fluid..............................5-24
Engine Coolant.............................................5-26
Radiator Pressure Cap..................................5-29
Engine Overheating.......................................5-29
Cooling System............................................5-32
Power Steering Fluid.....................................5-42
Windshield Washer Fluid................................5-43Brakes........................................................5-45
Battery........................................................5-48
Jump Starting...............................................5-49
Headlamp Aiming...........................................5-56
Bulb Replacement..........................................5-59
Halogen Bulbs..............................................5-59
Headlamps and Sidemarker Lamps.................5-60
Front Turn Signal, Parking and
Fog Lamps...............................................5-62
Center High-Mounted Stoplamp (CHMSL).........5-64
Taillamps, Turn Signal, and Stoplamps............5-64
Back-Up Lamps............................................5-65
Replacement Bulbs.......................................5-66
Windshield Wiper Blade Replacement..............5-67
Tires..............................................................5-68
In¯ation -- Tire Pressure................................5-69
Tire Pressure Monitor System.........................5-70
Tire Inspection and Rotation...........................5-71
When It Is Time for New Tires.......................5-72
Buying New Tires.........................................5-73
Uniform Tire Quality Grading..........................5-74
Wheel Alignment and Tire Balance..................5-75
Wheel Replacement......................................5-75
Tire Chains..................................................5-77
Section 5 Service and Appearance Care
5-1
Page 293 of 432
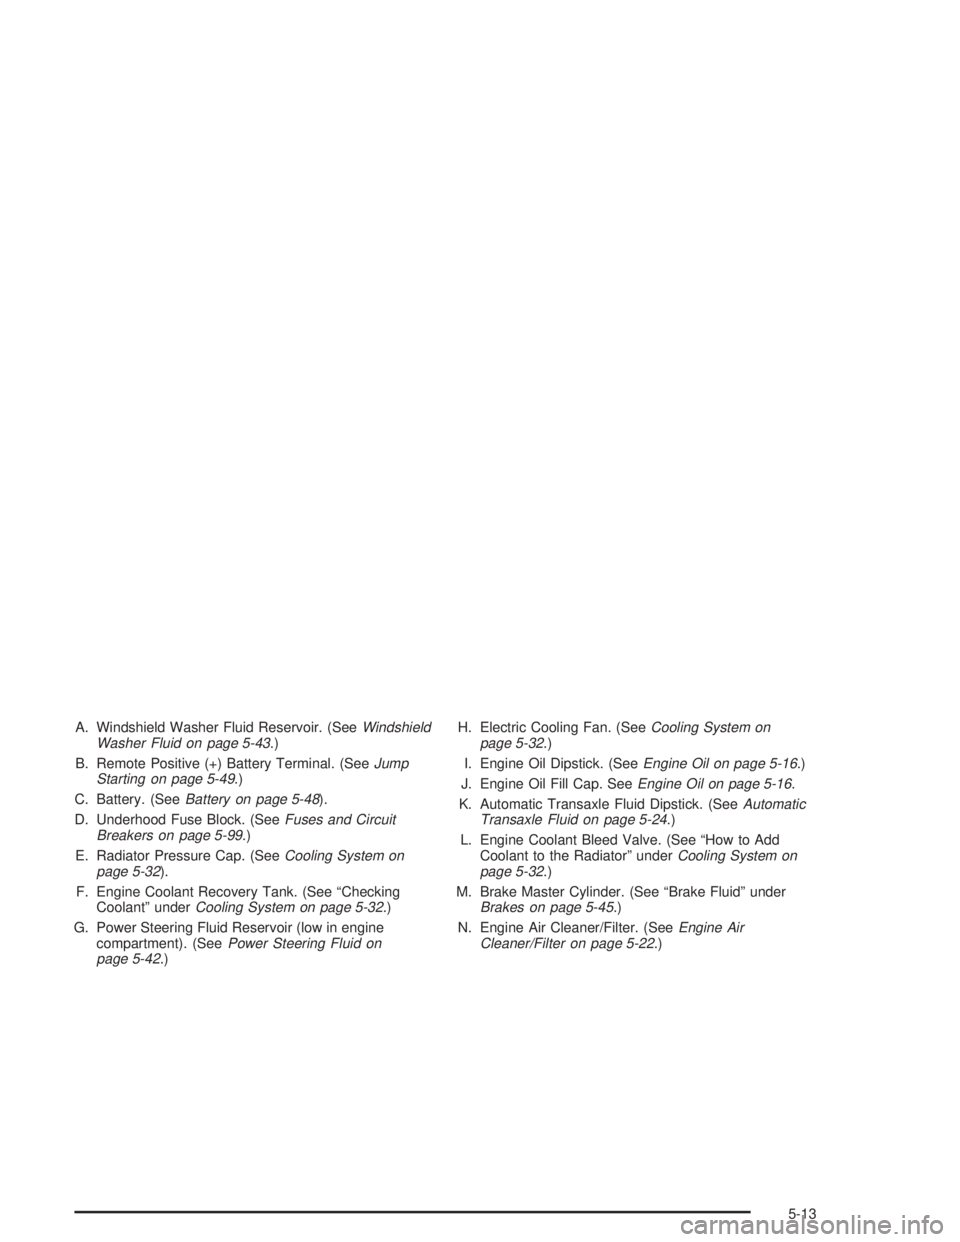
A. Windshield Washer Fluid Reservoir. (SeeWindshield
Washer Fluid on page 5-43.)
B. Remote Positive (+) Battery Terminal. (See
Jump
Starting on page 5-49.)
C. Battery. (See
Battery on page 5-48).
D. Underhood Fuse Block. (See
Fuses and Circuit
Breakers on page 5-99.)
E. Radiator Pressure Cap. (See
Cooling System on
page 5-32).
F. Engine Coolant Recovery Tank. (See ªChecking
Coolantº under
Cooling System on page 5-32.)
G. Power Steering Fluid Reservoir (low in engine
compartment). (See
Power Steering Fluid on
page 5-42.)H. Electric Cooling Fan. (See
Cooling System on
page 5-32.)
I. Engine Oil Dipstick. (See
Engine Oil on page 5-16.)
J. Engine Oil Fill Cap. See
Engine Oil on page 5-16.
K. Automatic Transaxle Fluid Dipstick. (See
Automatic
Transaxle Fluid on page 5-24.)
L. Engine Coolant Bleed Valve. (See ªHow to Add
Coolant to the Radiatorº under
Cooling System on
page 5-32.)
M. Brake Master Cylinder. (See ªBrake Fluidº under
Brakes on page 5-45.)
N. Engine Air Cleaner/Filter. (See
Engine Air
Cleaner/Filter on page 5-22.)
5-13
Page 295 of 432
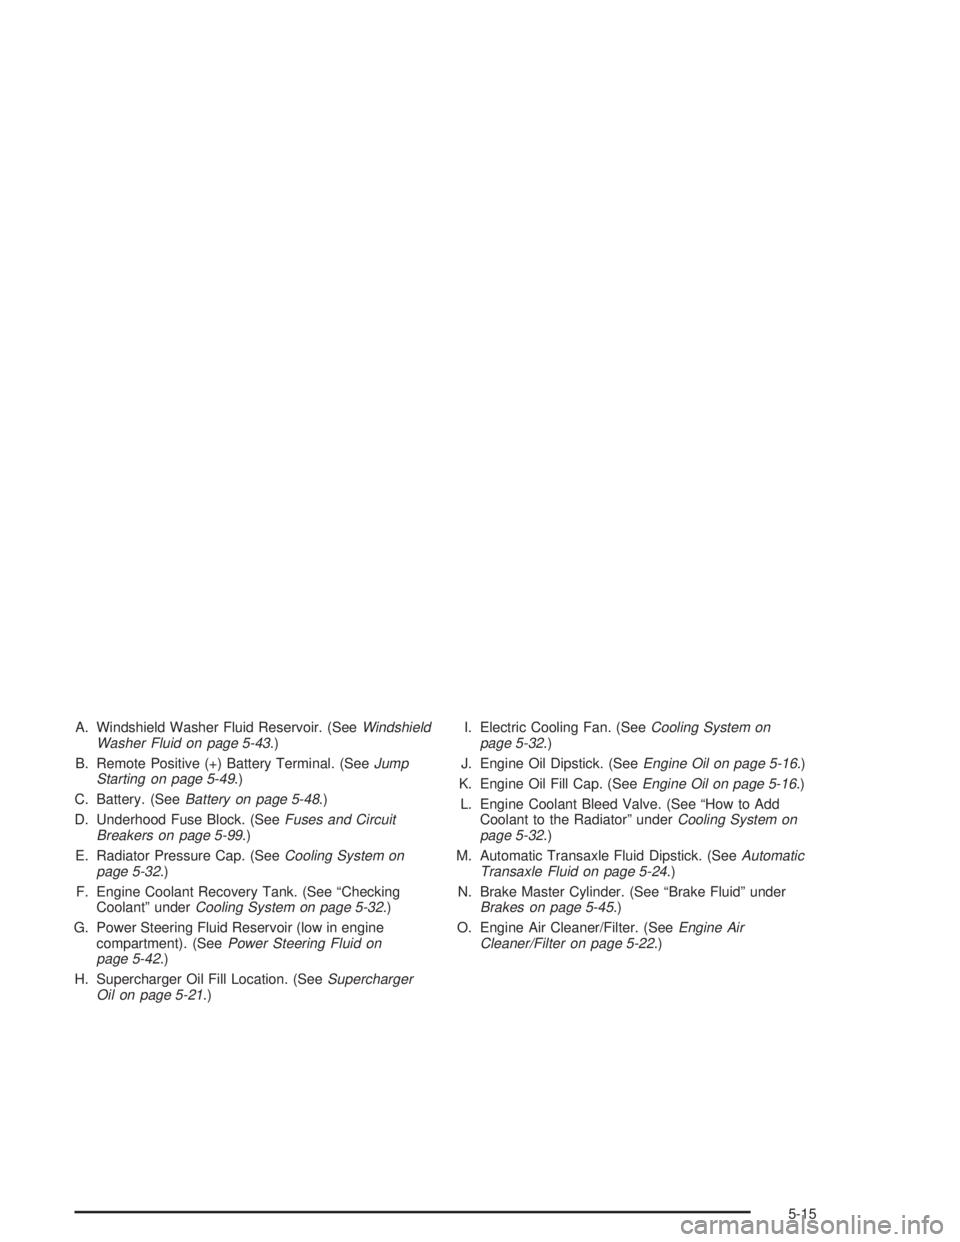
A. Windshield Washer Fluid Reservoir. (SeeWindshield
Washer Fluid on page 5-43.)
B. Remote Positive (+) Battery Terminal. (See
Jump
Starting on page 5-49.)
C. Battery. (See
Battery on page 5-48.)
D. Underhood Fuse Block. (See
Fuses and Circuit
Breakers on page 5-99.)
E. Radiator Pressure Cap. (See
Cooling System on
page 5-32.)
F. Engine Coolant Recovery Tank. (See ªChecking
Coolantº under
Cooling System on page 5-32.)
G. Power Steering Fluid Reservoir (low in engine
compartment). (See
Power Steering Fluid on
page 5-42.)
H. Supercharger Oil Fill Location. (See
Supercharger
Oil on page 5-21.)I. Electric Cooling Fan. (See
Cooling System on
page 5-32.)
J. Engine Oil Dipstick. (See
Engine Oil on page 5-16.)
K. Engine Oil Fill Cap. (See
Engine Oil on page 5-16.)
L. Engine Coolant Bleed Valve. (See ªHow to Add
Coolant to the Radiatorº under
Cooling System on
page 5-32.)
M. Automatic Transaxle Fluid Dipstick. (See
Automatic
Transaxle Fluid on page 5-24.)
N. Brake Master Cylinder. (See ªBrake Fluidº under
Brakes on page 5-45.)
O. Engine Air Cleaner/Filter. (See
Engine Air
Cleaner/Filter on page 5-22.)
5-15
Page 322 of 432
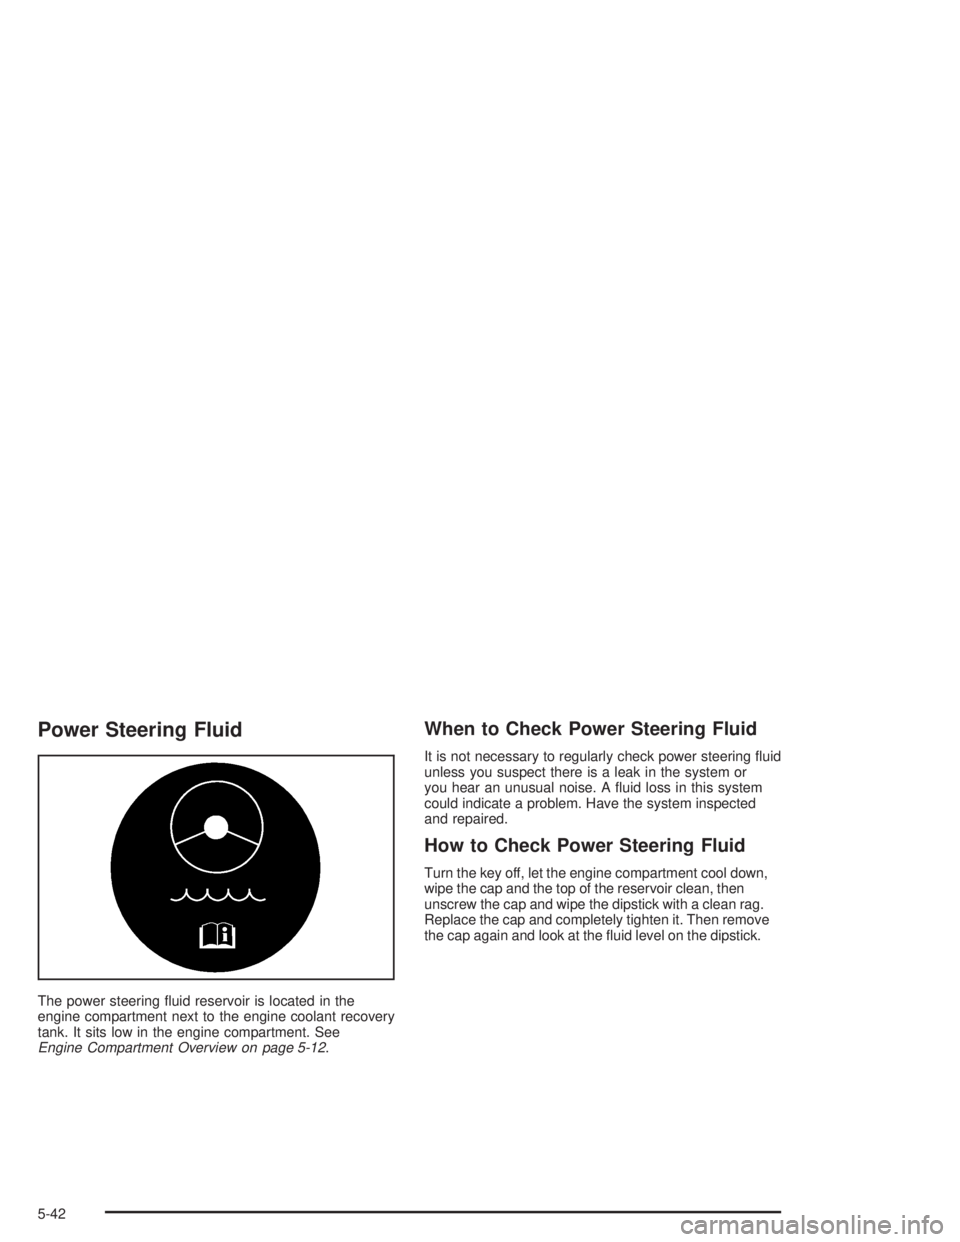
Power Steering Fluid
The power steering ¯uid reservoir is located in the
engine compartment next to the engine coolant recovery
tank. It sits low in the engine compartment. See
Engine Compartment Overview on page 5-12.
When to Check Power Steering Fluid
It is not necessary to regularly check power steering ¯uid
unless you suspect there is a leak in the system or
you hear an unusual noise. A ¯uid loss in this system
could indicate a problem. Have the system inspected
and repaired.
How to Check Power Steering Fluid
Turn the key off, let the engine compartment cool down,
wipe the cap and the top of the reservoir clean, then
unscrew the cap and wipe the dipstick with a clean rag.
Replace the cap and completely tighten it. Then remove
the cap again and look at the ¯uid level on the dipstick.
5-42
Page 323 of 432
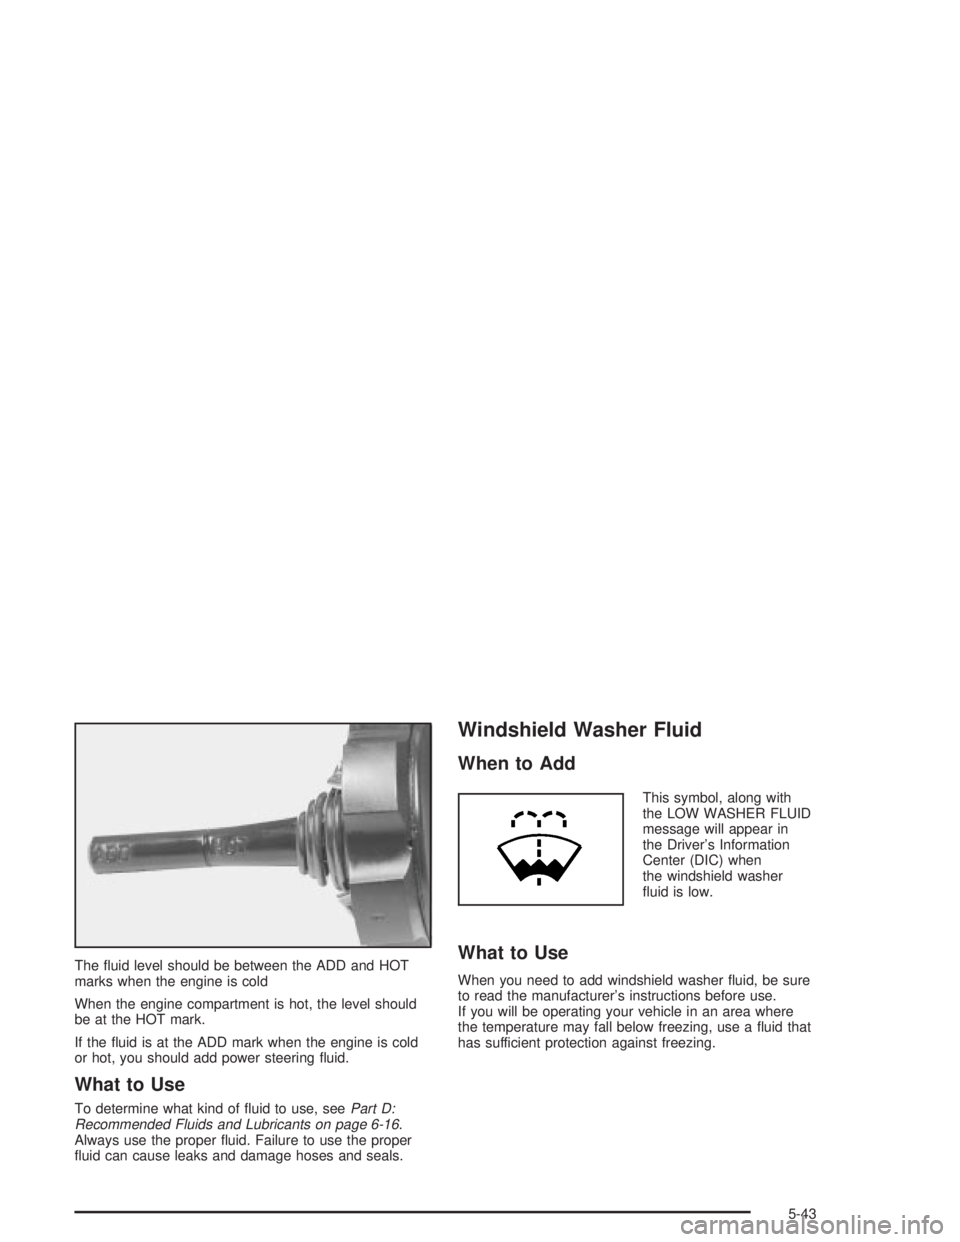
The ¯uid level should be between the ADD and HOT
marks when the engine is cold
When the engine compartment is hot, the level should
be at the HOT mark.
If the ¯uid is at the ADD mark when the engine is cold
or hot, you should add power steering ¯uid.
What to Use
To determine what kind of ¯uid to use, seePart D:
Recommended Fluids and Lubricants on page 6-16.
Always use the proper ¯uid. Failure to use the proper
¯uid can cause leaks and damage hoses and seals.
Windshield Washer Fluid
When to Add
This symbol, along with
the LOW WASHER FLUID
message will appear in
the Driver's Information
Center (DIC) when
the windshield washer
¯uid is low.
What to Use
When you need to add windshield washer ¯uid, be sure
to read the manufacturer's instructions before use.
If you will be operating your vehicle in an area where
the temperature may fall below freezing, use a ¯uid that
has sufficient protection against freezing.
5-43
Page 381 of 432
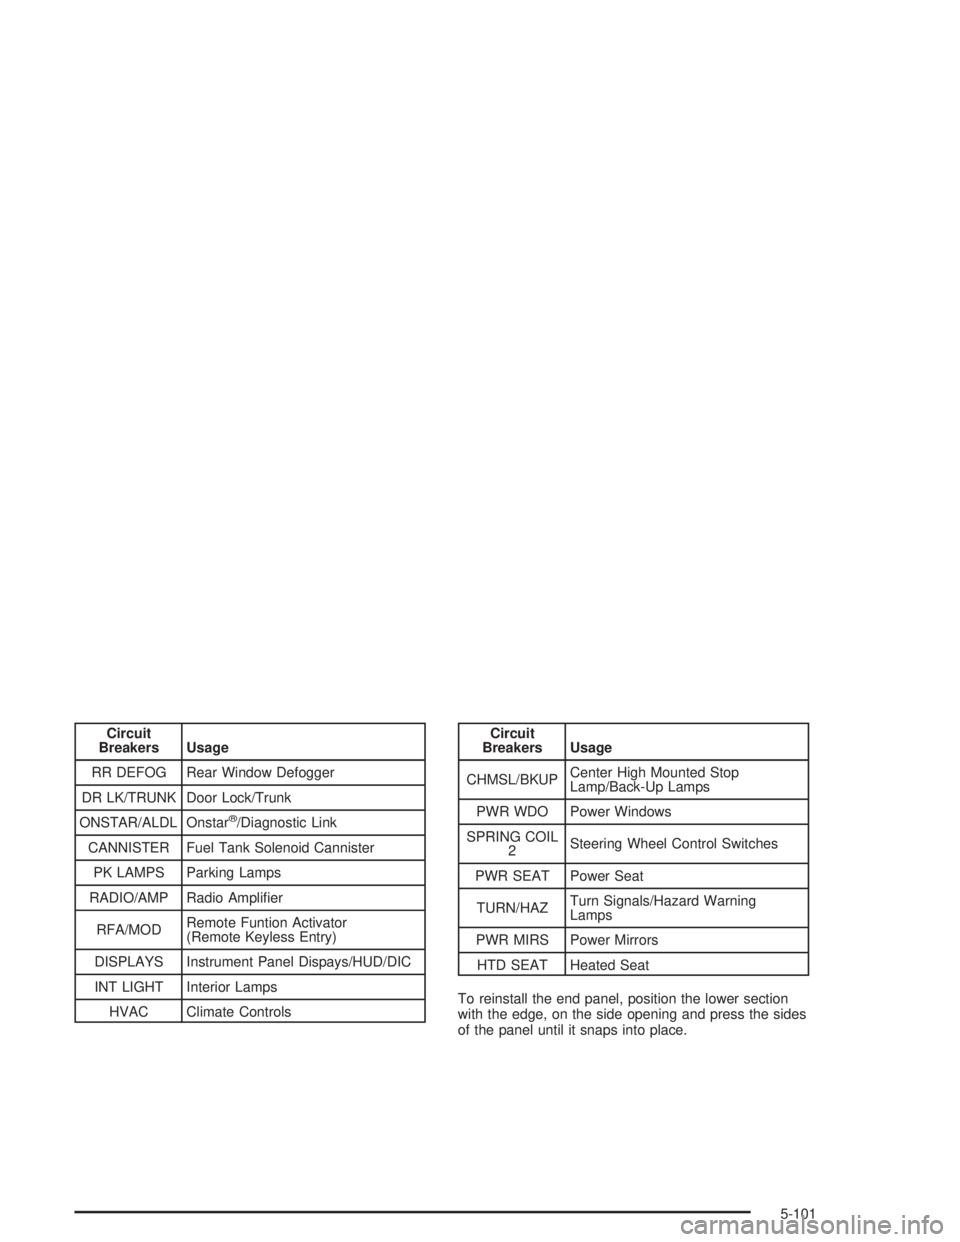
Circuit
Breakers Usage
RR DEFOG Rear Window Defogger
DR LK/TRUNK Door Lock/Trunk
ONSTAR/ALDL Onstar
ž/Diagnostic Link
CANNISTER Fuel Tank Solenoid Cannister
PK LAMPS Parking Lamps
RADIO/AMP Radio Ampli®er
RFA/MODRemote Funtion Activator
(Remote Keyless Entry)
DISPLAYS Instrument Panel Dispays/HUD/DIC
INT LIGHT Interior Lamps
HVAC Climate Controls
Circuit
Breakers Usage
CHMSL/BKUPCenter High Mounted Stop
Lamp/Back-Up Lamps
PWR WDO Power Windows
SPRING COIL
2Steering Wheel Control Switches
PWR SEAT Power Seat
TURN/HAZTurn Signals/Hazard Warning
Lamps
PWR MIRS Power Mirrors
HTD SEAT Heated Seat
To reinstall the end panel, position the lower section
with the edge, on the side opening and press the sides
of the panel until it snaps into place.
5-101