display PONTIAC GRAND PRIX 2007 Owner's Manual
[x] Cancel search | Manufacturer: PONTIAC, Model Year: 2007, Model line: GRAND PRIX, Model: PONTIAC GRAND PRIX 2007Pages: 526, PDF Size: 2.92 MB
Page 154 of 526
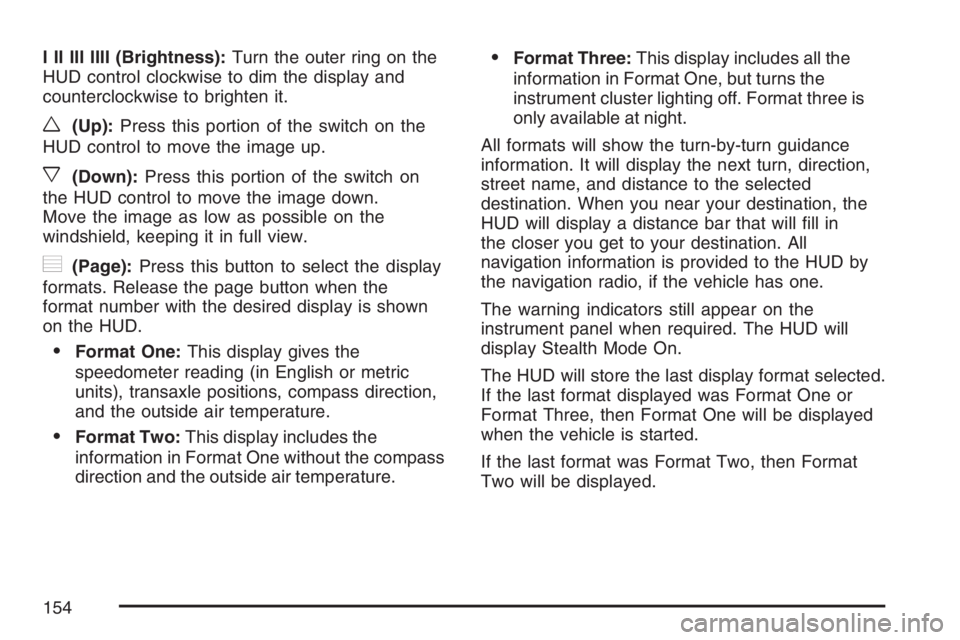
I II III IIII (Brightness):Turn the outer ring on the
HUD control clockwise to dim the display and
counterclockwise to brighten it.
w(Up):Press this portion of the switch on the
HUD control to move the image up.
x(Down):Press this portion of the switch on
the HUD control to move the image down.
Move the image as low as possible on the
windshield, keeping it in full view.
?(Page):Press this button to select the display
formats. Release the page button when the
format number with the desired display is shown
on the HUD.
Format One:This display gives the
speedometer reading (in English or metric
units), transaxle positions, compass direction,
and the outside air temperature.
Format Two:This display includes the
information in Format One without the compass
direction and the outside air temperature.
Format Three:This display includes all the
information in Format One, but turns the
instrument cluster lighting off. Format three is
only available at night.
All formats will show the turn-by-turn guidance
information. It will display the next turn, direction,
street name, and distance to the selected
destination. When you near your destination, the
HUD will display a distance bar that will �ll in
the closer you get to your destination. All
navigation information is provided to the HUD by
the navigation radio, if the vehicle has one.
The warning indicators still appear on the
instrument panel when required. The HUD will
display Stealth Mode On.
The HUD will store the last display format selected.
If the last format displayed was Format One or
Format Three, then Format One will be displayed
when the vehicle is started.
If the last format was Format Two, then Format
Two will be displayed.
154
Page 155 of 526
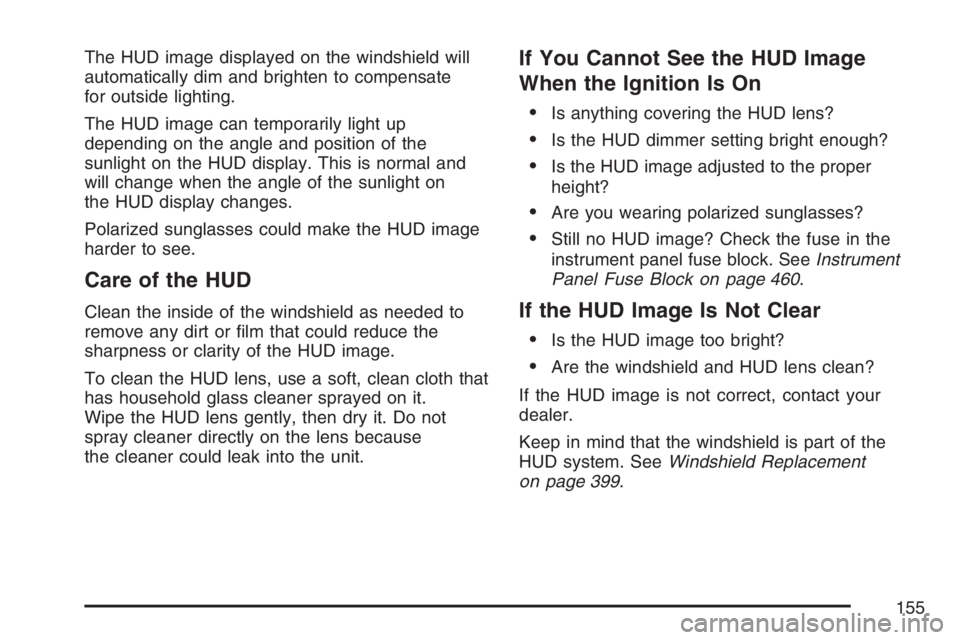
The HUD image displayed on the windshield will
automatically dim and brighten to compensate
for outside lighting.
The HUD image can temporarily light up
depending on the angle and position of the
sunlight on the HUD display. This is normal and
will change when the angle of the sunlight on
the HUD display changes.
Polarized sunglasses could make the HUD image
harder to see.
Care of the HUD
Clean the inside of the windshield as needed to
remove any dirt or �lm that could reduce the
sharpness or clarity of the HUD image.
To clean the HUD lens, use a soft, clean cloth that
has household glass cleaner sprayed on it.
Wipe the HUD lens gently, then dry it. Do not
spray cleaner directly on the lens because
the cleaner could leak into the unit.
If You Cannot See the HUD Image
When the Ignition Is On
Is anything covering the HUD lens?
Is the HUD dimmer setting bright enough?
Is the HUD image adjusted to the proper
height?
Are you wearing polarized sunglasses?
Still no HUD image? Check the fuse in the
instrument panel fuse block. SeeInstrument
Panel Fuse Block on page 460.
If the HUD Image Is Not Clear
Is the HUD image too bright?
Are the windshield and HUD lens clean?
If the HUD image is not correct, contact your
dealer.
Keep in mind that the windshield is part of the
HUD system. SeeWindshield Replacement
on page 399.
155
Page 162 of 526
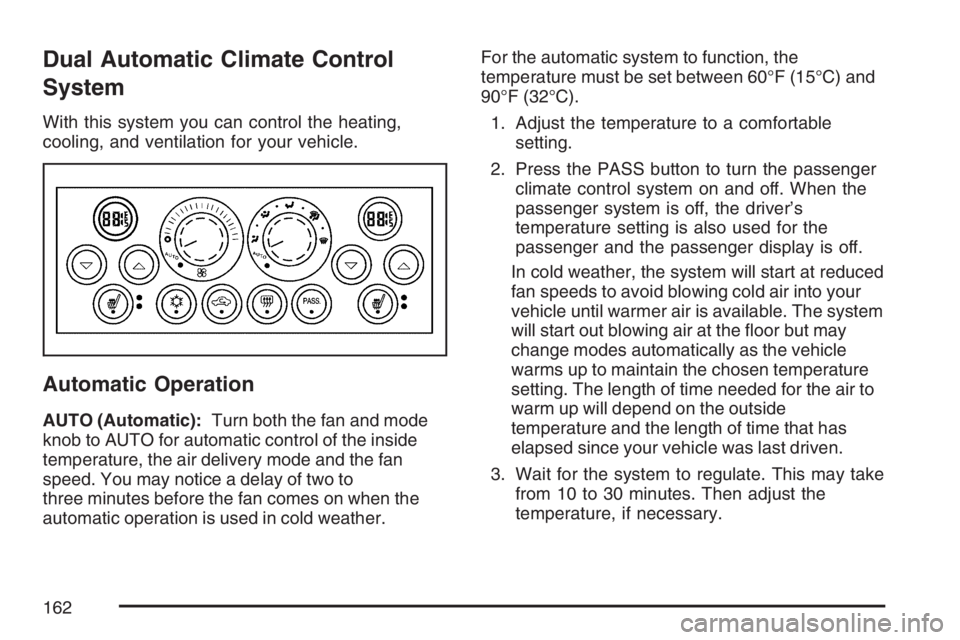
Dual Automatic Climate Control
System
With this system you can control the heating,
cooling, and ventilation for your vehicle.
Automatic Operation
AUTO (Automatic):Turn both the fan and mode
knob to AUTO for automatic control of the inside
temperature, the air delivery mode and the fan
speed. You may notice a delay of two to
three minutes before the fan comes on when the
automatic operation is used in cold weather.For the automatic system to function, the
temperature must be set between 60°F (15°C) and
90°F (32°C).
1. Adjust the temperature to a comfortable
setting.
2. Press the PASS button to turn the passenger
climate control system on and off. When the
passenger system is off, the driver’s
temperature setting is also used for the
passenger and the passenger display is off.
In cold weather, the system will start at reduced
fan speeds to avoid blowing cold air into your
vehicle until warmer air is available. The system
will start out blowing air at the �oor but may
change modes automatically as the vehicle
warms up to maintain the chosen temperature
setting. The length of time needed for the air to
warm up will depend on the outside
temperature and the length of time that has
elapsed since your vehicle was last driven.
3. Wait for the system to regulate. This may take
from 10 to 30 minutes. Then adjust the
temperature, if necessary.
162
Page 163 of 526
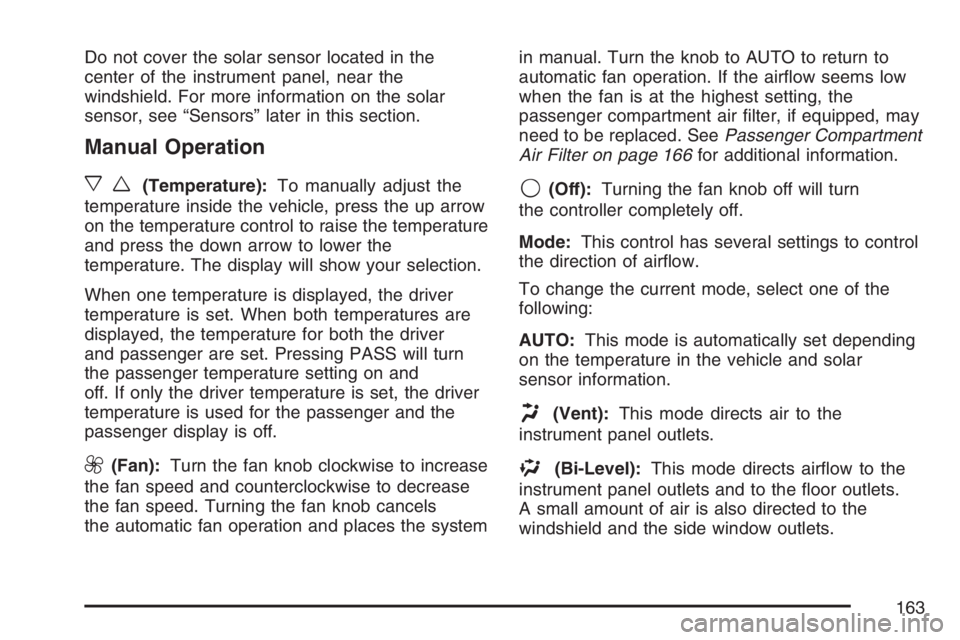
Do not cover the solar sensor located in the
center of the instrument panel, near the
windshield. For more information on the solar
sensor, see “Sensors” later in this section.
Manual Operation
xw
(Temperature):To manually adjust the
temperature inside the vehicle, press the up arrow
on the temperature control to raise the temperature
and press the down arrow to lower the
temperature. The display will show your selection.
When one temperature is displayed, the driver
temperature is set. When both temperatures are
displayed, the temperature for both the driver
and passenger are set. Pressing PASS will turn
the passenger temperature setting on and
off. If only the driver temperature is set, the driver
temperature is used for the passenger and the
passenger display is off.
9(Fan):Turn the fan knob clockwise to increase
the fan speed and counterclockwise to decrease
the fan speed. Turning the fan knob cancels
the automatic fan operation and places the systemin manual. Turn the knob to AUTO to return to
automatic fan operation. If the air�ow seems low
when the fan is at the highest setting, the
passenger compartment air �lter, if equipped, may
need to be replaced. SeePassenger Compartment
Air Filter on page 166for additional information.
9(Off):Turning the fan knob off will turn
the controller completely off.
Mode:This control has several settings to control
the direction of air�ow.
To change the current mode, select one of the
following:
AUTO:This mode is automatically set depending
on the temperature in the vehicle and solar
sensor information.
H(Vent):This mode directs air to the
instrument panel outlets.
%(Bi-Level):This mode directs air�ow to the
instrument panel outlets and to the �oor outlets.
A small amount of air is also directed to the
windshield and the side window outlets.
163
Page 170 of 526
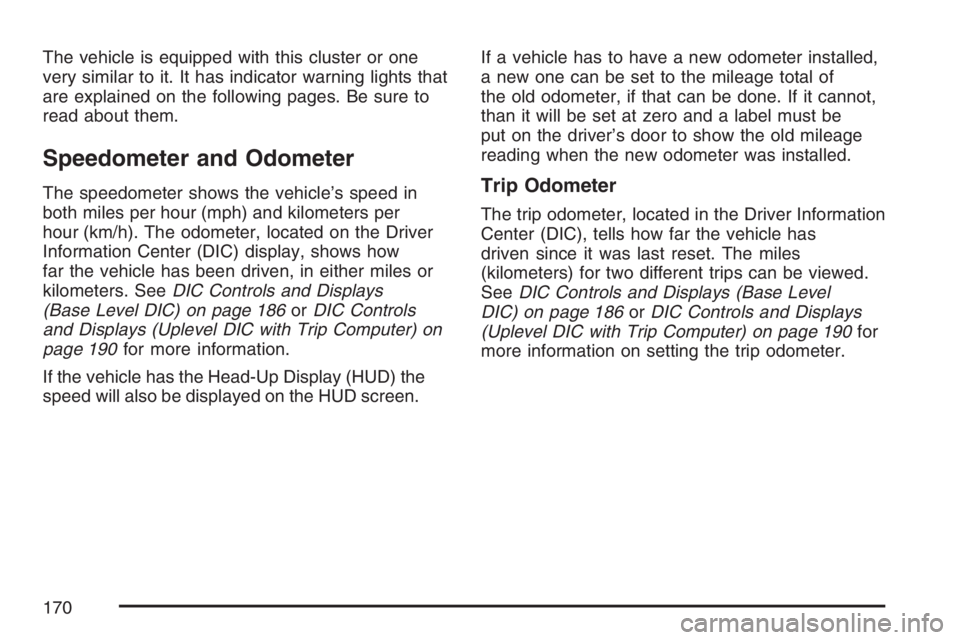
The vehicle is equipped with this cluster or one
very similar to it. It has indicator warning lights that
are explained on the following pages. Be sure to
read about them.
Speedometer and Odometer
The speedometer shows the vehicle’s speed in
both miles per hour (mph) and kilometers per
hour (km/h). The odometer, located on the Driver
Information Center (DIC) display, shows how
far the vehicle has been driven, in either miles or
kilometers. SeeDIC Controls and Displays
(Base Level DIC) on page 186orDIC Controls
and Displays (Uplevel DIC with Trip Computer) on
page 190for more information.
If the vehicle has the Head-Up Display (HUD) the
speed will also be displayed on the HUD screen.If a vehicle has to have a new odometer installed,
a new one can be set to the mileage total of
the old odometer, if that can be done. If it cannot,
than it will be set at zero and a label must be
put on the driver’s door to show the old mileage
reading when the new odometer was installed.Trip Odometer
The trip odometer, located in the Driver Information
Center (DIC), tells how far the vehicle has
driven since it was last reset. The miles
(kilometers) for two different trips can be viewed.
SeeDIC Controls and Displays (Base Level
DIC) on page 186orDIC Controls and Displays
(Uplevel DIC with Trip Computer) on page 190for
more information on setting the trip odometer.
170
Page 171 of 526
Tachometer
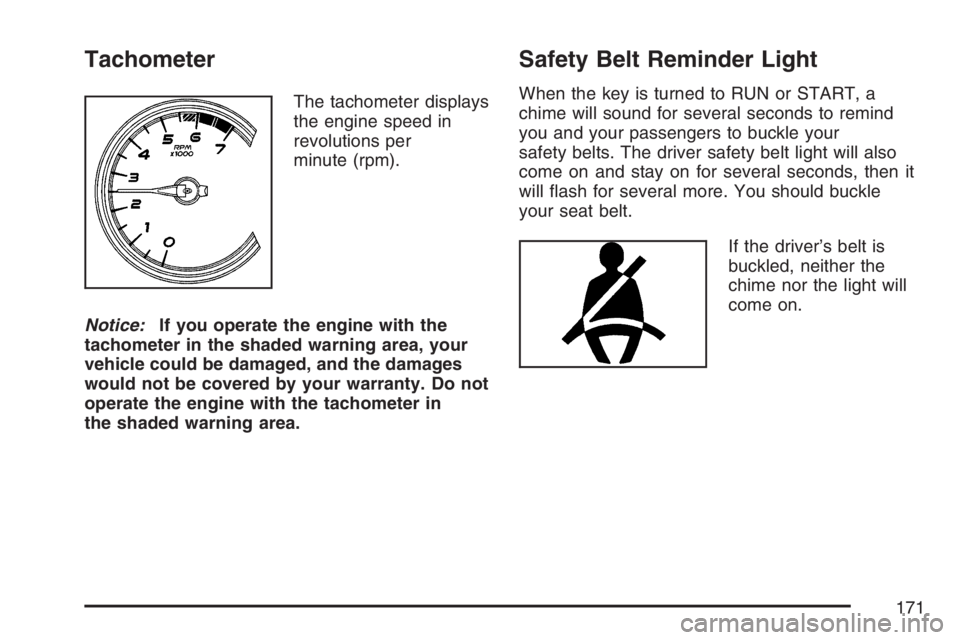
The tachometer displays
the engine speed in
revolutions per
minute (rpm).
Notice:If you operate the engine with the
tachometer in the shaded warning area, your
vehicle could be damaged, and the damages
would not be covered by your warranty. Do not
operate the engine with the tachometer in
the shaded warning area.
Safety Belt Reminder Light
When the key is turned to RUN or START, a
chime will sound for several seconds to remind
you and your passengers to buckle your
safety belts. The driver safety belt light will also
come on and stay on for several seconds, then it
will �ash for several more. You should buckle
your seat belt.
If the driver’s belt is
buckled, neither the
chime nor the light will
come on.
171
Page 175 of 526
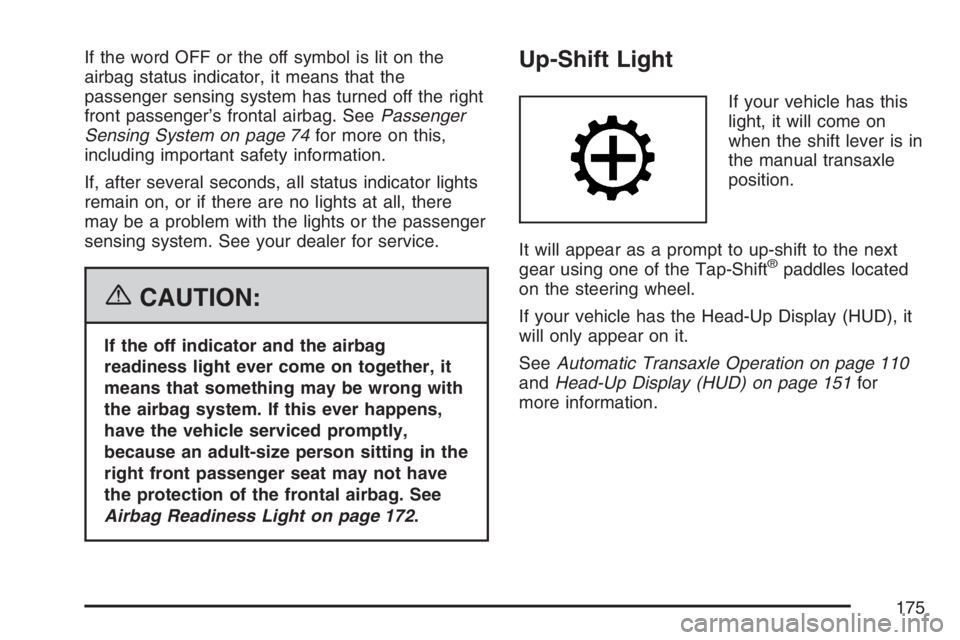
If the word OFF or the off symbol is lit on the
airbag status indicator, it means that the
passenger sensing system has turned off the right
front passenger’s frontal airbag. SeePassenger
Sensing System on page 74for more on this,
including important safety information.
If, after several seconds, all status indicator lights
remain on, or if there are no lights at all, there
may be a problem with the lights or the passenger
sensing system. See your dealer for service.
{CAUTION:
If the off indicator and the airbag
readiness light ever come on together, it
means that something may be wrong with
the airbag system. If this ever happens,
have the vehicle serviced promptly,
because an adult-size person sitting in the
right front passenger seat may not have
the protection of the frontal airbag. See
Airbag Readiness Light on page 172.
Up-Shift Light
If your vehicle has this
light, it will come on
when the shift lever is in
the manual transaxle
position.
It will appear as a prompt to up-shift to the next
gear using one of the Tap-Shift
®paddles located
on the steering wheel.
If your vehicle has the Head-Up Display (HUD), it
will only appear on it.
SeeAutomatic Transaxle Operation on page 110
andHead-Up Display (HUD) on page 151for
more information.
175
Page 186 of 526
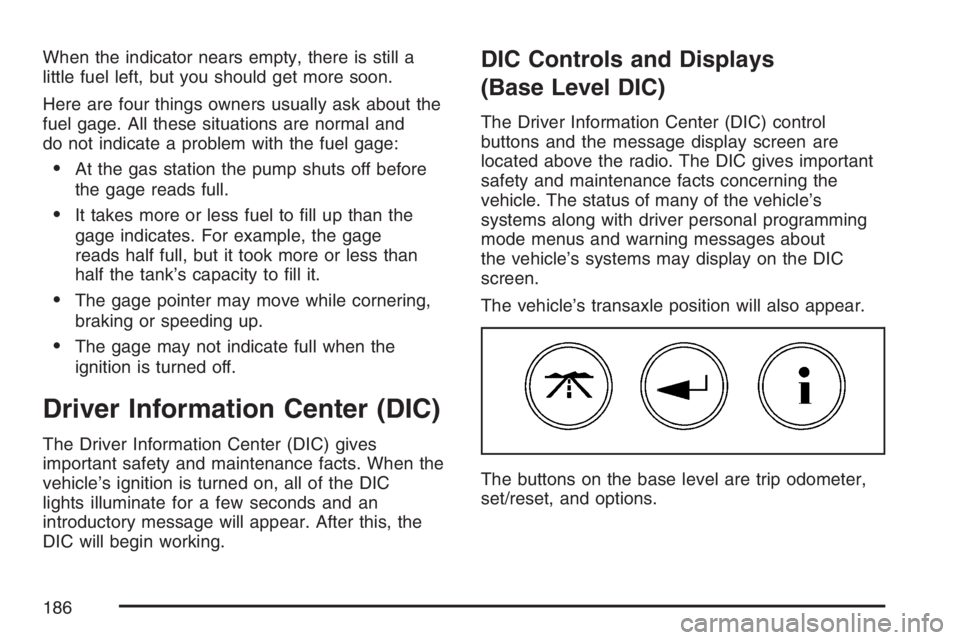
When the indicator nears empty, there is still a
little fuel left, but you should get more soon.
Here are four things owners usually ask about the
fuel gage. All these situations are normal and
do not indicate a problem with the fuel gage:
At the gas station the pump shuts off before
the gage reads full.
It takes more or less fuel to �ll up than the
gage indicates. For example, the gage
reads half full, but it took more or less than
half the tank’s capacity to �ll it.
The gage pointer may move while cornering,
braking or speeding up.
The gage may not indicate full when the
ignition is turned off.
Driver Information Center (DIC)
The Driver Information Center (DIC) gives
important safety and maintenance facts. When the
vehicle’s ignition is turned on, all of the DIC
lights illuminate for a few seconds and an
introductory message will appear. After this, the
DIC will begin working.
DIC Controls and Displays
(Base Level DIC)
The Driver Information Center (DIC) control
buttons and the message display screen are
located above the radio. The DIC gives important
safety and maintenance facts concerning the
vehicle. The status of many of the vehicle’s
systems along with driver personal programming
mode menus and warning messages about
the vehicle’s systems may display on the DIC
screen.
The vehicle’s transaxle position will also appear.
The buttons on the base level are trip odometer,
set/reset, and options.
186
Page 187 of 526
Trip Odometer
3(Trip Odometer):Press this button to access
the odometer and trip distance modes.
The �rst menu on the DIC screen will be the
odometer reading, or cumulative mileage of the
vehicle. The odometer cannot be reset.
Press the trip odometer button to advance to the
next menu.
Trip Distances:This menu shows the distances
that the vehicle has driven between speci�c
points. The trip odometer will record the number of
miles up to 9,999.9 miles or 9 999.9 km travelled
for up to two trips. When 9,999.9 miles or
9 999.9 km is reached for either trip, the odometer
for that trip will go back to zero.
Press the trip odometer button again to access
TRIP A. Press the trip odometer button again
to access TRIP B. To reset the trip odometer(s)
back to zero miles or kilometers, access the trip to
reset and press the set/reset button.The trip odometer has a feature called the
retro-active reset. This can be used to set the trip
odometer to the number of miles or kilometers
driven since the ignition was last turned on. This
can be used if the trip odometer was not reset
at the beginning of the trip.
To use the retro-active reset feature, press and
hold the set/reset button for at least three seconds.
The trip odometer will display the number of
miles or kilometers driven since the ignition was
last turned on and the vehicle began moving. Once
the vehicle has begun moving, the trip odometer
will accumulate mileage. For example, if the
vehicle was driven 5.0 miles (8.0 km) before the
vehicle is started again, and then the retro-active
reset feature is activated, the display will show
5.0 miles (8.0 km). As the vehicle begins moving,
the display will increase to 5.1 miles (8.2 km),
5.2 miles (8.4 km), etc.
If the retro-active reset feature is activated after
the vehicle is started, but before it begins moving,
the display will show the number of miles or
kilometers that were driven during the last ignition
cycle.
Press the trip odometer button again to access the
odometer.
187
Page 188 of 526
Set/Reset
r(Set/Reset):Press this button to set or reset
a menu item when using the trip odometer or
options buttons.
Options
4(Options):Press this button to access the Date,
Language, Display Units, Daytime Display
Enhancement, Engine Oil Monitor System,
Personal Programming modes, and Tire Pressure
readings.
Date:This menu sets the date.
The time is set through the radio. SeeSetting the
Time on page 234for more information.
To set the date, use the following procedure:
1. Press the options button until the date
is displayed on the DIC.
2. Press the set/reset button to access the
RESET YEAR screen. The second position in
the year will be selected. Press and hold
the set/reset button to scroll through the
available digits. Release the button when the
correct digit appears.3. Press the options button to advance to the
�rst position in the year. Press and hold the
set/reset button to scroll through the available
digits. Release the button when the correct
digit appears.
4. Press the options button to advance to the
months of the year.
5. Press the set/reset button to scroll through the
months of the year, releasing the button when
the correct month appears.
6. Press the options button to advance to the
days of the month.
7. Press the set/reset button to scroll through the
days of the month, releasing the button when
the correct day appears.
8. Press the options button again to advance to
the main date screen. The screen will now
display the new date.
Language:This menu allows the selection of the
language in which the DIC messages will
appear. The DIC can be programmed to one of
three languages: English, French, or Spanish. The
message on the HUD, if equipped, will also
appear in the language selected. SeeHead-Up
Display (HUD) on page 151.
188