ignition PONTIAC VIBE 2010 Owners Manual
[x] Cancel search | Manufacturer: PONTIAC, Model Year: 2010, Model line: VIBE, Model: PONTIAC VIBE 2010Pages: 318, PDF Size: 1.7 MB
Page 8 of 318
Keys and Locks
Keys
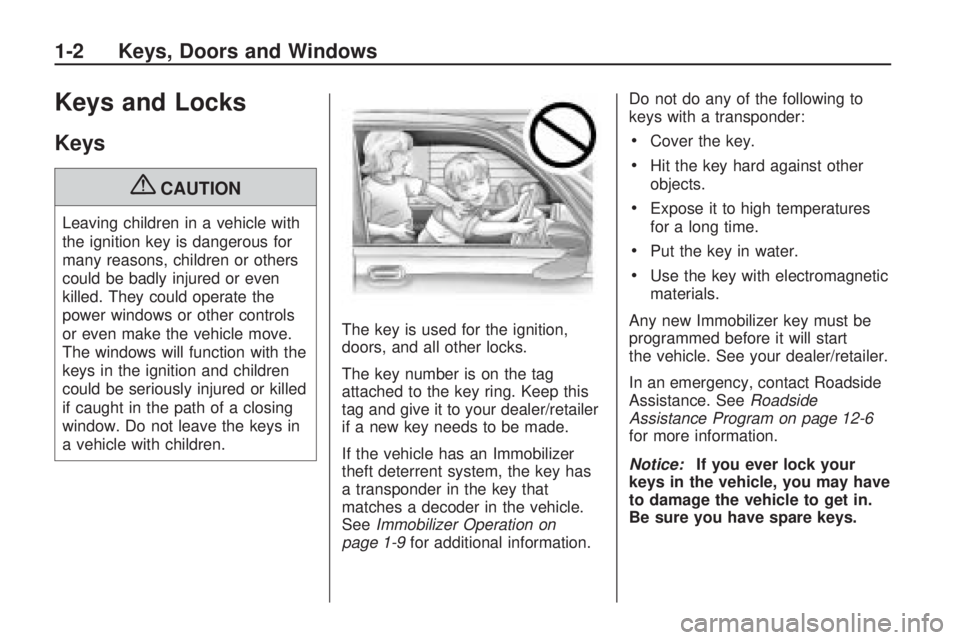
{CAUTION
Leaving children in a vehicle with
the ignition key is dangerous for
many reasons, children or others
could be badly injured or even
killed. They could operate the
power windows or other controls
or even make the vehicle move.
The windows will function with the
keys in the ignition and children
could be seriously injured or killed
if caught in the path of a closing
window. Do not leave the keys in
a vehicle with children.The key is used for the ignition,
doors, and all other locks.
The key number is on the tag
attached to the key ring. Keep this
tag and give it to your dealer/retailer
if a new key needs to be made.
If the vehicle has an Immobilizer
theft deterrent system, the key has
a transponder in the key that
matches a decoder in the vehicle.
See
Immobilizer Operation on
page 1-9 for additional information. Do not do any of the following to
keys with a transponder:
•Cover the key.
•Hit the key hard against other
objects.
•Expose it to high temperatures
for a long time.
•Put the key in water.
•Use the key with electromagnetic
materials.
Any new Immobilizer key must be
programmed before it will start
the vehicle. See your dealer/retailer.
In an emergency, contact Roadside
Assistance. See Roadside
Assistance Program on page 12-6
for more information.
Notice: If you ever lock your
keys in the vehicle, you may have
to damage the vehicle to get in.
Be sure you have spare keys.
1-2 Keys, Doors and Windows
Page 9 of 318
Remote Keyless Entry
(RKE) System
SeeRadio Frequency Statement
(US, Can) on page 12-16 for
information regarding Part 15 of
the Federal Communications
Commission (FCC) Rules and
RSS-210/211 of Industry and
Science Canada.
Remote Keyless Entry
(RKE) System Operation
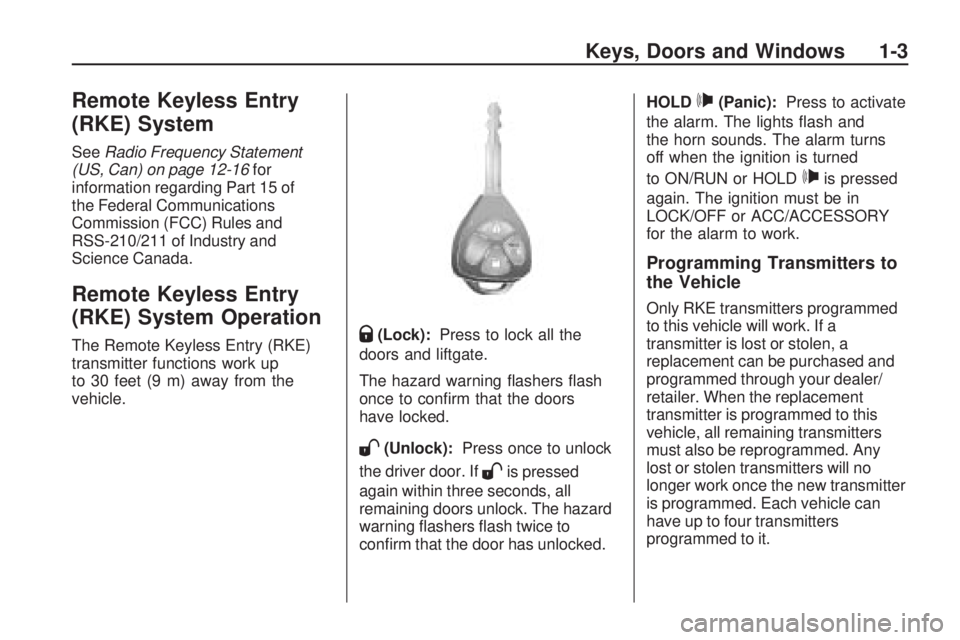
The Remote Keyless Entry (RKE)
transmitter functions work up
to 30 feet (9 m) away from the
vehicle.Q(Lock): Press to lock all the
doors and liftgate.
The hazard warning flashers flash
once to confirm that the doors
have locked.
W(Unlock): Press once to unlock
the driver door. If
Wis pressed
again within three seconds, all
remaining doors unlock. The hazard
warning flashers flash twice to
confirm that the door has unlocked. HOLD
p(Panic):
Press to activate
the alarm. The lights flash and
the horn sounds. The alarm turns
off when the ignition is turned
to ON/RUN or HOLD
pis pressed
again. The ignition must be in
LOCK/OFF or ACC/ACCESSORY
for the alarm to work.
Programming Transmitters to
the Vehicle
Only RKE transmitters programmed
to this vehicle will work. If a
transmitter is lost or stolen, a
replacement can be purchased and
programmed through your dealer/
retailer. When the replacement
transmitter is programmed to this
vehicle, all remaining transmitters
must also be reprogrammed. Any
lost or stolen transmitters will no
longer work once the new transmitter
is programmed. Each vehicle can
have up to four transmitters
programmed to it.
Keys, Doors and Windows 1-3
Page 15 of 318
How the System Alarm is
Activated
The system activates the alarm if:
•A locked door or the liftgate
is unlocked or opened without the
RKE transmitter.
•A locked door is unlocked or
opened without the key.
•The liftgate is unlocked or
opened with the key.
•The battery is reconnected.
•The side windows are tapped or
broken.
Do not leave the key or device that
disarms or deactivates the theft
deterrent system in the vehicle.
Immobilizer
See Radio Frequency Statement
(US, Can) on page 12-16 for
information regarding Part 15 of
the Federal Communications
Commission (FCC) Rules and
RSS-210/211 of Industry and
Science Canada.
Immobilizer Operation
This vehicle has a passive
theft-deterrent system.
You do not have to manually arm or
disarm the system.
The system is automatically armed
when the key is removed from
the ignition.
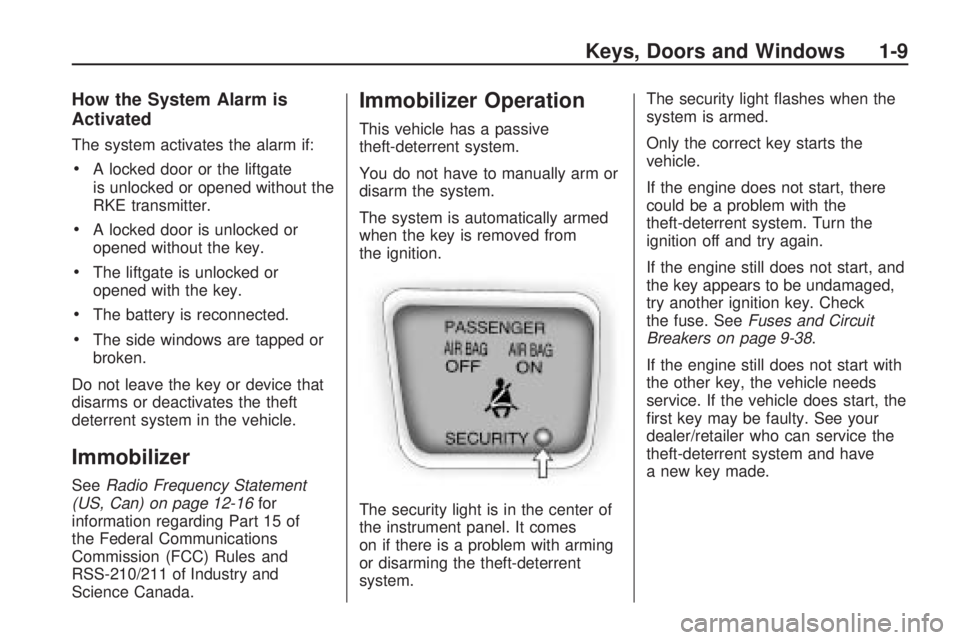
The security light is in the center of
the instrument panel. It comes
on if there is a problem with arming
or disarming the theft-deterrent
system. The security light flashes when the
system is armed.
Only the correct key starts the
vehicle.
If the engine does not start, there
could be a problem with the
theft-deterrent system. Turn the
ignition off and try again.
If the engine still does not start, and
the key appears to be undamaged,
try another ignition key. Check
the fuse. See
Fuses and Circuit
Breakers on page 9-38 .
If the engine still does not start with
the other key, the vehicle needs
service. If the vehicle does start, the
first key may be faulty. See your
dealer/retailer who can service the
theft-deterrent system and have
a new key made.
Keys, Doors and Windows 1-9
Page 16 of 318
If any of the following conditions
occur, contact your dealer/retailer.
•The security light stays on.
•The security light does not start
flashing when the key is
removed from the ignition.
•The security light flashes
inconsistently.
See your dealer/retailer to have a
new key with a transponder made.
In an emergency, contact
Roadside Assistance Program.
See Roadside Assistance Program
on page 12-6.
Do not leave the key or device that
disarms or deactivates the theft
deterrent system in the vehicle.
Exterior Mirrors
Power Mirrors
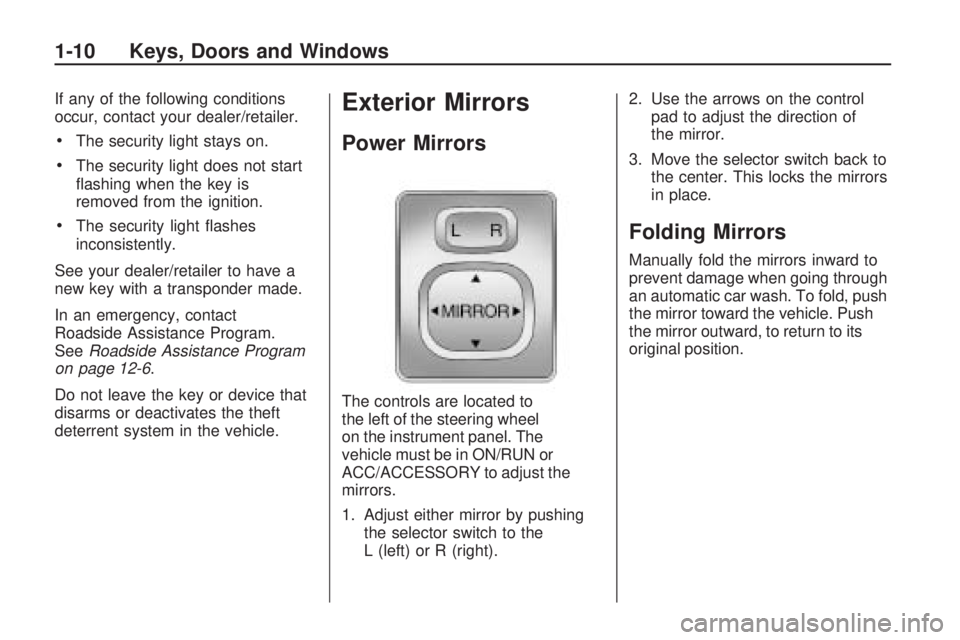
The controls are located to
the left of the steering wheel
on the instrument panel. The
vehicle must be in ON/RUN or
ACC/ACCESSORY to adjust the
mirrors.
1. Adjust either mirror by pushing the selector switch to the
L (left) or R (right). 2. Use the arrows on the control
pad to adjust the direction of
the mirror.
3. Move the selector switch back to the center. This locks the mirrors
in place.
Folding Mirrors
Manually fold the mirrors inward to
prevent damage when going through
an automatic car wash. To fold, push
the mirror toward the vehicle. Push
the mirror outward, to return to its
original position.
1-10 Keys, Doors and Windows
Page 18 of 318
Power Windows
{CAUTION
Leaving children in a vehicle with
the keys is dangerous for many
reasons, children or others could
be badly injured or even killed.
They could operate the power
windows or other controls or even
make the vehicle move. The
windows will function and they
could be seriously injured or killed
if caught in the path of a closing
window. Do not leave keys in a
vehicle with children.
When there are children in the
rear seat use the window lockout
button to prevent unintentional
operation of the windows.On vehicles with this feature, the
power windows only work when the
ignition is turned to ON/RUN or
in Retained Accessory Power
(RAP). See
Retained Accessory
Power (RAP) on page 8-18 .
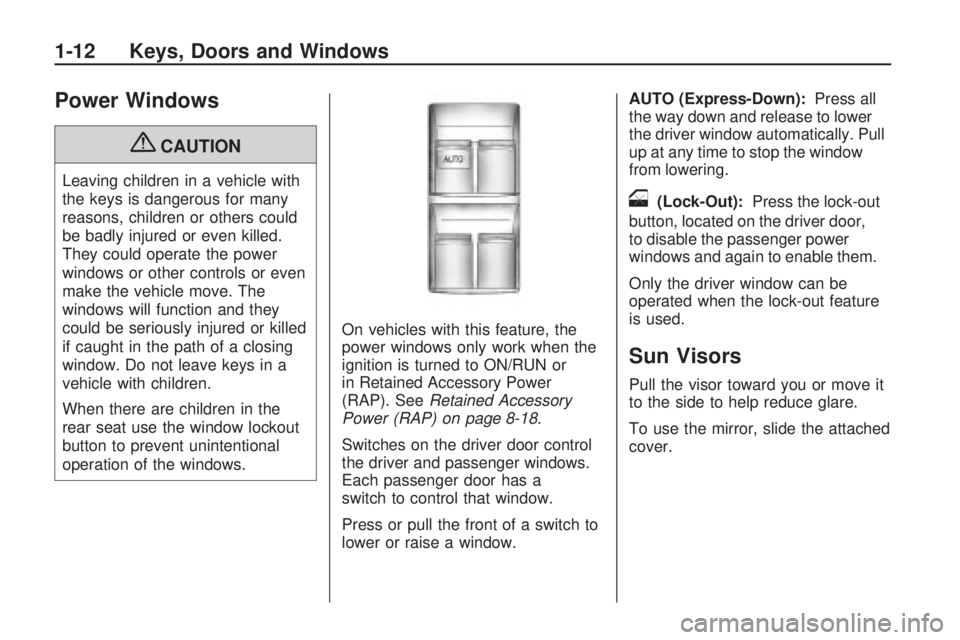
Switches on the driver door control
the driver and passenger windows.
Each passenger door has a
switch to control that window.
Press or pull the front of a switch to
lower or raise a window. AUTO (Express-Down):
Press all
the way down and release to lower
the driver window automatically. Pull
up at any time to stop the window
from lowering.
o(Lock-Out): Press the lock-out
button, located on the driver door,
to disable the passenger power
windows and again to enable them.
Only the driver window can be
operated when the lock-out feature
is used.
Sun Visors
Pull the visor toward you or move it
to the side to help reduce glare.
To use the mirror, slide the attached
cover.
1-12 Keys, Doors and Windows
Page 19 of 318
Roof
Sunroof
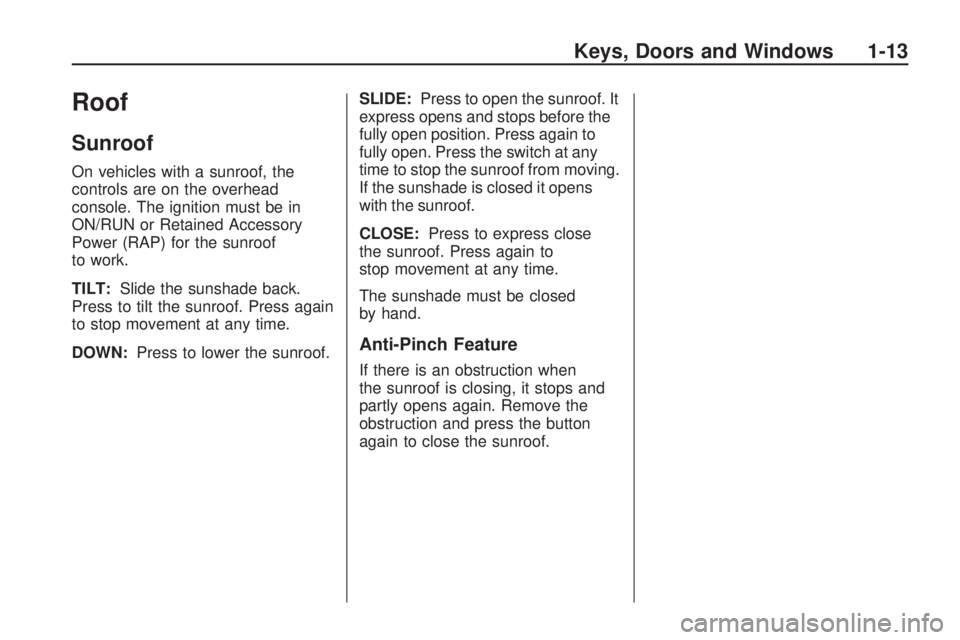
On vehicles with a sunroof, the
controls are on the overhead
console. The ignition must be in
ON/RUN or Retained Accessory
Power (RAP) for the sunroof
to work.
TILT:Slide the sunshade back.
Press to tilt the sunroof. Press again
to stop movement at any time.
DOWN: Press to lower the sunroof. SLIDE:
Press to open the sunroof. It
express opens and stops before the
fully open position. Press again to
fully open. Press the switch at any
time to stop the sunroof from moving.
If the sunshade is closed it opens
with the sunroof.
CLOSE: Press to express close
the sunroof. Press again to
stop movement at any time.
The sunshade must be closed
by hand.
Anti-Pinch Feature
If there is an obstruction when
the sunroof is closing, it stops and
partly opens again. Remove the
obstruction and press the button
again to close the sunroof.
Keys, Doors and Windows 1-13
Page 52 of 318

If the airbag readiness light and the
OFF light in the passenger airbag
status indicator come on together,
it may mean there is a malfunction
in the passenger sensing system.
Secure the child in the child restraint
in a rear seat position in the vehicle
and check with your dealer/retailer.
{CAUTION
If the airbag readiness light ever
comes on and stays on, it means
that something may be wrong with
the airbag system. To help avoid
injury to yourself or others, have
the vehicle serviced right away.
SeeAirbag Readiness Light on
page 4-12 for more information,
including important safety
information.
If the On Indicator is Lit for a
Child Restraint
If a child restraint has been installed
and the on indicator is lit:
1. Turn the vehicle off.
2. Remove the child restraint from the vehicle.
3. Remove any additional items from the seat such as blankets,
cushions, seat covers, seat
heaters, or seat massagers.
4. Reinstall the child restraint with the ignition key in the ACC or
LOCK position while following the
directions provided by the child
restraint manufacturer and refer
toSecuring Child Restraints
(Rear Seat Position) on
page 2-51 orSecuring Child
Restraints (Right Front Seat
Position) on page 2-53 .5. If, after reinstalling the child
restraint and restarting the
vehicle, the on indicator is still lit,
turn the vehicle off. Then slightly
recline the vehicle seatback
and adjust the seat cushion, if
adjustable, to make sure that the
vehicle seatback is not pushing
the child restraint into the seat
cushion.
6. Also make sure the child restraint is not trapped under the vehicle
head restraint. If this happens,
adjust the head restraint.
See Head Restraints on
page 2-2.
If the on indicator is still lit, secure
the child in the child restraint in
a rear seat position in the vehicle,
and check with your dealer/retailer.
2-32 Seats and Restraints
Page 54 of 318
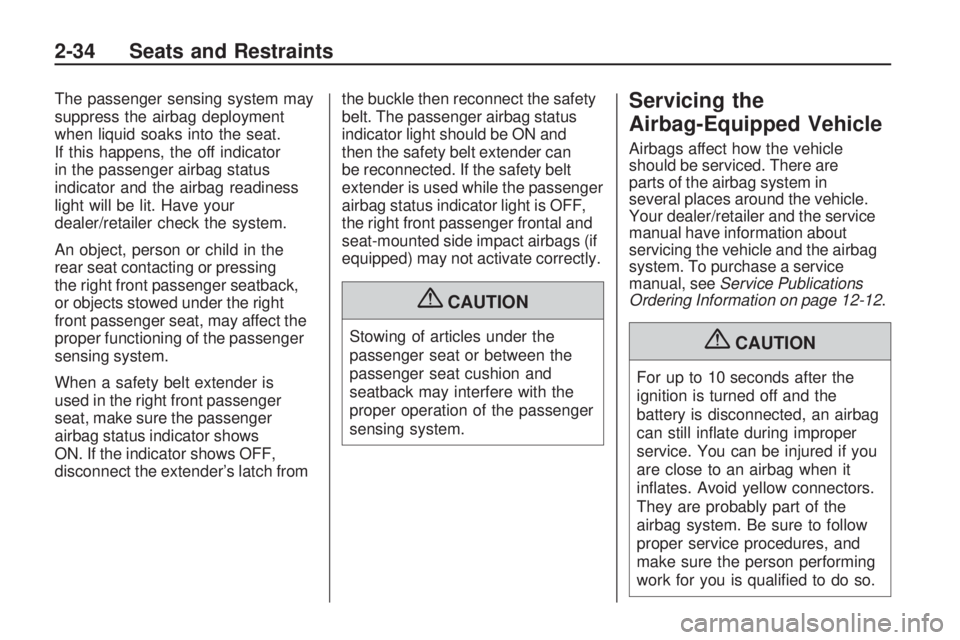
The passenger sensing system may
suppress the airbag deployment
when liquid soaks into the seat.
If this happens, the off indicator
in the passenger airbag status
indicator and the airbag readiness
light will be lit. Have your
dealer/retailer check the system.
An object, person or child in the
rear seat contacting or pressing
the right front passenger seatback,
or objects stowed under the right
front passenger seat, may affect the
proper functioning of the passenger
sensing system.
When a safety belt extender is
used in the right front passenger
seat, make sure the passenger
airbag status indicator shows
ON. If the indicator shows OFF,
disconnect the extender’s latch fromthe buckle then reconnect the safety
belt. The passenger airbag status
indicator light should be ON and
then the safety belt extender can
be reconnected. If the safety belt
extender is used while the passenger
airbag status indicator light is OFF,
the right front passenger frontal and
seat-mounted side impact airbags (if
equipped) may not activate correctly.
{CAUTION
Stowing of articles under the
passenger seat or between the
passenger seat cushion and
seatback may interfere with the
proper operation of the passenger
sensing system.
Servicing the
Airbag-Equipped Vehicle
Airbags affect how the vehicle
should be serviced. There are
parts of the airbag system in
several places around the vehicle.
Your dealer/retailer and the service
manual have information about
servicing the vehicle and the airbag
system. To purchase a service
manual, see
Service Publications
Ordering Information on page 12-12 .
{CAUTION
For up to 10 seconds after the
ignition is turned off and the
battery is disconnected, an airbag
can still inflate during improper
service. You can be injured if you
are close to an airbag when it
inflates. Avoid yellow connectors.
They are probably part of the
airbag system. Be sure to follow
proper service procedures, and
make sure the person performing
work for you is qualified to do so.
2-34 Seats and Restraints
Page 85 of 318
The main components of the
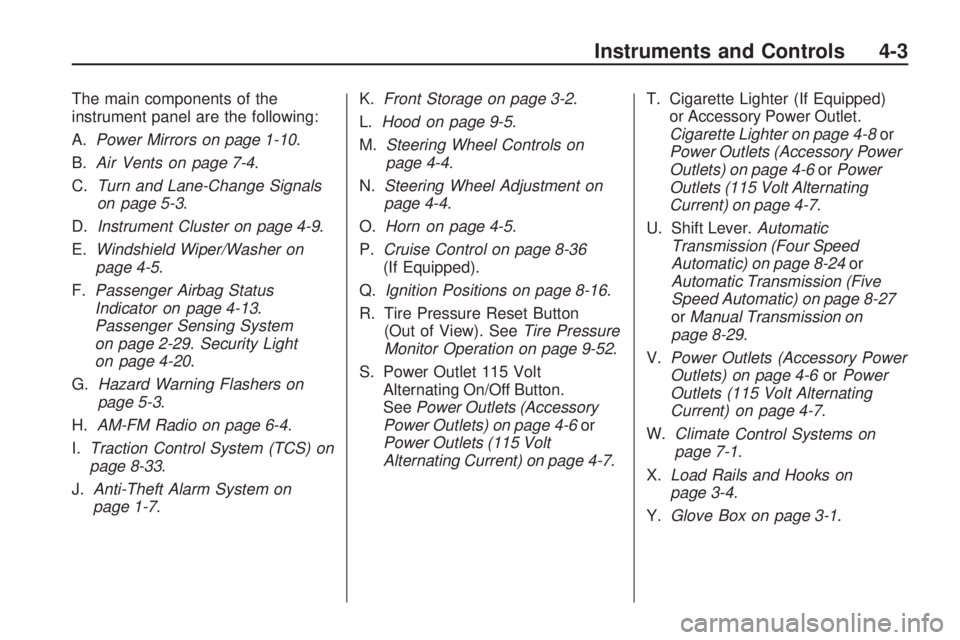
instrument panel are the following:
A.Power Mirrors on page 1-10 .
B. Air Vents on page 7-4.
C. Turn and Lane-Change Signals
on page 5-3.
D. Instrument Cluster on page 4-9 .
E. Windshield Wiper/Washer on
page 4-5.
F. Passenger Airbag Status
Indicator on page 4-13 .
Passenger Sensing System
on page 2-29. Security Light
on page 4-20.
G. Hazard Warning Flashers on
page 5-3.
H. AM-FM Radio on page 6-4 .
I. Traction Control System (TCS) on
page 8-33.
J. Anti-Theft Alarm System on
page 1-7. K.
Front Storage on page 3-2 .
L. Hood on page 9-5.
M. Steering Wheel Controls on
page 4-4.
N. Steering Wheel Adjustment on
page 4-4.
O. Horn on page 4-5.
P. Cruise Control on page 8-36
(If Equipped).
Q. Ignition Positions on page 8-16 .
R. Tire Pressure Reset Button (Out of View). See Tire Pressure
Monitor Operation on page 9-52 .
S. Power Outlet 115 Volt Alternating On/Off Button.
See Power Outlets (Accessory
Power Outlets) on page 4-6 or
Power Outlets (115 Volt
Alternating Current) on page 4-7 .T. Cigarette Lighter (If Equipped)
or Accessory Power Outlet.
Cigarette Lighter on page 4-8 or
Power Outlets (Accessory Power
Outlets) on page 4-6 orPower
Outlets (115 Volt Alternating
Current) on page 4-7.
U. Shift Lever. Automatic
Transmission (Four Speed
Automatic) on page 8-24 or
Automatic Transmission (Five
Speed Automatic) on page 8-27
or Manual Transmission on
page 8-29.
V. Power Outlets (Accessory Power
Outlets) on page 4-6 orPower
Outlets (115 Volt Alternating
Current) on page 4-7 .
W. Climate
Control Systems on
page 7-1.
X. Load Rails and Hooks on
page 3-4.
Y. Glove Box on page 3-1 .
Instruments and Controls 4-3
Page 88 of 318
Rear Window
Wiper/Washer
Z
Rear Wiper:Turn the end of
the lever to low or high, to turn
on the rear window wiper.
y(Low): Slow wipes.
x(High): Fast wipes.
=(Rear Washer): Turn the end of
the lever up or down as far as it will
go, to spray washer fluid on the rear
window. The knob automatically
returns from these positions after
it is released.
The windshield washer reservoir is
used for the windshield and the rear
window. Check the fluid level in the
reservoir if either washer is not
working. See Washer Fluid on
page 9-24.
{CAUTION
In freezing weather, do not use
your washer until the windshield
is warmed. Otherwise the washer
fluid can form ice on the
windshield, blocking your vision.
Power Outlets
(Accessory Power
Outlets)
Accessory power outlets can be
used to plug in electrical equipment,
such as a cellular phone.
The vehicle has an accessory
power outlet on the center floor
console below the shift lever.
To use the outlet, the ignition
must be in ON/RUN or ACC/
ACCESSORY. Pull down the
small cover to access the outlet.
Notice: Leaving electrical
equipment on for extended
periods will drain the battery. Always turn off electrical
equipment when not in use and
do not plug in equipment that
exceeds the maximum amperage
rating.
This circuit is protected by a fuse
and has a maximum current level.
Do not use equipment exceeding
the maximum amperage rating.
Certain power accessory plugs
may not be compatible to the power
accessory outlet and could result
in a blown vehicle or adapter fuse.
See your dealer/retailer for additional
information on the power accessory
plugs.
Notice:
Adding any electrical
equipment to the vehicle can
damage it or keep other
components from working as
they should. The repairs would
not be covered by the vehicle
warranty. Do not use equipment
exceeding maximum amperage
rating of 20 amperes. Check
with your dealer/retailer before
adding electrical equipment.
4-6 Instruments and Controls