stop start Ram 1500 2013 User Guide
[x] Cancel search | Manufacturer: RAM, Model Year: 2013, Model line: 1500, Model: Ram 1500 2013Pages: 734, PDF Size: 5.47 MB
Page 265 of 734
by the vehicle manufacturer on the vehicle placard or tire
inflation pressure label. (If your vehicle has tires of a
different size than the size indicated on the vehicle
placard or tire inflation pressure label, you should deter-
mine the proper tire inflation pressure for those tires.)
As an added safety feature, your vehicle has been
equipped with a Tire Pressure Monitoring System
(TPMS) that illuminates a low tire pressure telltale when
one or more of your tires is significantly under-inflated.
Accordingly, when the low tire pressure telltale illumi-
nates, you should stop and check your tires as soon as
possible, and inflate them to the proper pressure. Driving
on a significantly under-inflated tire causes the tire to
overheat and can lead to tire failure. Under-inflation also
reduces fuel efficiency and tire tread life, and may affect
the vehicle’s handling and stopping ability.
Please note that the TPMS is not a substitute for proper
tire maintenance, and it is the driver ’s responsibility tomaintain correct tire pressure, even if under-inflation has
not reached the level to trigger illumination of the TPMS
low tire pressure telltale.
Your vehicle has also been equipped with a TPMS
malfunction indicator to indicate when the system is not
operating properly. The TPMS malfunction indicator is
combined with the low tire pressure telltale. When the
system detects a malfunction, the telltale will flash for
approximately one minute and then remain continuously
illuminated. This sequence will continue upon subse-
quent vehicle start-ups as long as the malfunction exists.
When the malfunction indicator is illuminated, the sys-
tem may not be able to detect or signal low tire pressure
as intended. TPMS malfunctions may occur for a variety
of reasons, including the installation of replacement or
alternate tires or wheels on the vehicle that prevent the
TPMS from functioning properly. Always check the
TPMS malfunction telltale after replacing one or more
tires or wheels on your vehicle, to ensure that the
4
UNDERSTANDING YOUR INSTRUMENT PANEL 263
Page 270 of 734
This system allows the driver to select a variety of useful
information by pressing the switches mounted on the
steering wheel. The EVIC consists of the following:
•Digital Speedometer
• Vehicle Info
• Fuel Economy Info
• Trip A
• Trip B
• Stop/Start Info (If Equipped)
• Trailer Tow
• Audio
• Stored Messages
• Screen Setup •
Vehicle Settings (Not Equipped with a Uconnect®
Access 5.0 & 8.4 radio)
The system allows the driver to select information by
pressing the following buttons mounted on the steering
wheel:
EVIC Steering Wheels Buttons
268 UNDERSTANDING YOUR INSTRUMENT PANEL
Page 274 of 734
seconds and then returns to the previous screen. An
example of this message type is “Automatic High Beams
On”.
Engine Oil Change Indicator System
Oil Change Required
Your vehicle is equipped with an engine oil change
indicator system. The “Oil Change Required” message
will flash in the EVIC display for approximately 10
seconds after a single chime has sounded, to indicate the
next scheduled oil change interval. The engine oil change
indicator system is duty cycle based, which means the
engine oil change interval may fluctuate, dependent
upon your personal driving style.
Unless reset, this message will continue to display each
time you turn the ignition switch to the ON/RUN
position or cycle the ignition to the ON/RUN position if
equipped with Keyless Enter-N-Go™. To turn off themessage temporarily, press and release the MENU but-
ton. To reset the oil change indicator system (after
performing the scheduled maintenance) refer to the fol-
lowing procedure.
Vehicles Equipped With Keyless Enter-N-Go™
1. Without pressing the brake pedal, press the ENGINE
START/STOP button and cycle the ignition to the
ON/ RUN position (Do not start the engine.)
2. Fully depress the accelerator pedal, slowly, three times within 10 seconds.
3. Without pressing the brake pedal, press the ENGINE START/STOP button once to return the ignition to the
OFF/LOCK position.
Vehicles Not Equipped With Keyless Enter-N-Go™
1. Turn the ignition switch to the ON/RUN position (Do not start the engine.)
272 UNDERSTANDING YOUR INSTRUMENT PANEL
Page 278 of 734
•Vehicle Cannot Be Lowered Door Open
• Off Road 2 Watch For Clearance
• Entry/Exit Watch For Clearance
• Air Suspension Temporarily Disabled For jacking And
Tire Change
• Battery Low Start Engine To Change Ride Height
• Stop/Start Ready – If Equipped
• Stop/Start Not Ready – If Equipped
• Stop/Start Not Ready Hood Open – If Equipped
• Stop/Start Not Ready Battery Charging – If Equipped
• Stop/Start Not Ready Trailer Tow/Haul Selected – If
Equipped
• Stop/Start Not Ready 4WD/Low Range Selected – If
Equipped •
Stop/Start Not Ready Fuel Level Low – If Equipped
• Stop/Start Not Ready Steep Incline – If Equipped
• Stop/Start Not Ready Extreme Outside Temperature –
If Equipped
• Stop/Start Not Ready Engine Temperature Too High –
If Equipped
• Stop/Start Not Ready Engine Temperature Too Low –
If Equipped
• Stop/Start Not Ready Driver Seatbelt Unbuckled – If
Equipped
• Stop/Start Not Ready Driver Door Open – If Equipped
• Stop/Start Not Ready Cabin Cooling Or Heating – If
Equipped
• Stop/Start Not Ready Not Ready Max Cooling Or
Heating – If Equipped
276 UNDERSTANDING YOUR INSTRUMENT PANEL
Page 279 of 734
•Stop/Start Not Ready Max Cooling Or Heating Se-
lected – If Equipped
• Stop/Start Not Ready Front Defrost Selected – If
Equipped
• Stop/Start Not Ready Steering Wheel Turned – If
Equipped
• Stop/Start Autostop Active – If Equipped
• Stop/Start To Restart Press Clutch Or Shift To Neutral
– If Equipped
• Stop/Start Req’d Fault Detected – If Equipped
• Stop/Start Cannot Autostart Hood Open – If
Equipped
• Stop/Start Unavailable Service Battery – If Equipped
• Stop/Start Unavailable Service Stop/Start System – If
Equipped •
Stop/Start To Restart Shift Out Of Park – If Equipped
• Stop/Start Off – If Equipped
• Autostop Duration – If Equipped
The Reconfigurable Telltales section is divided into the
white telltales area on the right, amber telltales in the
middle, and red telltales on the left.
EVIC Amber Telltales
This area will show reconfigurable amber caution tell-
tales. These telltales include:
• Low Fuel Telltale
When the fuel level reaches approximately 3.0 gal
(11.0 L) this light will turn on, and remain on until
fuel is added.
4
UNDERSTANDING YOUR INSTRUMENT PANEL 277
Page 280 of 734
•Windshield Washer Fluid Low Indicator
This telltale will turn on to indicate the wind-
shield washer fluid is low.
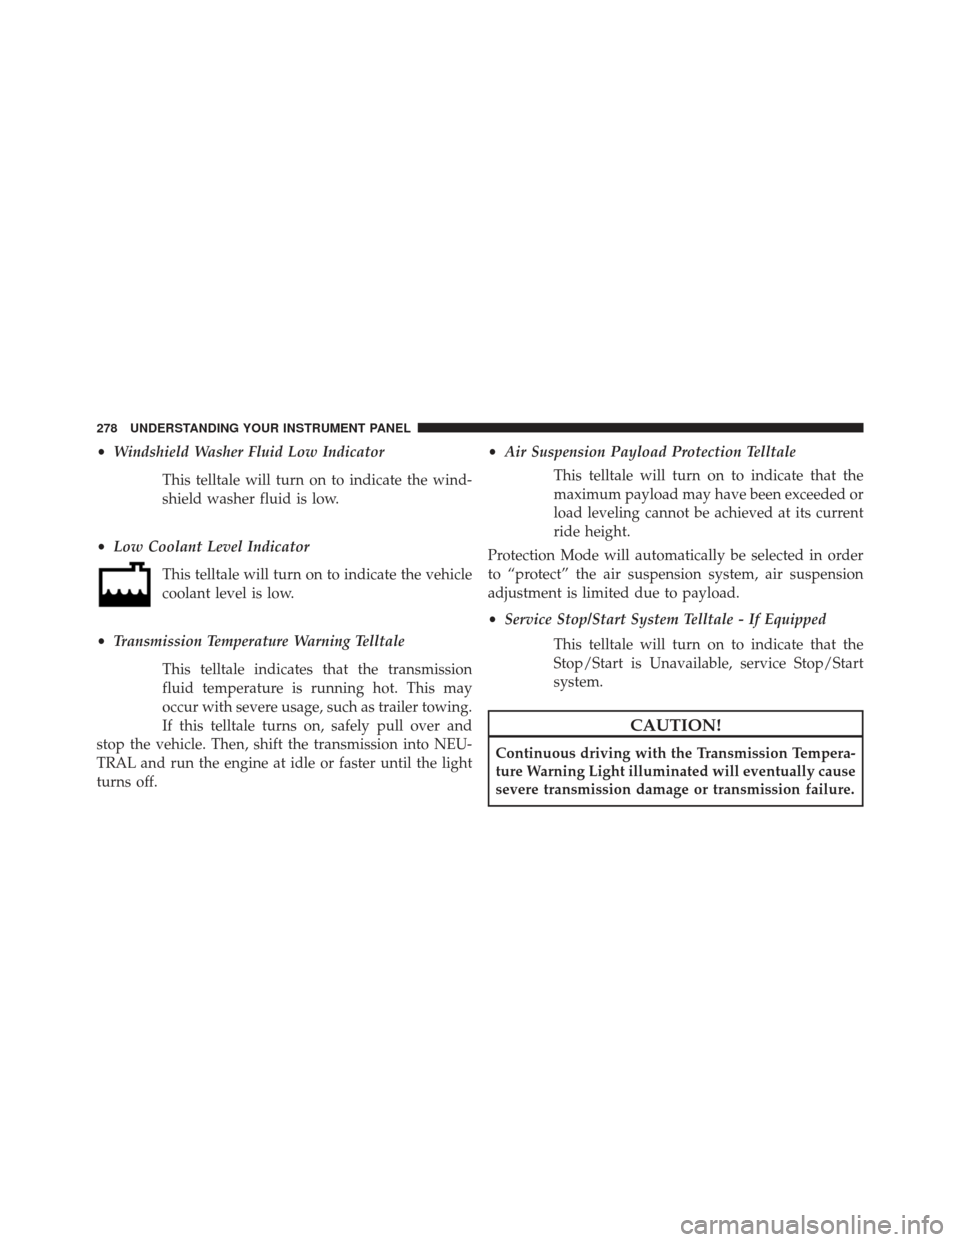
• Low Coolant Level Indicator
This telltale will turn on to indicate the vehicle
coolant level is low.
• Transmission Temperature Warning Telltale
This telltale indicates that the transmission
fluid temperature is running hot. This may
occur with severe usage, such as trailer towing.
If this telltale turns on, safely pull over and
stop the vehicle. Then, shift the transmission into NEU-
TRAL and run the engine at idle or faster until the light
turns off. •
Air Suspension Payload Protection Telltale
This telltale will turn on to indicate that the
maximum payload may have been exceeded or
load leveling cannot be achieved at its current
ride height.
Protection Mode will automatically be selected in order
to “protect” the air suspension system, air suspension
adjustment is limited due to payload.
• Service Stop/Start System Telltale - If Equipped
This telltale will turn on to indicate that the
Stop/Start is Unavailable, service Stop/Start
system.
CAUTION!
Continuous driving with the Transmission Tempera-
ture Warning Light illuminated will eventually cause
severe transmission damage or transmission failure.
278 UNDERSTANDING YOUR INSTRUMENT PANEL
Page 282 of 734
•Oil Temperature Warning Light
This telltale indicates engine oil temperature is
high. If the light turns on while driving, stop
the vehicle and shut off the engine as soon as
possible.
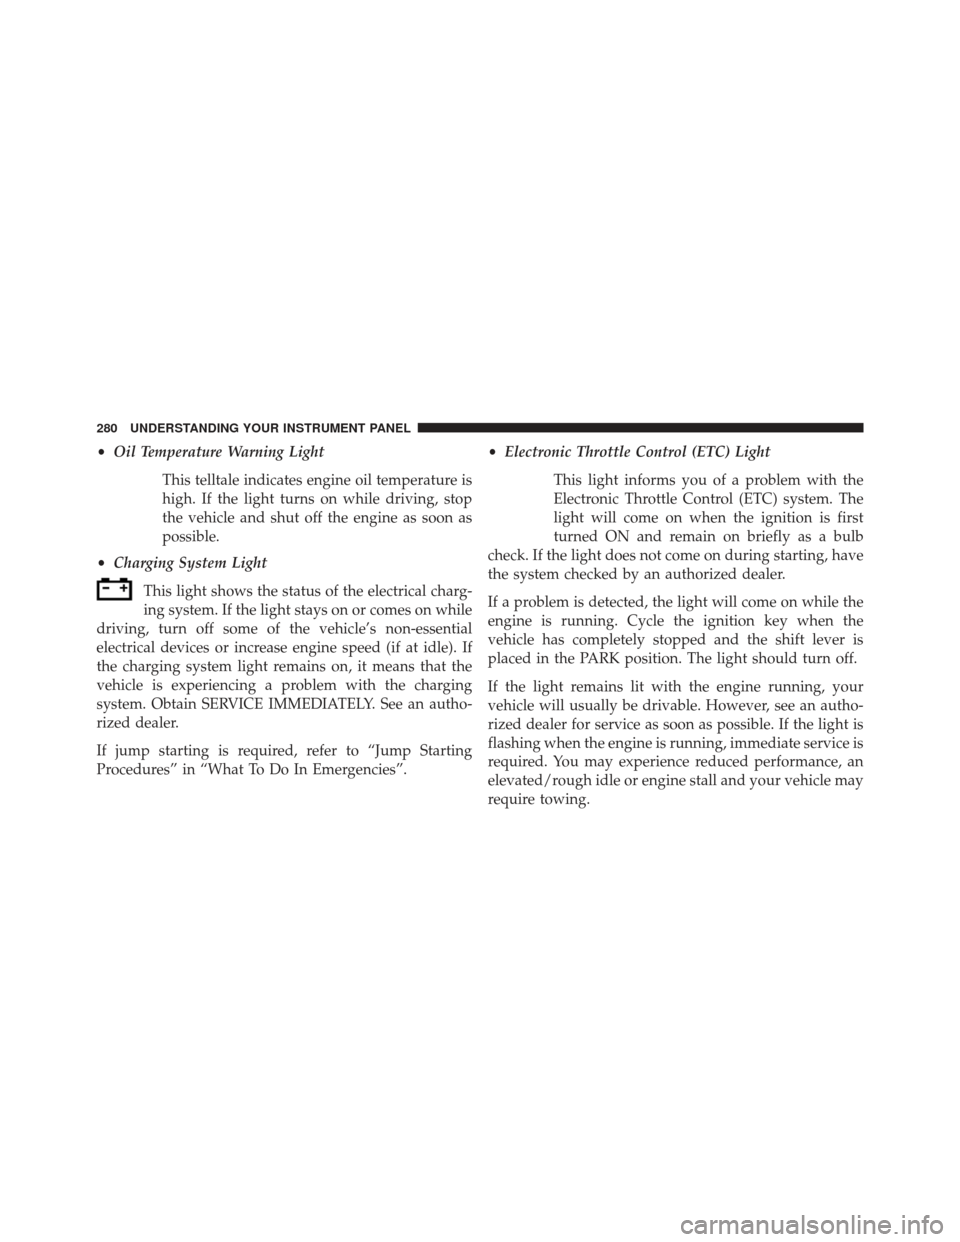
• Charging System Light
This light shows the status of the electrical charg-
ing system. If the light stays on or comes on while
driving, turn off some of the vehicle’s non-essential
electrical devices or increase engine speed (if at idle). If
the charging system light remains on, it means that the
vehicle is experiencing a problem with the charging
system. Obtain SERVICE IMMEDIATELY. See an autho-
rized dealer.
If jump starting is required, refer to “Jump Starting
Procedures” in “What To Do In Emergencies”. •
Electronic Throttle Control (ETC) Light
This light informs you of a problem with the
Electronic Throttle Control (ETC) system. The
light will come on when the ignition is first
turned ON and remain on briefly as a bulb
check. If the light does not come on during starting, have
the system checked by an authorized dealer.
If a problem is detected, the light will come on while the
engine is running. Cycle the ignition key when the
vehicle has completely stopped and the shift lever is
placed in the PARK position. The light should turn off.
If the light remains lit with the engine running, your
vehicle will usually be drivable. However, see an autho-
rized dealer for service as soon as possible. If the light is
flashing when the engine is running, immediate service is
required. You may experience reduced performance, an
elevated/rough idle or engine stall and your vehicle may
require towing.
280 UNDERSTANDING YOUR INSTRUMENT PANEL
Page 286 of 734
•Average Speed
• Elapsed Time
Hold the SELECT/RIGHT arrow button to reset all the
information.
Fuel Economy
Press and release the UP or DOWN arrow
button until the Fuel Economy icon is
highlighted.
• Average Fuel Economy/Miles Per Gallon (MPG Bar-
graph)
• Range To Empty (RTE)
• Current Miles Per Gallon (MPG)
Stop/Start – If Equipped
Press and release the UP or DOWN arrow
button until the Stop/Start icon is highlighted
in the EVIC. Press and release the SELECT/
RIGHT arrow button to display the Stop/Start
status.
Trailer Tow
Press and release the UP or DOWN arrow
button until the Trailer Tow icon is highlighted.
Press the SELECT/RIGHT arrow button and
the next screen will display the following
trailer trip information:
• Trailer Trip
• Trailer Brake
284 UNDERSTANDING YOUR INSTRUMENT PANEL
Page 306 of 734
•Flash Headlights With Lock
When this feature is selected, the headlights will flash
when the doors are locked or unlocked with the Remote
Keyless Entry (RKE) transmitter. This feature may be
selected with or without the sound horn on lock feature
selected. To make your selection, touch the Flash Head-
lights with Lock soft-key, until a check-mark appears
next to setting, showing that setting has been selected.
Touch the back arrow soft-key to return to the previous
menu.
Doors & Locks
After pressing the Doors & Locks soft-key the following
settings will be available.
• Auto Unlock On Exit
When this feature is selected, all doors will unlock when
the vehicle is stopped and the transmission is in the
PARK or NEUTRAL position and the driver’s door is opened. To make your selection, touch the Auto Unlock
On Exit soft-key, until a check-mark appears next to
setting, showing that setting has been selected. Touch the
back arrow soft-key to return to the previous menu.
•
Sound Horn With Lock
When this feature is selected, the horn will sound when
the door locks are activated. To make your selection,
touch the Sound Horn With Lock soft-key, until a check-
mark appears next to setting, showing that setting has
been selected. Touch the back arrow soft-key to return to
the previous menu.
• Sound Horn With Remote Start
When this feature is selected, the horn will sound when
the remote start is activated. To make your selection,
touch the Sound Horn With Remote Start soft-key, until a
check-mark appears next to setting, showing that setting
has been selected. Touch the back arrow soft-key to
return to the previous menu.
304 UNDERSTANDING YOUR INSTRUMENT PANEL
Page 321 of 734
•In cold or damp weather, the use of the Recirculation
mode will cause windows to fog on the inside because
of moisture buildup inside the vehicle. For maximum
defogging, select the outside air position.
• The A/C can be deselected manually without disturb-
ing the mode control selection by pressing the A/C
button.
Air Outlets
The airflow from each of the instrument panel outlets can
be adjusted for direction, and turned on or off to control
airflow.
NOTE: For maximum airflow to the rear, the center
instrument panel outlets can be directed toward the rear
seat passengers.
Economy Mode
If ECONOMY mode is desired, press the A/C button to
turn off the LED indicator and the A/C compressor. Rotate the temperature control knob to the desired tem-
perature. Also, make sure to select only Panel, Bi-Level or
Floor modes.
Stop/Start System – If Equipped
While in an Autostop, the Climate Controls system may
automatically adjust airflow to maintain cabin comfort.
Customer settings will be maintained upon return to an
engine running condition.
Air Conditioning Operation
Push the A/C button to engage the Air
Conditioning (A/C). A LED will illu-
minate when the A/C system is
engaged.
4
UNDERSTANDING YOUR INSTRUMENT PANEL 319