Ram 1500 2019 Service Manual
Manufacturer: RAM, Model Year: 2019, Model line: 1500, Model: Ram 1500 2019Pages: 698, PDF Size: 9.04 MB
Page 41 of 698
NOTE:If “Unlock All Doors 1st Press” is programmed, all
doors will unlock when you grab hold of the front driver ’s
door handle. To select between “Unlock Driver Door 1st
Press” and “Unlock All Doors 1st Press,” refer to
“Uconnect Settings” in “Multimedia” for further informa-
tion.
To Unlock From The Passenger Side:
With a valid Passive Entry key fob within 5 ft (1.5 m) of the
passenger door handle, grab the front passenger door
handle to unlock all doors automatically. The interior door
panel lock knob will raise when the door is unlocked.
NOTE: All doors will unlock when the front passenger
door handle is grabbed regardless of the driver ’s door
unlock preference setting (“Unlock Driver Door 1st Press”
or “Unlock All Doors 1st Press”). Preventing Inadvertent Locking Of Passive Entry Key
Fob In Vehicle:
To minimize the possibility of unintentionally locking a
Passive Entry key fob inside your vehicle, the Passive Entry
system is equipped with an automatic door unlock feature
which will function if the ignition switch is in the OFF
position.
If one of the vehicle doors is open and the door panel
switch is used to lock the vehicle, once all open doors have
been closed the vehicle checks the inside and outside of the
vehicle for any valid Passive Entry key fobs. If one of the
vehicle’s Passive Entry key fobs is detected inside the
vehicle, and no other valid Passive Entry key fobs are
detected outside the vehicle, the Passive Entry System
automatically unlocks all vehicle doors and chirps the horn
three times (on the third attempt ALL doors will lock and
the Passive Entry key fob can be locked in the vehicle).
3
GETTING TO KNOW YOUR VEHICLE 39
Page 42 of 698
To Lock The Vehicle’s Doors:
With one of the vehicle’s Passive Entry key fobs within 5 ft
(1.5 m) of the driver or passenger front door handles, push
the door handle lock button to lock all doors.Do NOT grab the door handle when pushing the door
handle lock button. This could unlock the door(s).
NOTE:
•
After pushing the door handle lock button, you must
wait two seconds before you can lock or unlock the
doors, using either Passive Entry door handle. This is
done to allow you to check if the vehicle is locked by
pulling the door handle, without the vehicle reacting
and unlocking.
• The Passive Entry system depends on a key fob that is
not fully discharged of its coin battery capacity.
Push The Door Handle Button To Lock
Do NOT Grab The Door Handle When Locking
40 GETTING TO KNOW YOUR VEHICLE
Page 43 of 698
•The LED light on the key fob will not blink if the key fob
battery is low or fully depleted, but a low key fob battery
condition will still support the Passive Entry system
functionality. When the key fob battery is low, the
instrument cluster will display a message indicating that
the key fob battery is low. Refer to “Keys” in “Getting To
Know Your Vehicle” for further information.
The vehicle doors can also be locked by using the key fob
lock button or the lock button located on the vehicle’s
interior door panel.
General Information
The following regulatory statement applies to all radio
frequency (RF) devices equipped in this vehicle:
This device complies with Part 15 of the FCC Rules and
with Industry Canada license-exempt RSS standard(s).
Operation is subject to the following two conditions:
1. This device may not cause harmful interference, and
2.
This device must accept any interference received, includ-
ing interference that may cause undesired operation.
NOTE: Changes or modifications not expressly approved
by the party responsible for compliance could void the
user ’s authority to operate the equipment.
Automatic Door Locks — If Equipped
The auto door lock feature default condition is enabled.
When enabled, the door locks will lock automatically when
the vehicle’s speed exceeds 15 mph (24 km/h). The auto
door lock feature can be enabled or disabled by an autho-
rized dealer per written request of the customer. Please see
an authorized dealer for service.
Automatic Doors Unlock — If Equipped
This feature unlocks all of the doors of the vehicle when either
front door is opened. This will occur only after the vehicle has
been shifted into the PARK position after the vehicle has been
driven (shifted out of PARK and all doors closed).
Automatic Doors Unlock Programming — If
Equipped
The Automatic Doors Unlock feature can be enabled or
disabled as follows:
• For vehicles not equipped with a touchscreen radio,
refer to “Instrument Cluster Display” in “Getting To
Know Your Instrument Panel” for further information.
• For vehicles equipped with a touchscreen radio, refer to
“Uconnect Settings” in “Multimedia” for further infor-
mation.
3
GETTING TO KNOW YOUR VEHICLE 41
Page 44 of 698
NOTE:Use the Auto Unlock Doors feature in accordance
with local laws.
Child-Protection Door Lock
To provide a safer environment for children riding in the
rear seat, the rear doors (if equipped) of your vehicle have
the Child-Protection Door Lock system. To use the system, open each rear door, use a flat blade
screwdriver (or emergency key) and rotate the dial to
engage and disengage the Child-Protection locks. When
the system on a door is engaged, that door can only be
opened by using the outside door handle even if the inside
door lock is in the unlocked position.
Child-Protection Door Lock Location
Child Lock Control
42 GETTING TO KNOW YOUR VEHICLE
Page 45 of 698
WARNING!
Avoid trapping anyone in the vehicle in a collision.
Remember that the sliding doors cannot be opened
from the inside door handle when the Child Protection
Door Locks are engaged.
NOTE:
• After setting the Child-Protection Door Lock system,
always test the door from the inside to make certain it is
in the desired position.
• For emergency exit with the system engaged, move the
door lock switch to the unlock position, roll down the
window, and open the door with the outside door
handle.
SEATS
Seats are a part of the Occupant Restraint System of the
vehicle.
WARNING!
• It is dangerous to ride in a cargo area, inside or
outside of a vehicle. In a collision, people riding in
these areas are more likely to be seriously injured or
killed.
• Do not allow people to ride in any area of your
vehicle that is not equipped with seats and seat belts.
In a collision, people riding in these areas are more
likely to be seriously injured or killed.
• Be sure everyone in your vehicle is in a seat and
using a seat belt properly.
3
GETTING TO KNOW YOUR VEHICLE 43
Page 46 of 698
Manual Front Seat Adjustment
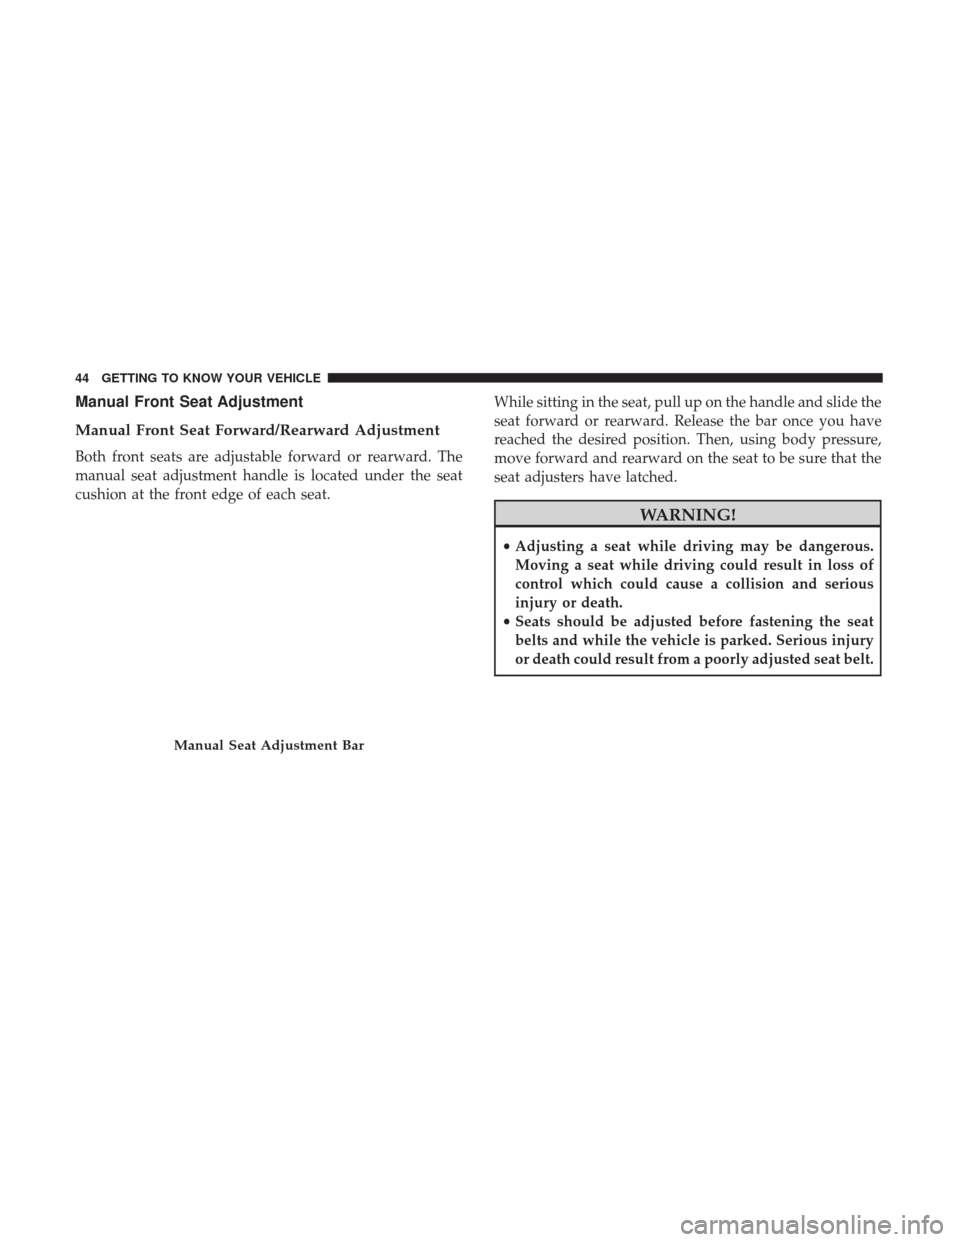
Manual Front Seat Forward/Rearward Adjustment
Both front seats are adjustable forward or rearward. The
manual seat adjustment handle is located under the seat
cushion at the front edge of each seat.While sitting in the seat, pull up on the handle and slide the
seat forward or rearward. Release the bar once you have
reached the desired position. Then, using body pressure,
move forward and rearward on the seat to be sure that the
seat adjusters have latched.
WARNING!
•
Adjusting a seat while driving may be dangerous.
Moving a seat while driving could result in loss of
control which could cause a collision and serious
injury or death.
• Seats should be adjusted before fastening the seat
belts and while the vehicle is parked. Serious injury
or death could result from a poorly adjusted seat belt.
Manual Seat Adjustment Bar
44 GETTING TO KNOW YOUR VEHICLE
Page 47 of 698
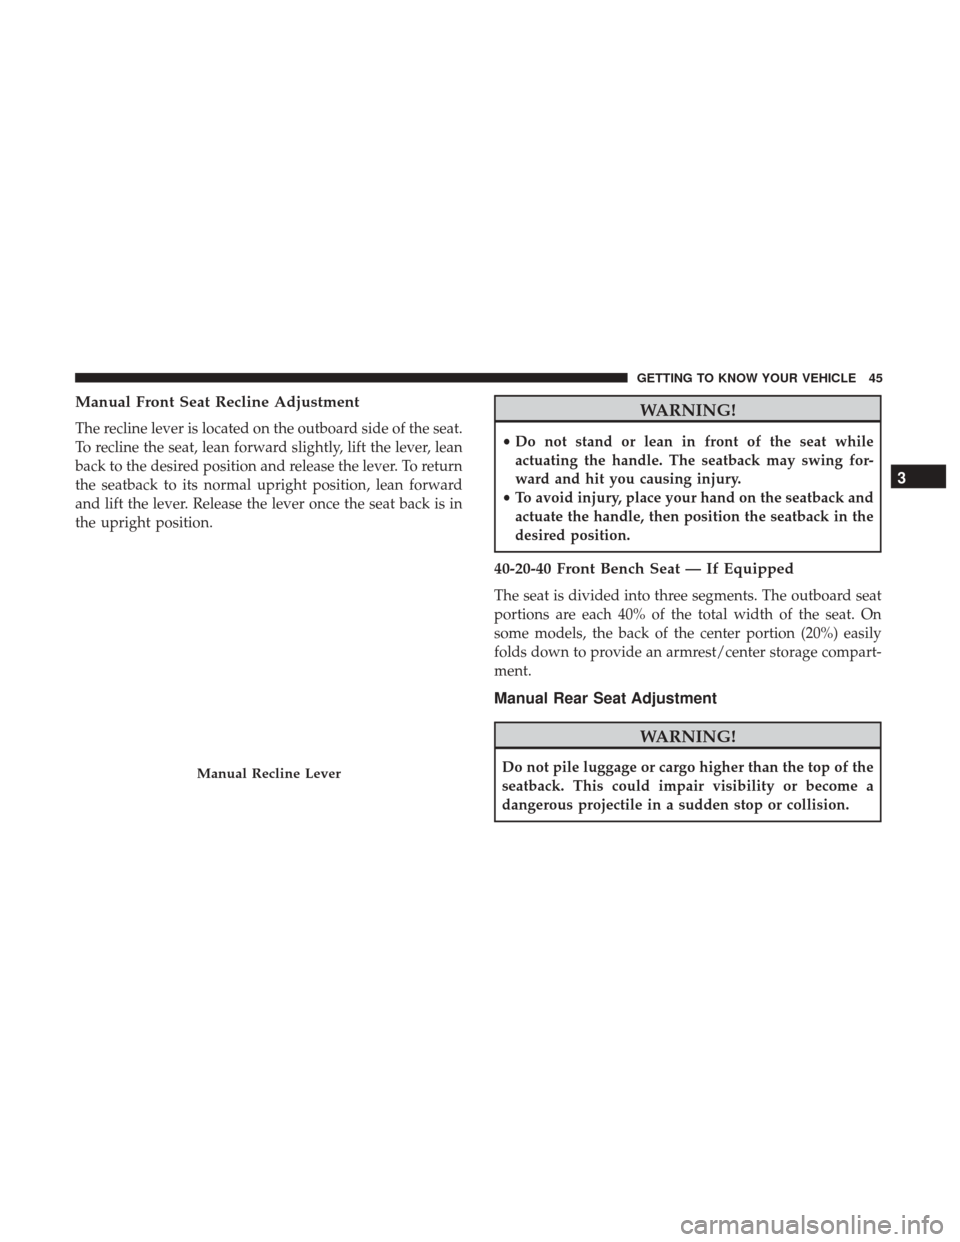
Manual Front Seat Recline Adjustment
The recline lever is located on the outboard side of the seat.
To recline the seat, lean forward slightly, lift the lever, lean
back to the desired position and release the lever. To return
the seatback to its normal upright position, lean forward
and lift the lever. Release the lever once the seat back is in
the upright position.
WARNING!
•Do not stand or lean in front of the seat while
actuating the handle. The seatback may swing for-
ward and hit you causing injury.
• To avoid injury, place your hand on the seatback and
actuate the handle, then position the seatback in the
desired position.
40-20-40 Front Bench Seat — If Equipped
The seat is divided into three segments. The outboard seat
portions are each 40% of the total width of the seat. On
some models, the back of the center portion (20%) easily
folds down to provide an armrest/center storage compart-
ment.
Manual Rear Seat Adjustment
WARNING!
Do not pile luggage or cargo higher than the top of the
seatback. This could impair visibility or become a
dangerous projectile in a sudden stop or collision.Manual Recline Lever
3
GETTING TO KNOW YOUR VEHICLE 45
Page 48 of 698
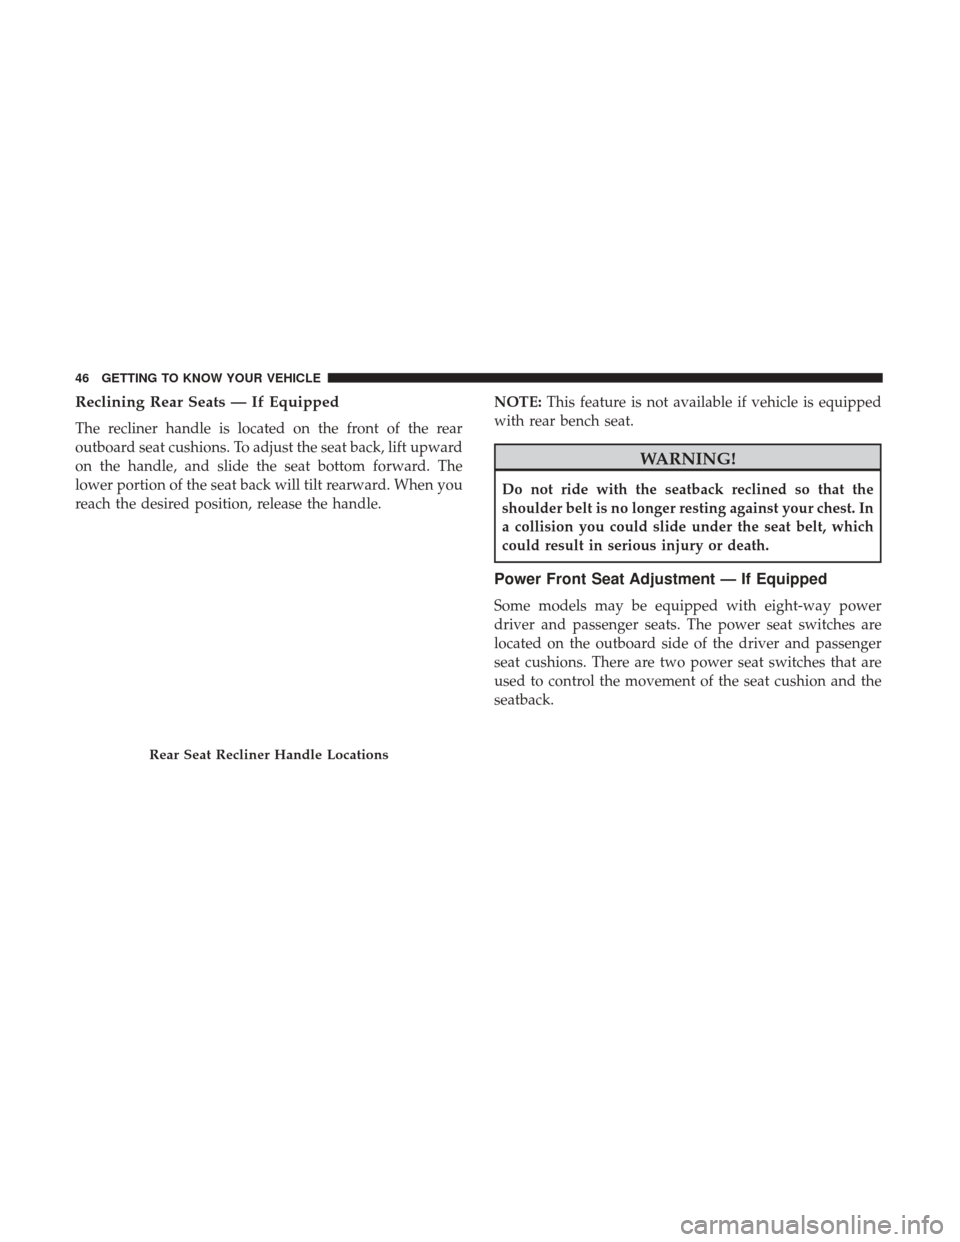
Reclining Rear Seats — If Equipped
The recliner handle is located on the front of the rear
outboard seat cushions. To adjust the seat back, lift upward
on the handle, and slide the seat bottom forward. The
lower portion of the seat back will tilt rearward. When you
reach the desired position, release the handle.NOTE:
This feature is not available if vehicle is equipped
with rear bench seat.
WARNING!
Do not ride with the seatback reclined so that the
shoulder belt is no longer resting against your chest. In
a collision you could slide under the seat belt, which
could result in serious injury or death.
Power Front Seat Adjustment — If Equipped
Some models may be equipped with eight-way power
driver and passenger seats. The power seat switches are
located on the outboard side of the driver and passenger
seat cushions. There are two power seat switches that are
used to control the movement of the seat cushion and the
seatback.
Rear Seat Recliner Handle Locations
46 GETTING TO KNOW YOUR VEHICLE
Page 49 of 698
Adjusting The Seat Forward Or Rearward
The seat can be adjusted both forward and rearward. Push
the seat switch forward or rearward. The seat will move in
the direction of the switch. Release the switch when the
desired position has been reached.
Adjusting The Seat Up Or Down
The height of the seats can be adjusted up or down. Pull
upward or push downward on the rear of seat switch, the
seat will move in the direction of the switch. Release the
switch when the desired position has been reached.
Tilting The Seat Up Or Down
The angle of the seat cushion can be adjusted in four
directions. Pull upward or push downward on the front or
rear of the seat switch, the front or rear of the seat cushion
will move in the direction of the switch. Release the switch
when the desired position is reached.
Reclining The Seatback
The angle of the seatback can be adjusted forward or
rearward. Push the seatback switch forward or rearward, the
seat will move in the direction of the switch. Release the
switch when the desired position is reached.
WARNING!
•Adjusting a seat while driving may be dangerous.
Moving a seat while driving could result in loss of
control which could cause a collision and serious
injury or death.
(Continued)
Power Seat Switches
1 — Power Seat Switch
2 — Power Seatback Switch
3
GETTING TO KNOW YOUR VEHICLE 47
Page 50 of 698
WARNING!(Continued)
•Seats should be adjusted before fastening the seat
belts and while the vehicle is parked. Serious injury
or death could result from a poorly adjusted seat belt.
• Do not ride with the seatback reclined so that the
shoulder belt is no longer resting against your chest.
In a collision you could slide under the seat belt,
which could result in serious injury or death.
CAUTION!
Do not place any article under a power seat or impede
its ability to move as it may cause damage to the seat
controls. Seat travel may become limited if movement
is stopped by an obstruction in the seat’s path.
Power Lumbar — If Equipped
Vehicles equipped with power driver or passenger seats
may be also be equipped with power lumbar. The power
lumbar switch is located on the outboard side of the power
seat. Push the switch forward to increase the lumbar
support. Push the switch rearward to decrease the lumbar
support. Pushing the switch upward or downward will
raise or lower the position of the support.
Power Lumbar Switch
48 GETTING TO KNOW YOUR VEHICLE