starting Ram 1500 2020 User Guide
[x] Cancel search | Manufacturer: RAM, Model Year: 2020, Model line: 1500, Model: Ram 1500 2020Pages: 674, PDF Size: 32.69 MB
Page 103 of 674

GETTING TO KNOW YOUR VEHICLE 101
5. Push and hold the close switch again within five secondsto begin the teaching process. The sunroof will complete
one full cycle and return to the fully closed position.
NOTE:
If the close switch is released anytime during the teach cycle,
the procedure will need to be repeated starting from the first
step.
6. Once the sunroof has stopped in the fully closed position, release the close switch. The sunroof is now reset and
ready to use.Dual Pane Power Sunroof — If Equipped
The power sunroof switches are located on the overhead
console between the courtesy/reading lights.
Power Sunroof Switches
1 — Opening/Closing Sunroof
2 — Venting Sunroof
3 — Opening/Closing Sunshade
2
2020_DT_1500_OM_US.book Page 101
Page 111 of 674
GETTING TO KNOW YOUR VEHICLE 109
NOTE:
• When the swing doors are open, the maximum load placedon a door cannot exceed 180 lbs (82 kg).
• Pull back on the swing doors firmly after closing to ensure they are securely latched.GARAGE DOOR OPENER — IF EQUIPPED
HomeLink® replaces up to three hand-held transmitters that
operate devices such as garage door openers, motorized
gates, lighting or home security systems. The HomeLink®
unit is powered by your vehicles 12 Volt battery.
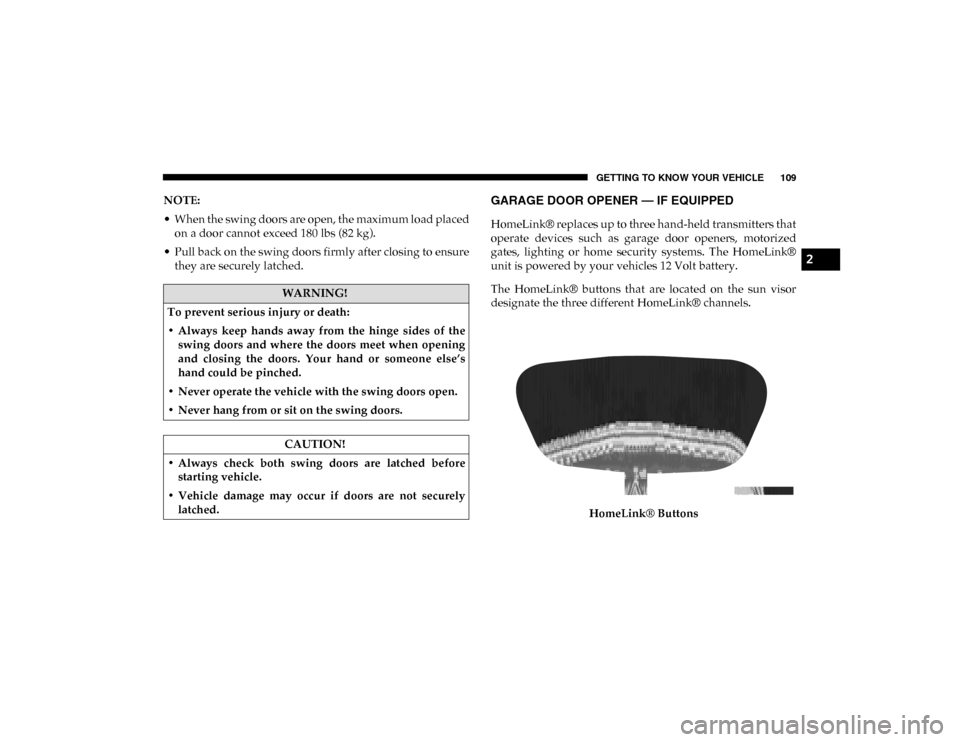
The HomeLink® buttons that are located on the sun visor
designate the three different HomeLink® channels.
HomeLink® Buttons
WARNING!
To prevent serious injury or death:
• Always keep hands away from the hinge sides of the swing doors and where the doors meet when opening
and closing the doors. Your hand or someone else’s
hand could be pinched.
• Never operate the vehicle with the swing doors open.
• Never hang from or sit on the swing doors.
CAUTION!
• Always check both swing doors are latched before starting vehicle.
• Vehicle damage may occur if doors are not securely latched.
2
2020_DT_1500_OM_US.book Page 109
Page 132 of 674
130 GETTING TO KNOW YOUR VEHICLE
When the vehicle is turned off, be sure to unplug any equip-
ment as to not drain the battery of the vehicle. All accessories
connected to the outlet(s) should be removed or turned off
when the vehicle is not in use to protect the battery against
discharge.
WARNING!
To avoid serious injury or death:
• Only devices designed for use in this type of outlet should be inserted into any 12 Volt outlet.
• Do not touch with wet hands.
• Close the lid when not in use and while driving the vehicle.
• If this outlet is mishandled, it may cause an electric shock and failure.
CAUTION!
• Many accessories that can be plugged in draw power from the vehicle's battery, even when not in use (i.e.,
cellular phones, etc.). Eventually, if plugged in long
enough, the vehicle's battery will discharge sufficiently
to degrade battery life and/or prevent the engine from
starting.
• Accessories that draw higher power (i.e., coolers, vacuum cleaners, lights, etc.), will discharge the battery
even more quickly. Only use these intermittently and
with greater caution.
• After the use of high power draw accessories, or long periods of the vehicle not being started (with accesso -
ries still plugged in), the vehicle must be driven a suffi -
cient length of time to allow the generator to recharge
the vehicle's battery.
2020_DT_1500_OM_US.book Page 130
Page 136 of 674

134 GETTING TO KNOW YOUR VEHICLE
Wireless Charging Pad — If Equipped
Wireless Charging PadYour vehicle may be equipped with a 15W 3A Qi wireless
charging pad located inside of the center console just below
the CD player (if equipped). This charging pad is designed to
wirelessly charge your Qi enabled mobile phone. Qi is a stan
-
dard that uses magnetic induction to transfer power to your
mobile device.
Your mobile phone must be designed for Qi wireless
charging. If the phone is not equipped with Qi wireless
charging functionality, an aftermarket sleeve or a specialized
back plate can be purchased from your mobile phone
provider or an local electronics retailer. Please see your
phone’s owner’s manual for further information.
The wireless charging pad is equipped with an anti-slip mat,
an adjustable cradle to hold your mobile phone in place and
an LED indicator light.
WARNING!
To avoid serious injury or death:
• Do not insert any objects into the receptacles.
• Do not touch with wet hands.
• Close the lid when not in use.
• If this outlet is mishandled, it may cause an electric shock and failure.
CAUTION!
The key fob should not be placed on the charging pad or
within 15 cm (150 mm) of it. Doing so can cause excessive
heat buildup and damage to the fob. Placing the fob in
close proximity of the charging pad blocks the fob from
being detected by the vehicle and prevents the vehicle
from starting.
2020_DT_1500_OM_US.book Page 134
Page 172 of 674
170 GETTING TO KNOW YOUR INSTRUMENT PANEL
Driver Assist — If Equipped
The Driver Assist menu displays the status of the ACC and
LaneSense systems.
Push and release the up or down arrow button until the
Driver Assist menu is displayed in the instrument cluster
display.
Adaptive Cruise Control (ACC) Feature
The instrument cluster display displays the current Adap -
tive Cruise Control (ACC) system settings. The information
displayed depends on ACC system status.
Push the Adaptive Cruise Control (ACC) on/off button
(located on the steering wheel) until one of the following
displays in the instrument cluster display:
Adaptive Cruise Control Off
When ACC is deactivated, the display will read “Adaptive
Cruise Control Off.”
Adaptive Cruise Control Ready
When ACC is activated but the vehicle speed setting has not
been selected, the display will read “Adaptive Cruise
Control Ready.” Push the SET + or the SET- button (located on the steering
wheel) and the following will display in the instrument
cluster display:
ACC SET
When ACC is set, the set speed will display in the instrument
cluster.
The ACC screen may display once again if any ACC activity
occurs, which may include any of the following:
• Distance Setting Change
• System Cancel
• Driver Override
• System Off
• ACC Proximity Warning
• ACC Unavailable Warning
For further information, refer to “Adaptive Cruise Control
(ACC) — If Equipped” in “Starting And Operating.”
2020_DT_1500_OM_US.book Page 170
Page 173 of 674
GETTING TO KNOW YOUR INSTRUMENT PANEL 171
LaneSense — If Equipped
The instrument cluster display displays the current Lane-
Sense system settings. The information displayed depends
on LaneSense system status and the conditions that need to
be met. For further information, refer to “LaneSense — If
Equipped” in “Starting And Operating.”
Fuel Economy
Push and release the up or down arrow button until the Fuel
Economy menu item is highlighted in the instrument cluster
display. Push and hold the OK button to reset Average Fuel
Economy.
• Current Fuel Economy Gauge
• Average Fuel Economy Value
• Range To Empty
Trip
Push and release the up or down arrow button until the Trip
menu item is highlighted in the instrument cluster display.
Push and release the right or left arrow buttons to enter the
submenus of Trip A and Trip B. The Trip A or Trip B infor -
mation will display the following: • Distance
• Average Fuel Economy
• Elapsed Time
Push and hold
OK button to reset all information.
Stop/Start — If Equipped
Push and release the up or down arrow button until the
Stop/Start icon/title is highlighted in the instrument cluster
display. The screen will display the Stop/Start status.
Trailer Tow
Push and release the up or down arrow button until the
Trailer Tow menu item is highlighted in the instrument
cluster display. Push and release the right or left arrow
buttons to cycle through the following trailer trip informa -
tion:
• Trip (trailer specific) Distance: Push and hold the OK
button to reset the distance.
• Trailer Brake • Output
• Type
• Gain
3
2020_DT_1500_OM_US.book Page 171
Page 184 of 674
182 GETTING TO KNOW YOUR INSTRUMENT PANEL
NOTE:
This light may turn on if the accelerator and brake pedals are
pressed at the same time.
If the light continues to flash when the vehicle is running,
immediate service is required and you may experience
reduced performance, an elevated/rough idle, or engine
stall and your vehicle may require towing. The light will
come on when the ignition is placed in the ON/RUN or
ACC/ON/RUN position and remain on briefly as a bulb
check. If the light does not come on during starting, have the
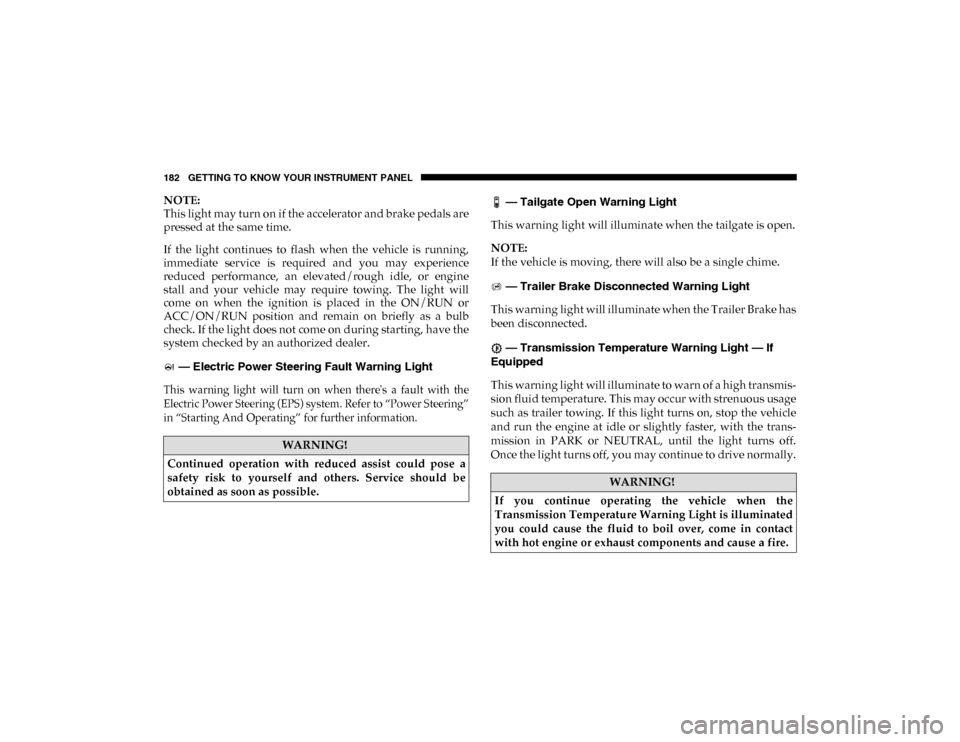
system checked by an authorized dealer. — Electric Power Steering Fault Warning Light
This warning light will turn on when there's a fault with the
Electric Power Steering (EPS) system. Refer to “Power Steering”
in “Starting And Operating” for further information.
— Tailgate Open Warning Light
This warning light will illuminate when the tailgate is open.
NOTE:
If the vehicle is moving, there will also be a single chime.
— Trailer Brake Disconnected Warning Light
This warning light will illuminate when the Trailer Brake has
been disconnected.
— Transmission Temperature Warning Light — If
Equipped
This warning light will illuminate to warn of a high transmis -
sion fluid temperature. This may occur with strenuous usage
such as trailer towing. If this light turns on, stop the vehicle
and run the engine at idle or slightly faster, with the trans -
mission in PARK or NEUTRAL, until the light turns off.
Once the light turns off, you may continue to drive normally.
WARNING!
Continued operation with reduced assist could pose a
safety risk to yourself and others. Service should be
obtained as soon as possible.
WARNING!
If you continue operating the vehicle when the
Transmission Temperature Warning Light is illuminated
you could cause the fluid to boil over, come in contact
with hot engine or exhaust components and cause a fire.
2020_DT_1500_OM_US.book Page 182
Page 185 of 674
GETTING TO KNOW YOUR INSTRUMENT PANEL 183
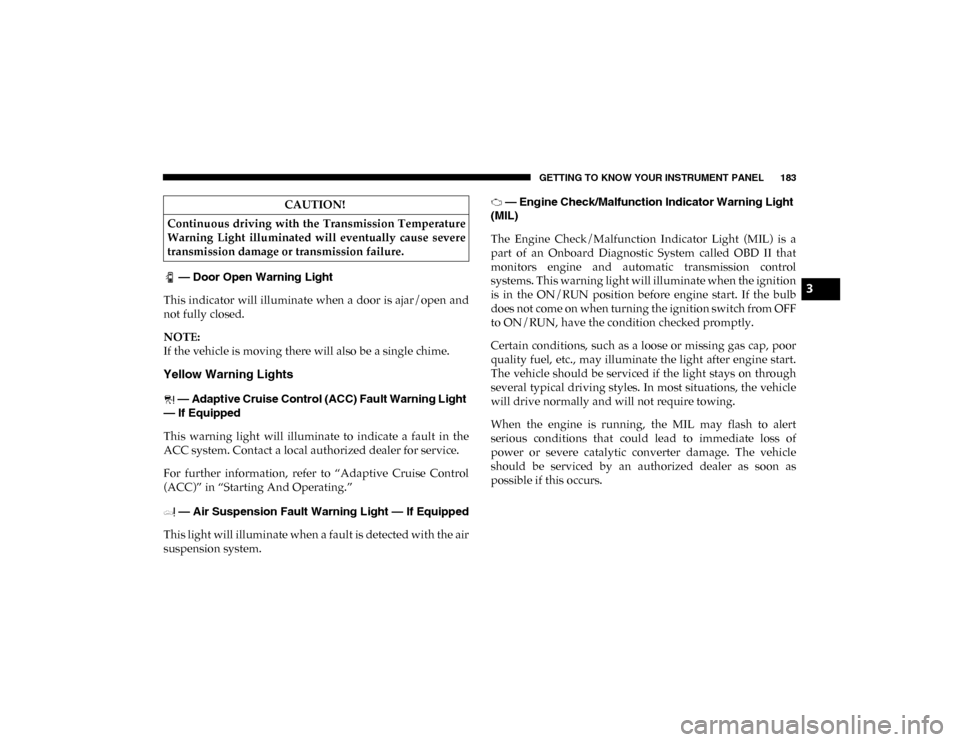
— Door Open Warning Light
This indicator will illuminate when a door is ajar/open and
not fully closed.
NOTE:
If the vehicle is moving there will also be a single chime.
Yellow Warning Lights
— Adaptive Cruise Control (ACC) Fault Warning Light
— If Equipped
This warning light will illuminate to indicate a fault in the
ACC system. Contact a local authorized dealer for service.
For further information, refer to “Adaptive Cruise Control
(ACC)” in “Starting And Operating.”
— Air Suspension Fault Warning Light — If Equipped
This light will illuminate when a fault is detected with the air
suspension system. — Engine Check/Malfunction Indicator Warning Light
(MIL)
The Engine Check/Malfunction Indicator Light (MIL) is a
part of an Onboard Diagnostic System called OBD II that
monitors engine and automatic transmission control
systems. This warning light will illuminate when the ignition
is in the ON/RUN position before engine start. If the bulb
does not come on when turning the ignition switch from OFF
to ON/RUN, have the condition checked promptly.
Certain conditions, such as a loose or missing gas cap, poor
quality fuel, etc., may illuminate the light after engine start.
The vehicle should be serviced if the light stays on through
several typical driving styles. In most situations, the vehicle
will drive normally and will not require towing.
When the engine is running, the MIL may flash to alert
serious conditions that could lead to immediate loss of
power or severe catalytic converter damage. The vehicle
should be serviced by an authorized dealer as soon as
possible if this occurs.
CAUTION!
Continuous driving with the Transmission Temperature
Warning Light illuminated will eventually cause severe
transmission damage or transmission failure.
3
2020_DT_1500_OM_US.book Page 183
Page 187 of 674
GETTING TO KNOW YOUR INSTRUMENT PANEL 185
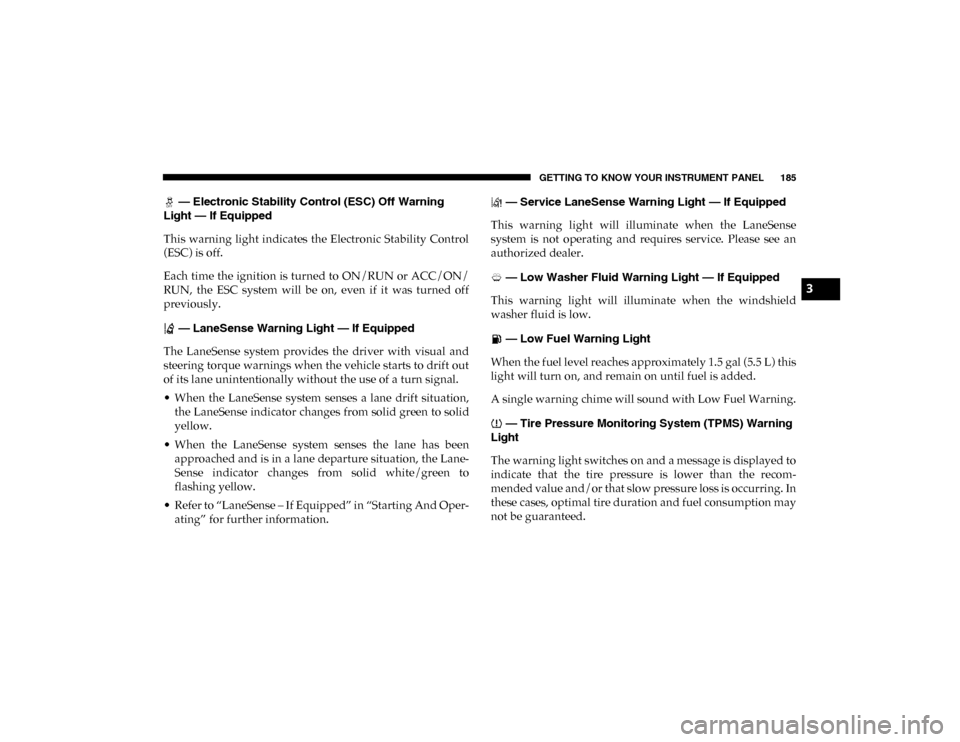
— Electronic Stability Control (ESC) Off Warning
Light — If Equipped
This warning light indicates the Electronic Stability Control
(ESC) is off.
Each time the ignition is turned to ON/RUN or ACC/ON/
RUN, the ESC system will be on, even if it was turned off
previously.
— LaneSense Warning Light — If Equipped
The LaneSense system provides the driver with visual and
steering torque warnings when the vehicle starts to drift out
of its lane unintentionally without the use of a turn signal.
• When the LaneSense system senses a lane drift situation, the LaneSense indicator changes from solid green to solid
yellow.
• When the LaneSense system senses the lane has been approached and is in a lane departure situation, the Lane -
Sense indicator changes from solid white/green to
flashing yellow.
• Refer to “LaneSense – If Equipped” in “Starting And Oper -
ating” for further information. — Service LaneSense Warning Light — If Equipped
This warning light will illuminate when the LaneSense
system is not operating and requires service. Please see an
authorized dealer.
— Low Washer Fluid Warning Light — If Equipped
This warning light will illuminate when the windshield
washer fluid is low.
— Low Fuel Warning Light
When the fuel level reaches approximately 1.5 gal (5.5 L) this
light will turn on, and remain on until fuel is added.
A single warning chime will sound with Low Fuel Warning.
— Tire Pressure Monitoring System (TPMS) Warning
Light
The warning light switches on and a message is displayed to
indicate that the tire pressure is lower than the recom -
mended value and/or that slow pressure loss is occurring. In
these cases, optimal tire duration and fuel consumption may
not be guaranteed.
3
2020_DT_1500_OM_US.book Page 185
Page 191 of 674
GETTING TO KNOW YOUR INSTRUMENT PANEL 189
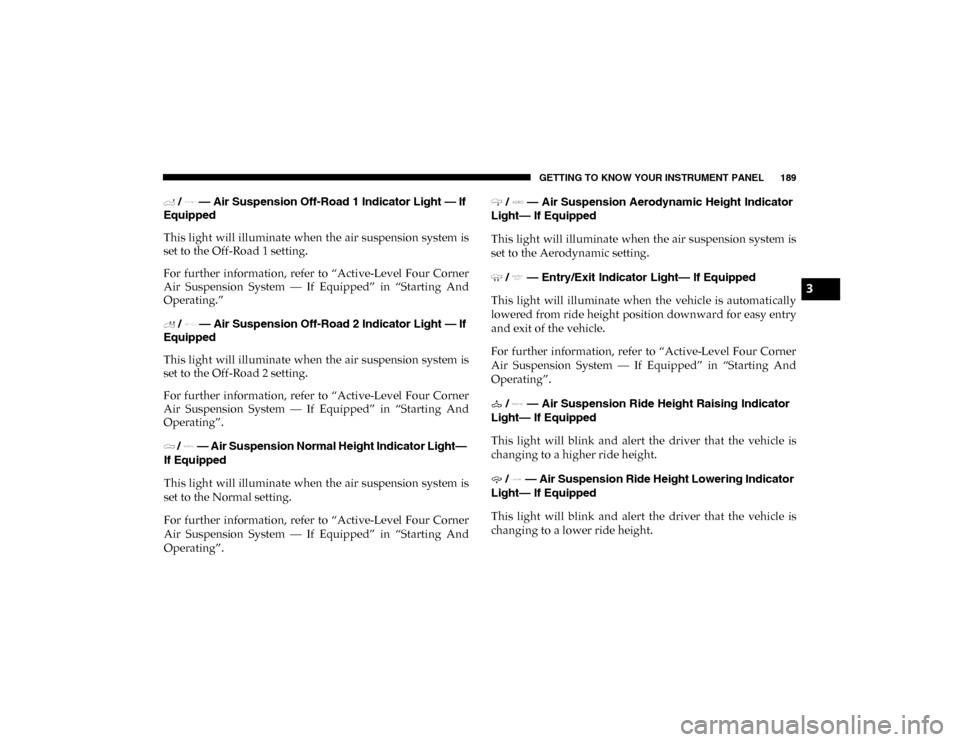
/ — Air Suspension Off-Road 1 Indicator Light — If
Equipped
This light will illuminate when the air suspension system is
set to the Off-Road 1 setting.
For further information, refer to “Active-Level Four Corner
Air Suspension System — If Equipped” in “Starting And
Operating.”
/ — Air Suspension Off-Road 2 Indicator Light — If
Equipped
This light will illuminate when the air suspension system is
set to the Off-Road 2 setting.
For further information, refer to “Active-Level Four Corner
Air Suspension System — If Equipped” in “Starting And
Operating”.
/ — Air Suspension Normal Height Indicator Light—
If Equipped
This light will illuminate when the air suspension system is
set to the Normal setting.
For further information, refer to “Active-Level Four Corner
Air Suspension System — If Equipped” in “Starting And
Operating”. / — Air Suspension Aerodynamic Height Indicator
Light— If Equipped
This light will illuminate when the air suspension system is
set to the Aerodynamic setting.
/ — Entry/Exit Indicator Light— If Equipped
This light will illuminate when the vehicle is automatically
lowered from ride height position downward for easy entry
and exit of the vehicle.
For further information, refer to “Active-Level Four Corner
Air Suspension System — If Equipped” in “Starting And
Operating”.
/ — Air Suspension Ride Height Raising Indicator
Light— If Equipped
This light will blink and alert the driver that the vehicle is
changing to a higher ride height.
/ — Air Suspension Ride Height Lowering Indicator
Light— If Equipped
This light will blink and alert the driver that the vehicle is
changing to a lower ride height.
3
2020_DT_1500_OM_US.book Page 189