Display Ram 1500 2020 Owner's Guide
[x] Cancel search | Manufacturer: RAM, Model Year: 2020, Model line: 1500, Model: Ram 1500 2020Pages: 674, PDF Size: 32.69 MB
Page 180 of 674
178 GETTING TO KNOW YOUR INSTRUMENT PANEL
What to do when an electrical load reduction action
message is present (“Battery Saver On” or “Battery Saver
Mode”)
During a trip:
• Reduce power to unnecessary loads if possible:• Turn off redundant lights (interior or exterior).
• Check what may be plugged in to power outlets +12 Volts,115V AC, USB ports.
• Check HVAC settings (blower, temperature).
• Check the audio settings (volume).
After a trip:
• Check if any aftermarket equipment was installed (addi -
tional lights, upfitter electrical accessories, audio systems,
alarms) and review specifications if any (load and Ignition
Off Draw currents).
• Evaluate the latest driving cycles (distance, driving time and parking time).
• The vehicle should have service performed if the message is still present during consecutive trips and the evaluation
of the vehicle and driving pattern did not help to identify
the cause.WARNING LIGHTS AND MESSAGES
The warning/indicator lights will illuminate in the instru-
ment panel together with a dedicated message and/or
acoustic signal when applicable. These indications are indic -
ative and precautionary and as such must not be considered
as exhaustive and/or alternative to the information
contained in the Owner’s Manual, which you are advised to
read carefully in all cases. Always refer to the information in
this chapter in the event of a failure indication. All active tell -
tales will display first if applicable. The system check menu
may appear different based upon equipment options and
current vehicle status. Some telltales are optional and may
not appear.
2020_DT_1500_OM_US.book Page 178
Page 187 of 674
GETTING TO KNOW YOUR INSTRUMENT PANEL 185
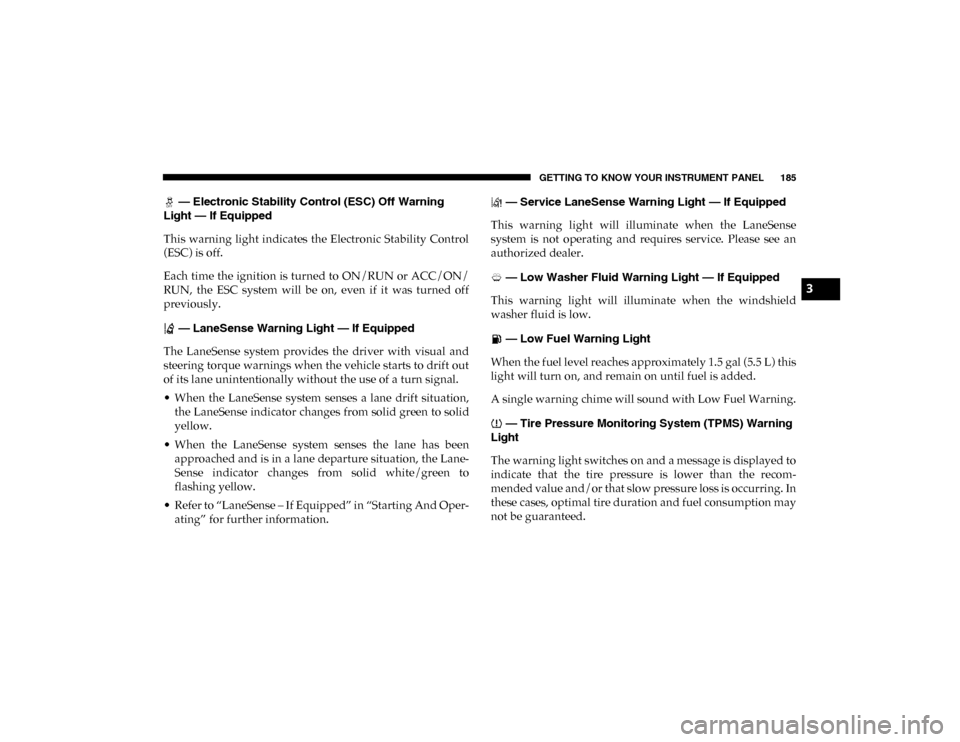
— Electronic Stability Control (ESC) Off Warning
Light — If Equipped
This warning light indicates the Electronic Stability Control
(ESC) is off.
Each time the ignition is turned to ON/RUN or ACC/ON/
RUN, the ESC system will be on, even if it was turned off
previously.
— LaneSense Warning Light — If Equipped
The LaneSense system provides the driver with visual and
steering torque warnings when the vehicle starts to drift out
of its lane unintentionally without the use of a turn signal.
• When the LaneSense system senses a lane drift situation, the LaneSense indicator changes from solid green to solid
yellow.
• When the LaneSense system senses the lane has been approached and is in a lane departure situation, the Lane -
Sense indicator changes from solid white/green to
flashing yellow.
• Refer to “LaneSense – If Equipped” in “Starting And Oper -
ating” for further information. — Service LaneSense Warning Light — If Equipped
This warning light will illuminate when the LaneSense
system is not operating and requires service. Please see an
authorized dealer.
— Low Washer Fluid Warning Light — If Equipped
This warning light will illuminate when the windshield
washer fluid is low.
— Low Fuel Warning Light
When the fuel level reaches approximately 1.5 gal (5.5 L) this
light will turn on, and remain on until fuel is added.
A single warning chime will sound with Low Fuel Warning.
— Tire Pressure Monitoring System (TPMS) Warning
Light
The warning light switches on and a message is displayed to
indicate that the tire pressure is lower than the recom -
mended value and/or that slow pressure loss is occurring. In
these cases, optimal tire duration and fuel consumption may
not be guaranteed.
3
2020_DT_1500_OM_US.book Page 185
Page 188 of 674
186 GETTING TO KNOW YOUR INSTRUMENT PANEL
Should one or more tires be in the condition mentioned
above, the display will show the indications corresponding
to each tire.
Each tire, including the spare (if provided), should be
checked monthly when cold and inflated to the inflation
pressure recommended by the vehicle manufacturer on the
vehicle placard or tire inflation pressure label. (If your
vehicle has tires of a different size than the size indicated on
the vehicle placard or tire inflation pressure label, you
should determine the proper tire inflation pressure for those
tires.)
As an added safety feature, your vehicle has been equipped
with a Tire Pressure Monitoring System (TPMS) that illumi-
nates a low tire pressure telltale when one or more of your
tires is significantly under-inflated. Accordingly, when the
low tire pressure telltale illuminates, you should stop and check your tires as soon as possible, and inflate them to the
proper pressure. Driving on a significantly under-inflated
tire causes the tire to overheat and can lead to tire failure.
Under-inflation also reduces fuel efficiency and tire tread
life, and may affect the vehicle’s handling and stopping
ability.
Please note that the TPMS is not a substitute for proper tire
maintenance, and it is the driver’s responsibility to maintain
correct tire pressure, even if under-inflation has not reached
the level to trigger illumination of the TPMS low tire pres
-
sure telltale.
Your vehicle has also been equipped with a TPMS malfunc -
tion indicator to indicate when the system is not operating
properly. The TPMS malfunction indicator is combined with
the low tire pressure telltale. When the system detects a
malfunction, the telltale will flash for approximately one
minute and then remain continuously illuminated. This
sequence will continue upon subsequent vehicle start-ups as
long as the malfunction exists. When the malfunction indi -
cator is illuminated, the system may not be able to detect or
signal low tire pressure as intended. TPMS malfunctions
may occur for a variety of reasons, including the installation
of replacement or alternate tires or wheels on the vehicle that
prevent the TPMS from functioning properly. Always check
the TPMS malfunction telltale after replacing one or more
CAUTION!
Do not continue driving with one or more flat tires as
handling may be compromised. Stop the vehicle,
avoiding sharp braking and steering. If a tire puncture
occurs, repair immediately using the dedicated tire
repair kit and contact an authorized dealer as soon as
possible.
2020_DT_1500_OM_US.book Page 186
Page 193 of 674

GETTING TO KNOW YOUR INSTRUMENT PANEL 191
Optimal conditions for completing the process are achieved by trav-
eling at 37 mph (60 km/h) with engine speed above 2,000 rpm.
When this symbol switches on, it does not indicate a vehicle
failure and thus it should not be taken to a workshop. On
some versions, together with the symbol switching on, the
display shows a dedicated message.
— Low Diesel Exhaust Fluid (DEF) Indicator Light — If
Equipped
The Low Diesel Exhaust Fluid (DEF) Indicator will illumi -
nate if the vehicle is low on Diesel Exhaust Fluid (DEF). Refer
to “Starting And Operating” for further information.
— Low Diesel Exhaust Emissions Additive (UREA)
Indicator Light — If Equipped
The Low Diesel Exhaust Emissions Additive (UREA) indi -
cator light illuminates when the UREA level is low.
Fill the UREA tank as soon as possible with at least 1.3 gallons
(5 liters) of UREA.
If filling the tank is done with a remaining range of UREA in
the tank equal to zero, you may need to wait two minutes
before starting the vehicle.
Refer to “Starting And Operating” for further information. — Water In Fuel Indicator Light — If Equipped
The “Water In Fuel Indicator Light” will illuminate when
there is water detected in the fuel filter. If this light remains
on, DO NOT start the vehicle before you drain the water
from the fuel filter to prevent engine damage, and please see
an authorized dealer.
— Wait To Start Light — If Equipped
This indicator light will illuminate for approximately two
seconds when the ignition is turned to the RUN position. Its
duration may be longer based on colder operating condi -
tions. Vehicle will not initiate start until telltale is no longer
displayed
CAUTION!
The presence of water in the fuel system circuit may
cause severe damage to the injection system and
irregular engine operation. If the indicator light is
illuminated, contact an authorized dealer as soon as
possible to bleed the system. If the above indications
come on immediately after refuelling, water has
probably been poured into the tank: switch the engine
off immediately and contact an authorized dealer.
3
2020_DT_1500_OM_US.book Page 191
Page 194 of 674
192 GETTING TO KNOW YOUR INSTRUMENT PANEL
Refer to “Starting The Engine” in “Starting And Operating”
for further information.
NOTE:
The “Wait To Start” telltale may not illuminate if the intake
manifold temperature is warm enough.
Green Indicator Lights
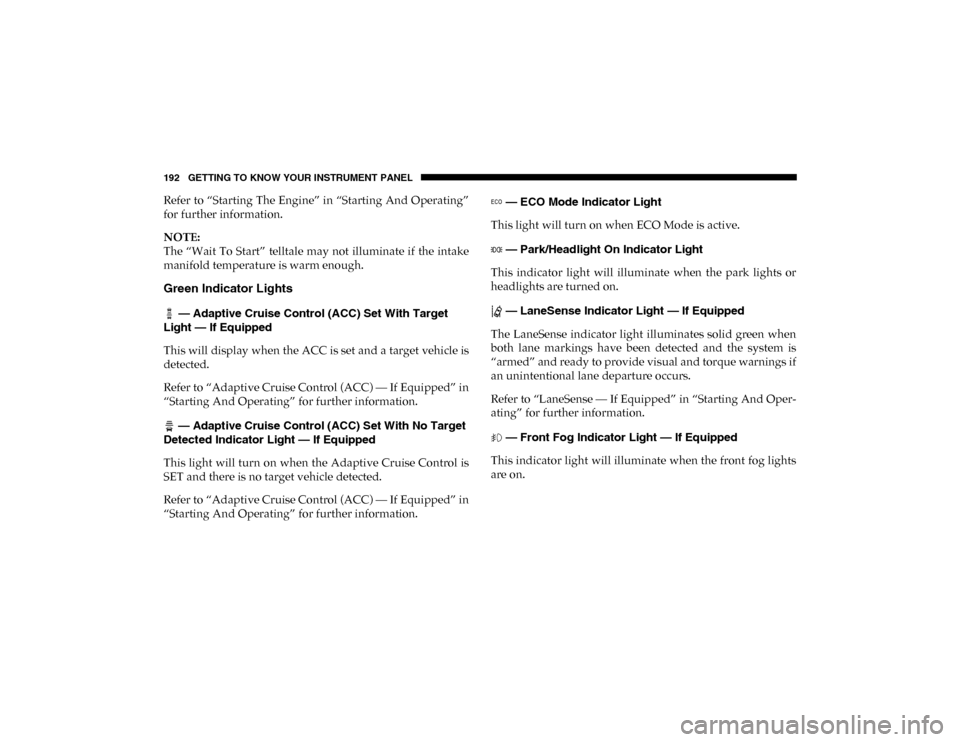
— Adaptive Cruise Control (ACC) Set With Target
Light — If Equipped
This will display when the ACC is set and a target vehicle is
detected.
Refer to “Adaptive Cruise Control (ACC) — If Equipped” in
“Starting And Operating” for further information.
— Adaptive Cruise Control (ACC) Set With No Target
Detected Indicator Light — If Equipped
This light will turn on when the Adaptive Cruise Control is
SET and there is no target vehicle detected.
Refer to “Adaptive Cruise Control (ACC) — If Equipped” in
“Starting And Operating” for further information. — ECO Mode Indicator Light
This light will turn on when ECO Mode is active.
— Park/Headlight On Indicator Light
This indicator light will illuminate when the park lights or
headlights are turned on.
— LaneSense Indicator Light — If Equipped
The LaneSense indicator light illuminates solid green when
both lane markings have been detected and the system is
“armed” and ready to provide visual and torque warnings if
an unintentional lane departure occurs.
Refer to “LaneSense — If Equipped” in “Starting And Oper -
ating” for further information.
— Front Fog Indicator Light — If Equipped
This indicator light will illuminate when the front fog lights
are on.
2020_DT_1500_OM_US.book Page 192
Page 195 of 674
GETTING TO KNOW YOUR INSTRUMENT PANEL 193
— Turn Signal Indicator Lights
When the left or right turn signal is activated, the turn signal
indicator will flash independently and the corresponding
exterior turn signal lamps will flash. Turn signals can be acti -
vated when the multifunction lever is moved down (left) or
up (right).
NOTE:
• A continuous chime will sound if the vehicle is driven more than 1 mile (1.6 km) with either turn signal on.
• Check for an inoperative outside light bulb if either indi -
cator flashes at a rapid rate.
• If equipped with fog lamps, the fog lamp on the side of the activated turn signal will also illuminate to provide addi -
tional light when turning.
— Cruise Control SET Indicator Light — If Equipped
With 7 Inch Instrument Cluster Display
This light will turn on when the speed control is set.
Refer to “Speed Control” in “Starting And Operating” for
further information. — Stop/Start Active Indicator Light — If Equipped
This indicator light will illuminate when the Stop/Start func -
tion is in “Autostop” mode.
— 4WD AUTO Indicator Light — If Equipped
This light alerts the driver that the vehicle is in the
four-wheel drive auto mode, and the front axle is engaged,
but the vehicle's power is sent to the rear wheels. Four-wheel
drive will be automatically engaged when the vehicle senses
a loss of traction.
For further information on four-wheel drive operation and
proper use, refer to “Four-Wheel Drive Operation — If
Equipped” in “Starting And Operating.”
White Indicator Lights
— Adaptive Cruise Control (ACC) Ready Light — If
Equipped
This light will illuminate when the vehicle equipped with
Adaptive Cruise Control (ACC) has been turned on but not
set.
Refer to “Adaptive Cruise Control (ACC) — If Equipped” in
“Starting And Operating” for further information.
3
2020_DT_1500_OM_US.book Page 193
Page 196 of 674
194 GETTING TO KNOW YOUR INSTRUMENT PANEL
— Cruise Control Ready Indicator
This indicator light will illuminate when the cruise control is
ready, but not set. Refer to “Speed Control” in “Starting And
Operating” for further information.
— Speed Control SET Indicator Light — If Equipped
With 3.5 Inch Instrument Cluster Display
This light will turn on when the speed control is set.
Refer to “Speed Control” in “Starting And Operating” for
further information.
— Hill Descent Control (HDC) Indicator Light — If
Equipped
This indicator shows when the Hill Descent Control (HDC)
feature is turned on. The lamp will be on solid when HDC is
armed. HDC can only be armed when the transfer case is in
the “4WD LOW” position and the vehicle speed is less then
20 mph (32 km/h). If these conditions are not met while
attempting to use the HDC feature, the HDC indicator light
will flash on/off. — LaneSense Indicator Light — If Equipped
When the LaneSense system is ON, but not armed, the Lane -
Sense indicator light illuminates solid white. This occurs
when only left, right, or neither lane line has been detected.
If a single lane line is detected, the system is ready to provide
only visual warnings if an unintentional lane departure
occurs on the detected lane line.
Refer to “LaneSense — If Equipped” in “Starting And Oper -
ating” for further information.
Blue Indicator Lights
— High Beam Indicator Light
This indicator light will illuminate to indicate that the high
beam headlights are on. With the low beams activated, push
the multifunction lever forward (toward the front of the
vehicle) to turn on the high beams. Pull the multifunction
lever rearward (toward the rear of the vehicle) to turn off the
high beams. If the high beams are off, pull the lever toward
you for a temporary high beam on, “flash to pass” scenario.
2020_DT_1500_OM_US.book Page 194
Page 206 of 674

204 SAFETY
(Continued)
Indicator Light” will illuminate, and the “ESC OFF” message
will display in the instrument cluster. To turn ESC ON again,
momentarily push the “ESC Off” switch.
NOTE:
System may switch from ESC “Full Off” to “Partial Off”
mode when vehicle exceeds a predetermined speed. When
the vehicle speed slows below the predetermined speed the
system will return to ESC “Full Off”.
ESC modes may also be affected by drive modes if so
equipped.ESC Activation/Malfunction Indicator Light And ESC
OFF Indicator Light
The “ESC Activation/Malfunction Indicator Light”
in the instrument cluster will come on when the igni -
tion is placed in the ON/RUN mode. It should go
out with the engine running. If the “ESC Activation/
Malfunction Indicator Light” comes on continuously with
the engine running, a malfunction has been detected in the
ESC system. If this light remains on after several ignition
cycles, and the vehicle has been driven several miles (kilome -
ters) at speeds greater than 30 mph (48 km/h), see an autho -
rized dealer as soon as possible to have the problem
diagnosed and corrected.
WARNING!
• In the ESC “Full Off” mode, the engine torque reduc -
tion and stability features are disabled. Therefore,
enhanced vehicle stability offered by the ESC system is
unavailable. In an emergency evasive maneuver, the
ESC system will not engage to assist in maintaining
stability. ESC “Full Off” mode is intended for
off-highway or off-road use only.
• The Electronic Stability Control (ESC) cannot prevent the natural laws of physics from acting on the vehicle,
nor can it increase the traction afforded by prevailing
road conditions. ESC cannot prevent all accidents,
including those resulting from excessive speed in
turns, driving on very slippery surfaces, or hydro -
planing. ESC also cannot prevent collisions.
WARNING! (Continued)
2020_DT_1500_OM_US.book Page 204
Page 211 of 674

SAFETY 209
Towing With HSA
Hill Start Assist (HSA) will also provide assistance to miti-
gate roll back while towing a trailer. Disabling And Enabling HSA
This feature can be turned on or turned off. To change the
current setting, proceed as follows:
• If disabling HSA using your instrument cluster display,
refer to “Instrument Cluster Display” in “Getting To Know
Your Instrument Panel” for further information.
• If disabling HSA using Uconnect Settings, refer to “Ucon -
nect Settings” in “Multimedia” for further information.
For vehicles not equipped with an instrument cluster
display, perform the following steps:
1. Center the steering wheel (front wheels pointing straight forward).
2. Shift the transmission into PARK (P).
3. Apply the park brake.
4. Start the engine.
5. Rotate the steering wheel slightly more than one-half turn to the left.
WARNING!
• If you use a trailer brake controller with your trailer, the trailer brakes may be activated and deactivated with
the brake switch. If so, there may not be enough brake
pressure to hold both the vehicle and the trailer on a
hill when the brake pedal is released. In order to avoid
rolling down an incline while resuming acceleration,
manually activate the trailer brake or apply more
vehicle brake pressure prior to releasing the brake
pedal.
• HSA is not a parking brake. Always apply the parking brake fully when exiting your vehicle. Also, be certain
to place the transmission in PARK.
• Failure to follow these warnings can result in a colli -
sion or serious personal injury.
4
2020_DT_1500_OM_US.book Page 209
Page 221 of 674
SAFETY 219
The vehicle must be moving above 6 mph (10 km/h) to
activate the feature. Once the trailer has been detected, the
system will default to the maximum blind spot zone until
the length has been verified. You will see “Auto” in the
instrument panel cluster .
• Max Mode — When “Max Mode” is selected, the system
will default to the maximum blind spot zone regardless of
what size trailer is attached
NOTE:
Selected setting is stored when the ignition is cycled OFF. To
change this setting, it must be selected through the Uconnect
Settings. Refer to “Uconnect Settings” in “Multimedia” for
further information.
Trailer Length Detection
Once the trailer presence has been established. The trailer
length will be established (by making a 90 degree turn) and
then the trailer length category (example 10-20 ft (3 m to
6 m)) will be displayed. This can take up to 30 seconds after
completing the turn. NOTE:
During the same ignition cycle, if the vehicle is at a standstill
for a minimum of 90 seconds, a new “trailer detection
request” is enabled by the system once the vehicle resumes
motion.
Maximum length supported by the Trailer Merge Assist
feature is 39.5 ft (12 m). Trailer length is considered the
forward most portion of the trailer hitch to the rearward
most portion of the body, bumper, or ramp of the trailer.
Maximum width supported by the Trailer Merge Assist
feature is 8.5 ft (2.59 m). Trailer width is measured at the
widest portion of the trailer and may include wheels, tires,
finders, or rails.
NOTE:
Fifth wheel or gooseneck trailers are not supported by
Trailer Merge Assist.
4
2020_DT_1500_OM_US.book Page 219