Display Ram 1500 2020 User Guide
[x] Cancel search | Manufacturer: RAM, Model Year: 2020, Model line: 1500, Model: Ram 1500 2020Pages: 674, PDF Size: 32.69 MB
Page 51 of 674

GETTING TO KNOW YOUR VEHICLE 49
Linking And Unlinking The Remote Keyless Entry Key
Fob To Memory
Your key fob can be programmed to recall one of two
pre-programmed memory profiles by pushing the unlock
button on the key fob.
NOTE:
Before programming your key fob you must select the
“Personal Settings Linked to Key Fob” feature through the
Uconnect Settings. Refer to “Uconnect Settings” in “Multi-
media” for further information.
To program your key fob, perform the following:
1. Place the vehicle’s ignition in the OFF position.
2. Select a desired memory profile 1 or 2.
NOTE:
If a memory profile has not already been set, refer to
"Programming The Memory Feature" in this section for
instructions on how to set a memory profile.
3. Once the profile has been recalled, push and release the set (S) button on the memory switch. 4. Push and release button (1) or (2) accordingly. “Memory
Profile Set” (1 or 2) will display in the instrument cluster.
5. Push and release the lock button on the key fob within 10 seconds.
NOTE:
Your key fob can be unlinked to your memory settings by
pushing the set (S) button, and then within 10 seconds,
pushing the unlock button on the key fob.
Memory Position Recall
NOTE:
The vehicle speed must be lower than 5 mph (8 km/h) to
recall memory positions. If a recall is attempted when the
vehicle speed is greater than 5 mph (8 km/h), a message will
be displayed in the instrument cluster display.
Driver One Memory Position Recall
• To recall the memory settings for driver one using the memory buttons on the door panel, push memory button
(1).
• To recall the memory settings for driver one using the key fob, push the unlock button on the key fob linked to
memory position 1.
2
2020_DT_1500_OM_US.book Page 49
Page 60 of 674
58 GETTING TO KNOW YOUR VEHICLE
DRIVER ADJUSTABLE PEDALS — IF EQUIPPED
The adjustable pedals system is designed to allow a greater
range of driver comfort for steering wheel tilt and seat posi-
tion. This feature allows the brake and accelerator pedals to
move toward or away from the driver to provide improved
position with the steering wheel.
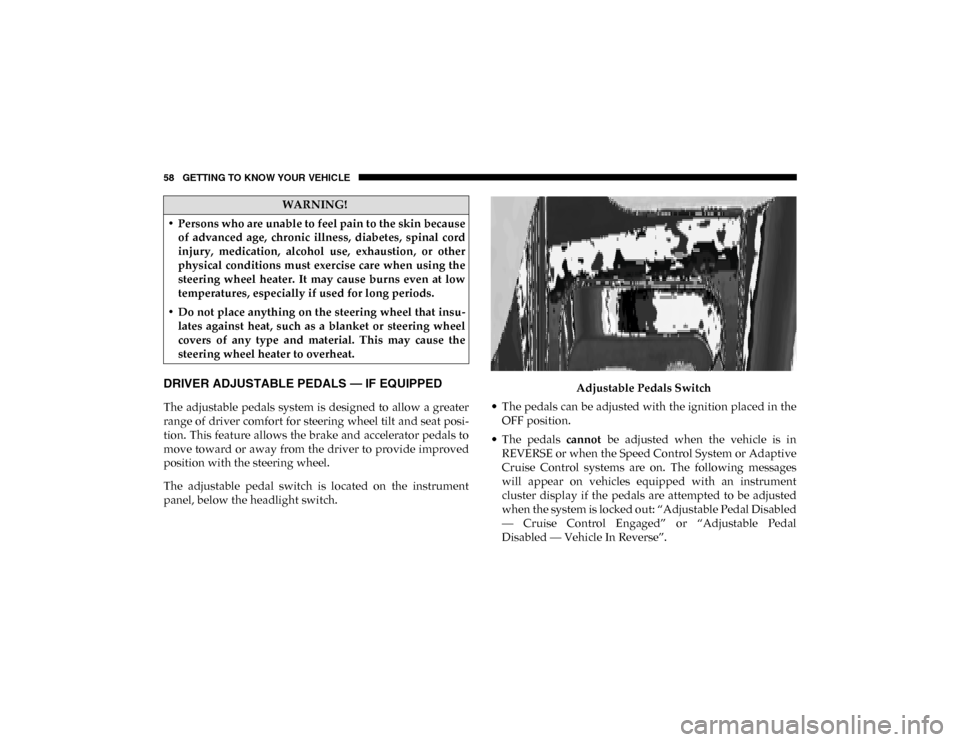
The adjustable pedal switch is located on the instrument
panel, below the headlight switch. Adjustable Pedals Switch
• The pedals can be adjusted with the ignition placed in the OFF position.
• The pedals cannot be adjusted when the vehicle is in
REVERSE or when the Speed Control System or Adaptive
Cruise Control systems are on. The following messages
will appear on vehicles equipped with an instrument
cluster display if the pedals are attempted to be adjusted
when the system is locked out: “Adjustable Pedal Disabled
— Cruise Control Engaged” or “Adjustable Pedal
Disabled — Vehicle In Reverse”.
WARNING!
• Persons who are unable to feel pain to the skin because of advanced age, chronic illness, diabetes, spinal cord
injury, medication, alcohol use, exhaustion, or other
physical conditions must exercise care when using the
steering wheel heater. It may cause burns even at low
temperatures, especially if used for long periods.
• Do not place anything on the steering wheel that insu -
lates against heat, such as a blanket or steering wheel
covers of any type and material. This may cause the
steering wheel heater to overheat.
2020_DT_1500_OM_US.book Page 58
Page 63 of 674
GETTING TO KNOW YOUR VEHICLE 61
Outside Mirrors
To receive maximum benefit, adjust the outside mirrors to
center on the adjacent lane of traffic with a slight overlap of
the view obtained on the inside mirror.
NOTE:
If your vehicle is equipped with puddle lamps under the
outside mirrors, they can be turned off through the Uconnect
display. For further information, refer to “Uconnect
Settings” in “Multimedia”.
Driver's Outside Automatic Dimming Mirror — If
Equipped
The driver’s outside mirror will automatically adjust for
glare from vehicles behind you. This feature is controlled bythe inside automatic dimming mirror and will automatically
adjust for headlight glare when the inside mirror adjusts.
Power Mirrors — If Equipped
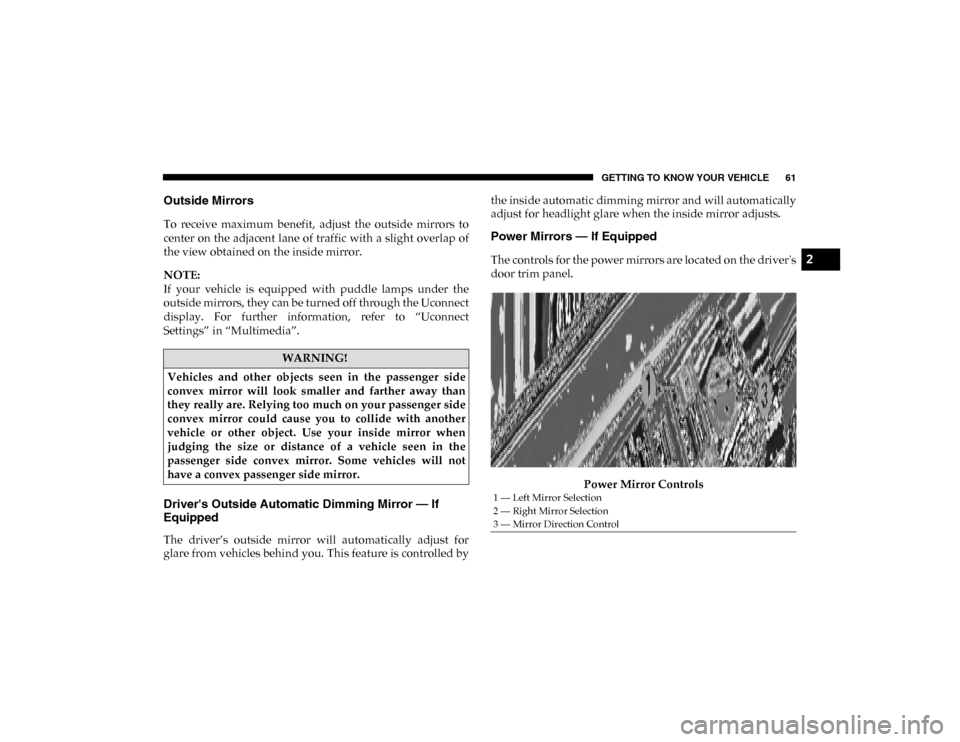
The controls for the power mirrors are located on the driver's
door trim panel.
Power Mirror Controls
WARNING!
Vehicles and other objects seen in the passenger side
convex mirror will look smaller and farther away than
they really are. Relying too much on your passenger side
convex mirror could cause you to collide with another
vehicle or other object. Use your inside mirror when
judging the size or distance of a vehicle seen in the
passenger side convex mirror. Some vehicles will not
have a convex passenger side mirror.
1 — Left Mirror Selection
2 — Right Mirror Selection
3 — Mirror Direction Control
2
2020_DT_1500_OM_US.book Page 61
Page 73 of 674
GETTING TO KNOW YOUR VEHICLE 71
Lights-On Reminder
If the headlights, parking lights, or cargo lights are left on
after the ignition is placed in the OFF position, a chime will
sound when the driver’s door is opened.
Front Fog Lights — If Equipped
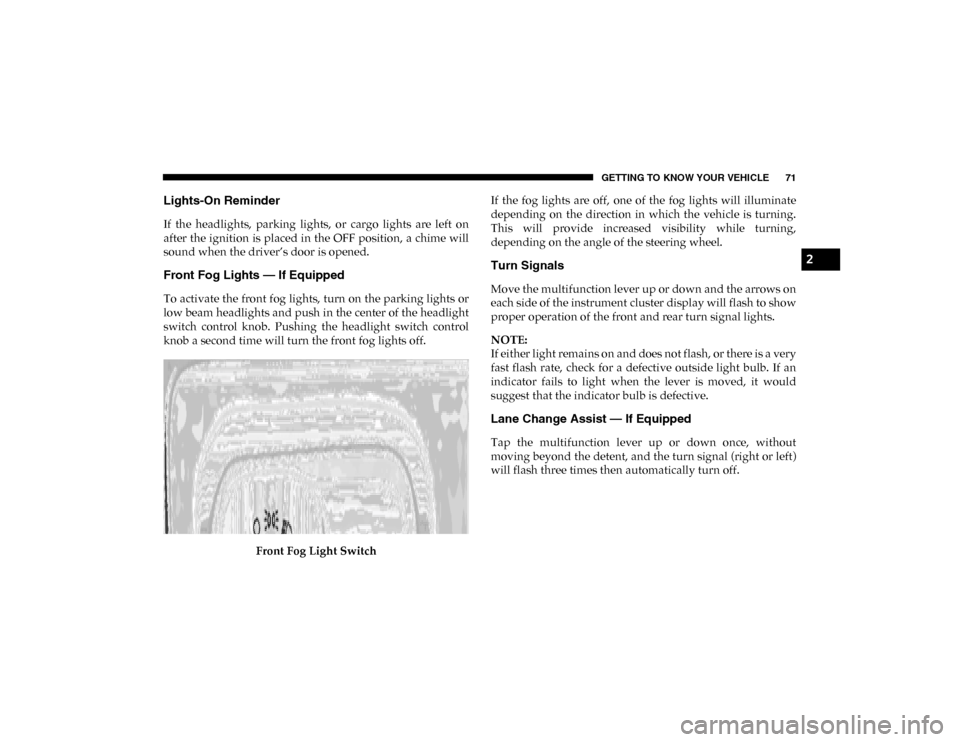
To activate the front fog lights, turn on the parking lights or
low beam headlights and push in the center of the headlight
switch control knob. Pushing the headlight switch control
knob a second time will turn the front fog lights off.Front Fog Light Switch If the fog lights are off, one of the fog lights will illuminate
depending on the direction in which the vehicle is turning.
This will provide increased visibility while turning,
depending on the angle of the steering wheel.
Turn Signals
Move the multifunction lever up or down and the arrows on
each side of the instrument cluster display will flash to show
proper operation of the front and rear turn signal lights.
NOTE:
If either light remains on and does not flash, or there is a very
fast flash rate, check for a defective outside light bulb. If an
indicator fails to light when the lever is moved, it would
suggest that the indicator bulb is defective.
Lane Change Assist — If Equipped
Tap the multifunction lever up or down once, without
moving beyond the detent, and the turn signal (right or left)
will flash three times then automatically turn off.
2
2020_DT_1500_OM_US.book Page 71
Page 74 of 674

72 GETTING TO KNOW YOUR VEHICLE
Cargo Light With Bed Lights — If Equipped
The cargo light and bed lights (if equipped) are turned on by
pushing the cargo lights button located on the lower half of
the headlight switch.Cargo/Bed Lights Button On Headlight Switch
If the vehicle’s speed is 0 mph (0 km/h), these lights can also
be turned on using the switch located just inside the pickup
box, on the lower part of the bed light lens. A telltale will illu-
minate in the instrument cluster display when these lights
are on. Pushing the switch a second time will turn the lights
off. NOTE:
The cargo light will automatically turn off if the vehicle is
shifted into NEUTRAL or DRIVE, and will turn back on
when the vehicle is shifted into PARK or REVERSE. The bed
lights are not affected by gear selection.
Bed Light Switch In Truck Bed
The cargo light and bed lights (if equipped) will turn on for
approximately 60 seconds when a key fob unlock button is
pushed, as part of the Illuminated Entry feature.
2020_DT_1500_OM_US.book Page 72
Page 84 of 674
82 GETTING TO KNOW YOUR VEHICLE
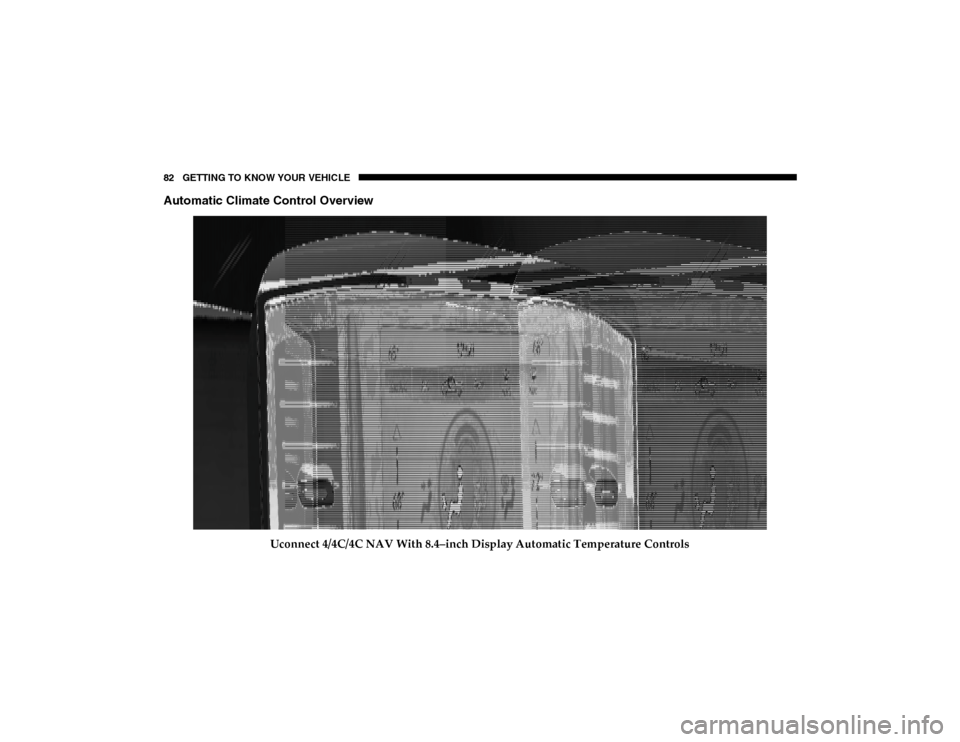
Automatic Climate Control Overview
Uconnect 4/4C/4C NAV With 8.4–inch Display Automatic Temperature Controls
2020_DT_1500_OM_US.book Page 82
Page 85 of 674

GETTING TO KNOW YOUR VEHICLE 83
Uconnect 4C NAV With 12–inch Display Automatic Temperature Controls Uconnect 4C/4C NAV With 8.4–inch Display Automatic
Climate Control Knobs
NOTE:
Icons and descriptions can vary based upon vehicle equip -
ment.
2
2020_DT_1500_OM_US.book Page 83
Page 89 of 674
GETTING TO KNOW YOUR VEHICLE 87
Faceplate
Temperature Knobs
Touchscreen
Temperature Buttons Driver and Passenger Temperature Control
Temperature control provides the driver and passenger with independent temperature control. Push
the red button (or rotate knob if equipped) on the faceplate or touchscreen, or press and slide the
temperature bar towards the red arrow button on the touchscreen for warmer temperature settings.
Push the blue button (or rotate knob if equipped) on the faceplate or touchscreen, or press and slide
the temperature bar towards the blue arrow button on the touchscreen for cooler temperature settings.
NOTE:
• The numbers within the temperature display will only appear if the system is equipped with an auto
-
matic climate control system.
• Up and down buttons are only available on vehicles equipped with a 12-inch display.
Icon
Description
2
2020_DT_1500_OM_US.book Page 87
Page 93 of 674

GETTING TO KNOW YOUR VEHICLE 91
NOTE:
• On vehicles equipped with a 12-inch display, reducing theblower control all the way down will turn the climate off.
• For Manual Climate Controls, if the system is in Mix, Floor or Defrost Mode, the A/C can be turned off, but the A/C
system shall remain active to prevent fogging of the
windows.
• If fog or mist appears on the windshield or side glass, select Defrost mode, and increase blower speed if needed.
• If your air conditioning performance seems lower than expected, check the front of the A/C condenser (located in
front of the radiator), for an accumulation of dirt or insects.
Clean with a gentle water spray from the front of the radi -
ator and through the condenser.
MAX A/C
MAX A/C sets the control for maximum cooling perfor -
mance.
Press and release to toggle between MAX A/C and the prior
settings. The button illuminates when MAX A/C is on.
In MAX A/C, the blower level and mode position can be
adjusted to desired user settings. Pressing other settings will
cause the MAX A/C operation to switch to the selected
setting and MAX A/C to exit. Recirculation
In cold weather, use of Recirculation mode may lead to
excessive window fogging. The Recirculation feature may be
unavailable (button on the touchscreen greyed out) if condi
-
tions exist that could create fogging on the inside of the
windshield.
Automatic Temperature Control (ATC) — If Equipped
Automatic Operation
1. Push the AUTO button on the faceplate, or the AUTO button on the touchscreen on the Automatic Temperature
Control (ATC) Panel.
2. Next, adjust the temperature you would like the system to maintain by adjusting the driver and passenger
temperature control buttons. Once the desired tempera -
ture is displayed, the system will achieve and automati -
cally maintain that comfort level.
3. When the system is set up for your comfort level, it is not necessary to change the settings. You will experience the
greatest efficiency by simply allowing the system to func -
tion automatically.
2
2020_DT_1500_OM_US.book Page 91
Page 94 of 674

92 GETTING TO KNOW YOUR VEHICLE
NOTE:
• It is not necessary to move the temperature settings forcold or hot vehicles. The system automatically adjusts the
temperature, mode, and blower speed to provide comfort
as quickly as possible.
• The temperature can be displayed in U.S. or Metric units by selecting the U.S./Metric customer-programmable
feature. Refer to the “Uconnect Settings” in “Multimedia”
for further information.
To provide you with maximum comfort in the Automatic
mode during cold start-ups, the blower fan will remain on
low until the engine warms up. The blower will increase in
speed and transition into Auto mode.
Manual Operation Override
This system offers a full complement of manual override
features. The AUTO symbol in the front ATC display will be
turned off when the system is being used in the manual
mode.
Operating Tips
NOTE:
Refer to the chart at the end of this section for suggested
control settings for various weather conditions. Summer Operation
The engine cooling system must be protected with a
high-quality antifreeze coolant to provide proper corrosion
protection and to protect against engine overheating. OAT
coolant (conforming to MS.90032) is recommended.
Winter Operation
To ensure the best possible heater and defroster perfor
-
mance, make sure the engine cooling system is functioning
properly and the proper amount, type, and concentration of
coolant is used. Use of the Air Recirculation mode during
Winter months is not recommended, because it may cause
window fogging.
Vacation/Storage
Before you store your vehicle, or keep it out of service (i.e.,
vacation) for two weeks or more, run the air conditioning
system at idle for about five minutes, in fresh air with the
blower setting on high. This will ensure adequate system
lubrication to minimize the possibility of compressor
damage when the system is started again.
2020_DT_1500_OM_US.book Page 92