Ram 1500 2020 Owner's Manual
Manufacturer: RAM, Model Year: 2020, Model line: 1500, Model: Ram 1500 2020Pages: 674, PDF Size: 32.69 MB
Page 621 of 674
MULTIMEDIA 619
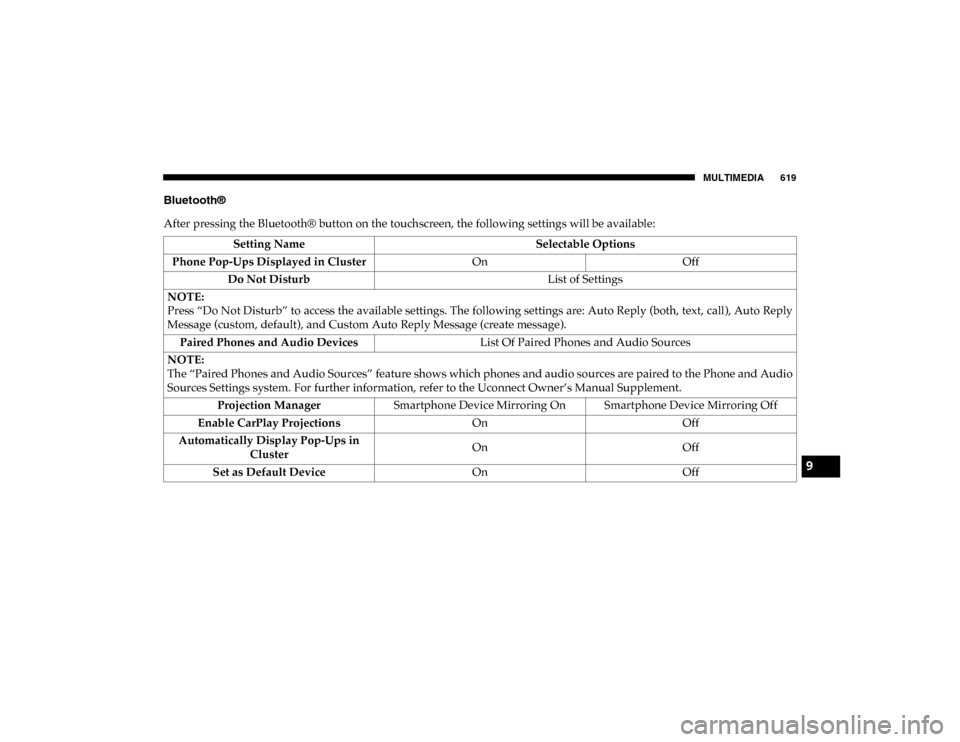
Bluetooth®
After pressing the Bluetooth® button on the touchscreen, the following settings will be available:Setting Name Selectable Options
Phone Pop-Ups Displayed in Cluster OnOff
Do Not Disturb List of Settings
NOTE:
Press “Do Not Disturb” to access the available settings. The following settings are: Auto Reply (both, text, call), Auto Reply
Message (custom, default), and Custom Auto Reply Message (create message). Paired Phones and Audio Devices List Of Paired Phones and Audio Sources
NOTE:
The “Paired Phones and Audio Sources” feature shows which phones and audio sources are paired to the Phone and Audio
Sources Settings system. For further information, refer to the Uconnect Owner’s Manual Supplement. Projection Manager Smartphone Device Mirroring On Smartphone Device Mirroring Off
Enable CarPlay Projections OnOff
Automatically Display Pop-Ups in Cluster On
Off
Set as Default Device OnOff
9
2020_DT_1500_OM_US.book Page 619
Page 622 of 674
620 MULTIMEDIA
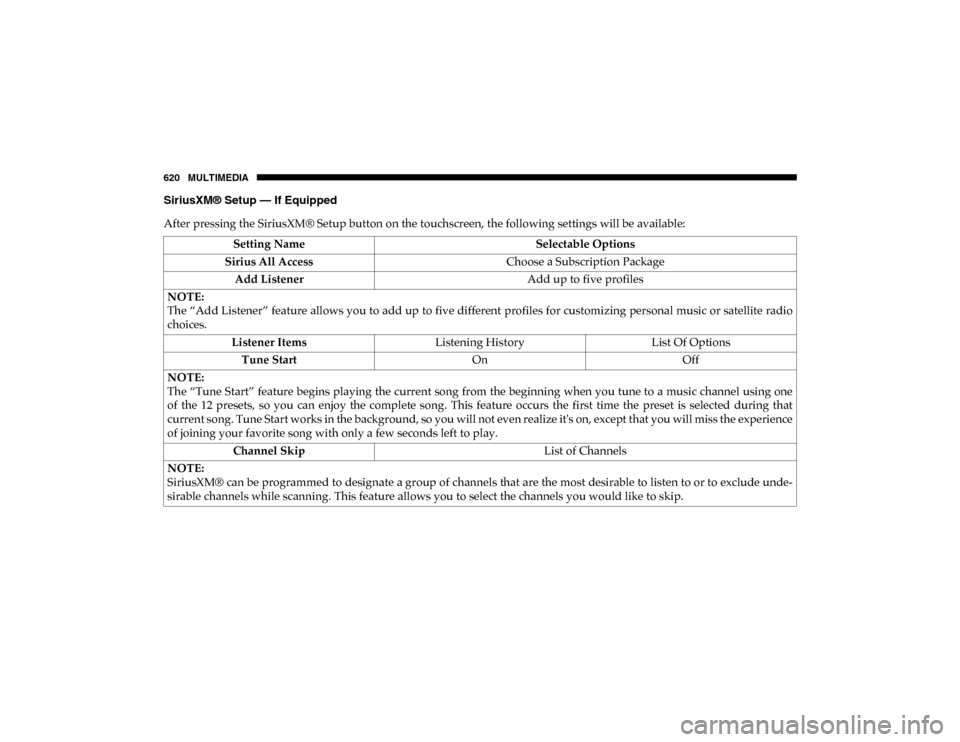
SiriusXM® Setup — If Equipped
After pressing the SiriusXM® Setup button on the touchscreen, the following settings will be available:Setting Name Selectable Options
Sirius All Access Choose a Subscription Package
Add Listener Add up to five profiles
NOTE:
The “Add Listener” feature allows you to add up to five different profiles for customizing personal music or satellite radio
choices. Listener Items Listening History List Of Options
Tune Start OnOff
NOTE:
The “Tune Start” feature begins playing the current song from the beginning when you tune to a music channel using one
of the 12 presets, so you can enjoy the complete song. This feature occurs the first time the preset is selected during that
current song. Tune Start works in the background, so you will not even realize it's on, except that you will miss the experience
of joining your favorite song with only a few seconds left to play. Channel Skip List of Channels
NOTE:
SiriusXM® can be programmed to designate a group of channels that are the most desirable to listen to or to exclude unde -
sirable channels while scanning. This feature allows you to select the channels you would like to skip.
2020_DT_1500_OM_US.book Page 620
Page 623 of 674
MULTIMEDIA 621
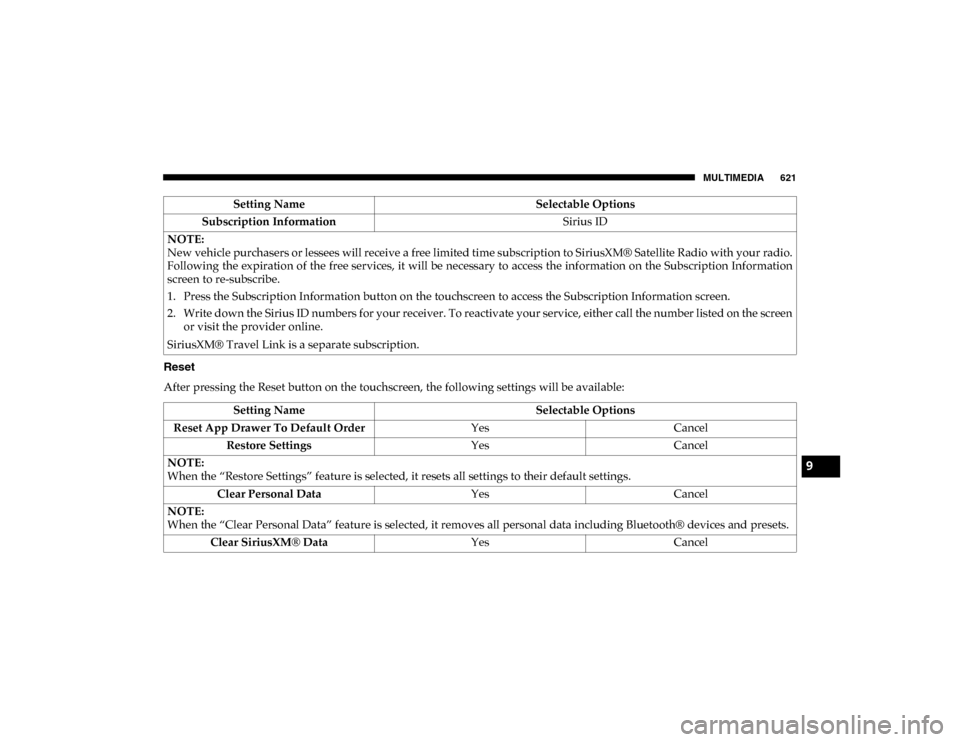
Reset
After pressing the Reset button on the touchscreen, the following settings will be available:Subscription Information
Sirius ID
NOTE:
New vehicle purchasers or lessees will receive a free limited time subscription to SiriusXM® Satellite Radio with your radio.
Following the expiration of the free services, it will be necessary to access the information on the Subscription Information
screen to re-subscribe.
1. Press the Subscription Information button on the touchscreen to access the Subscription Information screen.
2. Write down the Sirius ID numbers for your receiver. To reactivate your service, either call the number listed on the screen or visit the provider online.
SiriusXM® Travel Link is a separate subscription. Setting Name
Selectable Options
Setting NameSelectable Options
Reset App Drawer To Default Order YesCancel
Restore Settings YesCancel
NOTE:
When the “Restore Settings” feature is selected, it resets all settings to their default settings. Clear Personal Data YesCancel
NOTE:
When the “Clear Personal Data” feature is selected, it removes all personal data including Bluetooth® devices and presets. Clear SiriusXM® Data YesCancel
9
2020_DT_1500_OM_US.book Page 621
Page 624 of 674
622 MULTIMEDIA
STEERING WHEEL AUDIO CONTROLS — IF
EQUIPPED
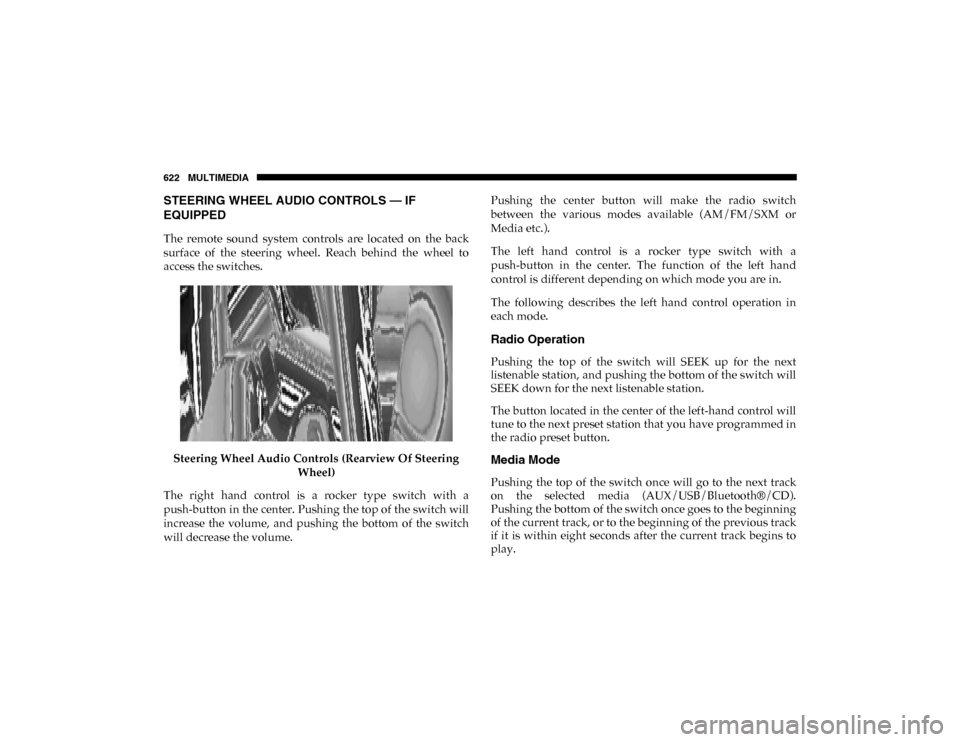
The remote sound system controls are located on the back
surface of the steering wheel. Reach behind the wheel to
access the switches.Steering Wheel Audio Controls (Rearview Of Steering Wheel)
The right hand control is a rocker type switch with a
push-button in the center. Pushing the top of the switch will
increase the volume, and pushing the bottom of the switch
will decrease the volume. Pushing the center button will make the radio switch
between the various modes available (AM/FM/SXM or
Media etc.).
The left hand control is a rocker type switch with a
push-button in the center. The function of the left hand
control is different depending on which mode you are in.
The following describes the left hand control operation in
each mode.
Radio Operation
Pushing the top of the switch will SEEK up for the next
listenable station, and pushing the bottom of the switch will
SEEK down for the next listenable station.
The button located in the center of the left-hand control will
tune to the next preset station that you have programmed in
the radio preset button.
Media Mode
Pushing the top of the switch once will go to the next track
on the selected media (AUX/USB/Bluetooth®/CD).
Pushing the bottom of the switch once goes to the beginning
of the current track, or to the beginning of the previous track
if it is within eight seconds after the current track begins to
play.
2020_DT_1500_OM_US.book Page 622
Page 625 of 674
MULTIMEDIA 623
IPOD®/USB/MP3 CONTROL — IF EQUIPPED
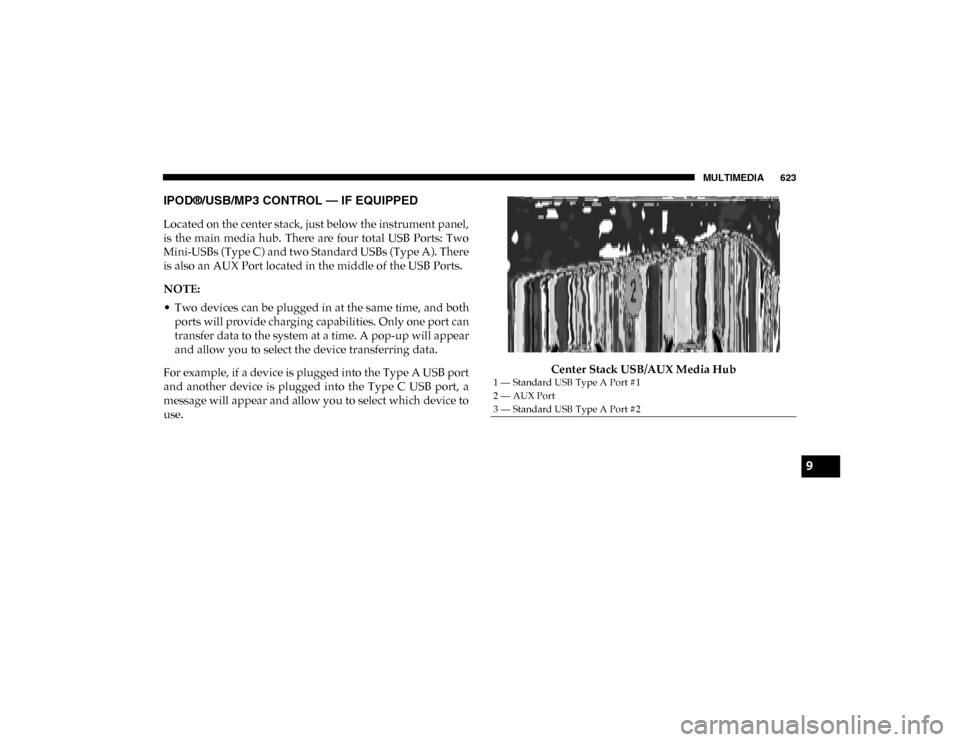
Located on the center stack, just below the instrument panel,
is the main media hub. There are four total USB Ports: Two
Mini-USBs (Type C) and two Standard USBs (Type A). There
is also an AUX Port located in the middle of the USB Ports.
NOTE:
• Two devices can be plugged in at the same time, and bothports will provide charging capabilities. Only one port can
transfer data to the system at a time. A pop-up will appear
and allow you to select the device transferring data.
For example, if a device is plugged into the Type A USB port
and another device is plugged into the Type C USB port, a
message will appear and allow you to select which device to
use. Center Stack USB/AUX Media Hub
1 — Standard USB Type A Port #1
2 — AUX Port
3 — Standard USB Type A Port #2
9
2020_DT_1500_OM_US.book Page 623
Page 626 of 674
624 MULTIMEDIA
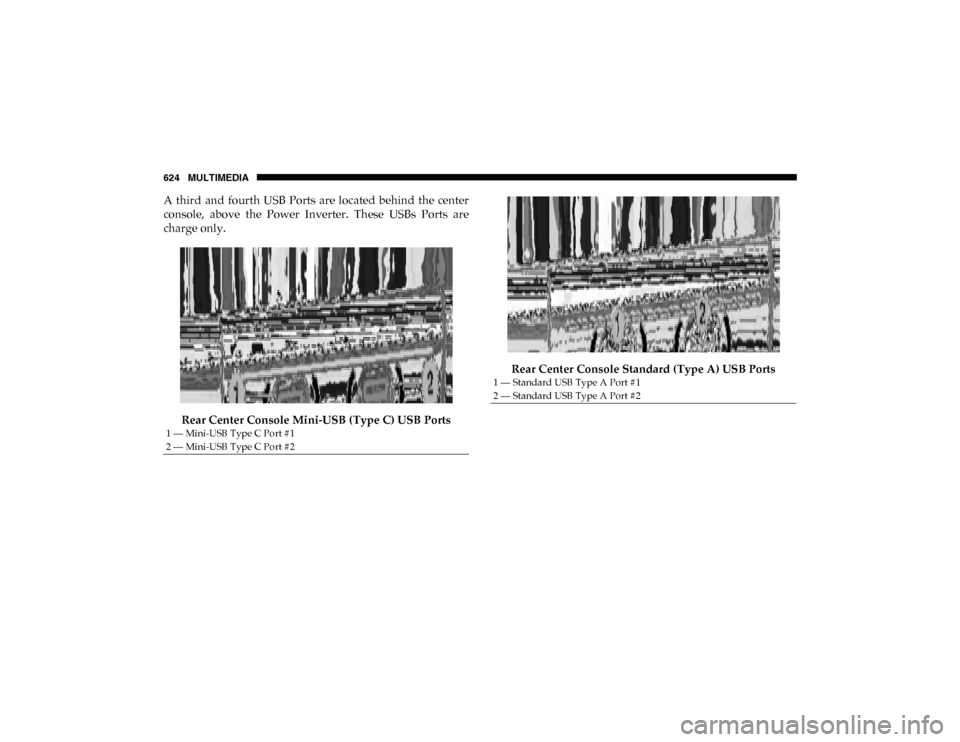
A third and fourth USB Ports are located behind the center
console, above the Power Inverter. These USBs Ports are
charge only.Rear Center Console Mini-USB (Type C) USB Ports Rear Center Console Standard (Type A) USB Ports
1 — Mini-USB Type C Port #1
2 — Mini-USB Type C Port #2
1 — Standard USB Type A Port #1
2 — Standard USB Type A Port #2
2020_DT_1500_OM_US.book Page 624
Page 627 of 674
MULTIMEDIA 625
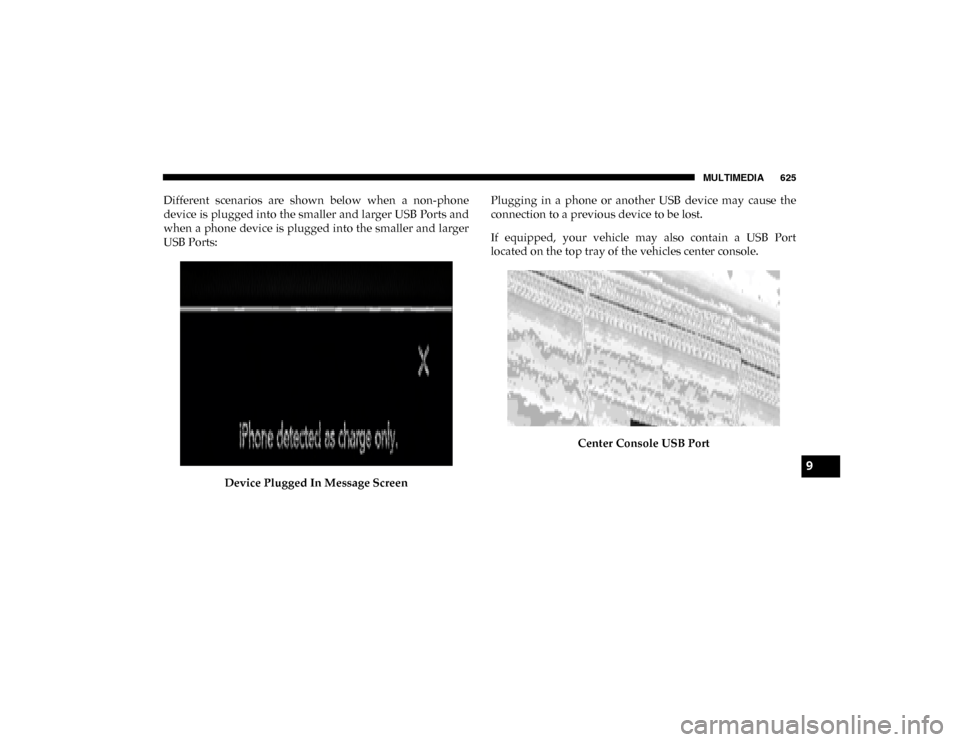
Different scenarios are shown below when a non-phone
device is plugged into the smaller and larger USB Ports and
when a phone device is plugged into the smaller and larger
USB Ports:Device Plugged In Message Screen Plugging in a phone or another USB device may cause the
connection to a previous device to be lost.
If equipped, your vehicle may also contain a USB Port
located on the top tray of the vehicles center console.
Center Console USB Port
9
2020_DT_1500_OM_US.book Page 625
Page 628 of 674
626 MULTIMEDIA
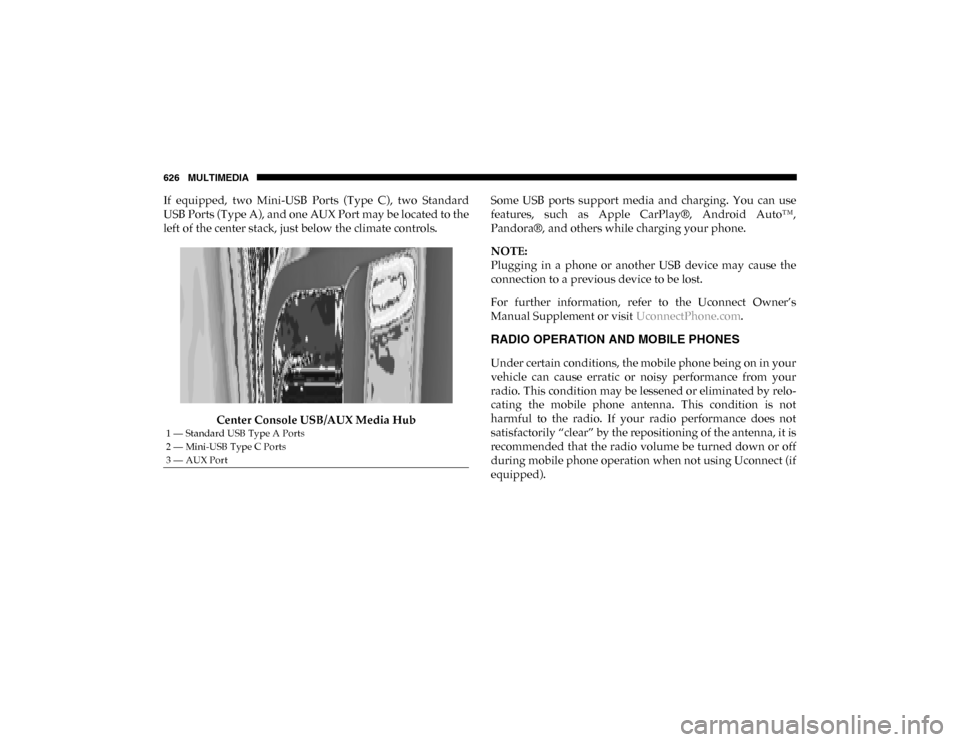
If equipped, two Mini-USB Ports (Type C), two Standard
USB Ports (Type A), and one AUX Port may be located to the
left of the center stack, just below the climate controls.Center Console USB/AUX Media Hub Some USB ports support media and charging. You can use
features, such as Apple CarPlay®, Android Auto™,
Pandora®, and others while charging your phone.
NOTE:
Plugging in a phone or another USB device may cause the
connection to a previous device to be lost.
For further information, refer to the Uconnect Owner’s
Manual Supplement or visit
UconnectPhone.com.
RADIO OPERATION AND MOBILE PHONES
Under certain conditions, the mobile phone being on in your
vehicle can cause erratic or noisy performance from your
radio. This condition may be lessened or eliminated by relo -
cating the mobile phone antenna. This condition is not
harmful to the radio. If your radio performance does not
satisfactorily “clear” by the repositioning of the antenna, it is
recommended that the radio volume be turned down or off
during mobile phone operation when not using Uconnect (if
equipped).
1 — Standard USB Type A Ports
2 — Mini-USB Type C Ports
3 — AUX Port
2020_DT_1500_OM_US.book Page 626
Page 629 of 674
MULTIMEDIA 627
Regulatory And Safety Information
USA/CANADA
Exposure to Radio Frequency Radiation
The radiated output power of the internal wireless radio is
far below the FCC and IC radio frequency exposure limits.
Nevertheless, the wireless radio will be used in such a
manner that the radio is 8 in (20 cm) or further from the
human body.
The internal wireless radio operates within guidelines found
in radio frequency safety standards and recommendations,
which reflect the consensus of the scientific community.
The radio manufacturer believes the internal wireless radio
is safe for use by consumers. The level of energy emitted is
far less than the electromagnetic energy emitted by wireless
devices such as mobile phones. However, the use of wireless
radios may be restricted in some situations or environments,
such as aboard airplanes. If you are unsure of restrictions,
you are encouraged to ask for authorization before turning
on the wireless radio.The following regulatory statement applies to all Radio
Frequency (RF) devices equipped in this vehicle:
This device complies with Part 15 of the FCC Rules and with
Innovation, Science and Economic Development Canada
license-exempt RSS standard(s). Operation is subject to the
following two conditions:
1. This device may not cause harmful interference.
2. This device must accept any interference received,
including interference that may cause undesired opera -
tion.
Le présent appareil est conforme aux CNR d`Innovation,
Science and Economic Development applicables aux appar -
eils radio exempts de licence. L'exploitation est autorisée aux
deux conditions suivantes:
1. l'appareil ne doit pas produire de brouillage, et
2. l'utilisateur de l'appareil doit accepter tout brouillage radioélectrique subi, même si le brouillage est susceptible
d'en compromettre le fonctionnement.
9
2020_DT_1500_OM_US.book Page 627
Page 630 of 674
628 MULTIMEDIA
La operación de este equipo está sujeta a las siguientes dos
condiciones:
1. es posible que este equipo o dispositivo no cause interfer-
encia perjudicial y
2. este equipo o dispositivo debe aceptar cualquier interfer- encia, incluyendo la que pueda causar su operación no
deseada.
NOTE:
Changes or modifications not expressly approved by the
party responsible for compliance could void the user’s
authority to operate the equipment.
NOTE:
• This equipment has been tested and found to comply with the limits for a Class B digital device, pursuant to Part 15
of the FCC Rules. These limits are designed to provide
reasonable protection against harmful interference in a
residential installation. This equipment generates, uses
and can radiate radio frequency energy and, if not
installed and used in accordance with the instructions,
may cause harmful interference to radio communications.
However, there is no guarantee that interference will not
occur in a particular installation. • If this equipment does cause harmful interference to radio
or television reception, which can be determined by
turning the equipment off and on, the user is encouraged
to try to correct the interference by one or more of the
following measures:
1. Increase the separation between the equipment and receiver.
2. Consult an authorized dealer or an experienced radio technician for help.
UCONNECT VOICE RECOGNITION QUICK TIPS
Introducing Uconnect
Start using Uconnect Voice Recognition (VR) with these
helpful quick tips. It provides the key Voice Commands and
tips you need to know to control your Uconnect system.
If you see the NAV icon on the bottom bar, or in the Apps
menus, of your touchscreen, you have the Uconnect 4C NAV
With 8.4-inch Display or the Uconnect 4C NAV With 12-inch
Display system. If not, you have a Uconnect 4C With 8.4-inch
Display system.
2020_DT_1500_OM_US.book Page 628