remote control Ram 1500 2020 Owner's Manual
[x] Cancel search | Manufacturer: RAM, Model Year: 2020, Model line: 1500, Model: Ram 1500 2020Pages: 674, PDF Size: 32.69 MB
Page 6 of 674

4
Climate Control Functions ........................................... 90
Automatic Temperature Control (ATC) — If
Equipped......................................................................... 91
Operating Tips .............................................................. 92
WINDOWS .......................................................................... 94
Power Windows ........................................................... 94
Wind Buffeting .............................................................. 97
POWER SUNROOF — IF EQUIPPED ............................. 98
Single Pane Power Sunroof — If Equipped ............... 98
Dual Pane Power Sunroof — If Equipped ............... 101
HOOD ................................................................................ 105
To Open The Hood ..................................................... 105
To Close The Hood...................................................... 106
TAILGATE ......................................................................... 106
Opening ........................................................................ 106
Closing .......................................................................... 107
Multifunction Tailgate — If Equipped ..................... 107
GARAGE DOOR OPENER — IF EQUIPPED............... 109
Before You Begin Programming HomeLink® ........ 110
Canadian/Gate Operator Programming ................. 113
Using HomeLink® ...................................................... 114
Security ......................................................................... 114
Troubleshooting Tips .................................................. 115
General Information .................................................... 115
INTERNAL EQUIPMENT ...............................................116
Storage ...........................................................................116
Cupholders ..................................................................126
Electrical Power Outlets..............................................128
Power Inverter — If Equipped ................................. 131
Wireless Charging Pad — If Equipped ...................134
Overhead Sunglass Storage........................................135
PICKUP BOX .....................................................................135
RAMBOX — IF EQUIPPED ............................................136
RamBox Integrated Box Side Storage Bins............... 137
RamBox Safety Warning .............................................139
Bed Divider — If Equipped........................................140
Bed Rail Tie-Down System .........................................144
SLIDE-IN CAMPERS .......................................................146
Camper Applications ..................................................146
EASY-OFF TAILGATE ....................................................147
Disconnecting The Rear Camera And Remote
Keyless Entry ................................................................147
Removing The Tailgate ...............................................148
Locking Tailgate........................................................... 150
TRI-FOLD TONNEAU COVER — IF EQUIPPED ....... 150
Tri-Fold Tonneau Cover Removal.............................150
Tri-Fold Tonneau Cover Installation ........................ 155
Tri-Fold Tonneau Cover Cleaning ............................160
2020_DT_1500_OM_US.book Page 4
Page 23 of 674
GETTING TO KNOW YOUR VEHICLE 21
To cancel vehicle lowering, push the key fob air suspension
lowering button one time during the lowering process.
When vehicle lowering is cancelled, the horn will chirp two
times and the turn signal lamps will flash four times. Once
raising is completed, the horn will chirp one time.
NOTE:
Refer to “Active-Level Four Corner Air Suspension System”
in “Starting And Operating” for further information.
Replacing The Battery In The Key Fob With Remote
Control
The replacement battery model is one CR2450 battery.
NOTE:
• Perchlorate Material — special handling may apply. Seewww.dtsc.ca.gov/hazardouswaste/perchlorate for
further information.
• Do not touch the battery terminals that are on the back housing or the printed circuit board.
• Do not replace the coin battery if the LED on the key fob above the top row buttons blinks when a button is pressed. The coin battery should last a minimum of 3 years of
normal vehicle usage.
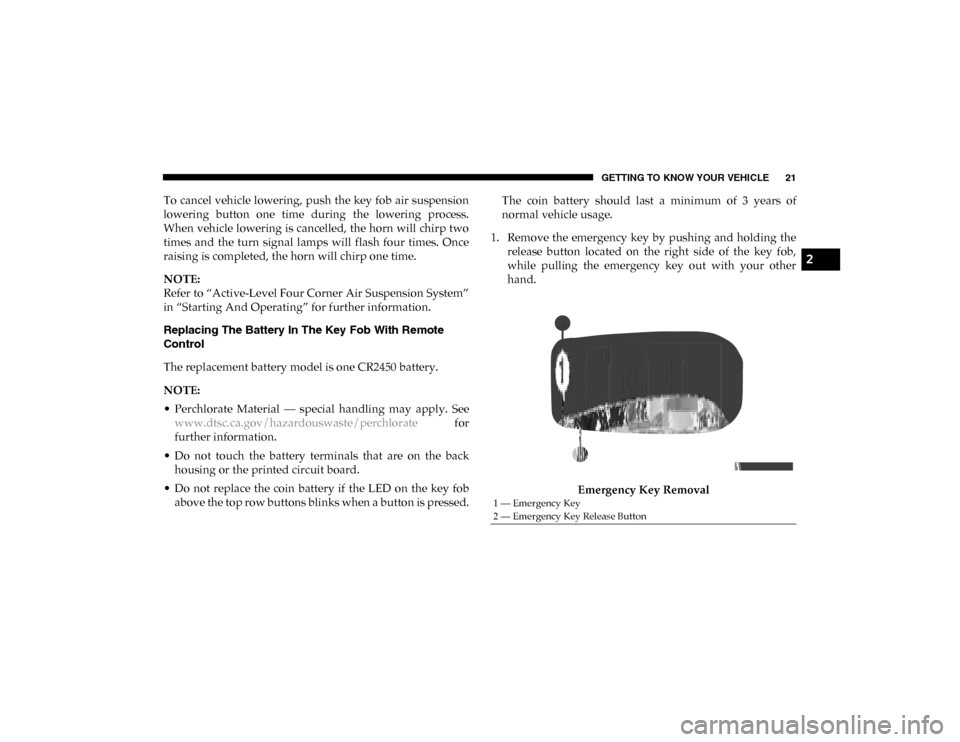
1. Remove the emergency key by pushing and holding the release button located on the right side of the key fob,
while pulling the emergency key out with your other
hand.
Emergency Key Removal
1 — Emergency Key
2 — Emergency Key Release Button
2
2020_DT_1500_OM_US.book Page 21
Page 29 of 674
GETTING TO KNOW YOUR VEHICLE 27
The engine only runs in the ON/RUN ignition position or
from a remote start request.
In case the ignition switch does not change with the push of
a button, the key fob may have a low or dead battery. In this
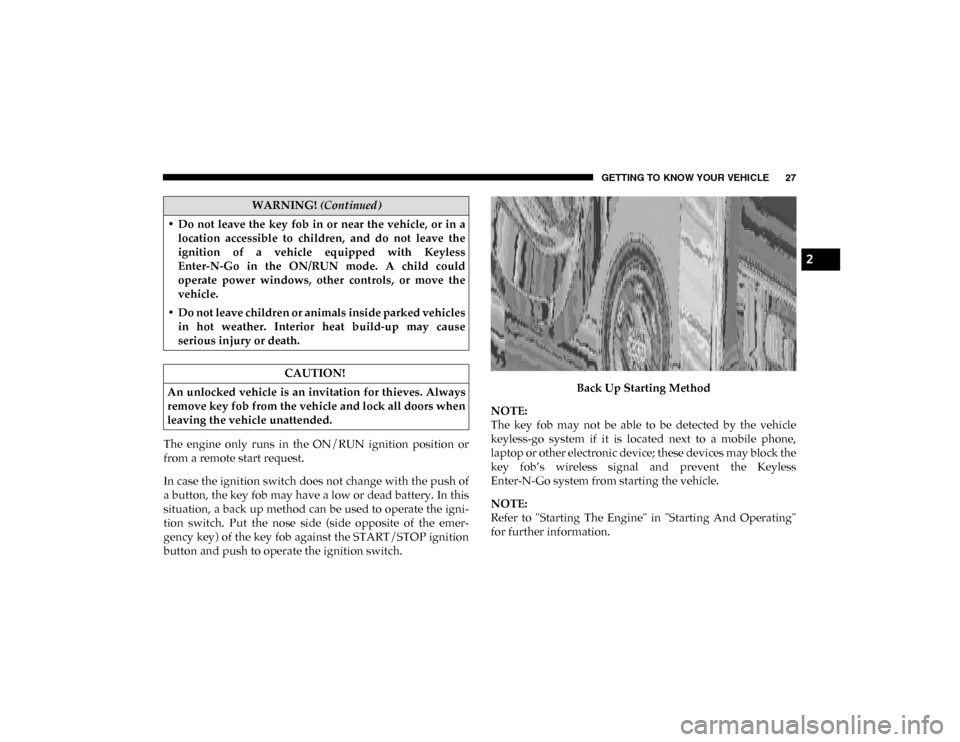
situation, a back up method can be used to operate the igni-
tion switch. Put the nose side (side opposite of the emer -
gency key) of the key fob against the START/STOP ignition
button and push to operate the ignition switch. Back Up Starting Method
NOTE:
The key fob may not be able to be detected by the vehicle
keyless-go system if it is located next to a mobile phone,
laptop or other electronic device; these devices may block the
key fob’s wireless signal and prevent the Keyless
Enter-N-Go system from starting the vehicle.
NOTE:
Refer to "Starting The Engine" in "Starting And Operating"
for further information.
• Do not leave the key fob in or near the vehicle, or in a
location accessible to children, and do not leave the
ignition of a vehicle equipped with Keyless
Enter-N-Go in the ON/RUN mode. A child could
operate power windows, other controls, or move the
vehicle.
• Do not leave children or animals inside parked vehicles in hot weather. Interior heat build-up may cause
serious injury or death.
CAUTION!
An unlocked vehicle is an invitation for thieves. Always
remove key fob from the vehicle and lock all doors when
leaving the vehicle unattended.
WARNING! (Continued)
2
2020_DT_1500_OM_US.book Page 27
Page 30 of 674
28 GETTING TO KNOW YOUR VEHICLE
(Continued)
REMOTE START — IF EQUIPPED
How To Use Remote Start
All of the following conditions must be met before the engine
will remote start:
• Gear selector in PARK
• Doors closed
• Hood closed
• HAZARD switch off
• BRAKE switch inactive (brake pedal not pushed)
• Battery at an acceptable charge level
• PANIC button not pushed
• Fuel meets minimum requirement
• System not disabled from previous remote start event
• Vehicle security alarm not active
Remote Start Abort Message
The following messages will display in the instrument
cluster display if the vehicle fails to remote start or exits
remote start prematurely:
• Remote Start Cancelled — Door Open
• Remote Start Cancelled — Hood Open
• Remote Start Cancelled — Fuel Low
• Remote Start Cancelled — System Fault
• Remote Start Disabled — Start Vehicle to Reset
The instrument cluster display message stays active until the
ignition is turned to the ON/RUN position.
WARNING!
• Do not start or run an engine in a closed garage or confined area. Exhaust gas contains Carbon Monoxide
(CO) which is odorless and colorless. Carbon
Monoxide is poisonous and can cause serious injury or
death when inhaled.
• Keep key fobs away from children. Operation of the
Remote Start System, windows, door locks or other
controls could cause serious injury or death.
WARNING! (Continued)
2020_DT_1500_OM_US.book Page 28
Page 53 of 674
GETTING TO KNOW YOUR VEHICLE 51
Heated Seats — If Equipped
On some models, the front and rear seats may be equipped
with heaters located in the seat cushions and seat backs.
Front Heated Seats
The heated seats control buttons are located on the center
instrument panel below the touchscreen, and are also located
within the climate or controls screen of the touchscreen.• Push the heated seat button once to turn the HI setting
on.
• Push the heated seat button a second time to turn the MED setting on.
• Push the heated seat button a third time to turn the LO setting on.
• Push the heated seat button a fourth time to turn the heating elements off.
NOTE:
• The engine must be running for the heated seats to operate.
• The level of heat selected will stay on until the operator changes it.
Vehicles Equipped With Remote Start
On models that are equipped with remote start, the driver’s
seat can be programmed to come on during a remote start.
This feature can be programmed through the Uconnect
system. Refer to “Uconnect Settings” in “Multimedia” for
further information.
WARNING!
• Persons who are unable to feel pain to the skin because of advanced age, chronic illness, diabetes, spinal cord
injury, medication, alcohol use, exhaustion or other
physical condition must exercise care when using the
seat heater. It may cause burns even at low tempera -
tures, especially if used for long periods of time.
• Do not place anything on the seat or seatback that insu -
lates against heat, such as a blanket or cushion. This
may cause the seat heater to overheat. Sitting in a seat
that has been overheated could cause serious burns due
to the increased surface temperature of the seat.2
2020_DT_1500_OM_US.book Page 51
Page 55 of 674
GETTING TO KNOW YOUR VEHICLE 53
The front ventilated seats control buttons are located on the
center instrument panel below the touchscreen, and are also
located within the climate or controls screen of the touch-
screen.
• Press the ventilated seat button once to choose HI.
• Press the ventilated seat button a second time to choose MED.
• Press the ventilated seat button a third time to choose LO.
• Press the ventilated seat button a fourth time to turn the ventilation off.
NOTE:
The engine must be running for the ventilated seats to
operate.
Vehicles Equipped With Remote Start
On models that are equipped with remote start, the venti -
lated seats can be programmed to come on during a remote
start.
This feature can be programmed through the Uconnect
system. Refer to “Uconnect Settings” in “Multimedia” for
further information. Rear Ventilated Seats
On some models, the two outboard rear seats are equipped
with ventilated seats. The rear ventilated seat control
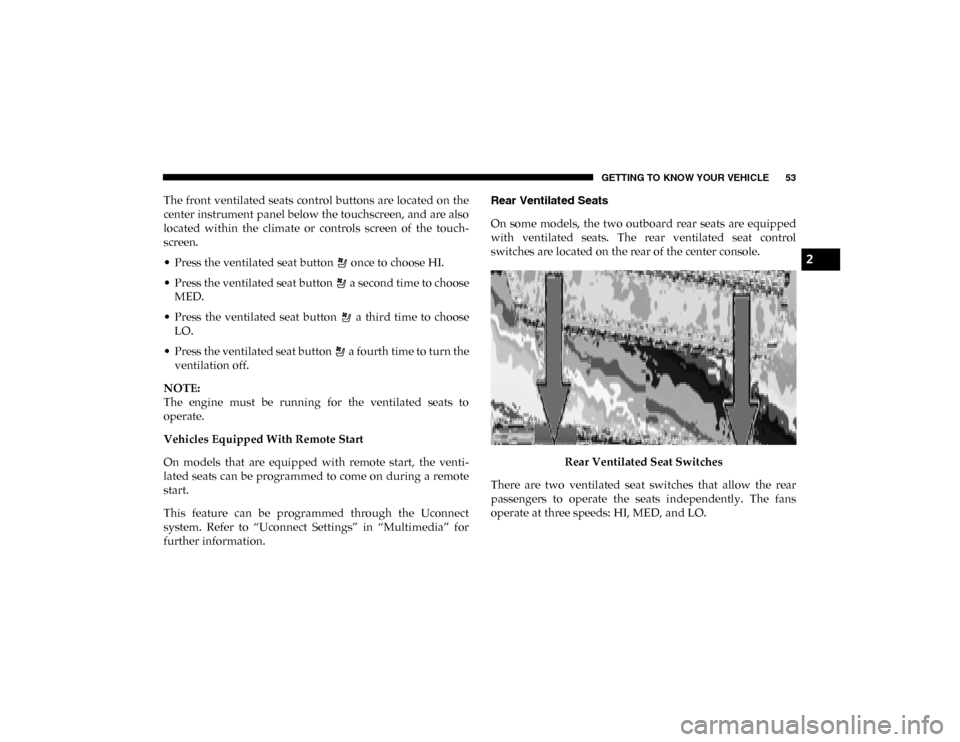
switches are located on the rear of the center console.
Rear Ventilated Seat Switches
There are two ventilated seat switches that allow the rear
passengers to operate the seats independently. The fans
operate at three speeds: HI, MED, and LO.
2
2020_DT_1500_OM_US.book Page 53
Page 59 of 674
GETTING TO KNOW YOUR VEHICLE 57
To unlock the steering column, push the lever downward. To
tilt the steering column, move the steering wheel upward or
downward as desired. To lengthen or shorten the steering
column, pull the steering wheel outward or push it inward
as desired. To lock the steering column into position, push
the lever upward until fully engaged.
Heated Steering Wheel — If Equipped
The steering wheel contains a heating element that helps
warm your hands in cold weather. The heated steering wheel
has only one temperature setting. Once the heated steering
wheel has been turned on, it will stay on until the operator
turns it off. The heated steering wheel may not turn on when
it is already warm.The heated steering wheel control button is located on the
center instrument panel below the touchscreen, and are also
located within the climate or controls screen of the touch
-
screen.
• Press the heated steering wheel button once to turn the heating element on.
• Press the heated steering wheel button a second time to turn the heating element off.
NOTE:
The engine must be running for the heated steering wheel to
operate.
Vehicles Equipped With Remote Start
On models that are equipped with remote start, the heated
steering wheel can be programmed to come on during a
remote start.
This feature can be programmed through the Uconnect
system. Refer to “Uconnect Settings” in “Multimedia” for
further information.
WARNING!
Do not adjust the steering column while driving.
Adjusting the steering column while driving or driving
with the steering column unlocked, could cause the
driver to lose control of the vehicle. Failure to follow this
warning may result in serious injury or death.
2
2020_DT_1500_OM_US.book Page 57
Page 75 of 674
GETTING TO KNOW YOUR VEHICLE 73
Battery Saver
To protect the life of your vehicle’s battery, load shedding is
provided for both the interior and exterior lights.
If the ignition is OFF and any door is left ajar for 10 minutes
or the dimmer control is rotated all the way up to the dome
on position for 10 minutes, the interior lights will automati-
cally turn off.
NOTE:
Battery saver mode is canceled if the ignition is ON.
If the headlights remain on while the ignition is placed in the
OFF position, the exterior lights will automatically turn off
after eight minutes. If the headlights are turned on and left
on for eight minutes while the ignition is OFF, the exterior
lights will automatically turn off.
INTERIOR LIGHTS
Courtesy Lights
Courtesy and dome lights are turned on when the front
doors are opened, the ambient dimmer control is rotated to
the highest detent, or the Dome ON button is pushed on the
overhead console. Also, if your vehicle is equipped with Remote Keyless Entry (RKE), and the unlock button is
pushed on the key fob, the courtesy and dome lights will
turn on.
Courtesy/Reading Lights
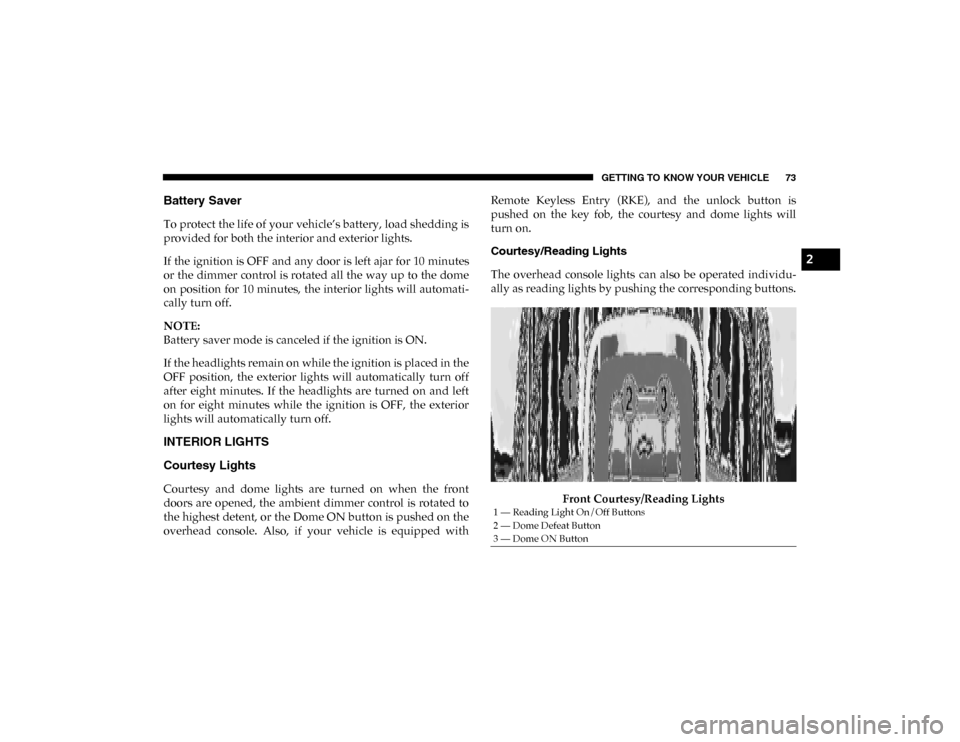
The overhead console lights can also be operated individu-
ally as reading lights by pushing the corresponding buttons.
Front Courtesy/Reading Lights
1 — Reading Light On/Off Buttons
2 — Dome Defeat Button
3 — Dome ON Button
2
2020_DT_1500_OM_US.book Page 73
Page 80 of 674
78 GETTING TO KNOW YOUR VEHICLE
wiper switch is moved, vehicle speed is greater than
3 mph (5 km/h), or the gear selector is moved out of the
NEUTRAL position.
• Remote Start Mode Inhibit — On vehicles equipped with
Remote Starting system, Rain Sensing wipers are not oper -
ational when the vehicle is in the remote start mode. Once
the operator is in the vehicle and has placed the ignition
switch in the RUN position, Rain Sensing wiper operation
can resume, if it has been selected, and no other inhibit
conditions (mentioned previously) exist.
CLIMATE CONTROLS
The Climate Control System allows you to regulate the
temperature, air flow, and direction of air circulating
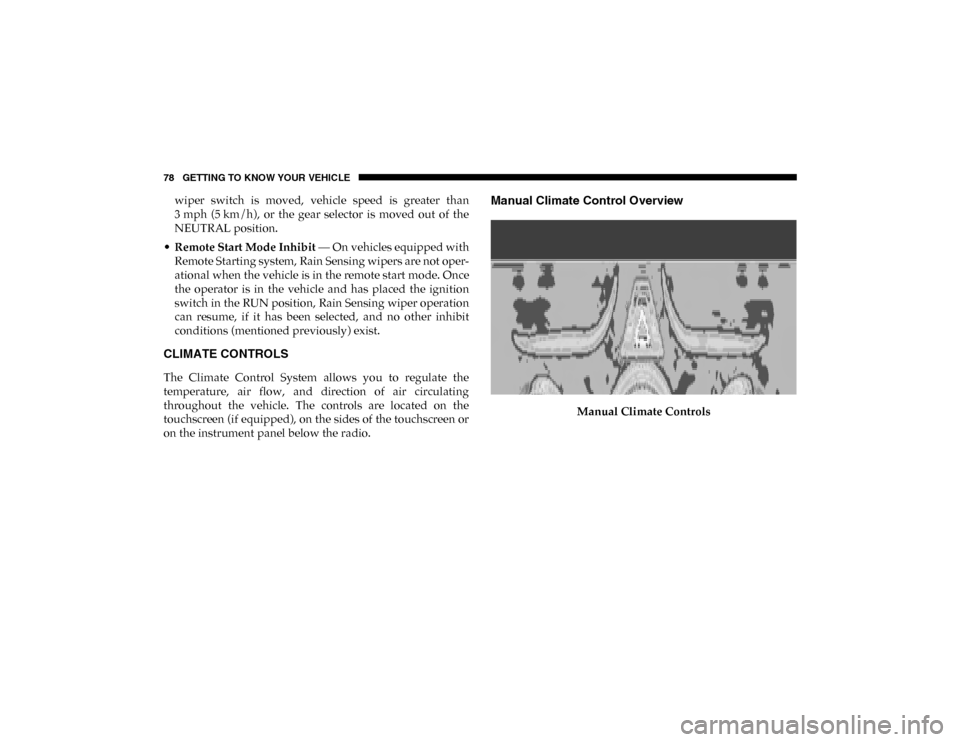
throughout the vehicle. The controls are located on the
touchscreen (if equipped), on the sides of the touchscreen or
on the instrument panel below the radio.
Manual Climate Control Overview
Manual Climate Controls
2020_DT_1500_OM_US.book Page 78
Page 624 of 674
622 MULTIMEDIA
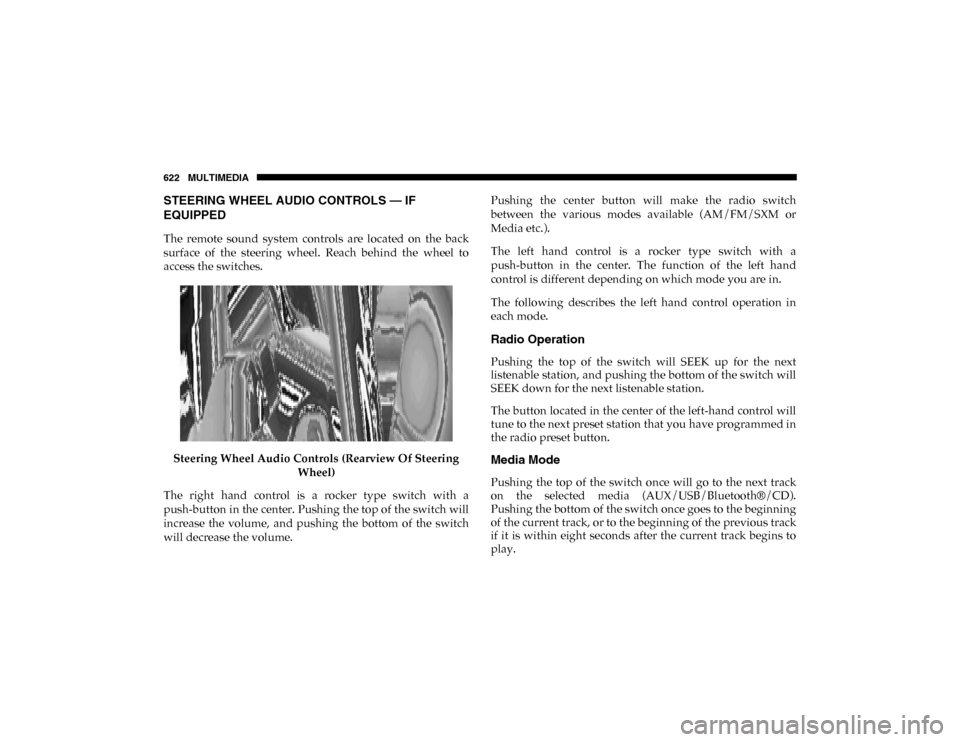
STEERING WHEEL AUDIO CONTROLS — IF
EQUIPPED
The remote sound system controls are located on the back
surface of the steering wheel. Reach behind the wheel to
access the switches.Steering Wheel Audio Controls (Rearview Of Steering Wheel)
The right hand control is a rocker type switch with a
push-button in the center. Pushing the top of the switch will
increase the volume, and pushing the bottom of the switch
will decrease the volume. Pushing the center button will make the radio switch
between the various modes available (AM/FM/SXM or
Media etc.).
The left hand control is a rocker type switch with a
push-button in the center. The function of the left hand
control is different depending on which mode you are in.
The following describes the left hand control operation in
each mode.
Radio Operation
Pushing the top of the switch will SEEK up for the next
listenable station, and pushing the bottom of the switch will
SEEK down for the next listenable station.
The button located in the center of the left-hand control will
tune to the next preset station that you have programmed in
the radio preset button.
Media Mode
Pushing the top of the switch once will go to the next track
on the selected media (AUX/USB/Bluetooth®/CD).
Pushing the bottom of the switch once goes to the beginning
of the current track, or to the beginning of the previous track
if it is within eight seconds after the current track begins to
play.
2020_DT_1500_OM_US.book Page 622